Thoughts on Bookshelf Decorating

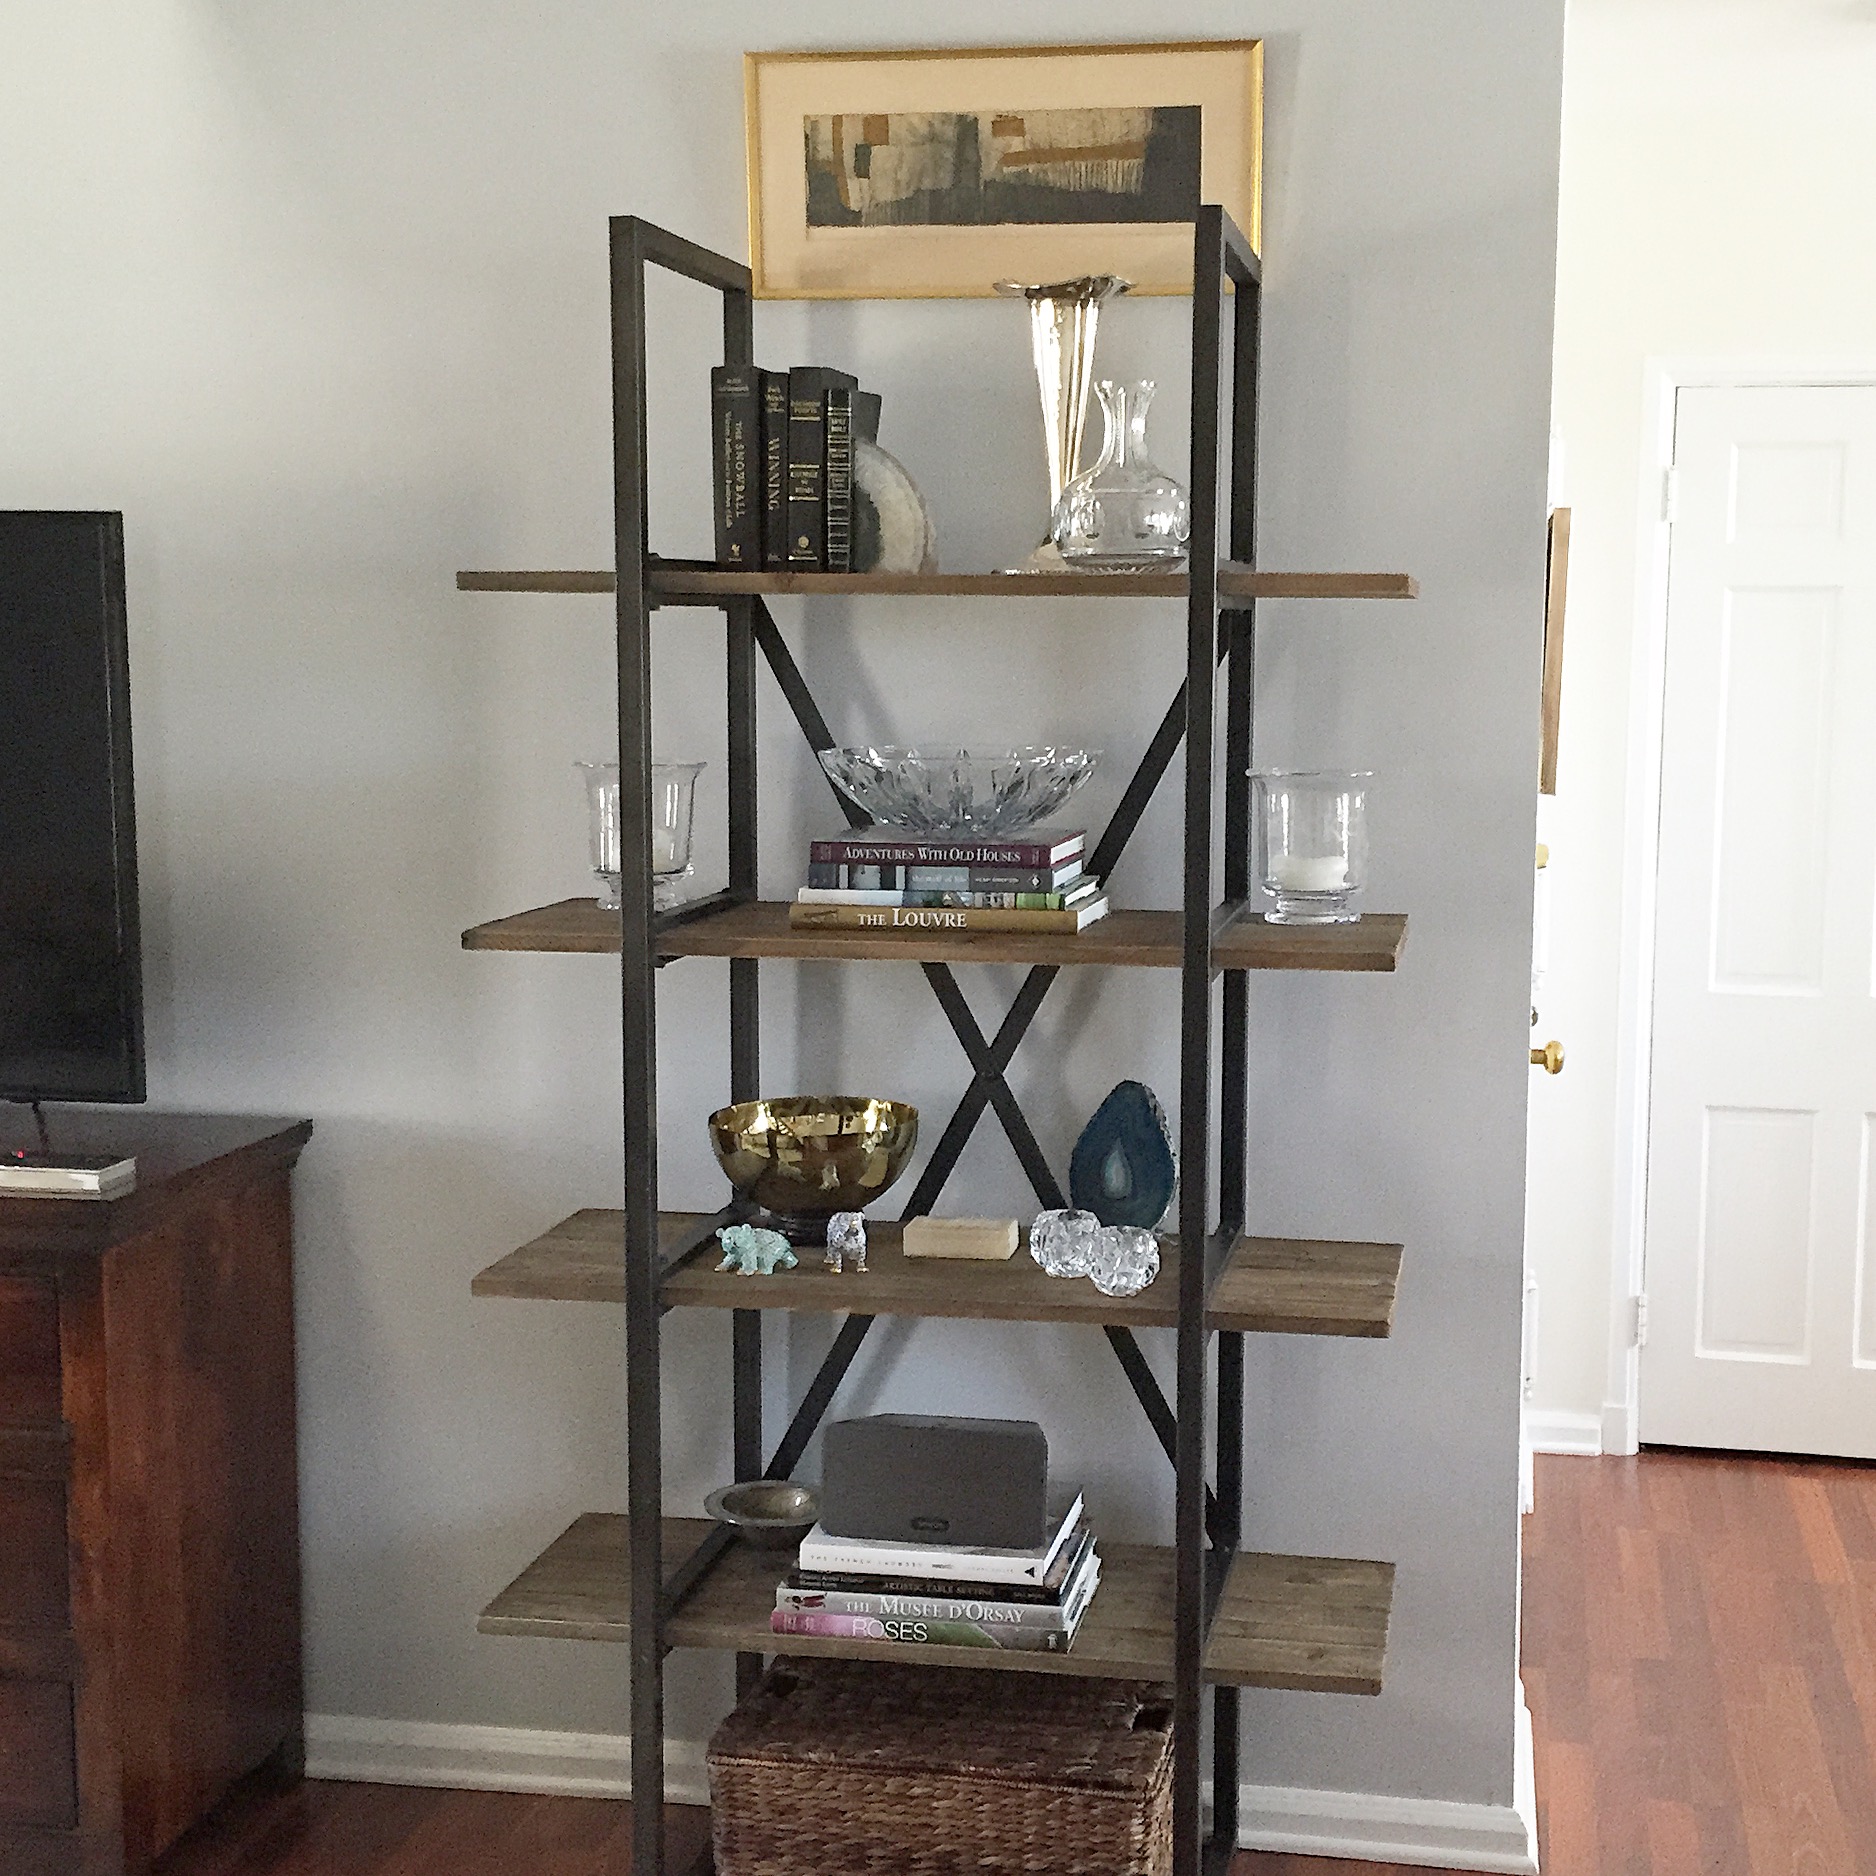
One of my latest projects has been designing the bookshelf in my living room.  This project sounds a bit silly and like it should be accomplished in under an hour, well that couldn't be further from the truth.  Bookshelf decorating is extremely time consuming and it takes a while to get the shelf looking balanced with just the right assortment of pieces.  If you are considering decorating your bookshelf you should know that it is a process and doesn't necessarily come together overnight (if your bookshelf does come together that quickly please email me and share your secret!).  While my bookshelf decor project may not be finished, there are some helpful tips I have picked up throughout this process.    

Books

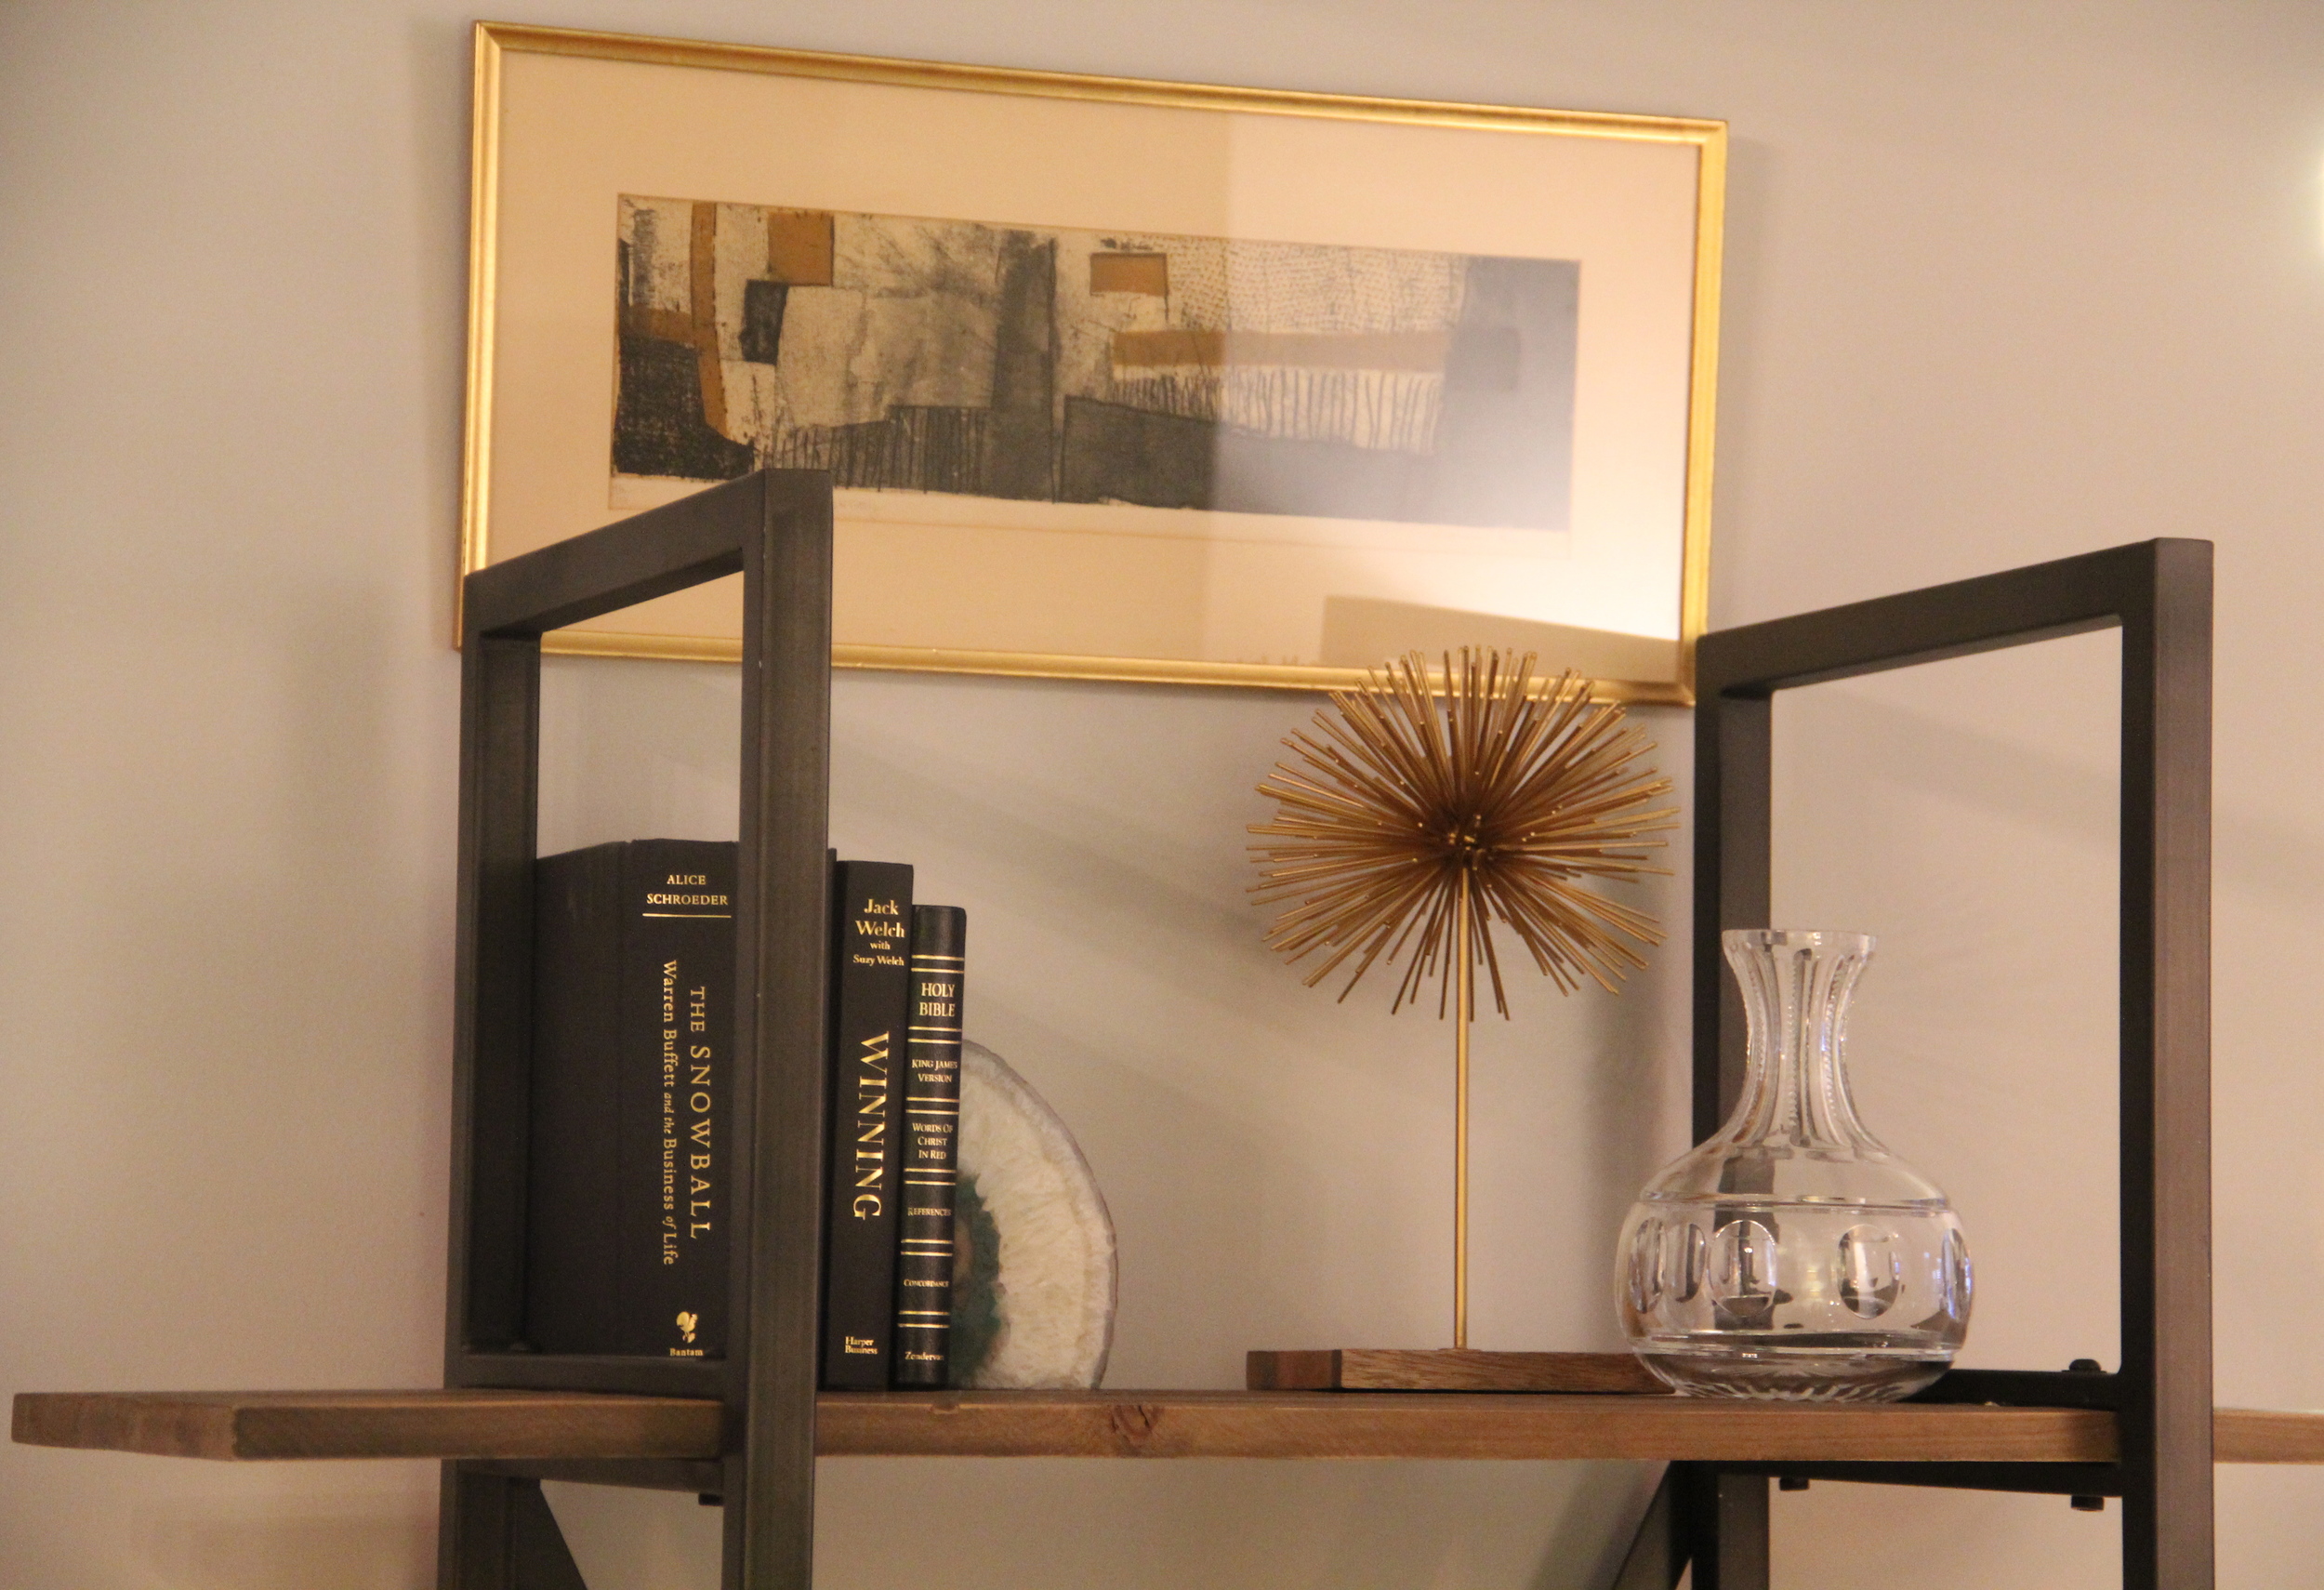
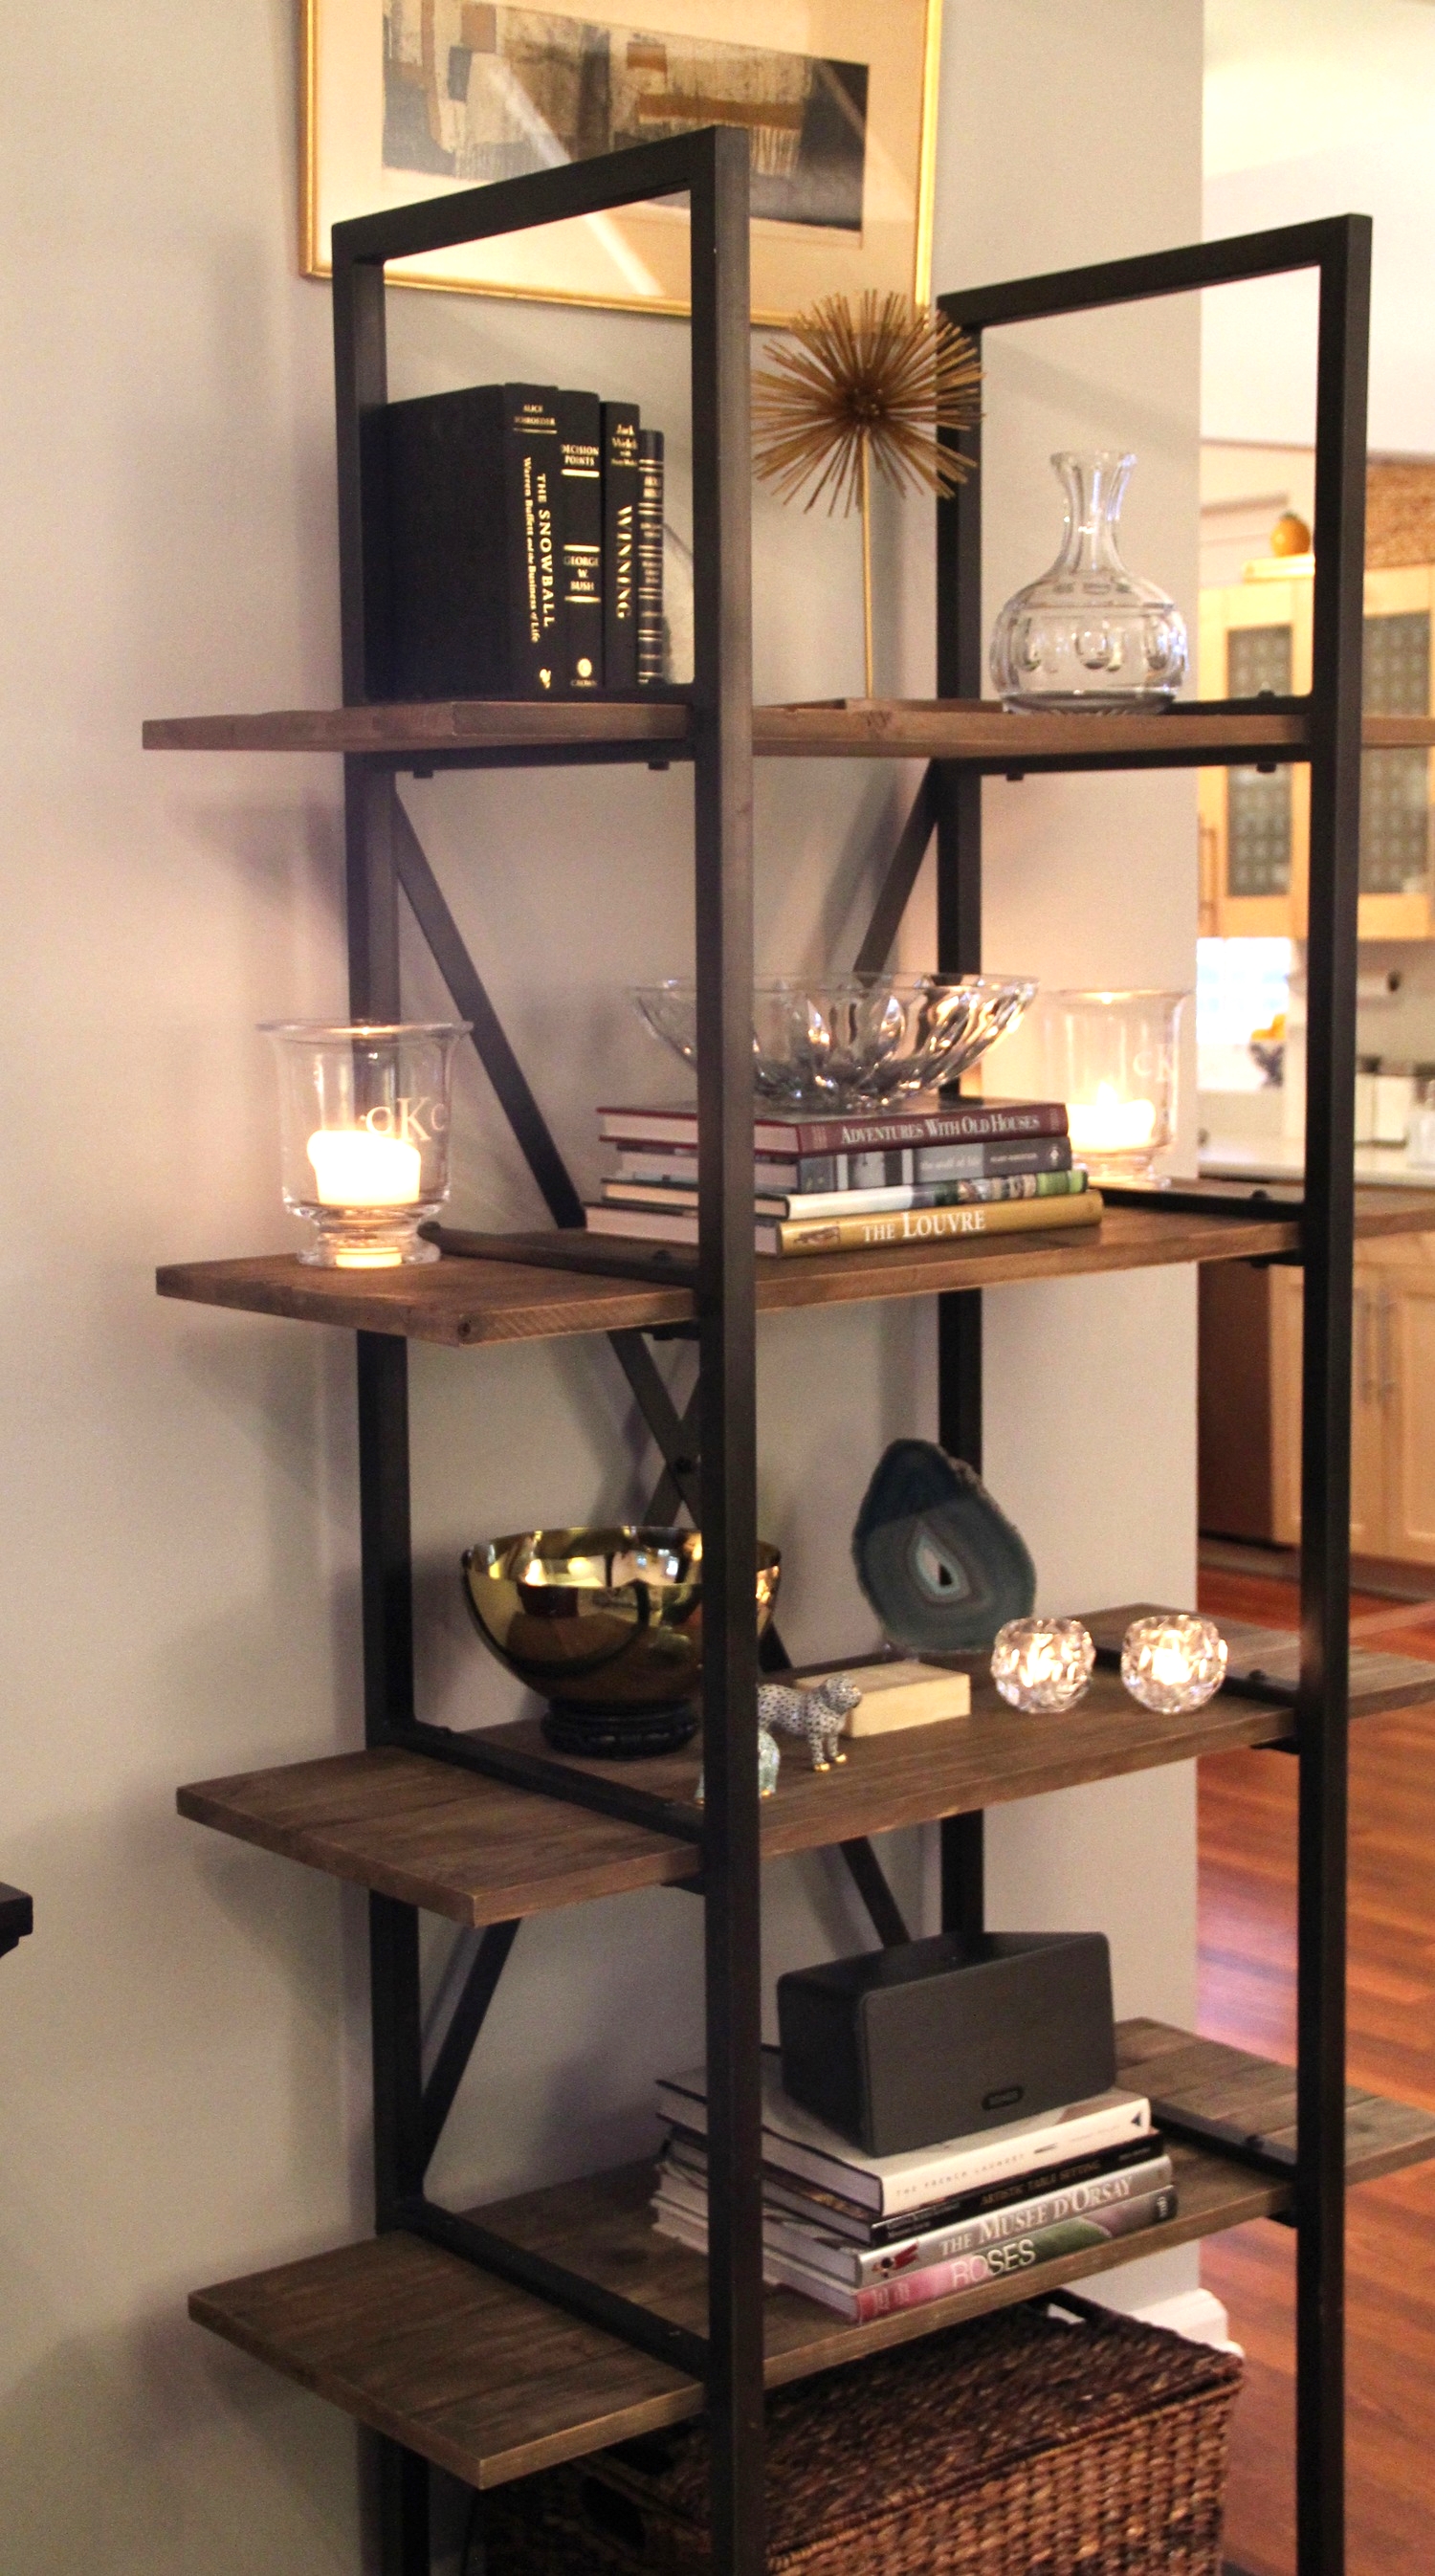
Books are a great way to break up a space.  I have two approaches when it comes to using books on a display shelf.  The first look is the monotone aesthetic.  On my top shelf I wanted to create a uniformed/formal look with books.  The easiest (and least expensive) way to achieve this was by going through the hard covered books in my house and collecting those that that had similar bindings under the book jackets.  The titles up close are comical because I have the Holy Bible paired with Jack Welch's book entitled "Winning."  Titles are not important in this case.  All books are black hard covers with gold embossed lettering, thus creating one harmonious look.   

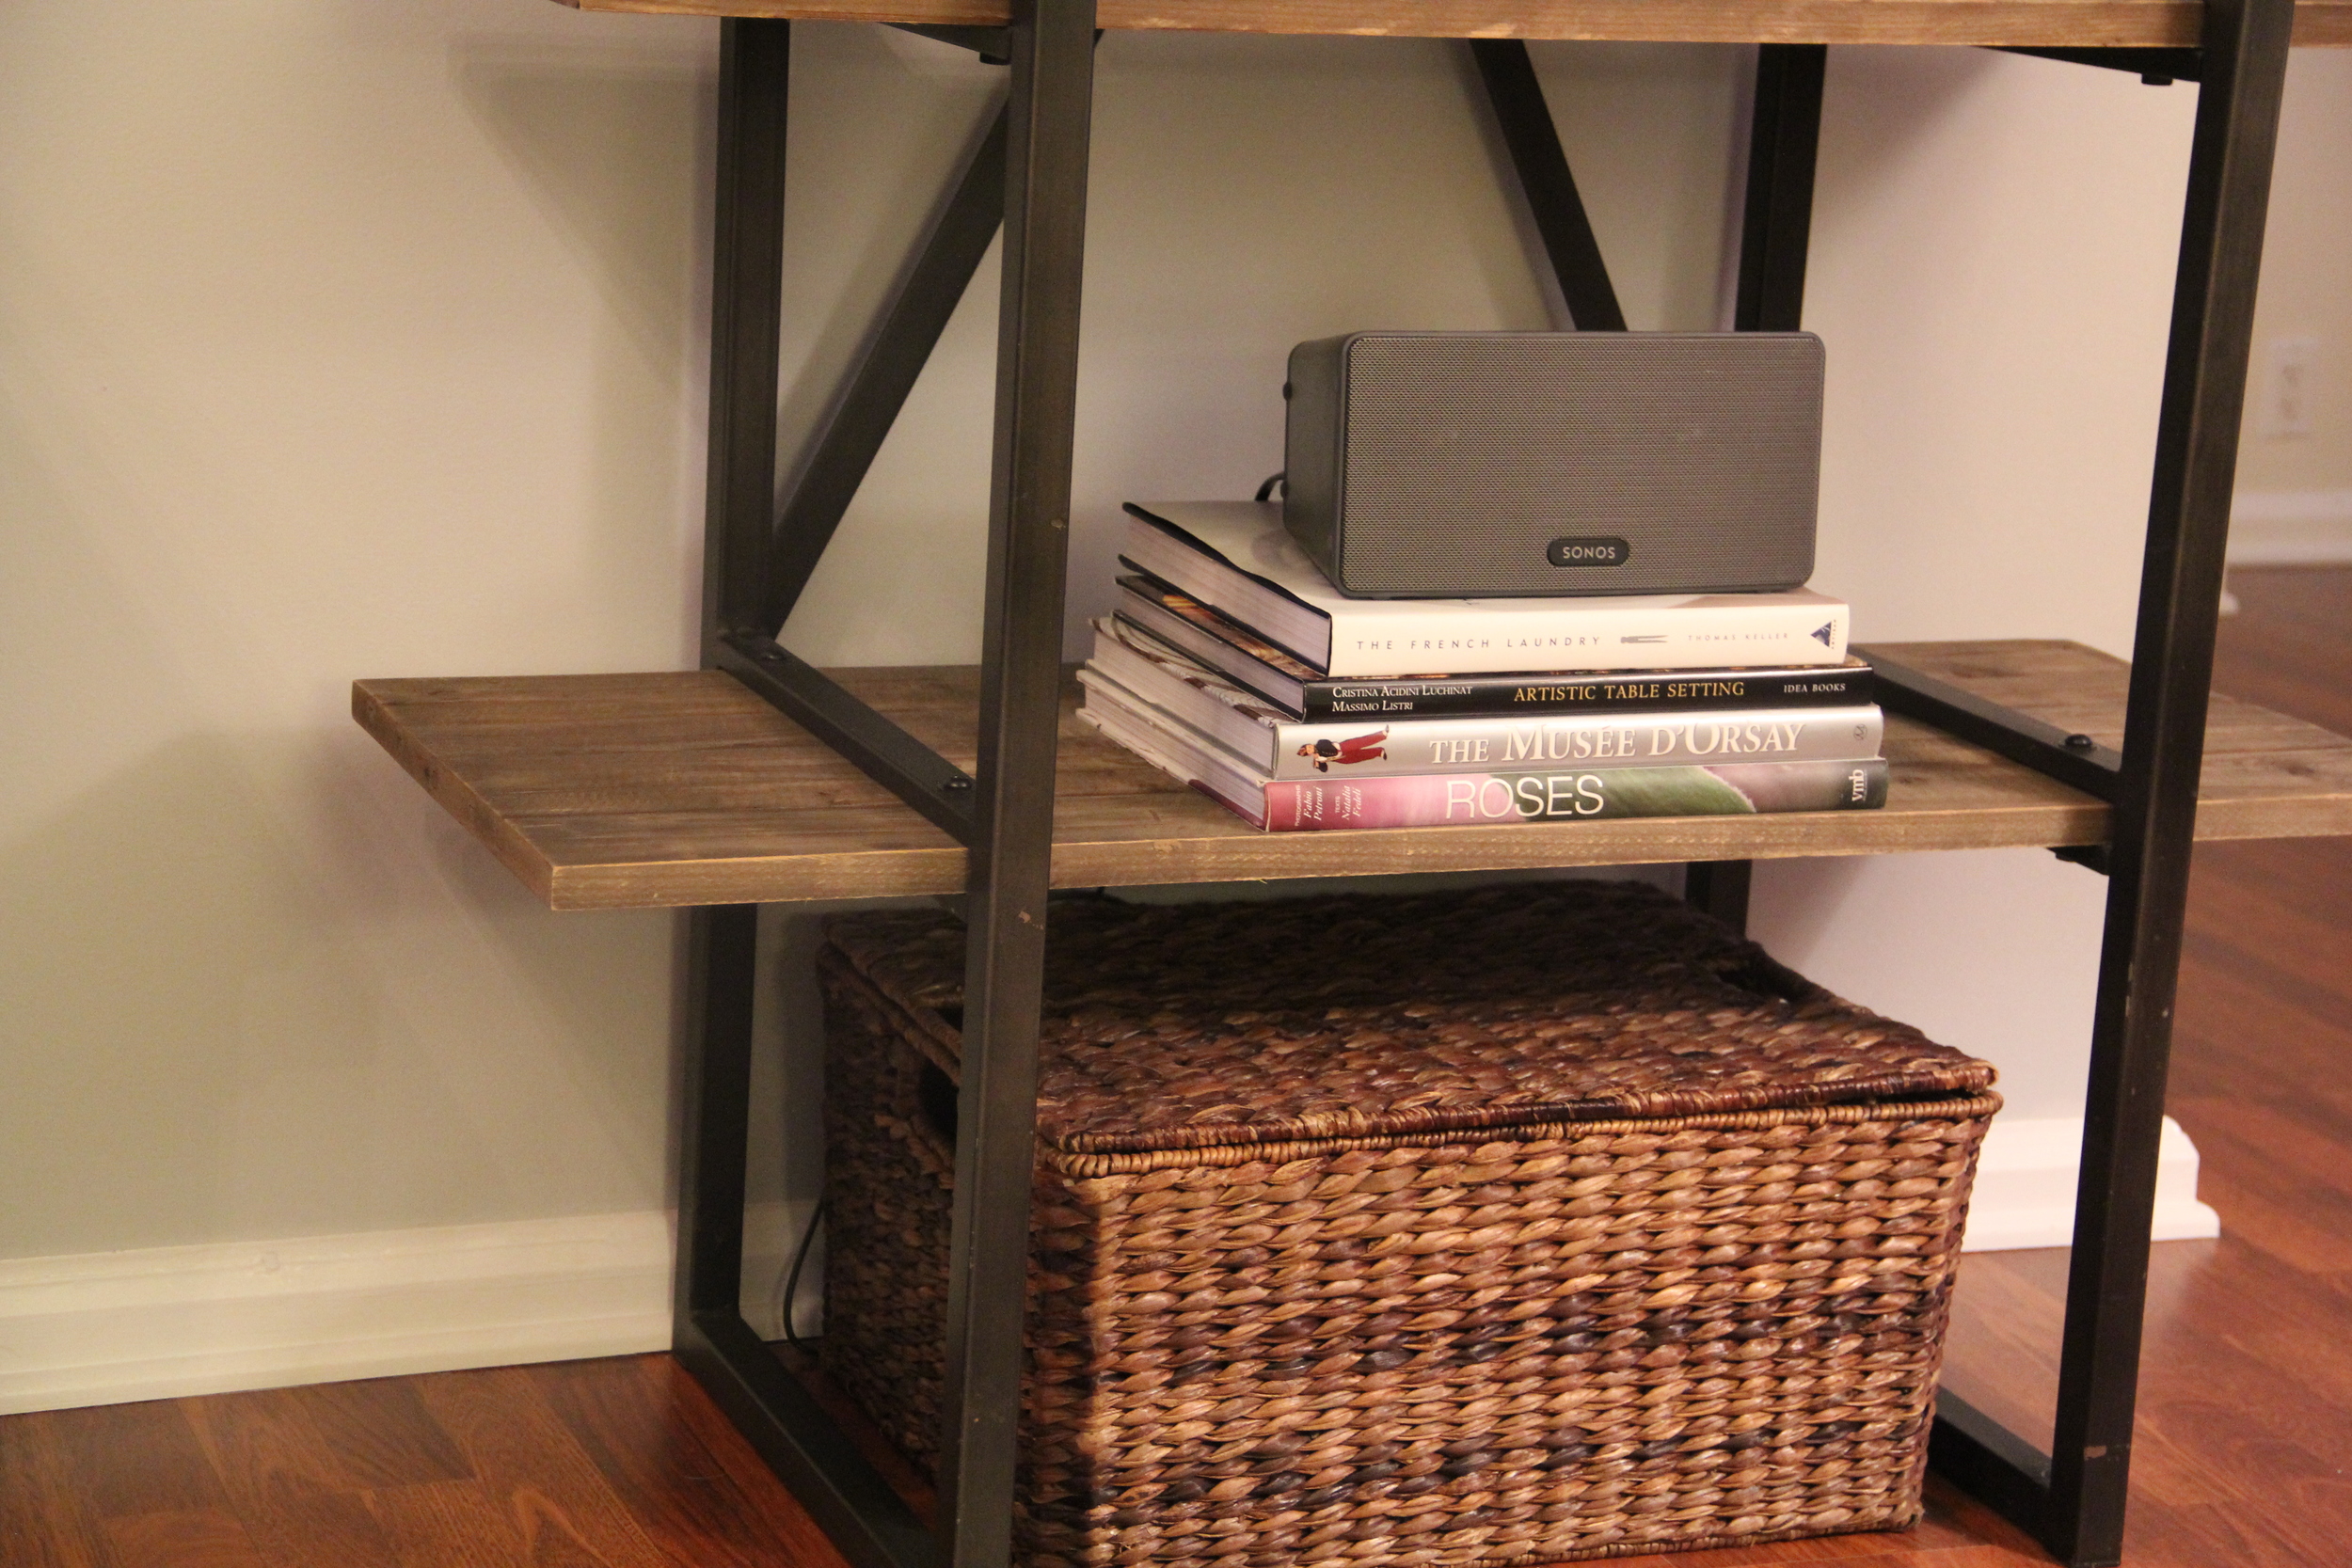
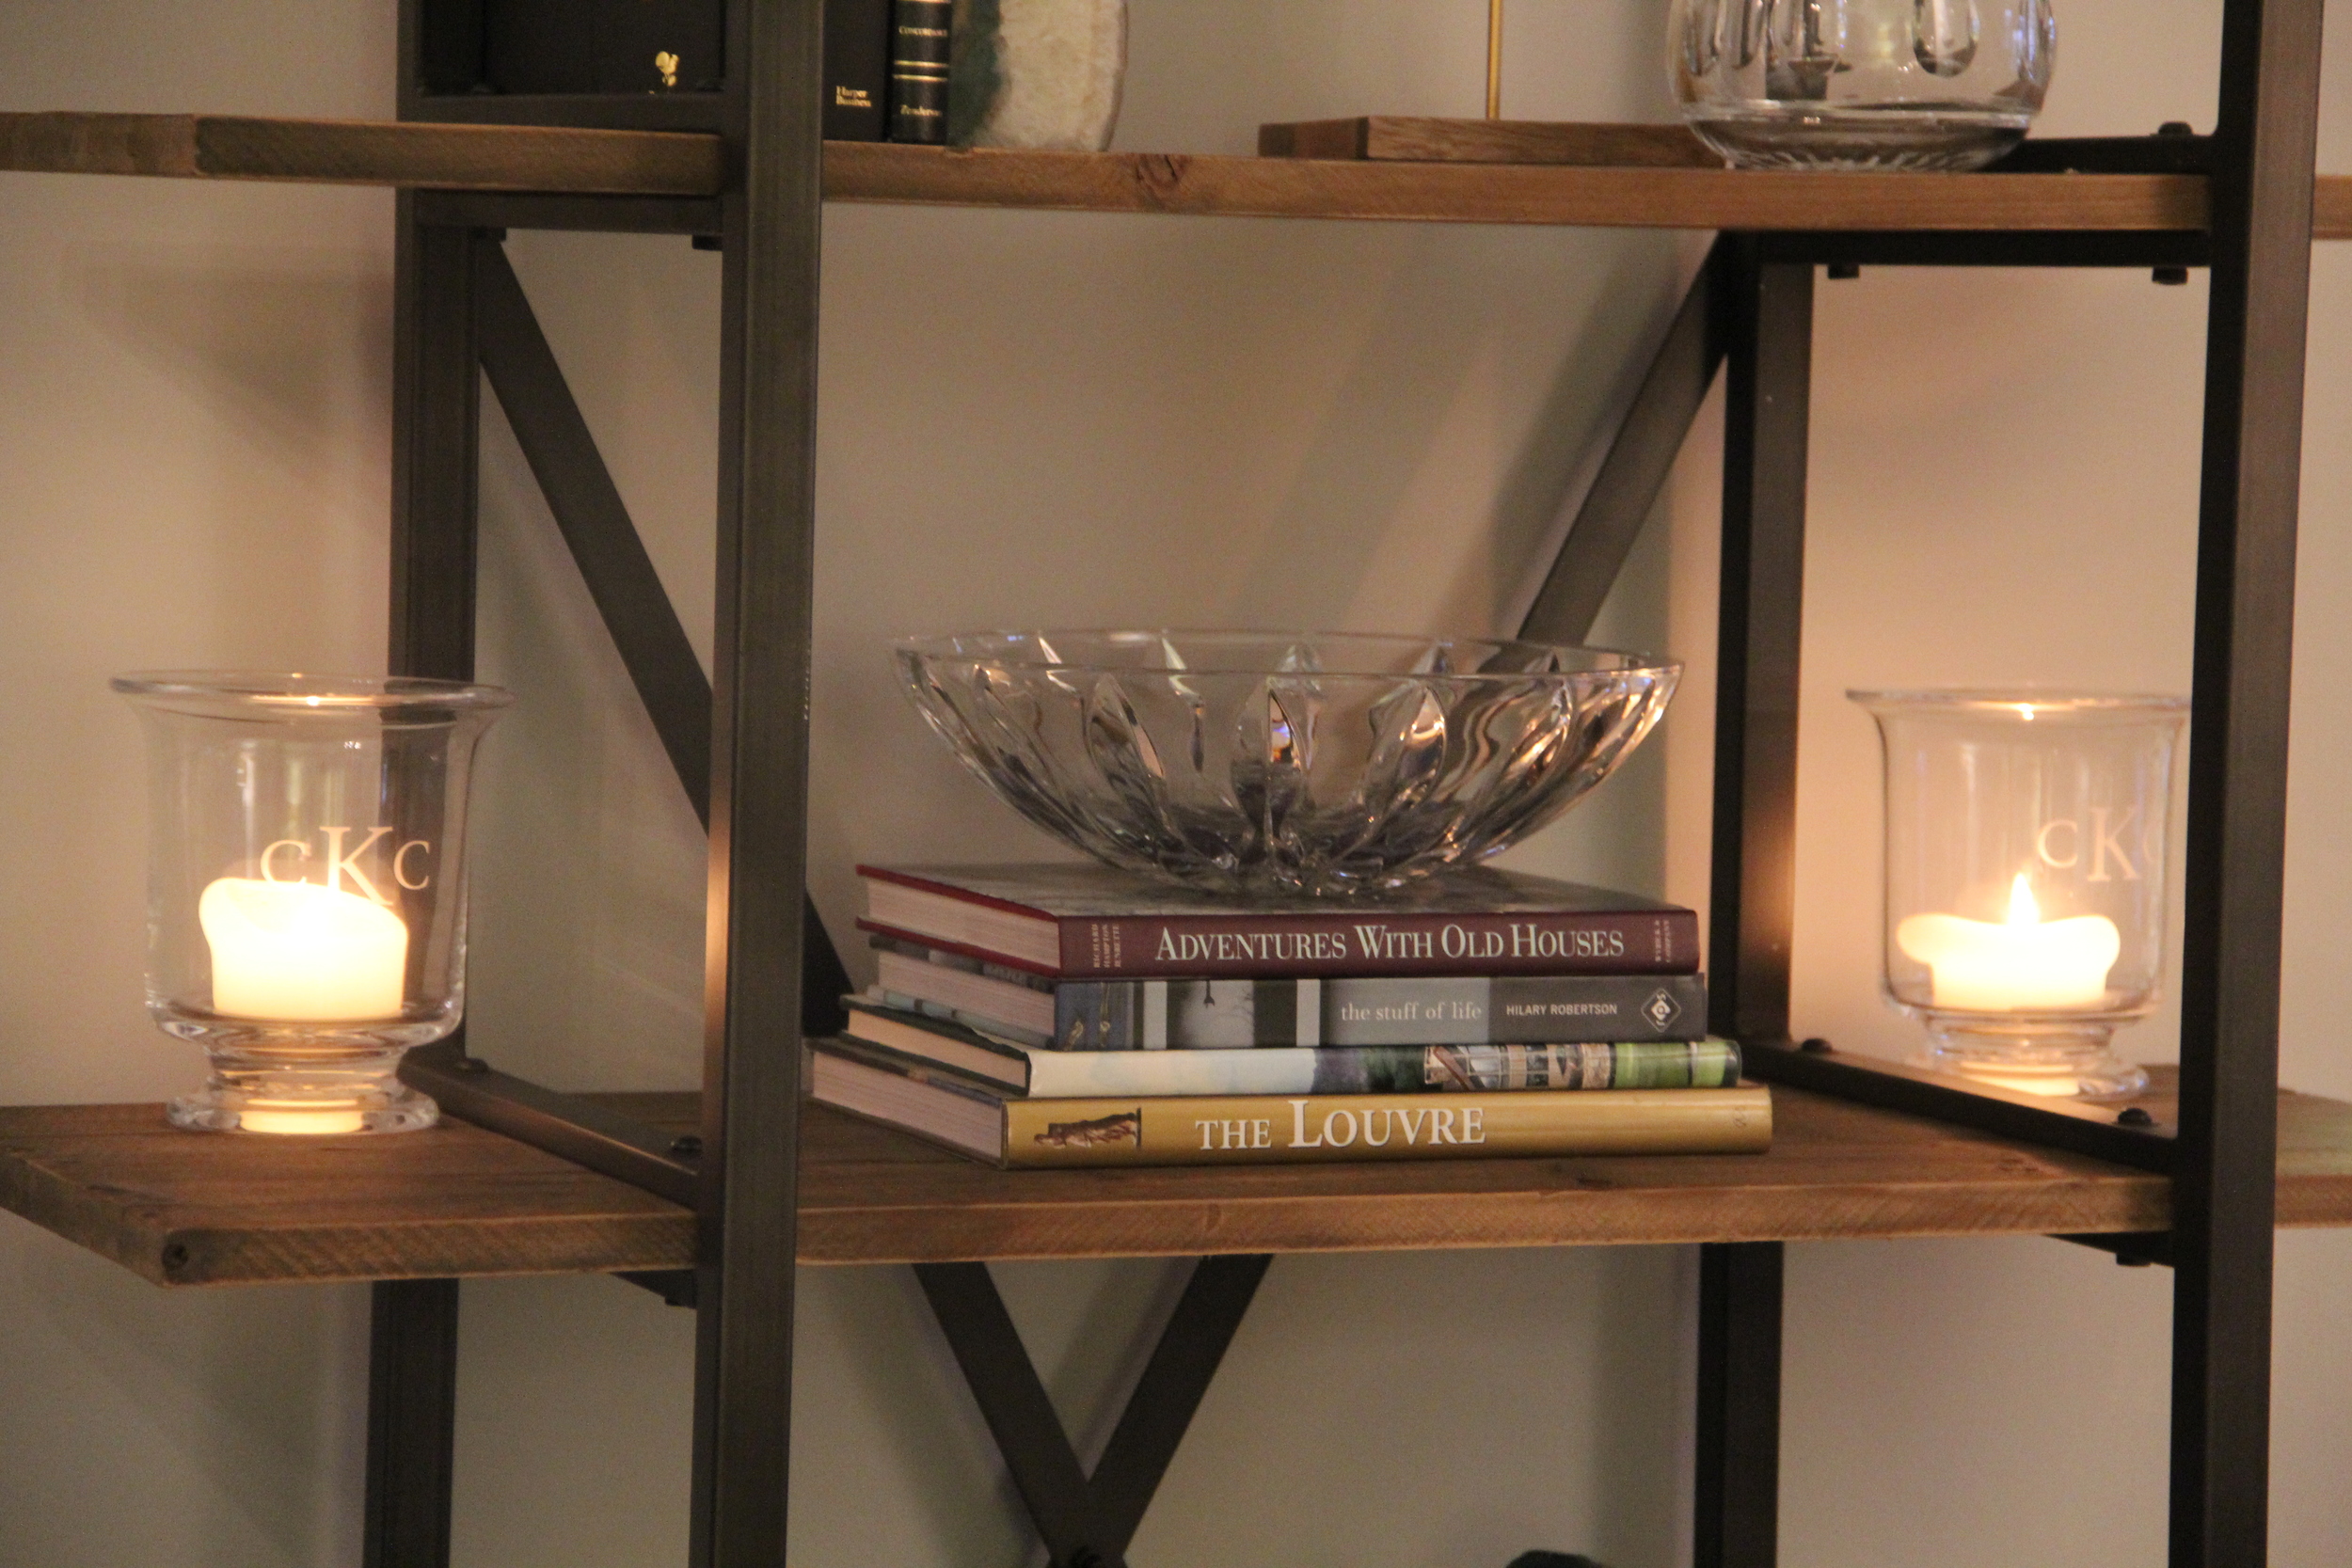
My second book approach is stacking coffee table books.  Again, titles are not important because it is really all about the aesthetic.  On my bottom shelf I have given my speaker a little height and design by placing it on top of a stack of coffee table books.  If you are looking at this image and thinking "sure coffee table books are great but boy are they expensive,"  you are right!  Coffee table books can be annoyingly expensive, but there is a way to find affordable coffee table books.  The bottom two books in this picture are finds from that front sale section at Barnes and Noble.  For those two books I paid about $28, because again, the content doesn't matter when it comes to your shelf and it's about the aesthetic.  

Mix It Up

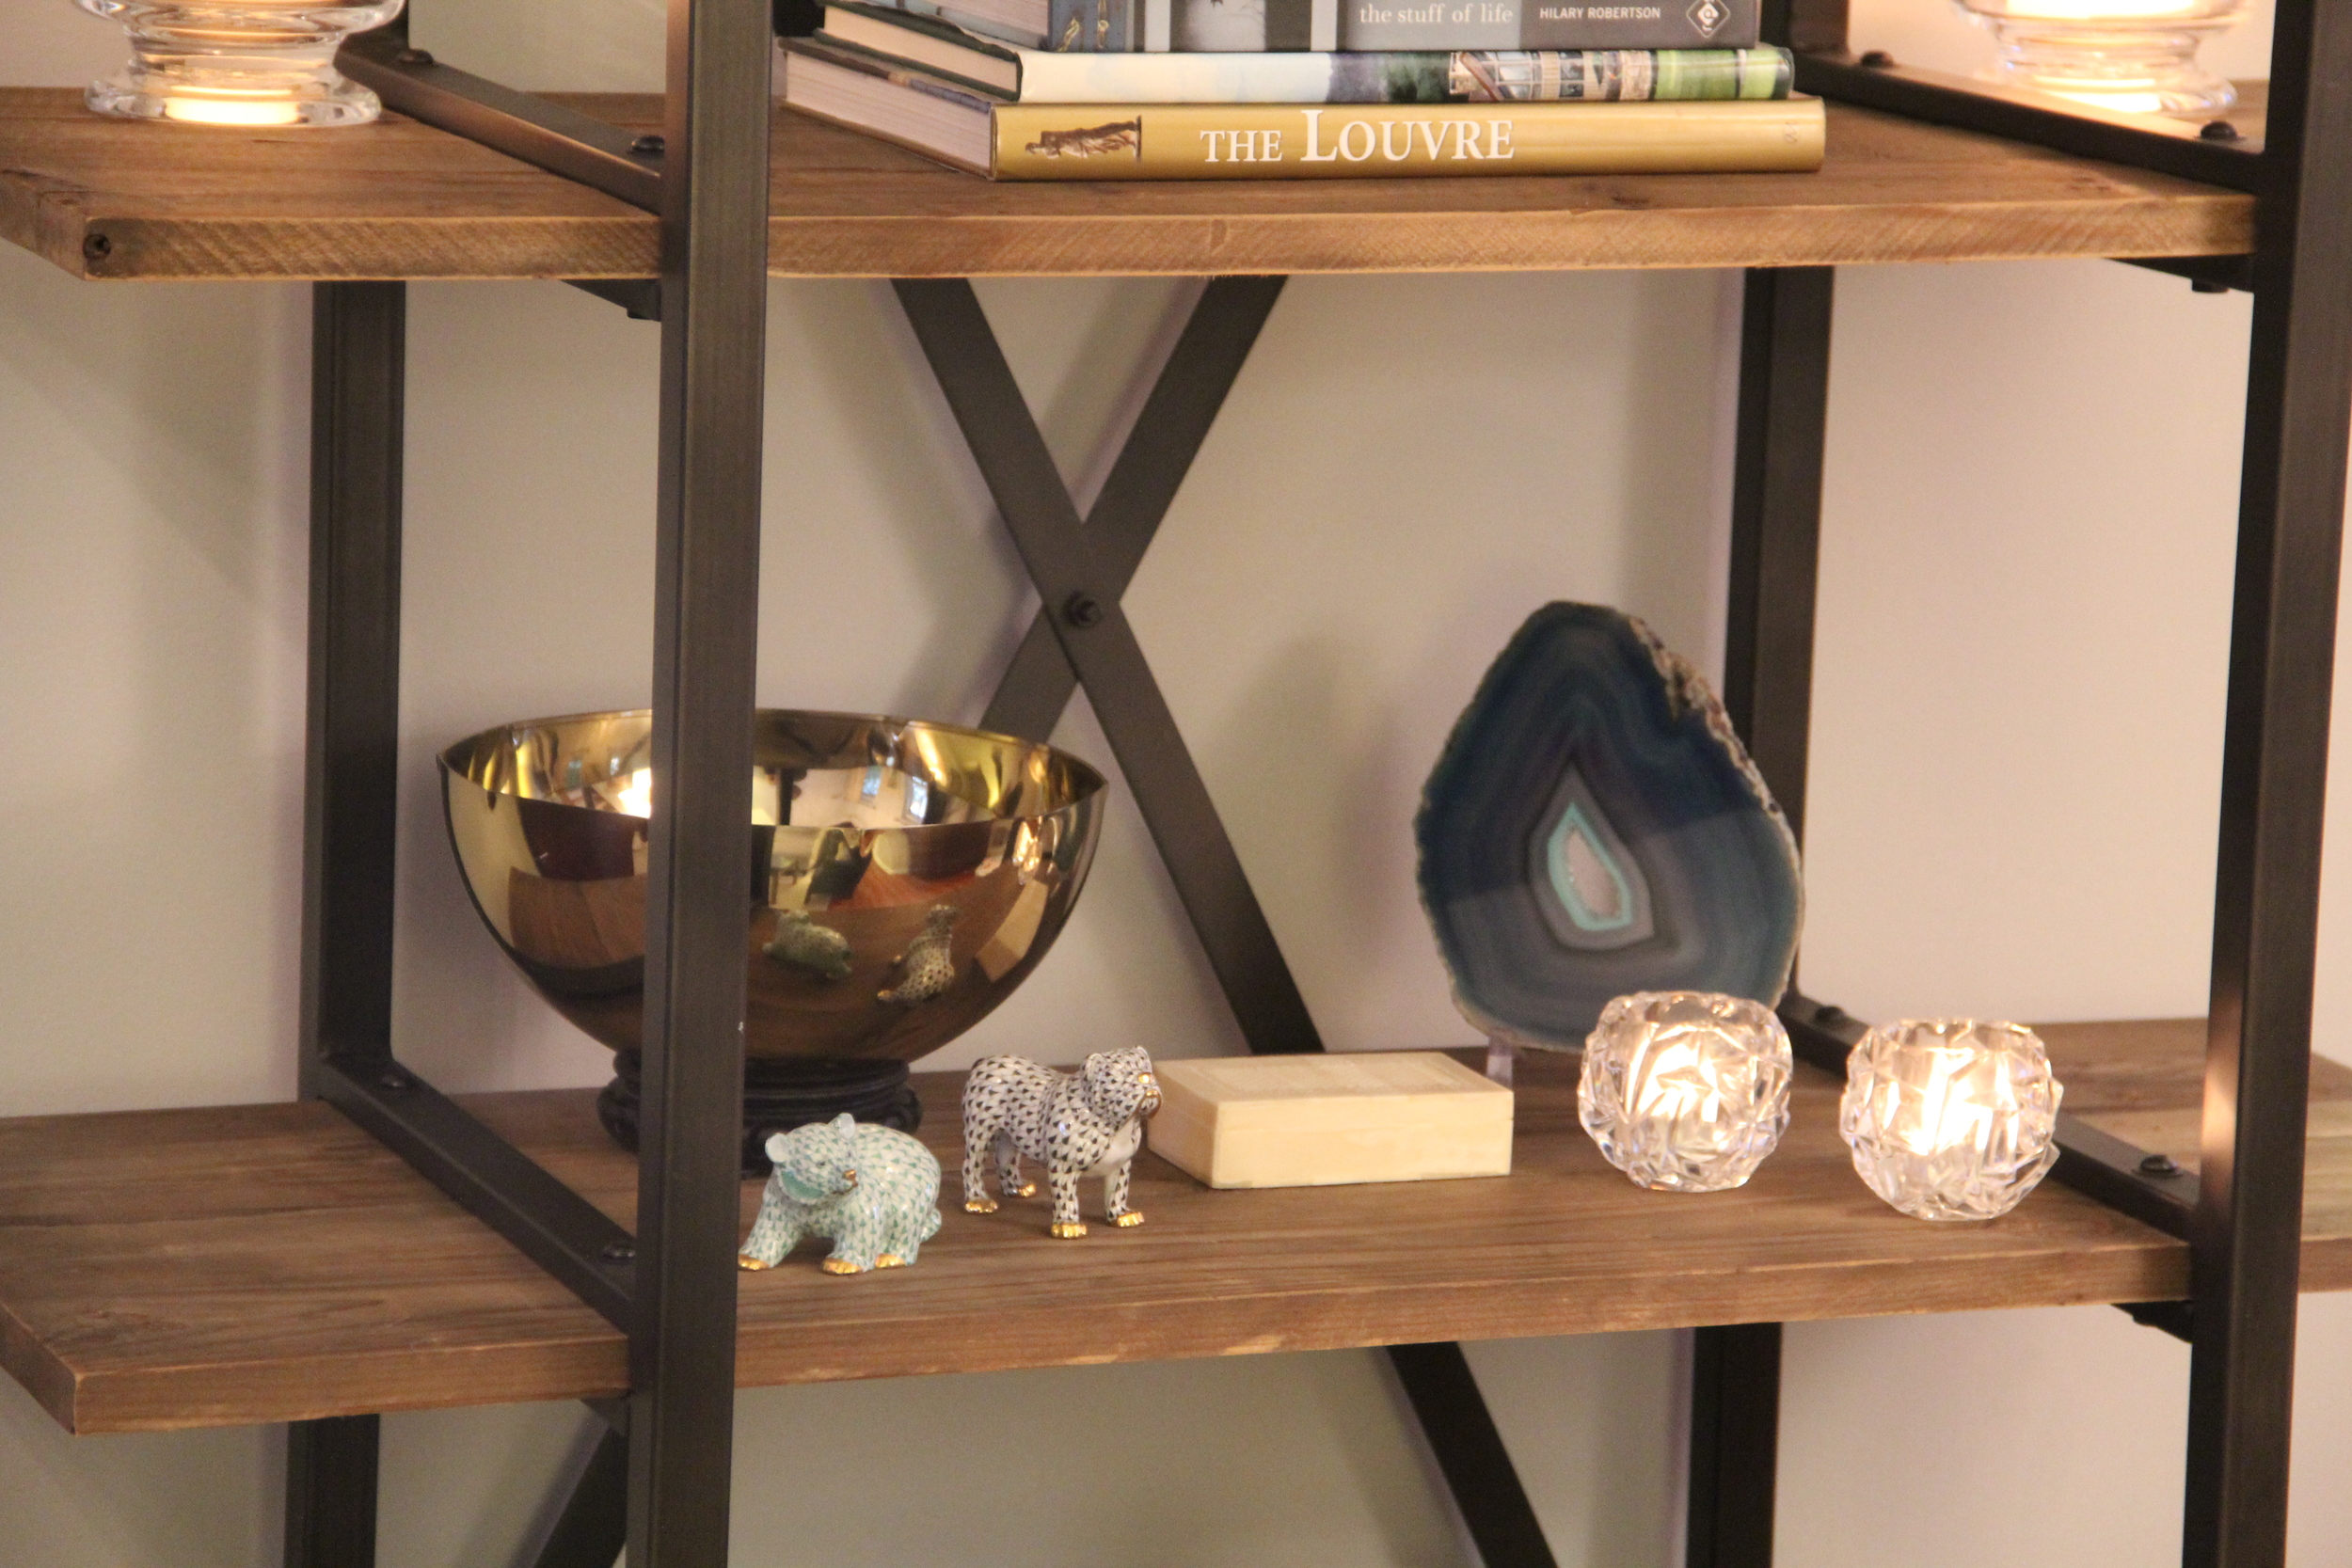
Every shelf of mine is a mix of fancy pieces and less expensive pieces.  There are no rules when it comes to creating a display shelf, so don't feel like you need to only display your nicest pieces.  You want to have a balance of textures and colors on your shelves to make it interesting.   Taking a look at my shelf with the largest quantity of knick knacks, I can tell you that there are nice Herend figurines paired with my CB2 Large Pinch Bowl and a piece of green agate that I found at Home Goods.  

Avoid the Inventory Look

 I have written quite a few posts on maximizing storage space (see here and here), and as a city dweller I can certainly appreciate the fact that storage space is precious.  With that said, I don't care how tempting it may be to want to use every inch of shelf space to hold your various tchotchkes, FIGHT THAT URGE!!  The last thing you want is to have a display shelf that looks more like an inventory of your various home goods.  Items on your display shelf should be artistically placed, hence why it is called a display shelf and not a storage shelf.  Sure there are creative ways to incorporate storage into your display shelf, like my basket with lid at the base of the shelf which I use to hold extra blankets, but you have to think strategically and aesthetically when doing so.  Your display shelf will hold some (but not all) of your home goods.    

Make it Functional

I have made my bookshelf functional by incorporating 2 ambiance essentials-- hurricanes and a wireless speaker.  When designing this shelf, I knew that it was going to have to house at least one of our speakers.  This fact didn't exactly thrill me because although I love having music in the living room, speakers are somewhat unsightly (my husband would not agree with this statement, but it's true).  In addition, my husband was adamant about the fact that the speaker could not have anything in front of it that could potentially obstruct the sound.  The solution was to place the speaker on the bottom shelf and have it resting on a stack of coffee table books so that it looked somewhat incorporated into the decor.   

Step Back 

Just like stringing lights on a Christmas tree, you need to take time during the decorating process to stand back and evaluate the look as a whole.  There could be gaps in the decor that you are not seeing because you are myopically focused on a particular area.  When it comes to a display shelf, its about creating a beautiful aesthetic on each shelf that also works harmoniously as a whole.  In short, you want your shelf to look balanced. 

While I am still in the process of designing my display shelf, I feel like these tips have really helped me to navigate the design process.  As I continue to make progress I will be sure to keep you updated on my Instagram page and with my various ideas on Pinterest.  Until the next "shelfie" update, I hope this has provided you with some inspiration/guidance on how to approach your own display shelf. 


DIY Gift Tags

This upcoming holiday weekend has me not only preparing to host, but also to be a guest!  As I have mentioned in my post on Housewarming Gift Ideas for Spring, wine is an easy go-to gift idea.  It can also be a unique and thoughtful gift not only because of the wine label you select, but also the way you choose to present the bottle (ie. gift wrapping).  

When it comes to wrapping/adorning a bottle of wine or champagne for your hostess, wine gift bags are out and wine gift tags are in!  Why?  Wine bags can be cumbersome and I find the gift bag requires a lot of unnecessary paper.  Gift tags can be tied with a cute ribbon, include a nice note and it is honestly more than enough wrapping.  A few wine gift tags that I have been loving recently include this boxed set from Kate Spade and these gold pressed tags from Calliespondence (the name is a total coincidence).

In addition to using pre-made gift tags, I often opt to make my own gift tags (*great for wine bottles and other housewarming gifts).  This is not only a more economical option, but it also adds a special personalization to your gift.  My DIY gift tags do not take long to make and the supplies required for this craft can be used for more than just gift tag making.  Here is what you will need:

  • Package of Placecards
  • Stamp- I am using this pineapple stamp because it is the symbol of hospitality, but there are plenty of great stamp options that would work beautifully on these tags like this one.
  • Ink Pad - I used this gold ink pad for my tags
  • Coordinating Pen- since I used gold ink for my stamp, I opted for this gold pen to write the enclosure.
  • Ribbon- As I have mentioned in previous posts, I am a fan of either reusing ribbon I have saved from previous gifts or this ribbon from World Market
  • Hole Punch- I only have a three-hole punch and it works just as well as the single hole punch for this project.  

Whether you choose to buy tags or make your own, they are a great and versatile way to mix up/update your gift wrapping. 

Creating a Functional and Organized Laundry Space

I have always  dreamed of a "Martha Stewart-Inspired" laundry room with ample countertop space for folding towels and a wall of shelves for storing all of my cleaning supplies.  Unfortunately, that just isn't my reality.  Living in the city you are lucky if you have a washer/dryer in your apartment.  Most urban dwellers have a laundry "closet" (i.e. doors to hide their washer/dryer), which believe it or not is still a pretty nice luxury.  Even in such tight quarters you can make the most of your space and store all of your laundry essentials.  Below is a breakdown of how I have made the most out of both my previous and current laundry closets.  Hopefully this will inspire you to see your space with new found potential or maybe even try a new laundry product.  

Items in my Laundry Supply Basket

  • Iron- I rarely go to the dry cleaners.  Reason being?  Ironing is not hard, doesn't take a long time and saves a ton of money when you do it yourself. This video from Martha Stewart is really helpful for understanding Dress Shirt Ironing 101.
  • Spray Starch, Sizing and Spray Bottle filled with Water- To accommodate different fabrics and preferences (I like a crisp shirt but my husband likes a soft shirt).
  • Tide-to-Go Pen-for small stains this pen has been a lifesaver!  If you don't have one, run to the store right now!  I cannot tell you how many times I have been able to save an article of clothing thanks to this pen.  
  • Spray Oxiclean- for large and/or tough stains, I pre-treat stains with a spray or two of oxiclean before laundering
  • Corn Starch - If you have a grease stain, apply corn starch immediately to the affected area.  I hosted a Super Bowl party and someone accidentally spilled taco meat on my linen dining room chair.  I cleaned the chair with a damp rag and detergent, then applied a generous layer of cornstarch to the affected area.  After a few days of letting the corn starch sit and work its magic, I vacuumed it off the chair and the stain was gone!
  • Real Simple Delicates Wash Bag - it's so devastating to open the wash and find a strap or delicate item that has fallen victim to the agitator.  This bag prevents those casualties.  
  • Woolite - for handwashing delicates, sweaters, non-machine washable items.
  • Sewing Kit- so great to have on hand when you loose a button or have a minor tear in your clothing. 
  • Individual sized packets of detergent (for travel)- Stored in my laundry supplies bin, but taken on trips.  These individual sized detergent packets have surprised me with the number of times they have come in handy.  
  • Washing Machine Cleaner- works in both top and front load washing machines.  Helps to reduce odor causing residues that build up in your washing machine over time. 

Other Laundry Closet Staples

  • Ironing Board- nothing fancy, just something to get the job done.  
  • Real Simple Drying Rack - compact storage, yet expands to accommodate many items at once.  This drying rack is an essential when laundering delicates. 
  • Martha Stewart Stain Removal Chartso helpful to have on hand.  Many articles of clothing in my house have been spared thanks to this chart. 
  • World Market's Laundry Symbol Chart all of the symbols on your clothing care tags are explained on this chart.  Best part?  It's magnetic so you can sick it right on your washer/dryer for easy reference.  
  • Liquid or Powdered Detergent- everyone has their own preference when it comes to detergent. I'm a dye & fragrance free-liquid detergent girl myself.
  • Extra Large Canister of Powdered Oxiclean - I am a huge fan of Oxiclean.  I add a scoop of Oxiclean to almost every load of laundry because it gets stains out, brightens whites and preserves colors.  More to come in future posts on additional reasons for how/why I love Oxiclean.  
  • Bleach - Although not visible, there is a bottle of bleach tucked on top of the Washer/Dryer behind the Oxiclean. Reason? Bleach is very potent and I try to only use it sparingly.

Bathroom Decor and Storage Solutions

As I have mentioned in my post on 5 Tips for Maximizing Space in your Kitchen,  my husband and I purchased our first home about a year ago.  While it is certainly more spacious than anything we have had in the past, it has its quirks and limitations for sure.  In addition to the kitchen storage being tight, I had initially experienced a similar situation in the bathroom.  

Our previous rental had this wonderful little linen closet.  I kept all of our bed linens, towels and dog grooming essentials in this closet.  It was extremely useful to have this additional storage space upstairs in between our bedroom and bathroom.  When we moved, I noticed that our bathroom configuration was such that the former bathroom linen closet had been converted into the laundry closet by the previous owner.  Having the laundry in my bathroom is convenient, but the drawback has been - where do I store the extra towels and supplies that I used to keep in that little linen closet we had at our previous rental?  

The Solution(s)

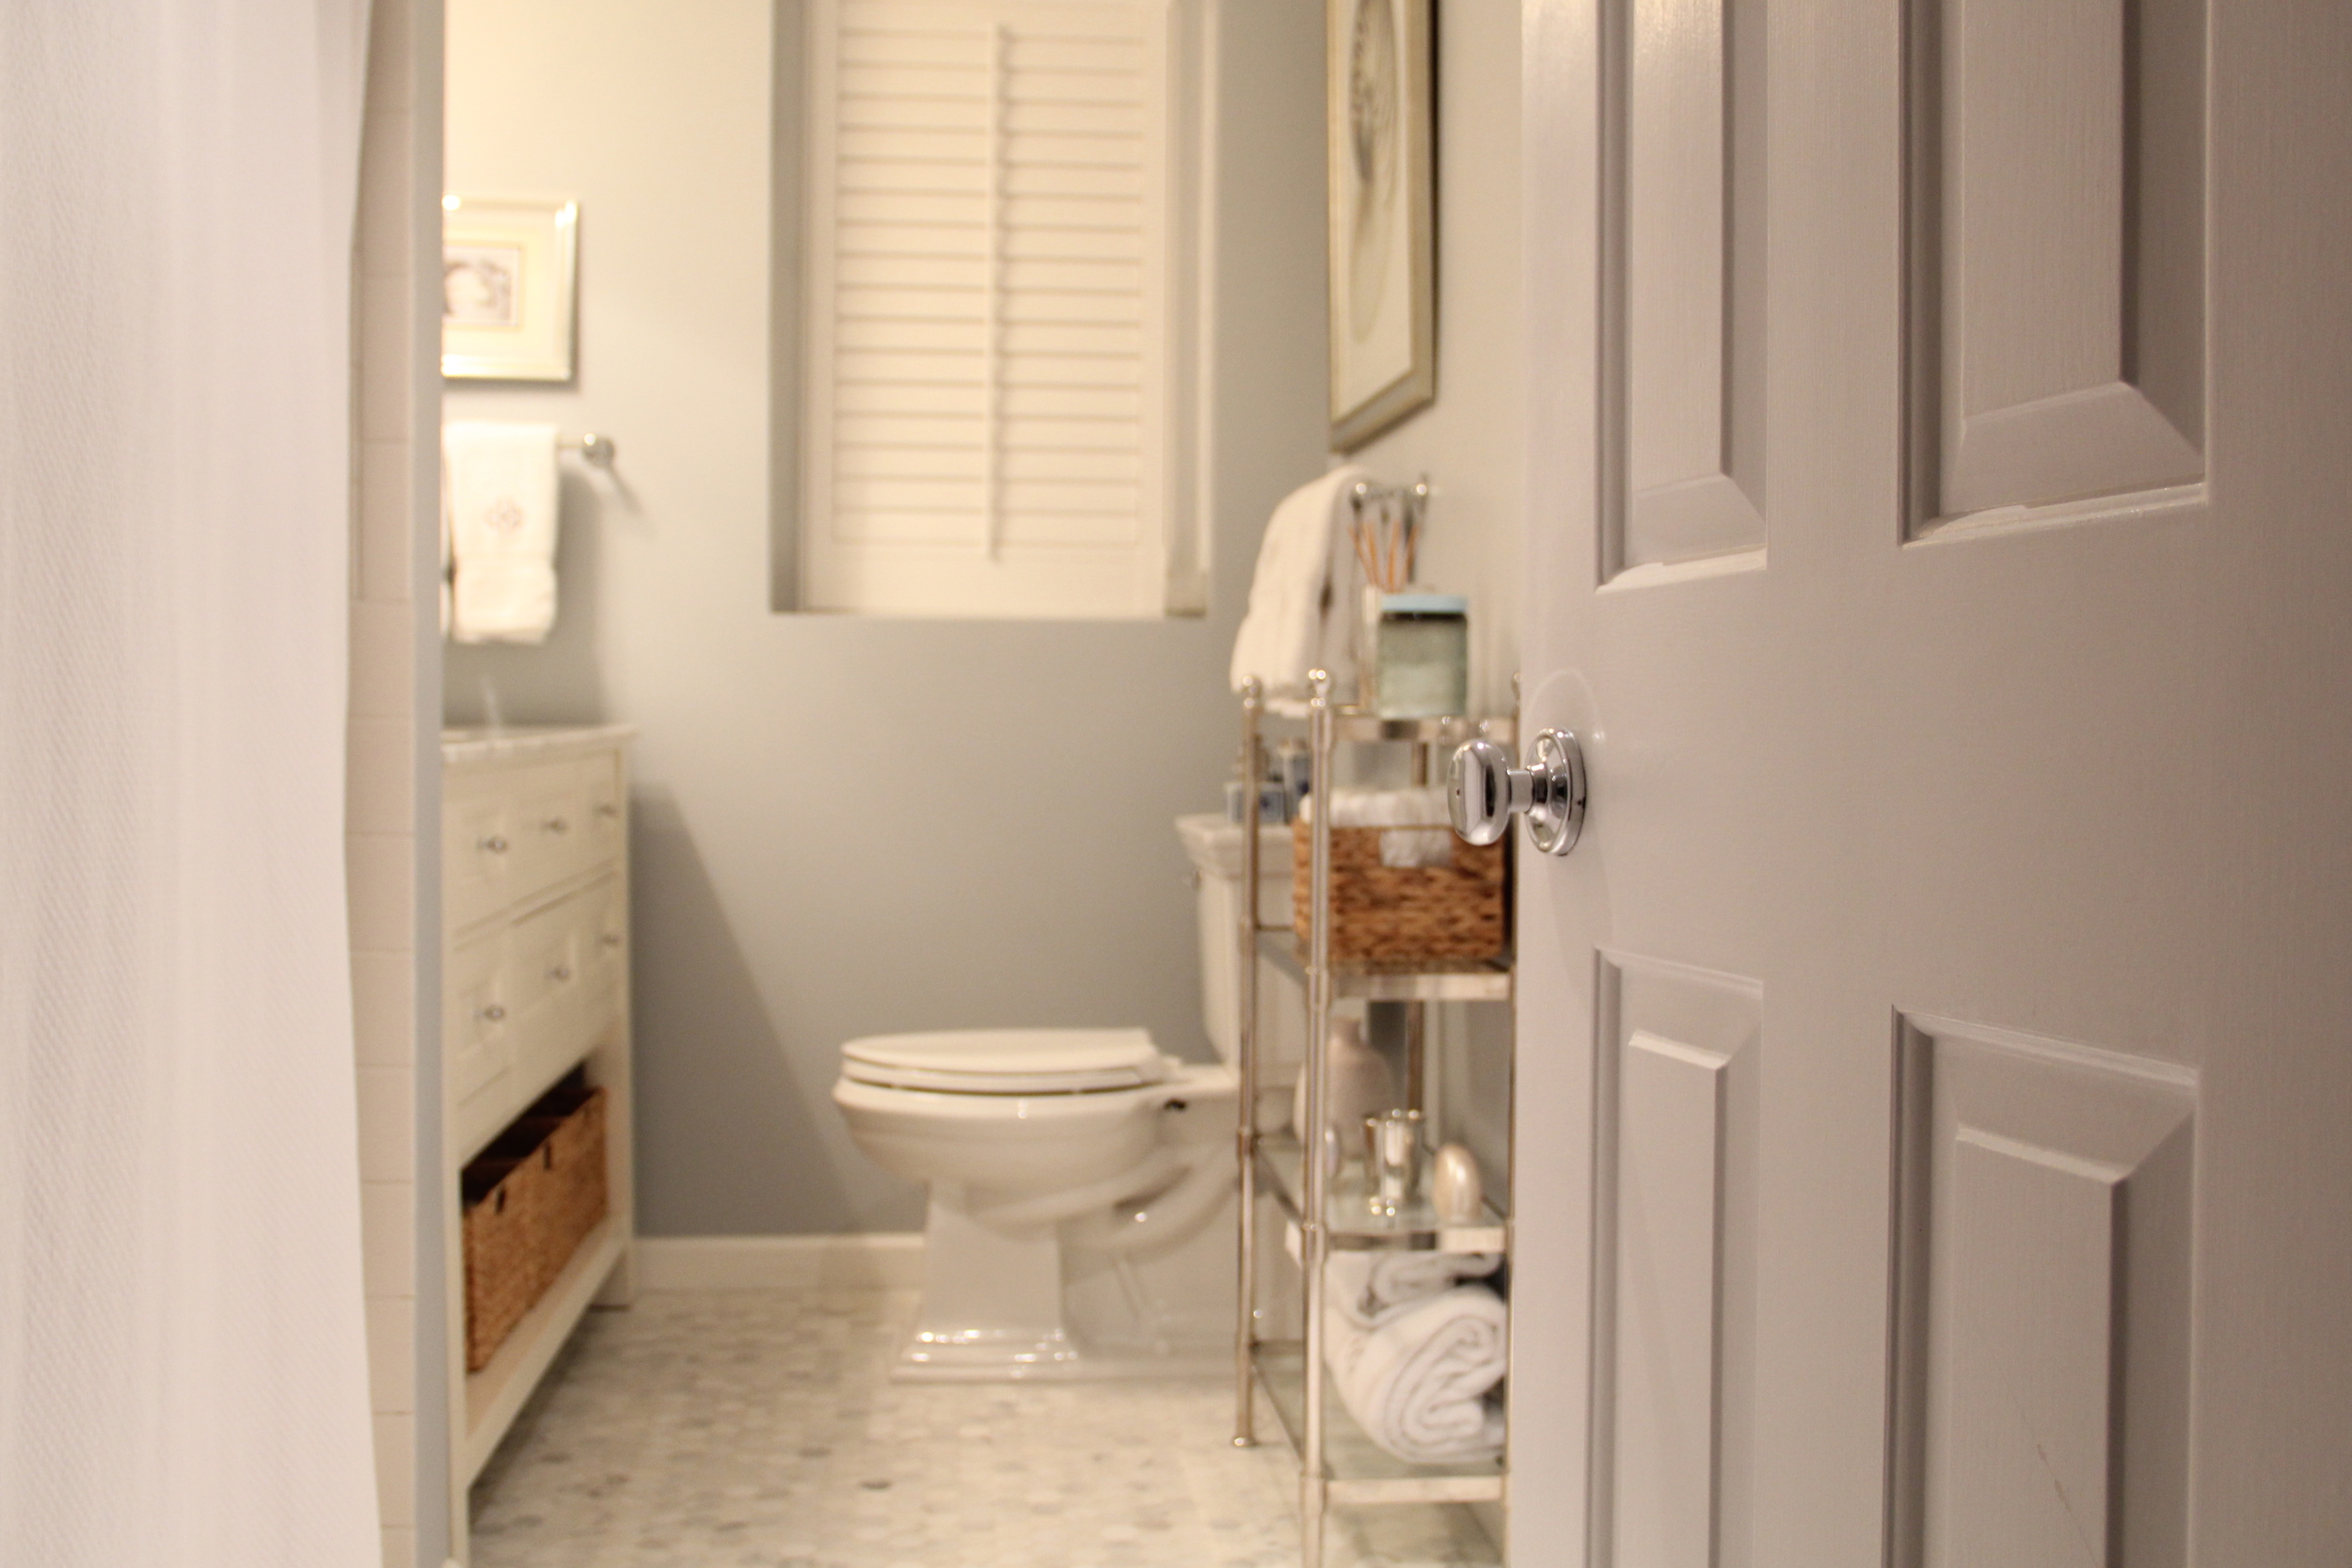
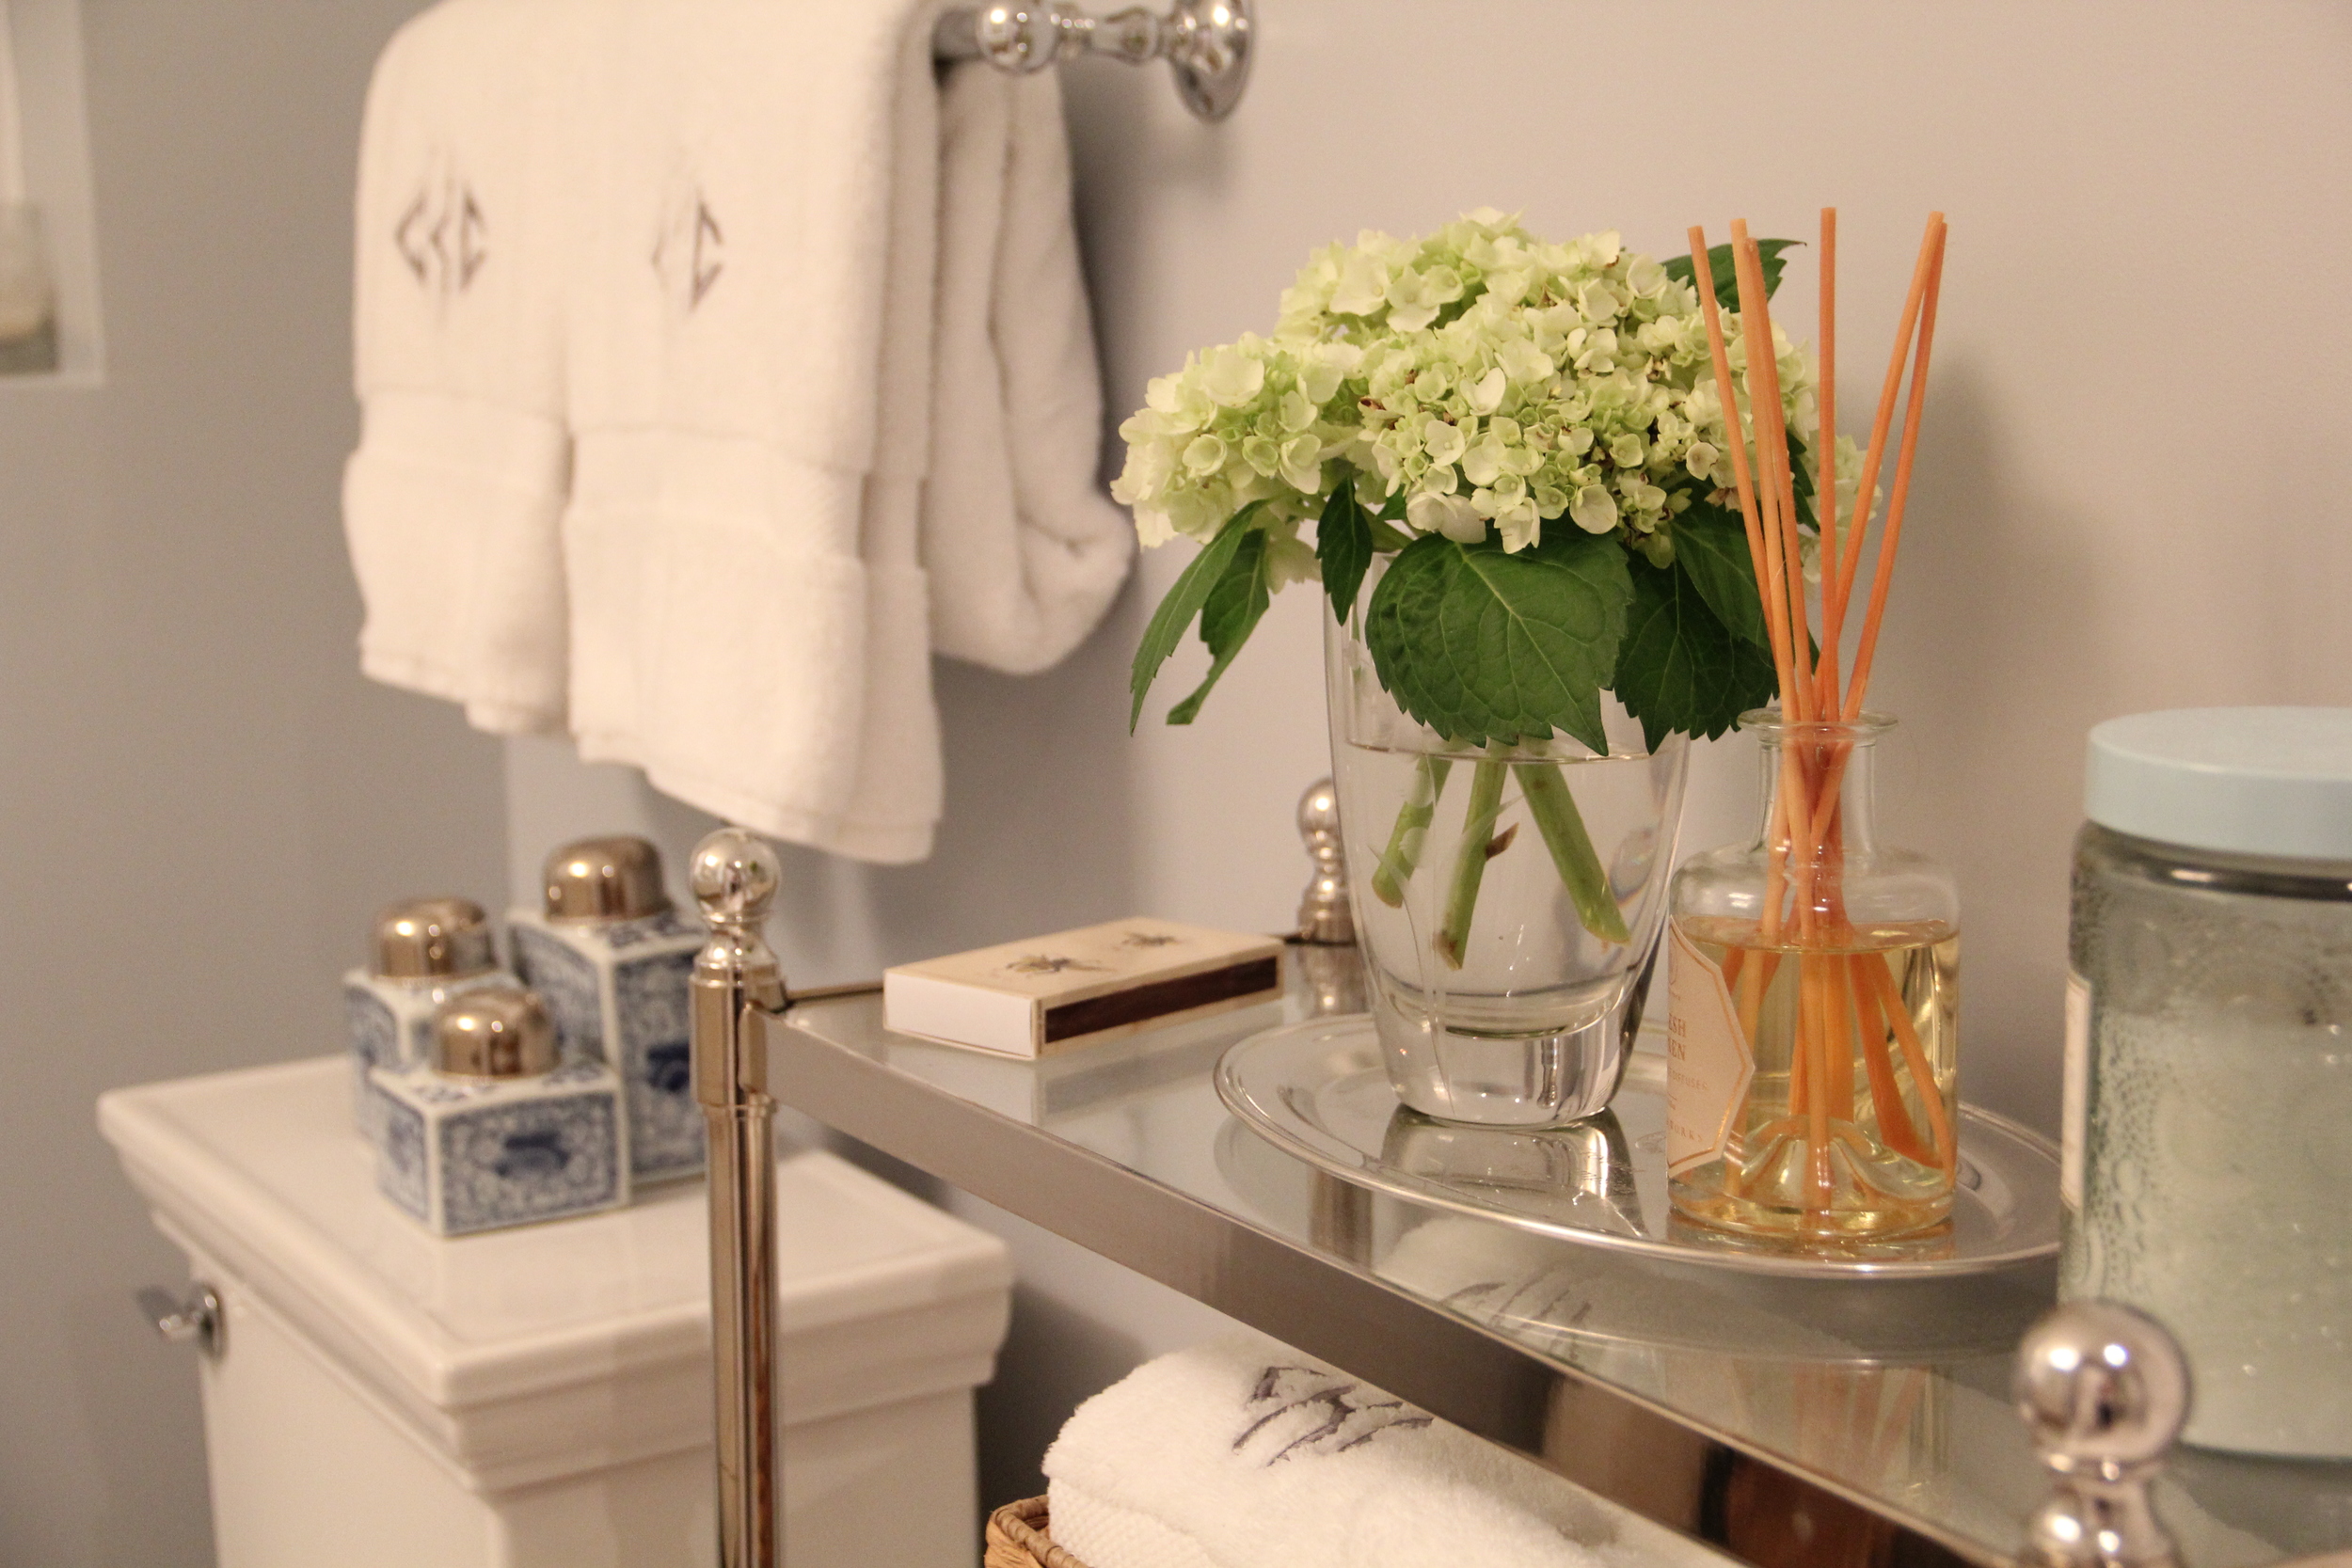
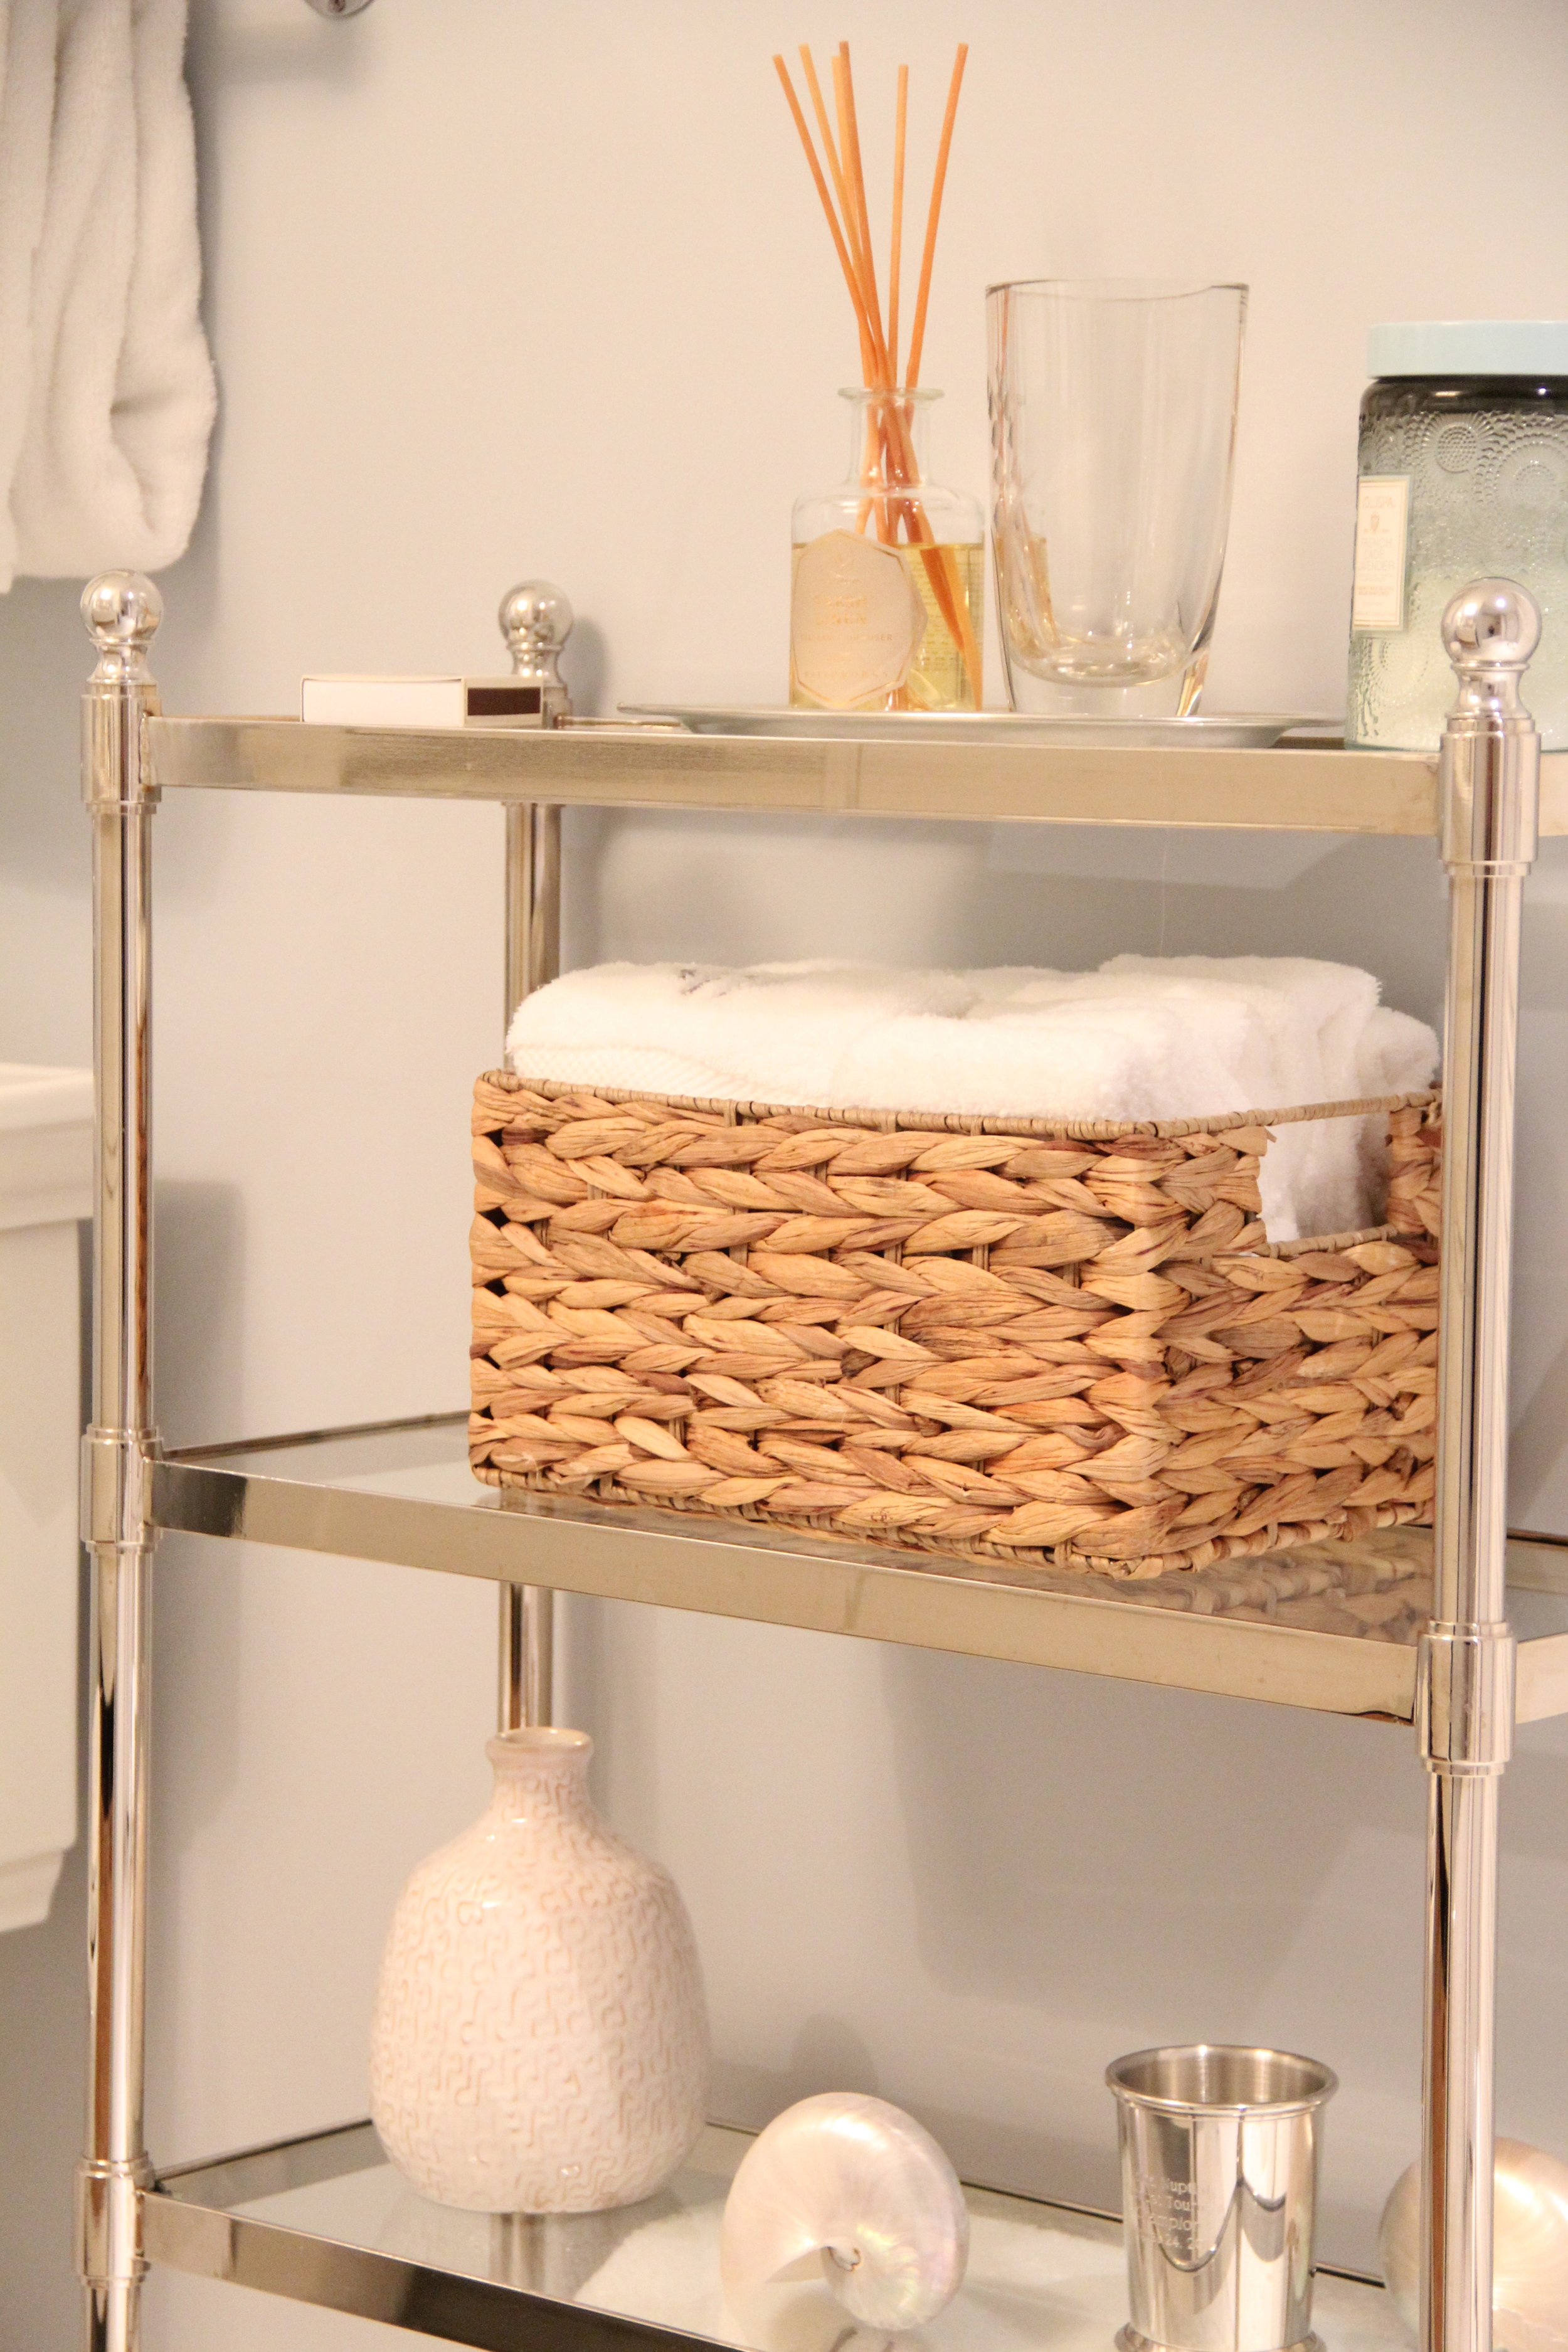
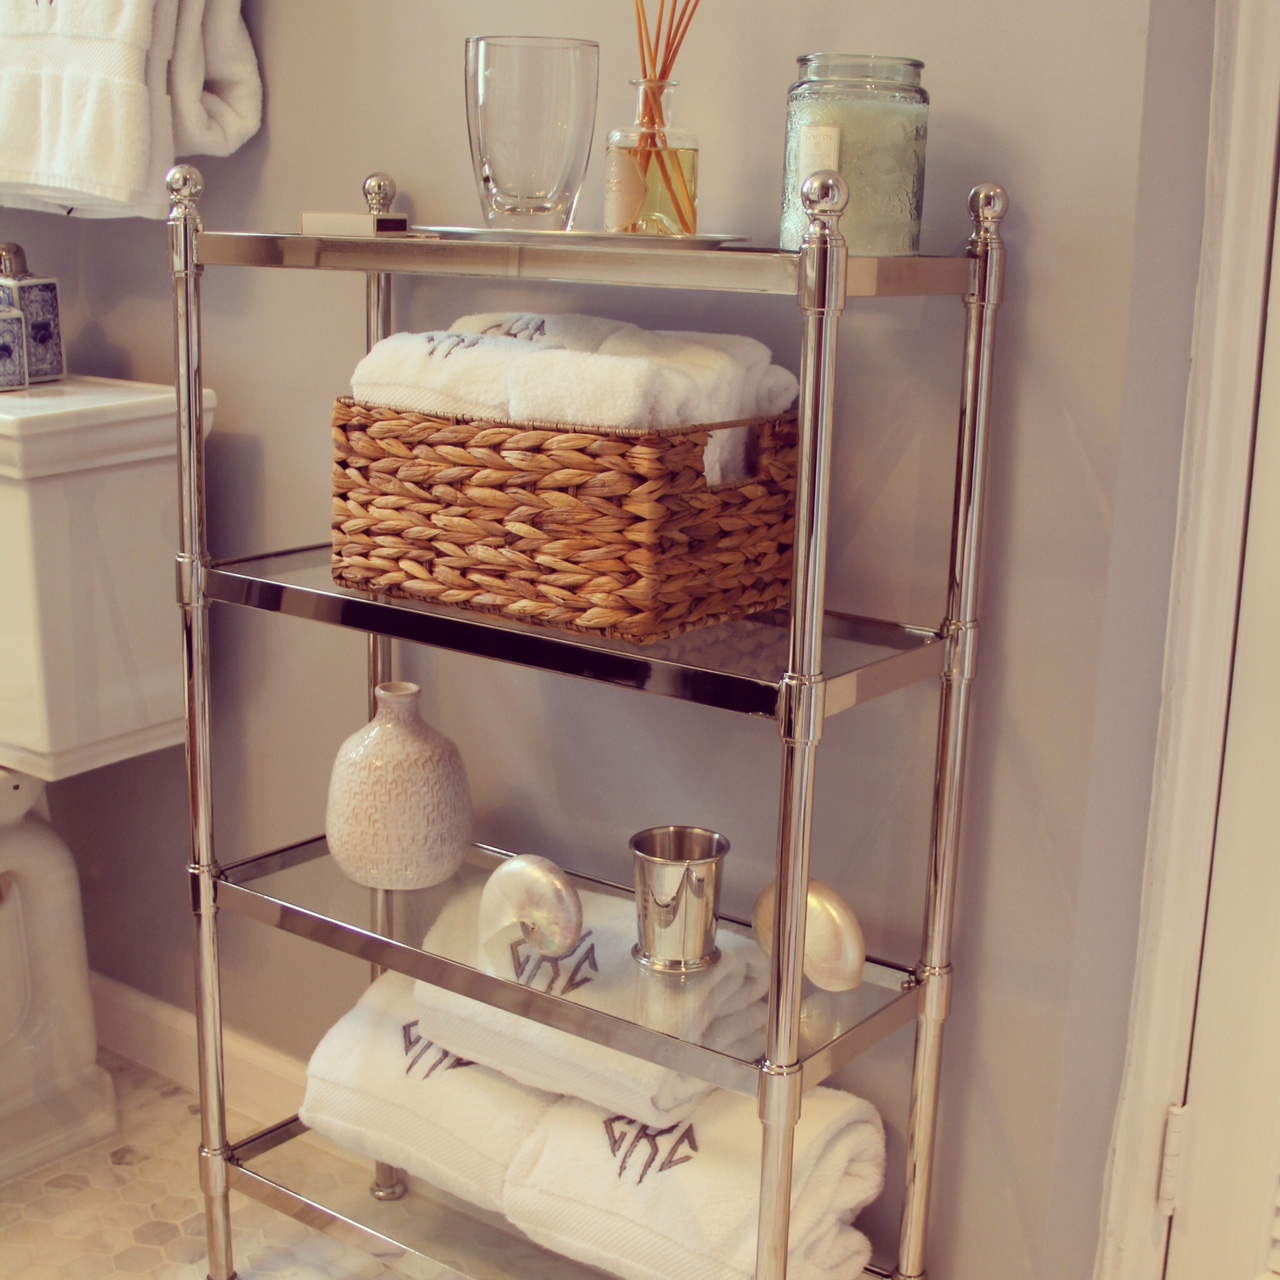
Bathroom Shelf- I had seen one of my friends add floating shelves to their bathroom to maximize storage space.  It was brilliant!  I had the ideal empty space in my bathroom, but instead of using floating shelves I opted to furnish it with a metal etagere.  The shelves  were the perfect storage solution for all of my towels, candles and bathroom knick knacks.  Yes, I needed a few knick knacks so that my etagere didn't look strictly utilitarian.  The last thing I wanted was to create a display shelf that had an inventory look!

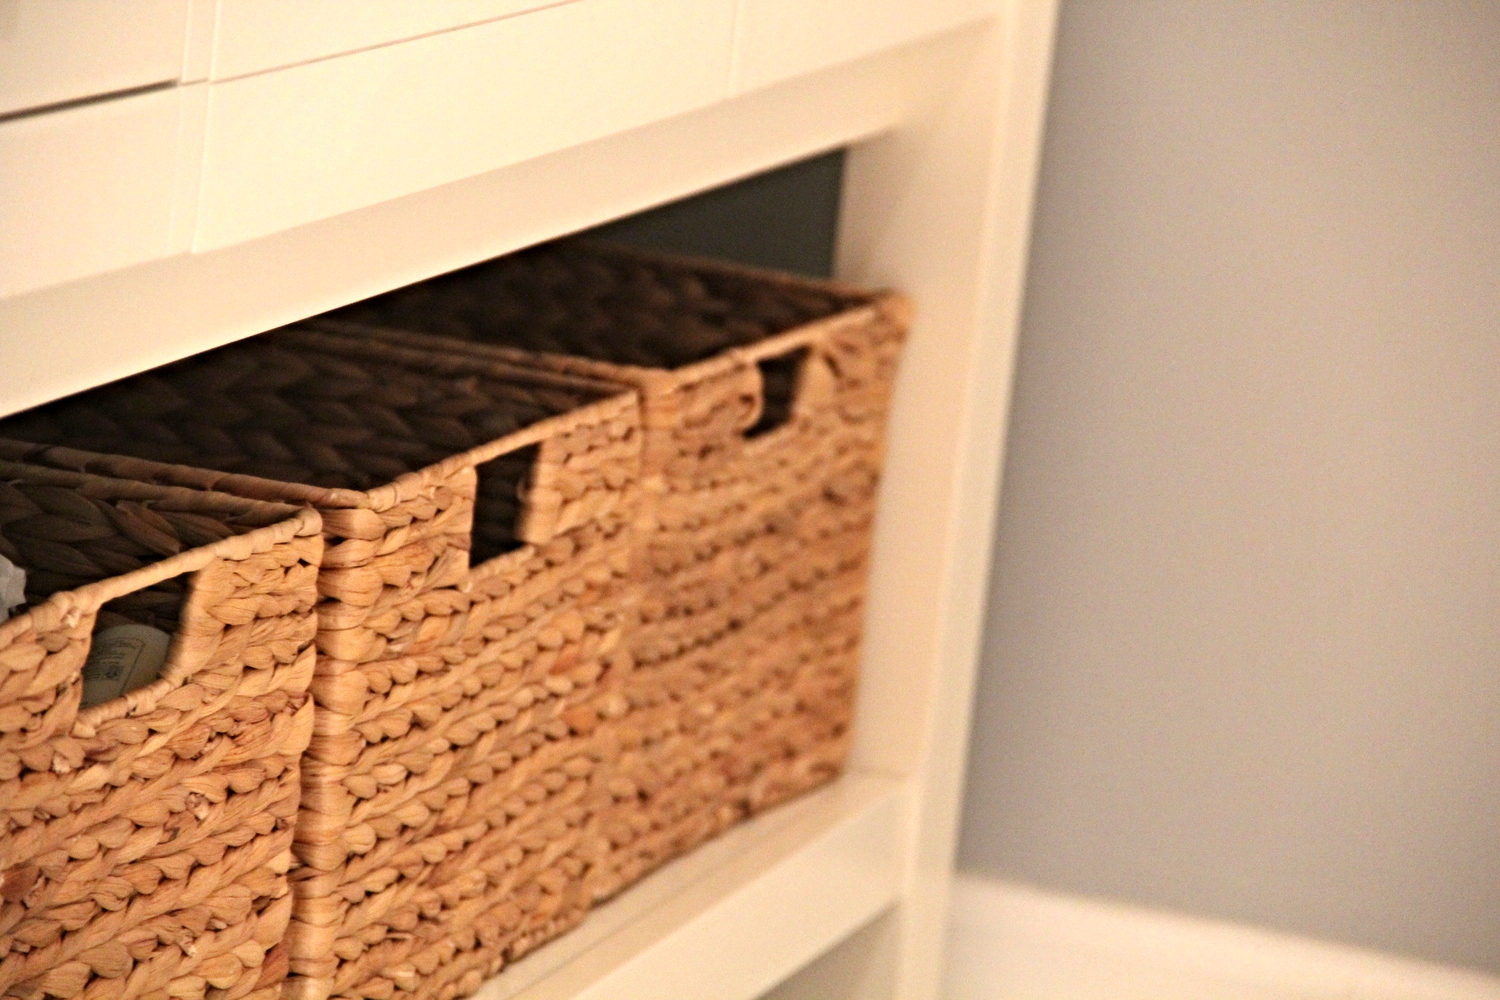
Baskets- I was fortunate to have the opportunity to gut my bathroom before we moved in (thank goodness!).  We only have one bathroom in our house and it was severely outdated when we bought the house.  Since we had a month between closing and moving in, we decided to take care of the bathroom renovation (the renovation would require that the bathroom be out of commission for at least 3 days while they did the flooring).  Included in the renovations, was a new sink console. 

As is the way whenever you are under time constraints, nothing ever seems to go smoothly.  The sink console I had originally selected (with tons of cabinets and drawers) was backordered for months (just my luck!).  In an effort to be adaptable,  I opted for a sink console with drawers and a lower shelf.  Just like the kitchen, I was able to increase storage space on this bottom shelf by adding these Water Hyacinth Baskets from the Container Store.  This provided the additional space needed to house  all of our dog grooming products, cleaning supplies and bathroom paper products.  I also found a smaller matching basket to use on my display shelf for storing extra hand towels and washcloths.  

Every house has its own set of challenges, but I have learned that there is always a solution!  Just be patient, do your research (i.e. Pinterest, Magazines, Friends' Houses) and avoid the inventory look.  You will be surprised at the storage potential of any given space when you take the time to figure it out.  I know I have!