There is a very small percentage of individuals who can move into a home and not want to change a thing. Most of us (including yours truly) have a punch list of immediate changes, followed by a long term wish list of improvements for their home. When we moved into our home, I had a vision of what I wanted to do with the space (and of course I wanted to get it all done immediately). My husband, the voice of reason, reminded me that money doesn't grow on trees and our home improvements would take time to accomplish. We have been in our house for over a year now and are starting to gear up for round 2 of our renovations. While planning for what work we would like to have done with this round of construction, I have taken time to reflect on the little changes that I made myself in between the first and soon to be second round of renovations. Today I am sharing a list of my top 5 home improvements that I was able to make to our home. These were easy fixes, that were also affordable and made a huge difference in the overall quality of the home (both comfort and aesthetics).
Shower Head
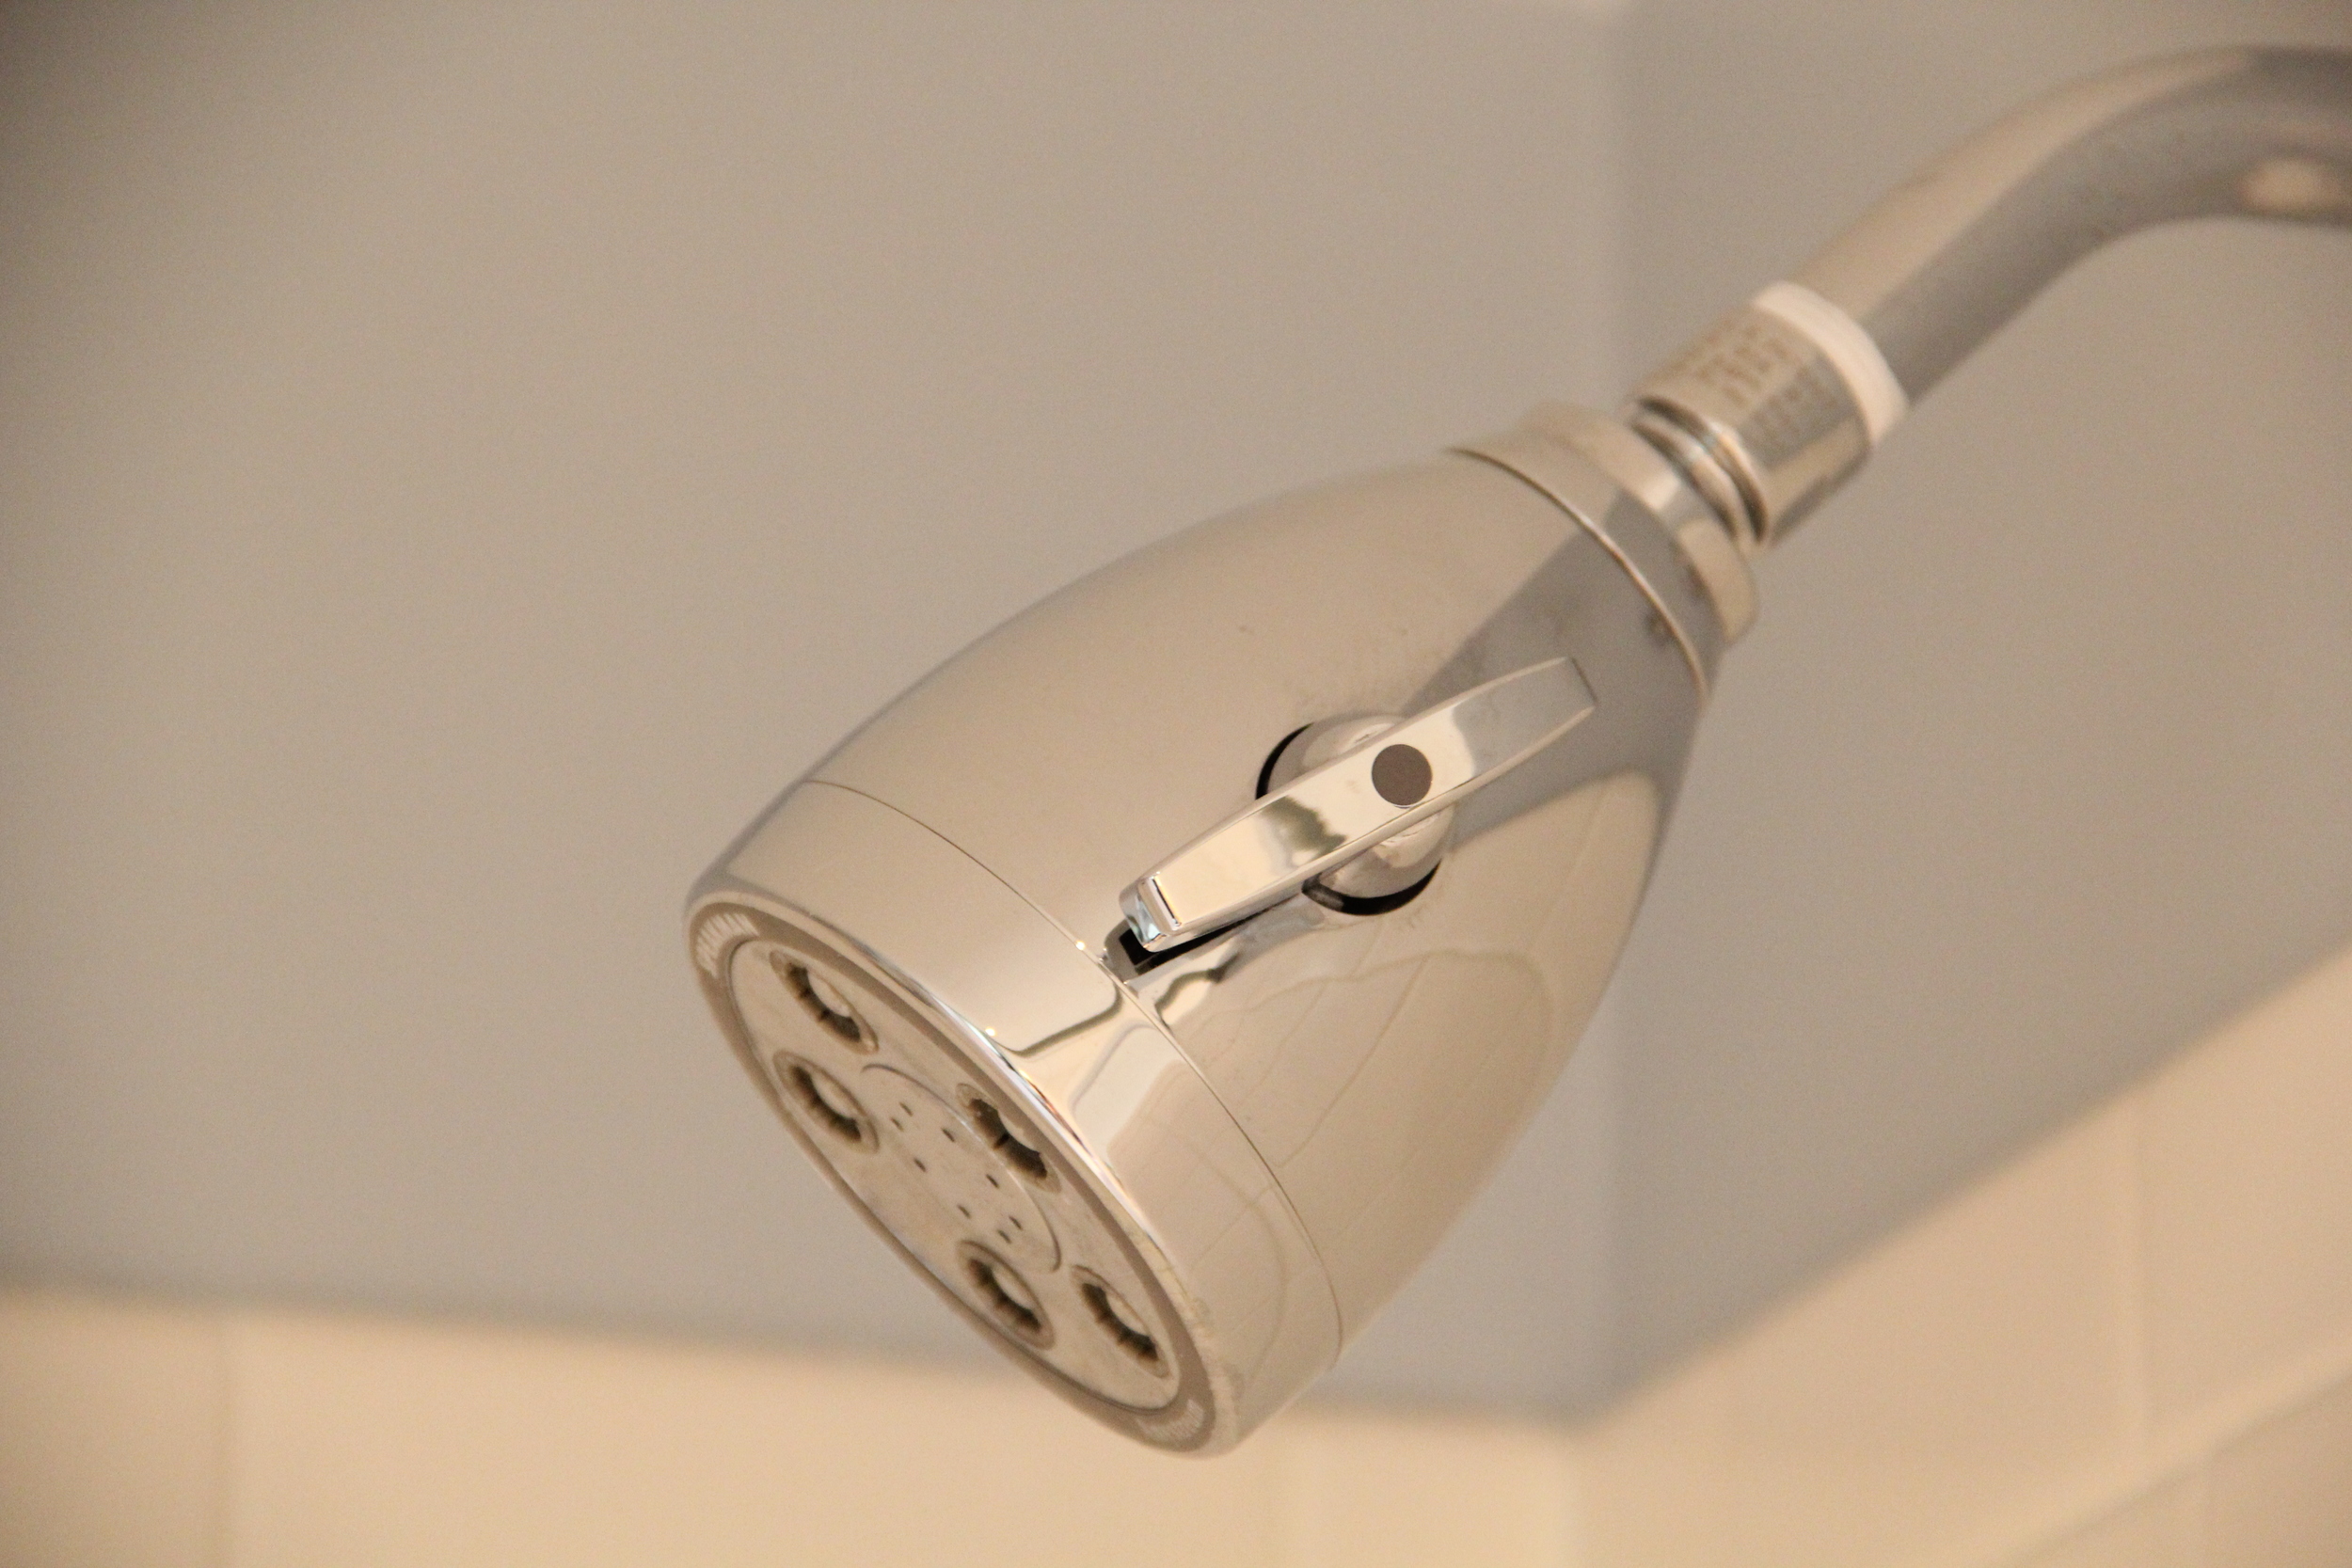
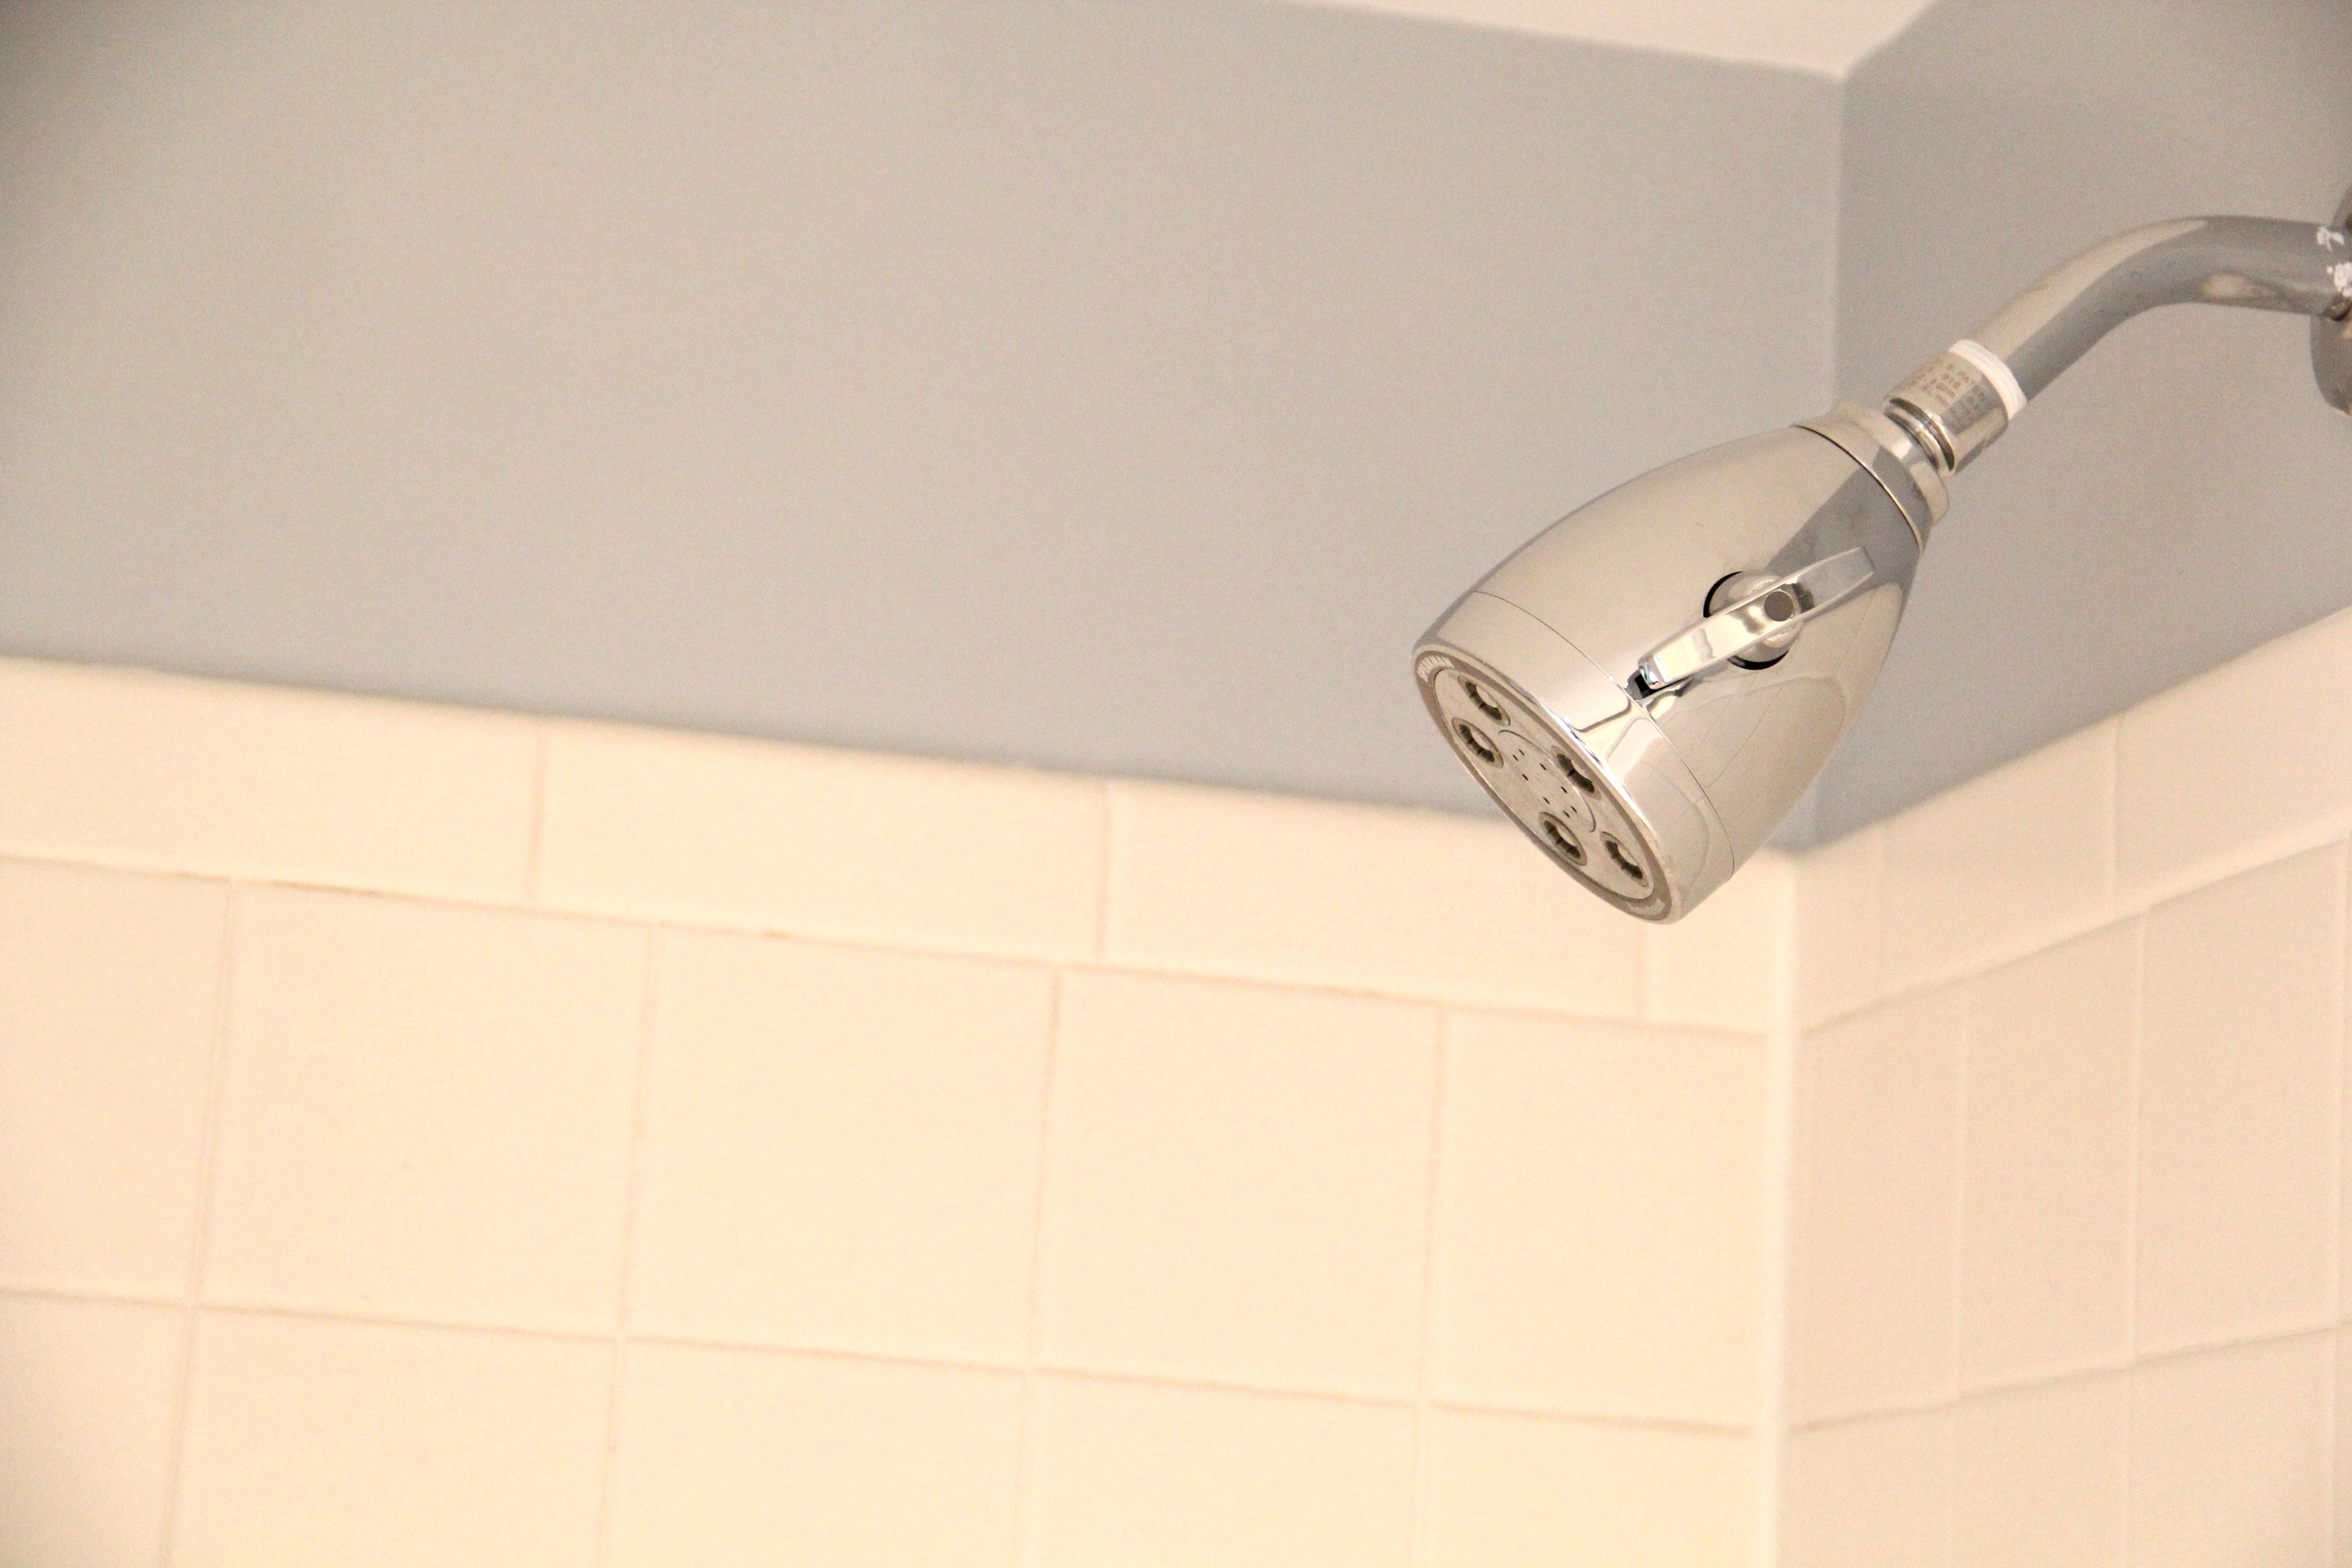
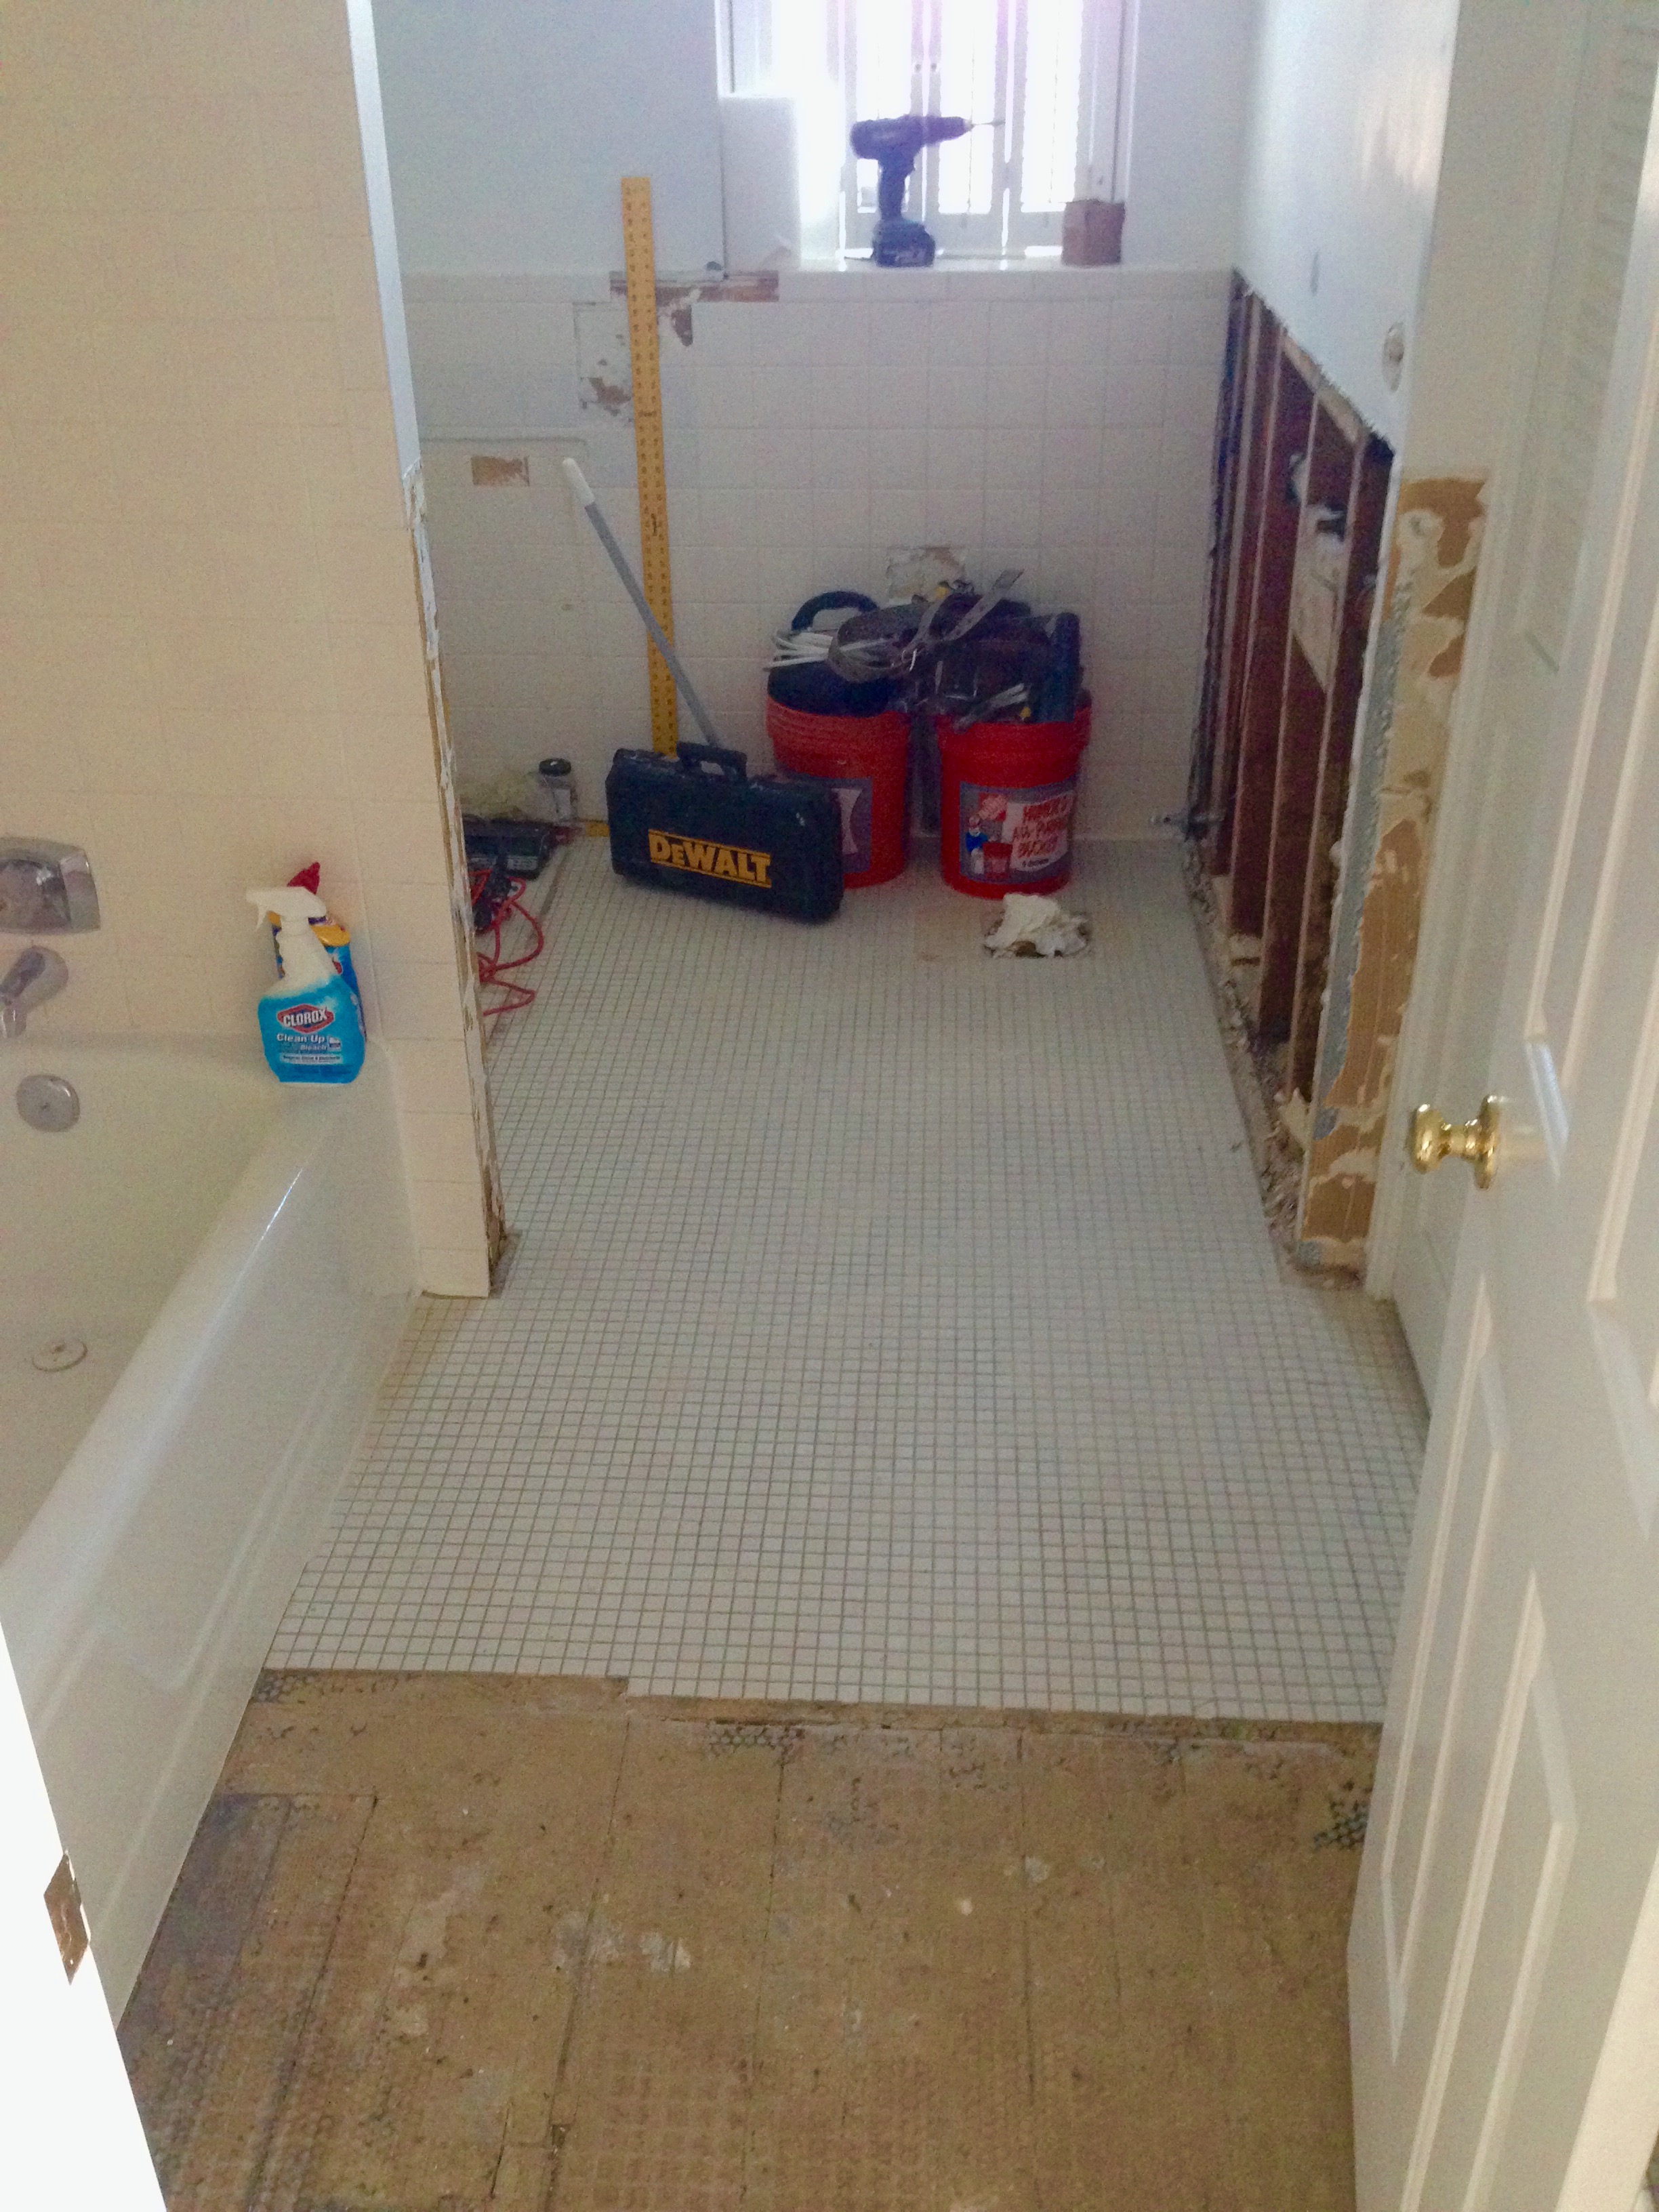
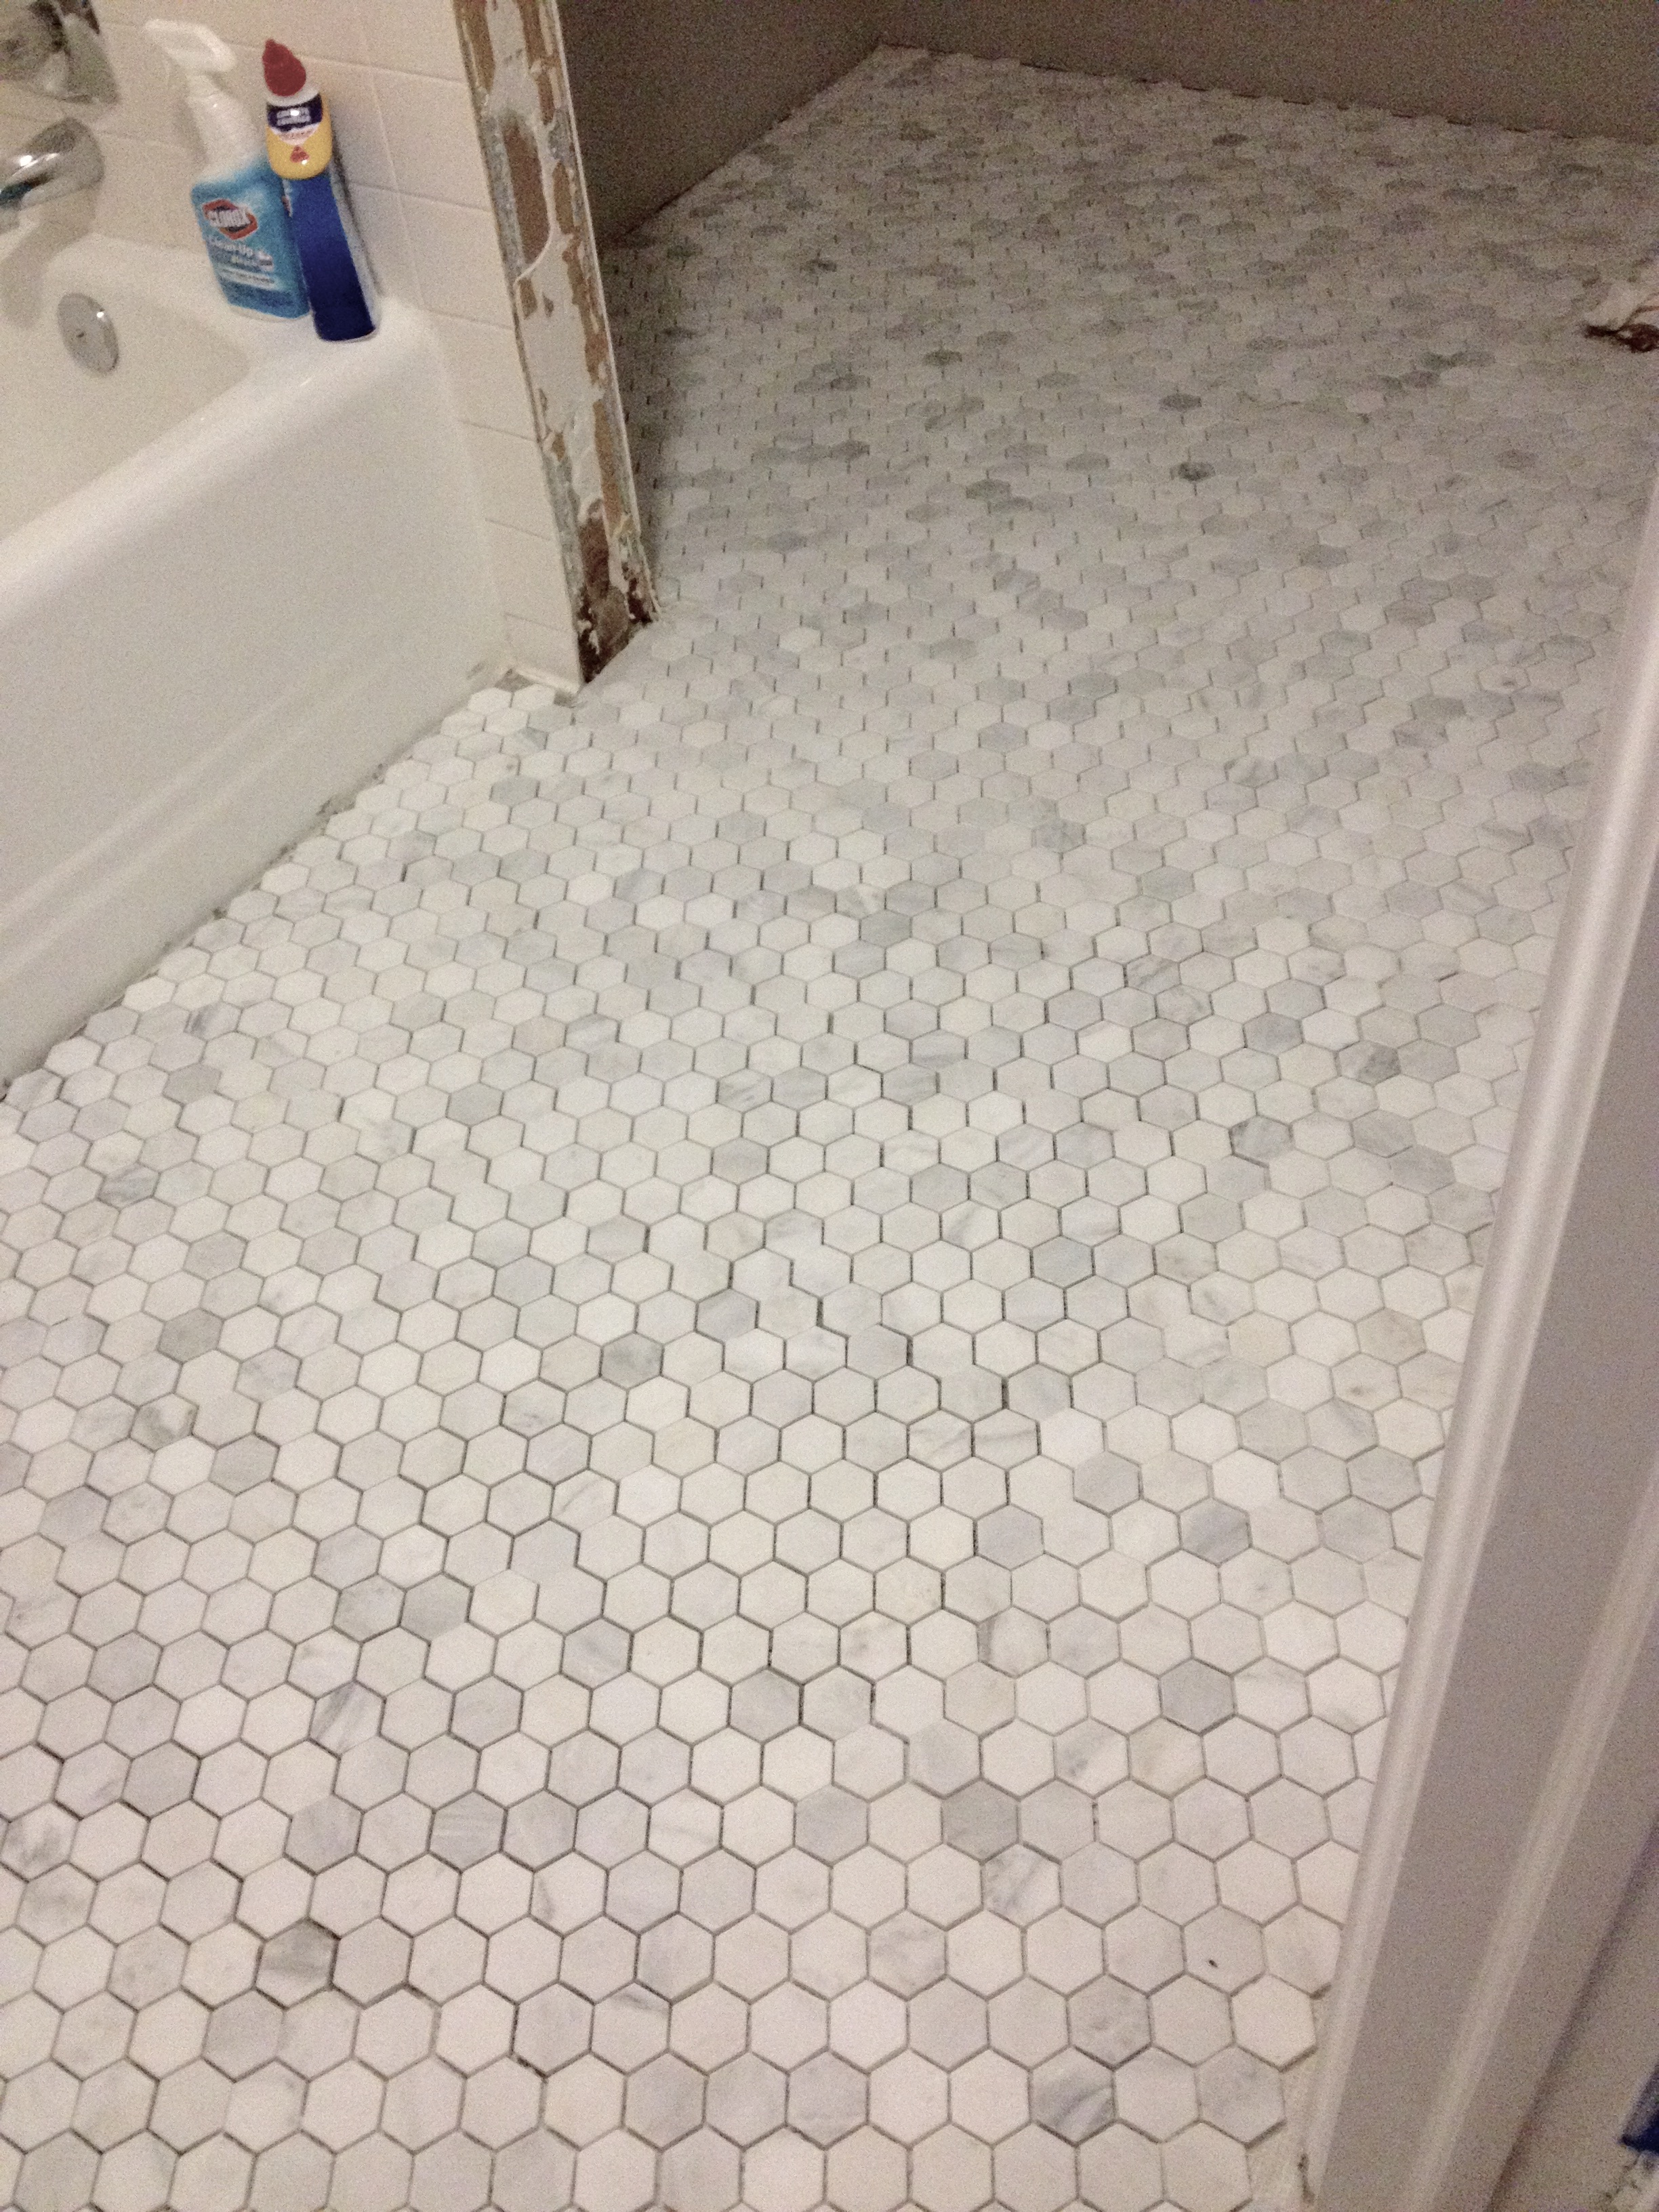
When we were first planning our bathroom renovation, we made the decision to break it up into two phases in an effort to cut down on initial costs. Phase 1 included renovating all aspects of the bathroom except for the tub/shower interior. Phase 2 would involve re-tiling the tub/shower walls and replacing the tub/shower system. While that seems like an odd way to break up the renovations, we had decided to use a different tile for the tub/shower walls and more importantly, the cost of a new tub/shower system is major $$$.
Our tub/shower renovation is still part of the long term plan, but in the interim I wanted to give the space a mini facelift to make bathing more enjoyable until the overhaul could take place. After a good cleaning of the tub basin and grout, I ordered a replacement shower knob, and the biggest improvement was replacing the shower head. The original shower head had build up that was causing low water pressure and it didn't have the option to change the settings of the water stream. My friend Whitney suggested that I look into getting a Speakman shower head and I am so glad I listened to her! The replacement process was a cinch (unscrewing the old shower head and screwing on the new head), and the difference in water pressure was extraordinary! An easy upgrade that made a big difference.
Trim Paint
Windows are an important and expensive aspect of the home. A benefit and drawback to buying a condo is that we do not own our windows, front door and roof. The benefit being that we don't have to pay a whopper amount when say, the roof needs to be replaced. The drawback being, we are at the mercy of the condo association for when they deem it to be time to upgrade/replace the windows. Our condo association is currently going through a massive window replacement project for all of the building windows. The problem is that we do not know when the windows for our unit are scheduled to be replaced. While I am certainly capable of exercising patience until that blessed day occurs, I did not want to live with the tired look of my current windows. So what did I do? I got out a can of trim paint, brushes, painter's tape and got to work! As the saying goes, I "put lipstick on a pig," which made a huge difference aesthetically and cost less than $20!
Closet Shelves
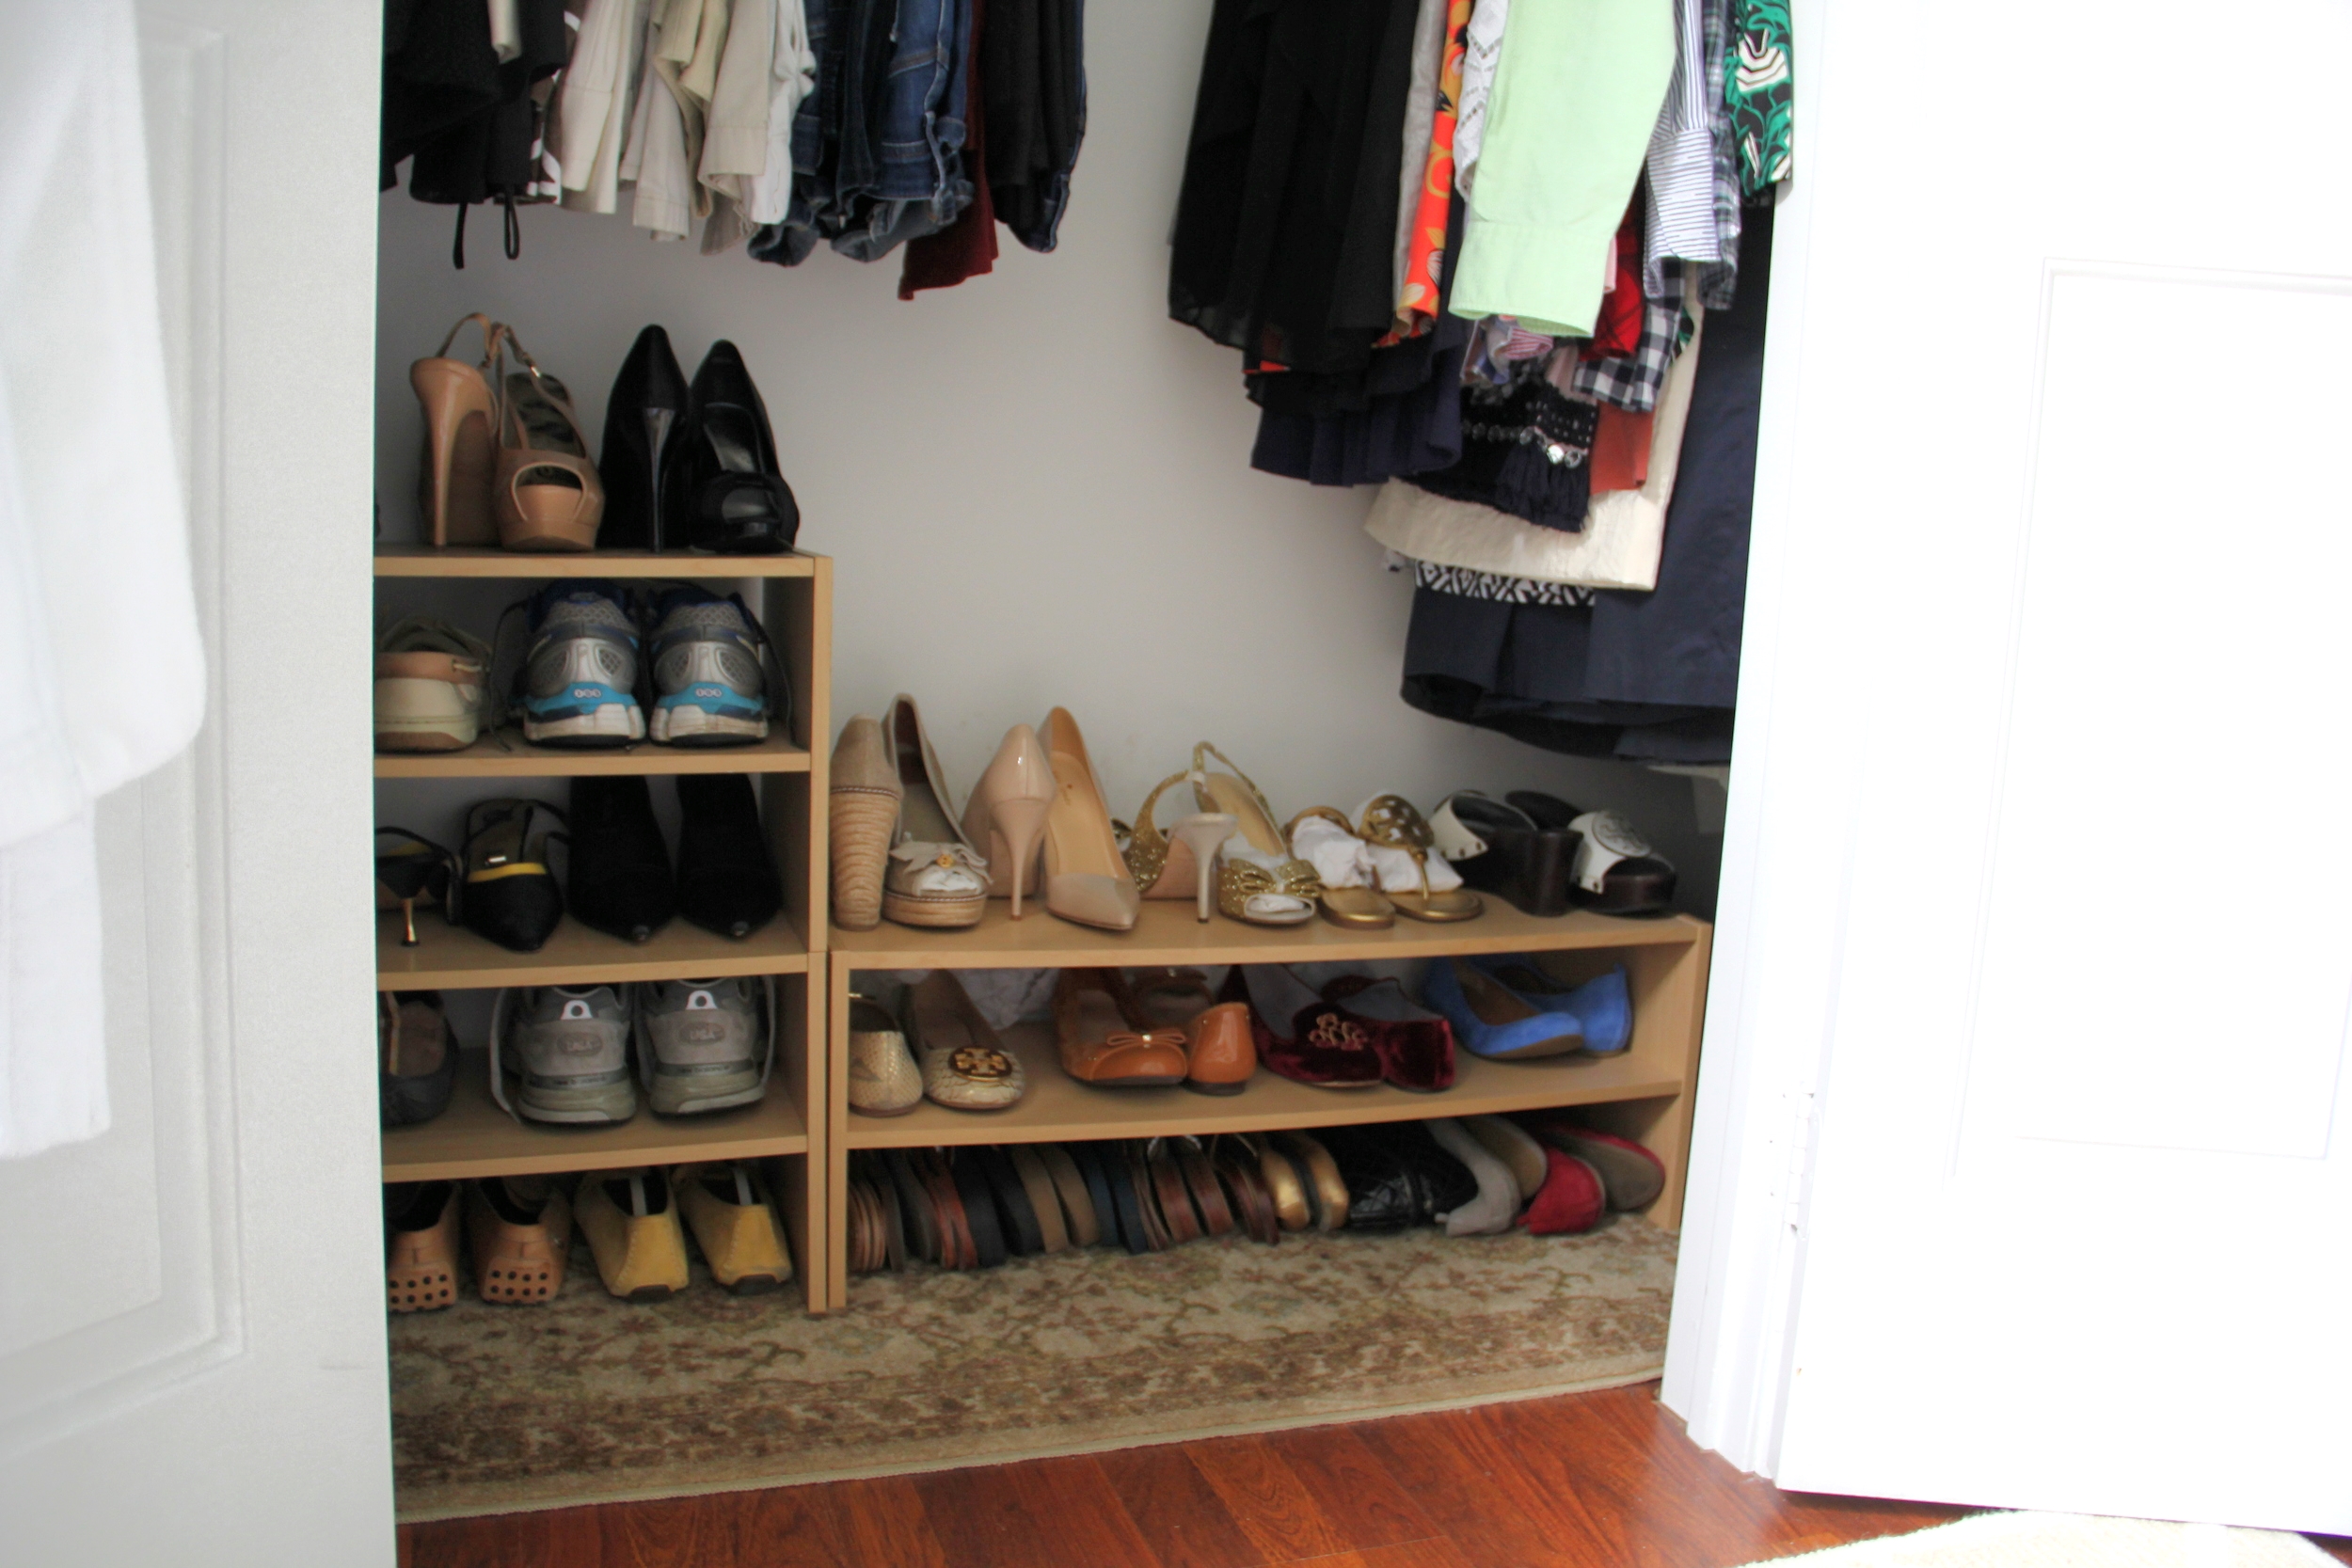
In a perfect world, I would have had a company like California Closets come to my house, assess my closets and design custom spaces that maximized storage space for all of my garments. Hopefully one day way down the road I will be able to afford something like that, but for now I need to serve as the California Closets technician for my home. One of the best things I found for increasing closet storage space was the Closetmaid Horizontal Organizer. These shelves come in an assortment of sizes, colors/faux stains and are stackable! You only need a screwdriver to assemble these shelves and at a cost of less than $30, it's definitely money well spent!
The Nest
I know I have already gushed about the Nest in my Father's Day post, but this is a home improvement must on my list and so I felt the need to include it again. In addition, there were a few fab features about the Nest that I failed to mention, like:
- You can find out if your home is compatible with Nest, simply by using the compatibility tool on their webpage.
- Nest will pay for an approved A/C technician to come out to your home and install Nest.
- Nest emails you a monthly energy report, detailing your most recent month's energy consumption compared to the previous month. The report also includes reasons why there may have been an increase in energy consumption and tips on how to conserve energy in the future.
- The Nest thermostat provides you with both the internal home temperature and outdoor temperature (which is extremely helpful when deciding what to wear for the day).
I know I sound like a paid spokesperson for Nest, but alas I am not. I am merely an extremely satisfied customer sharing my enthusiasm for this product with you all.
Door Knobs
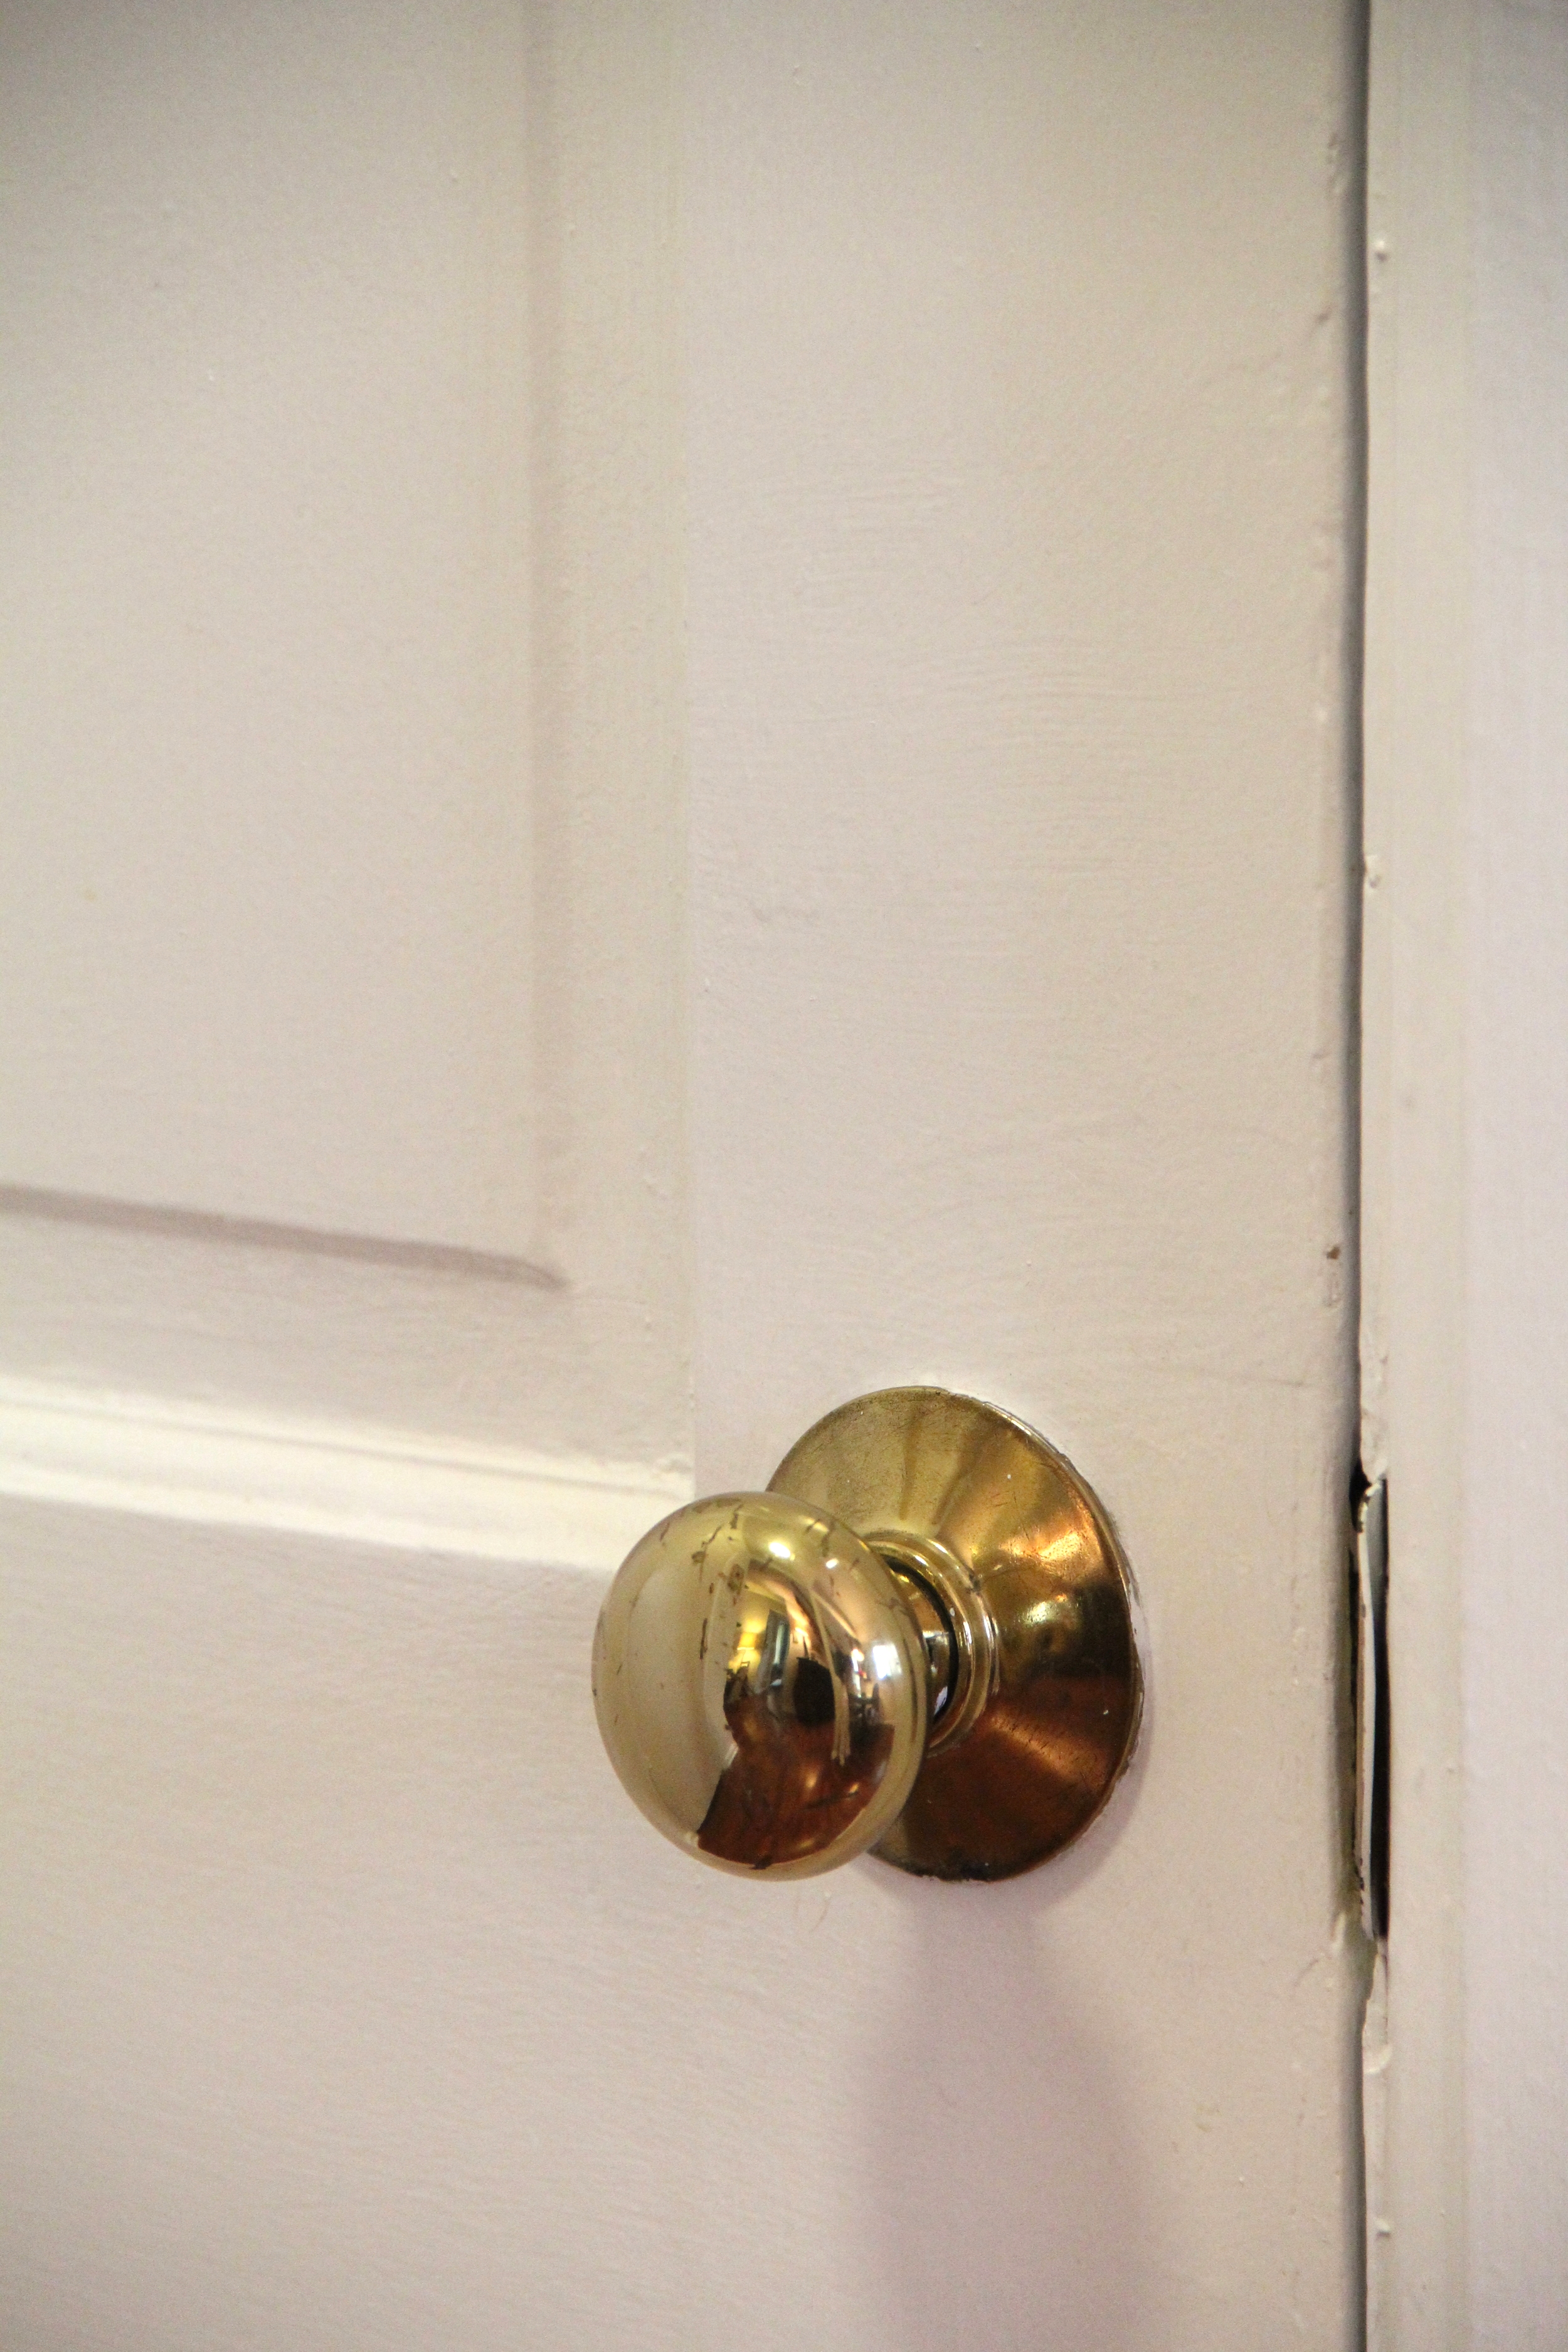
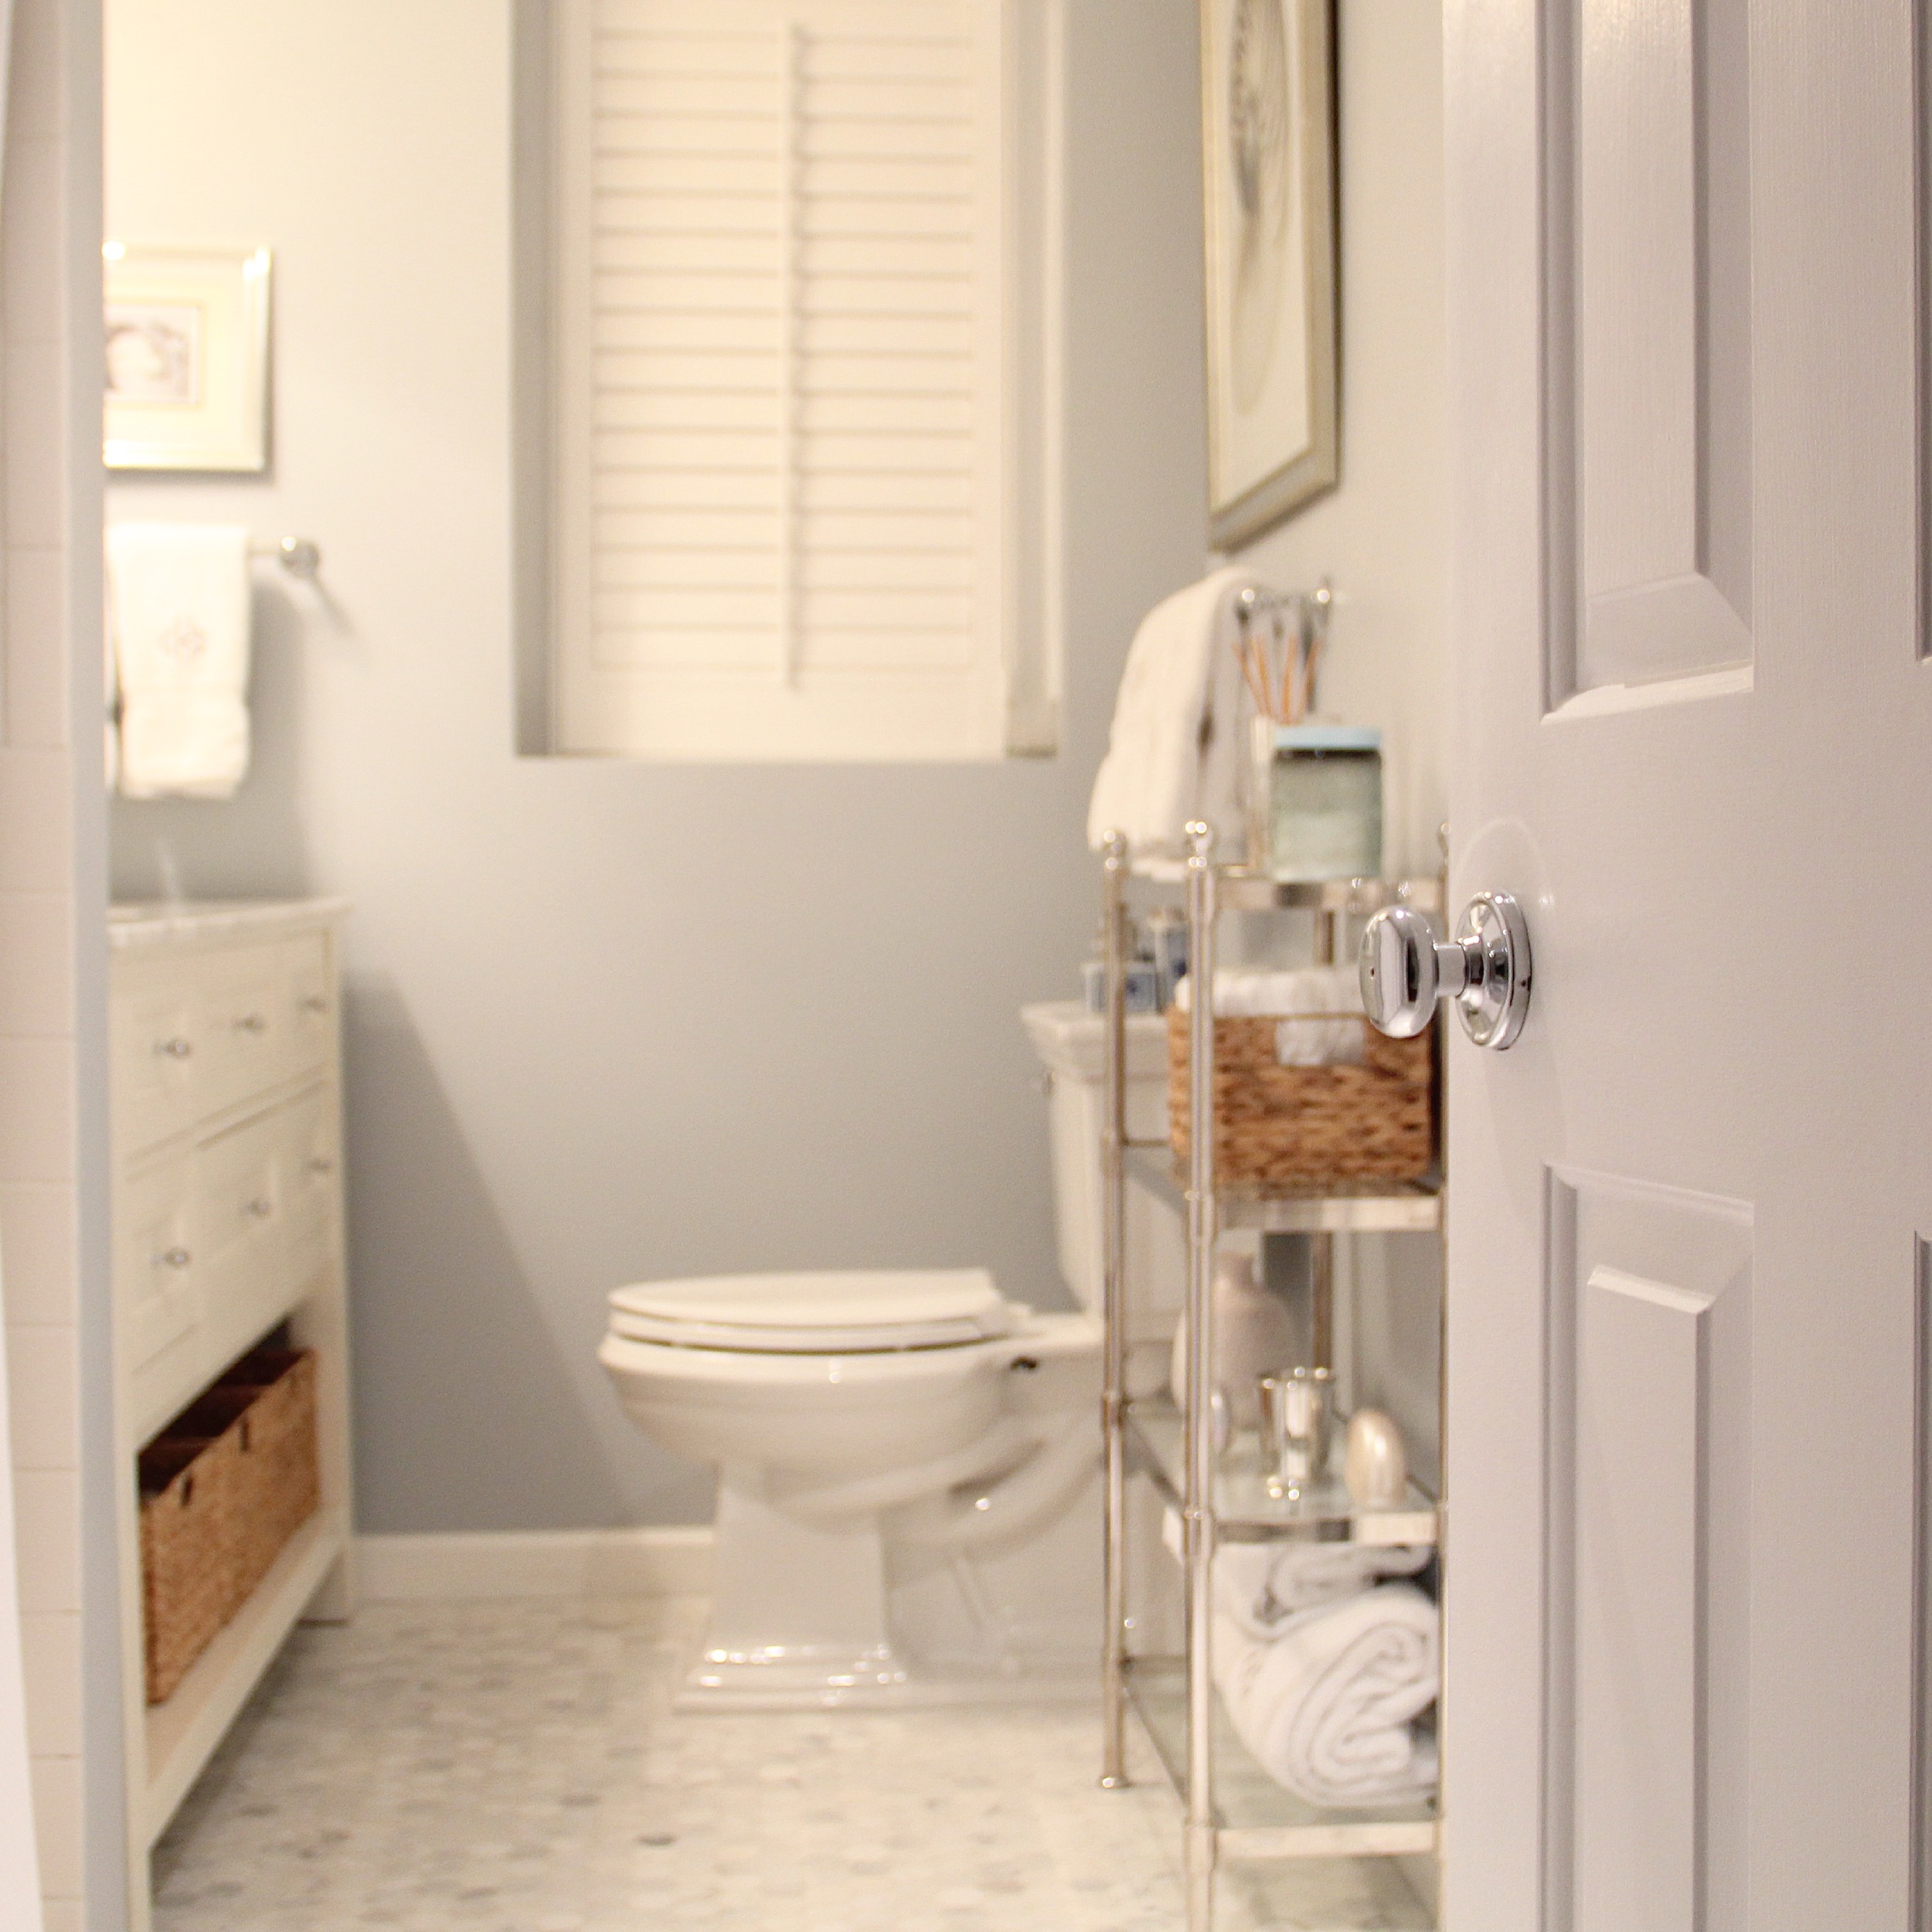
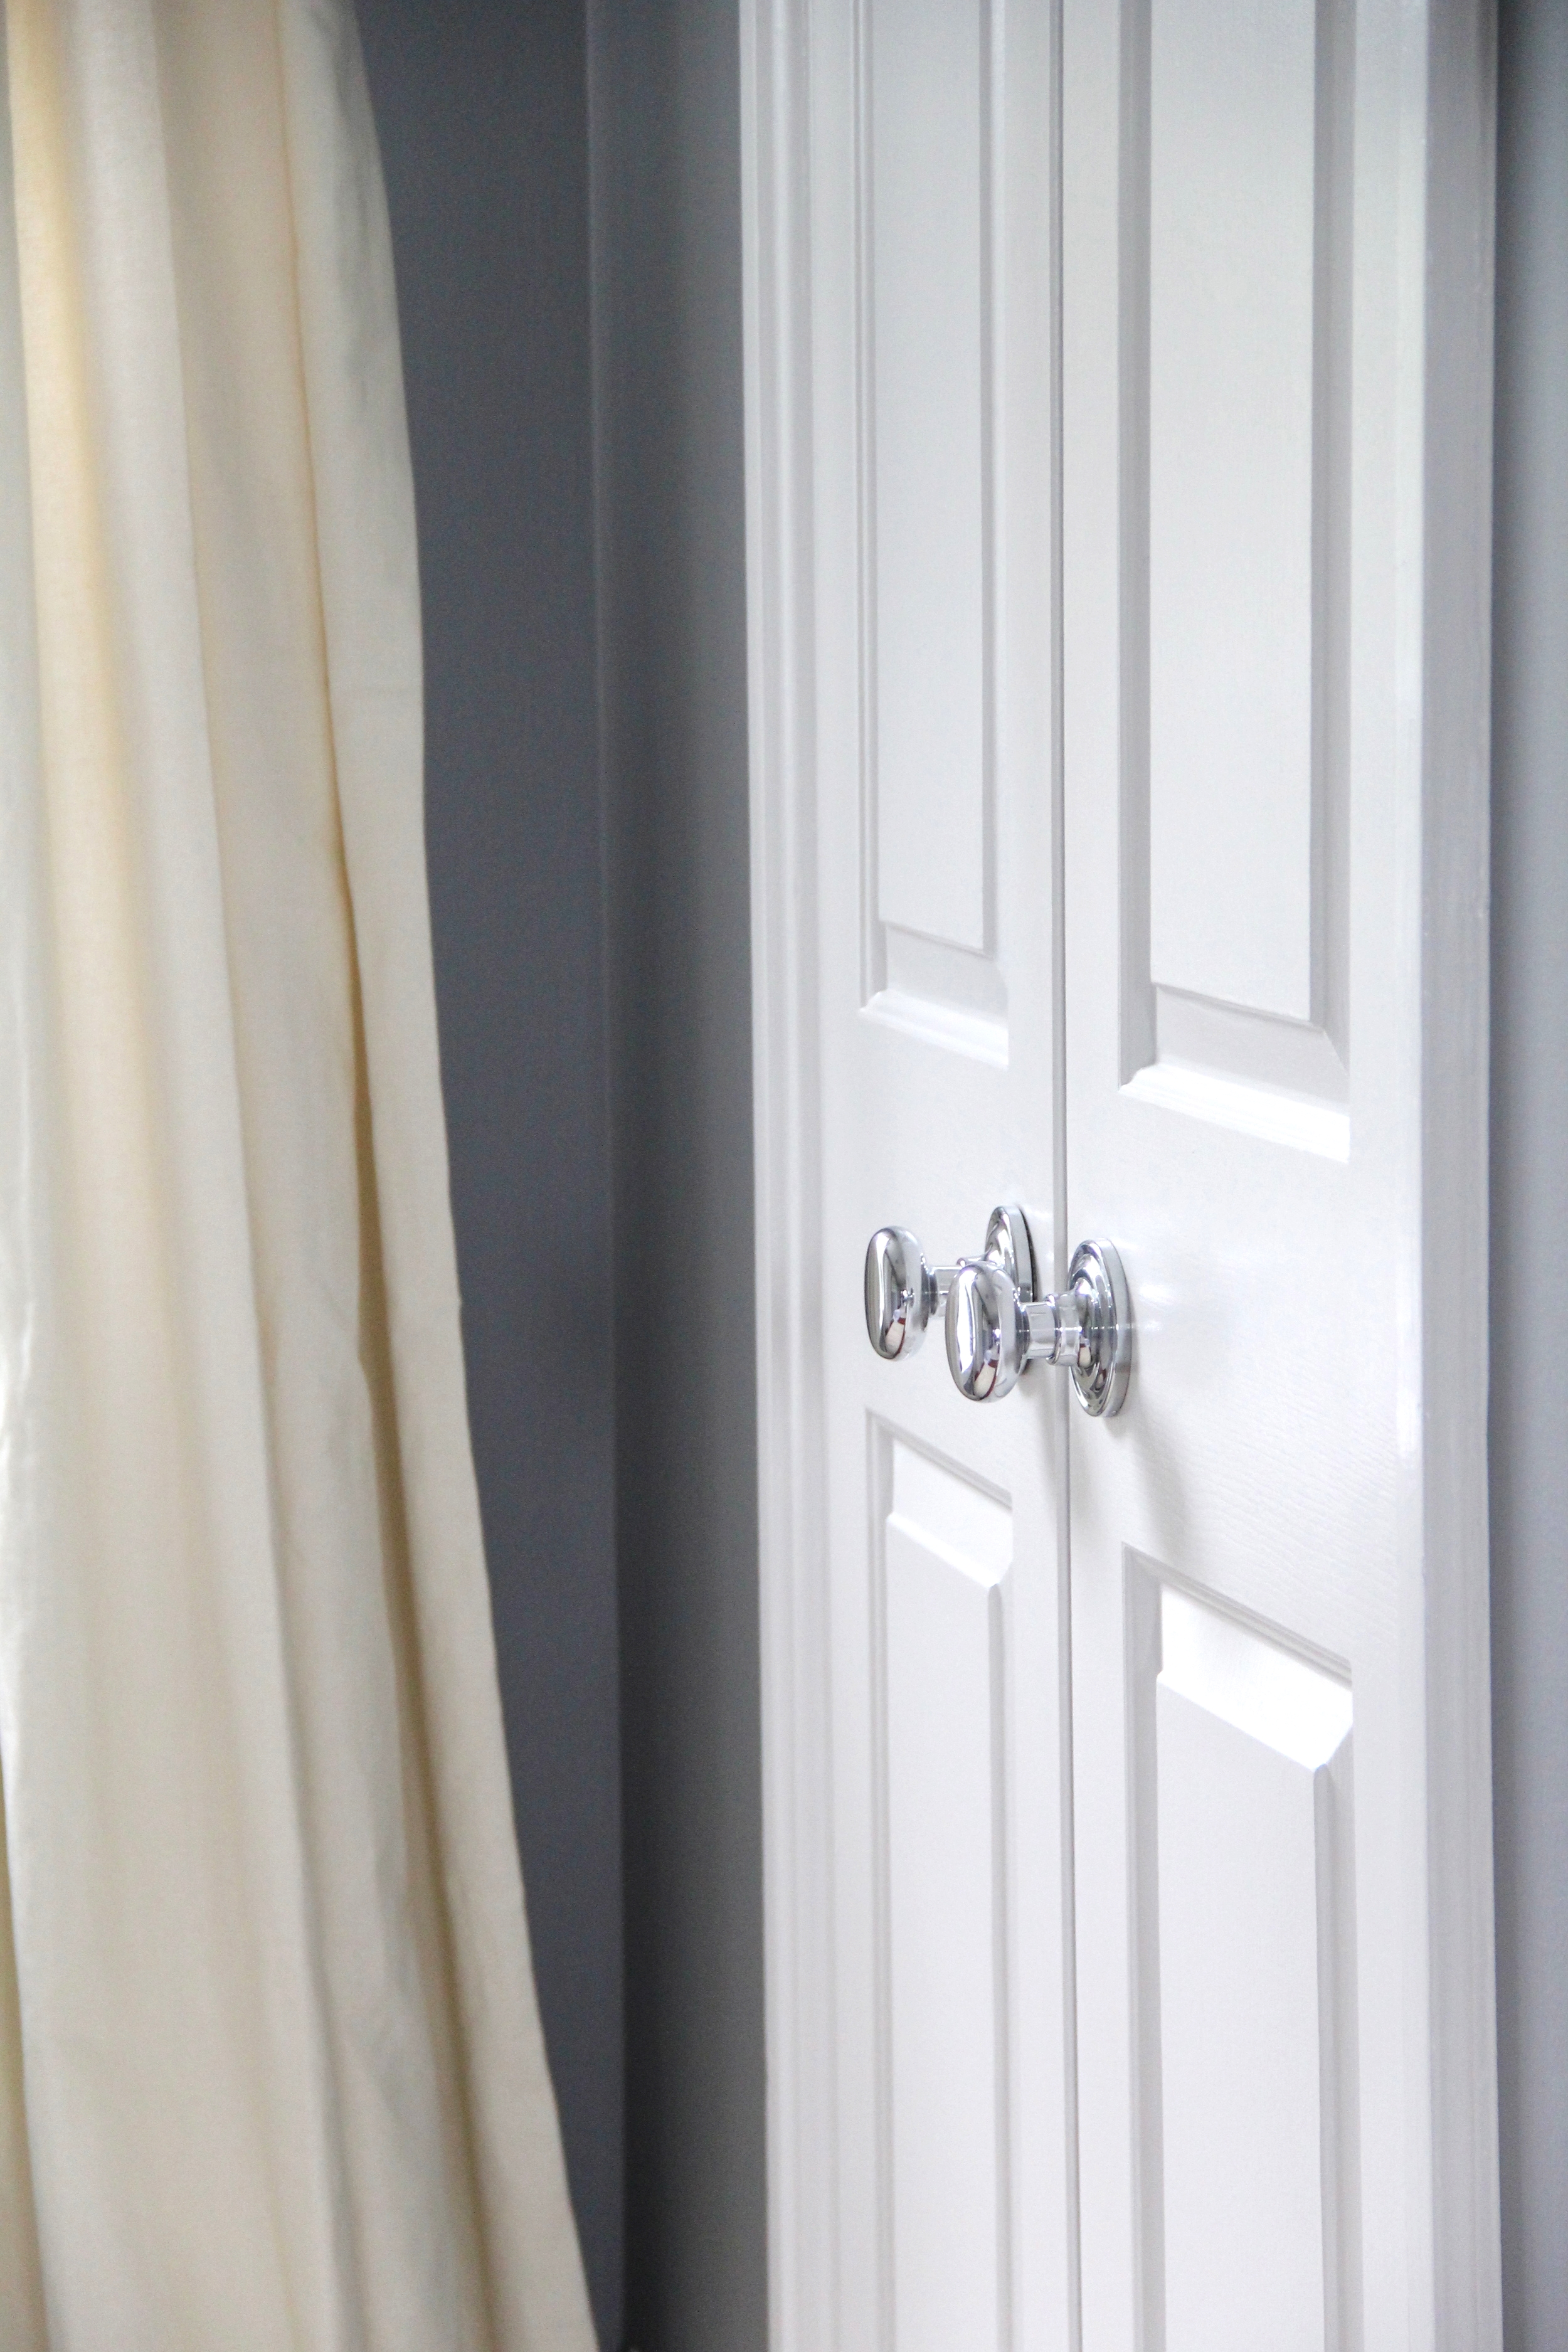
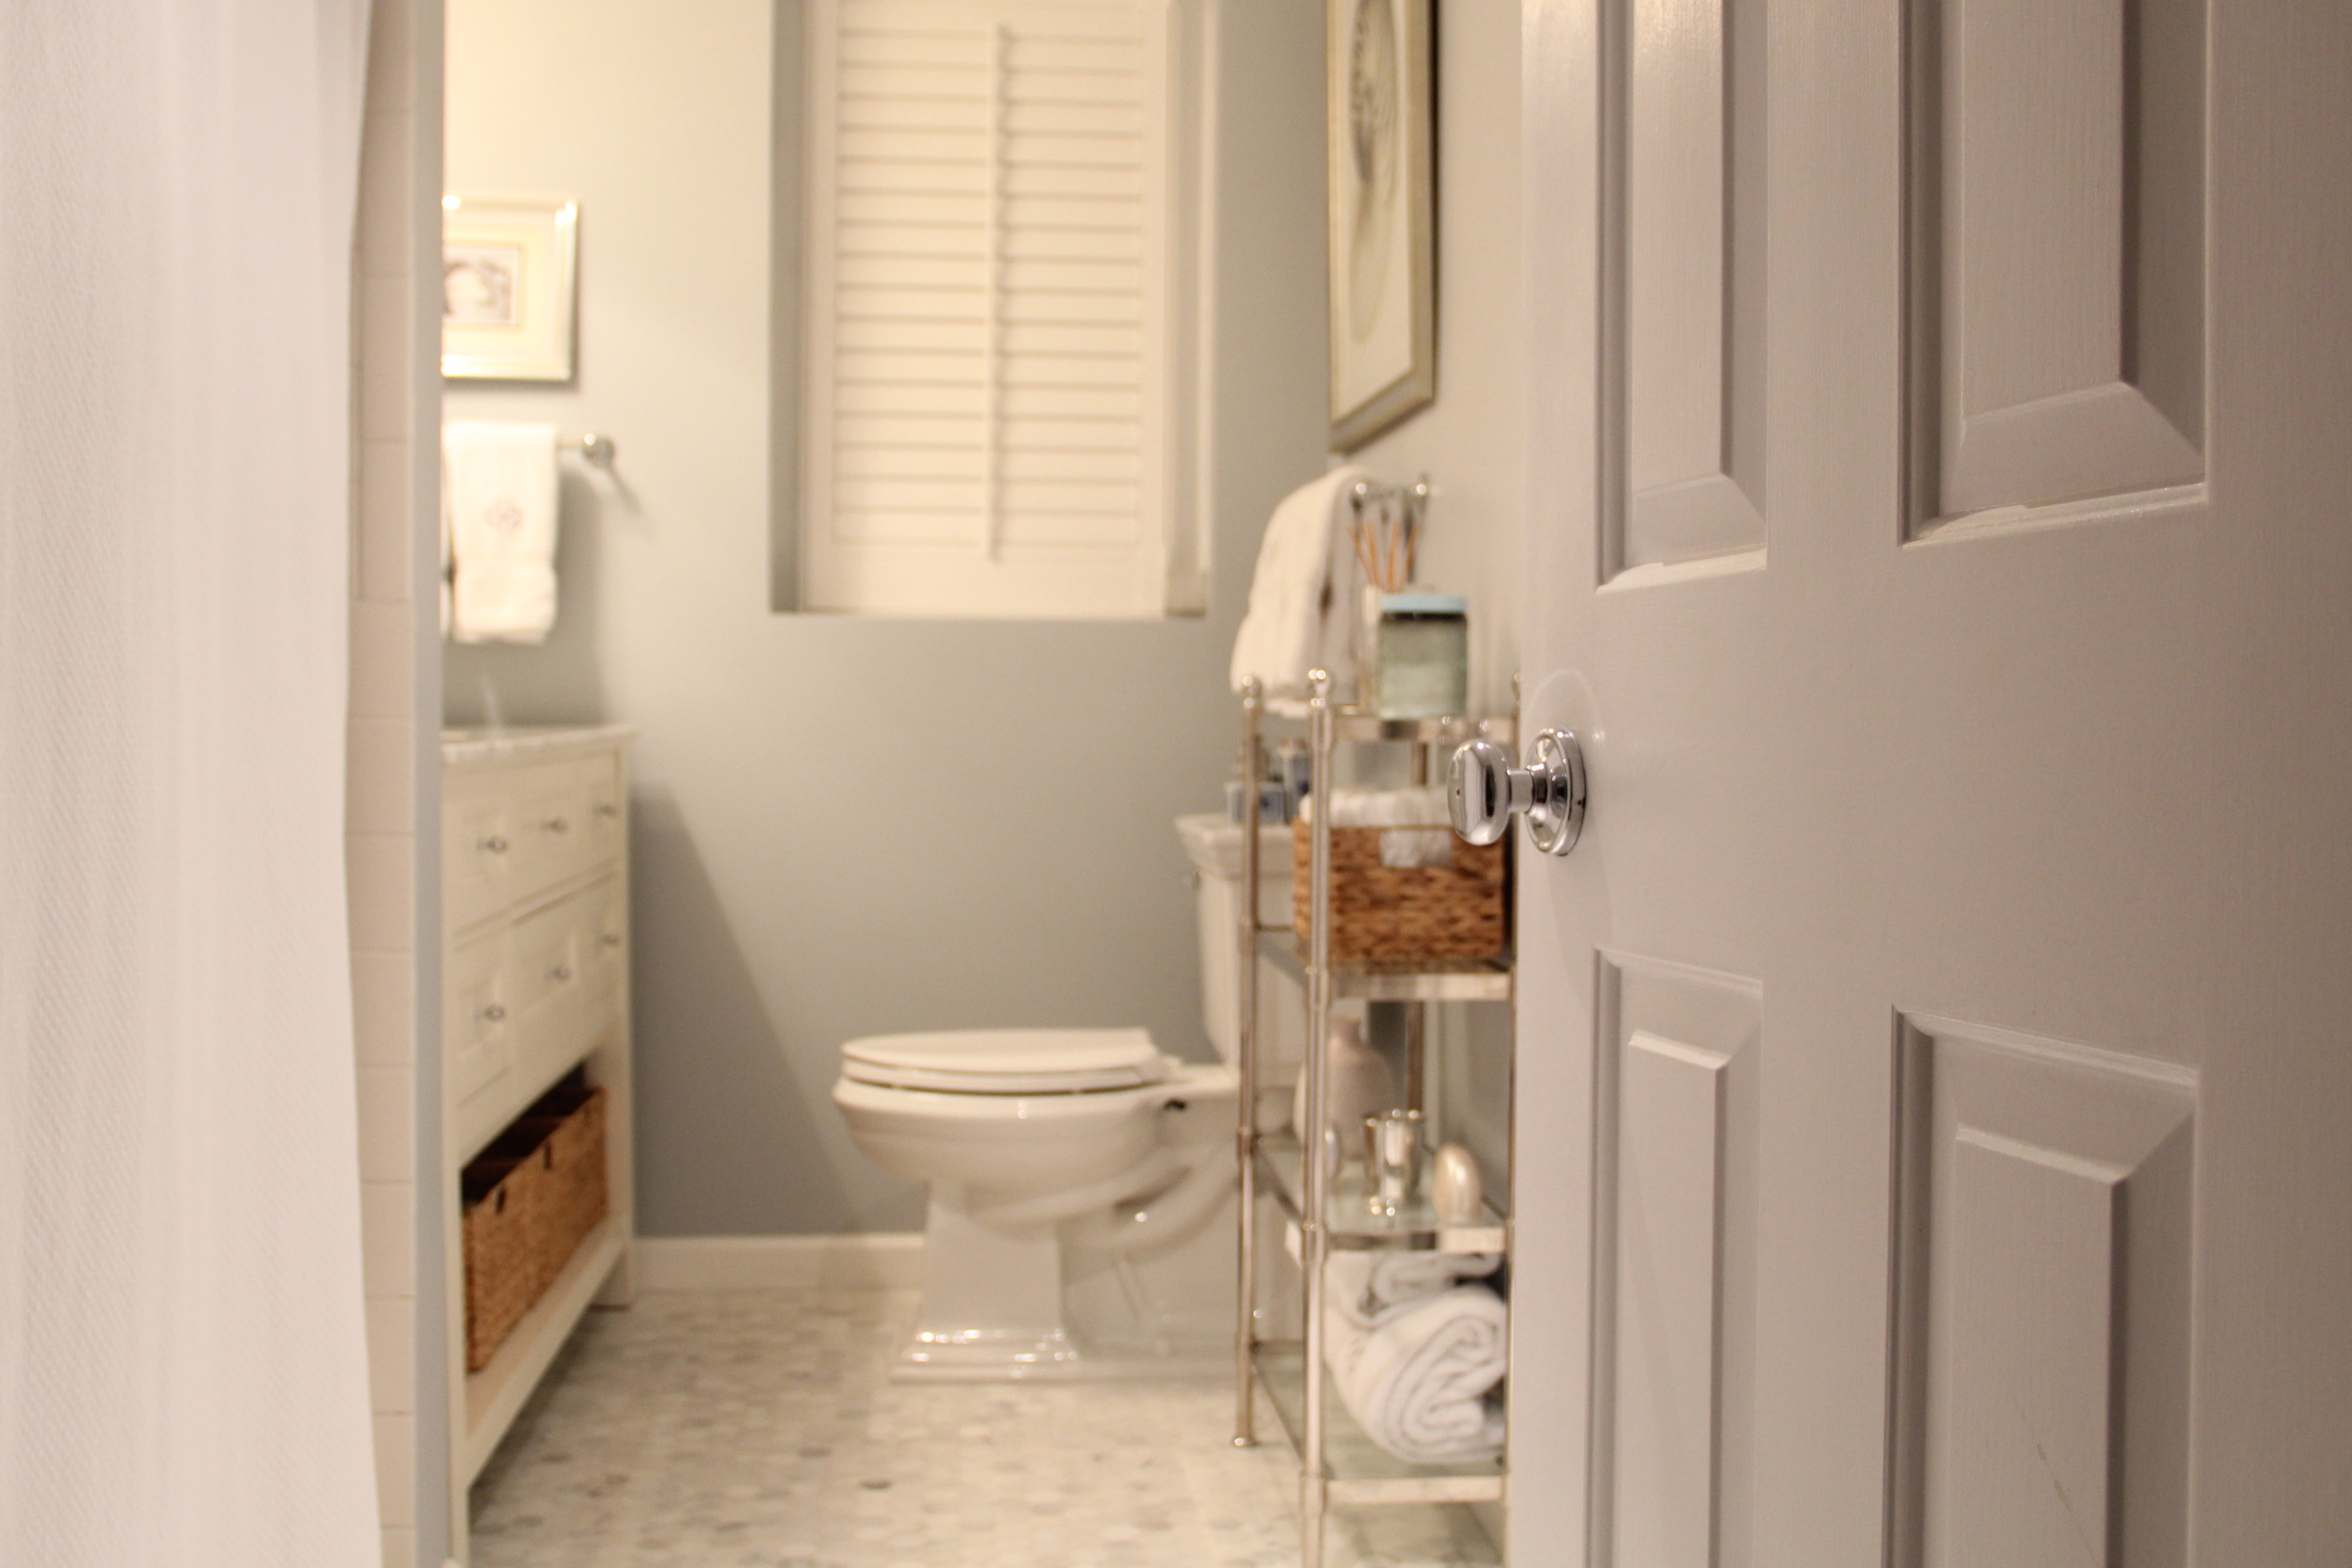
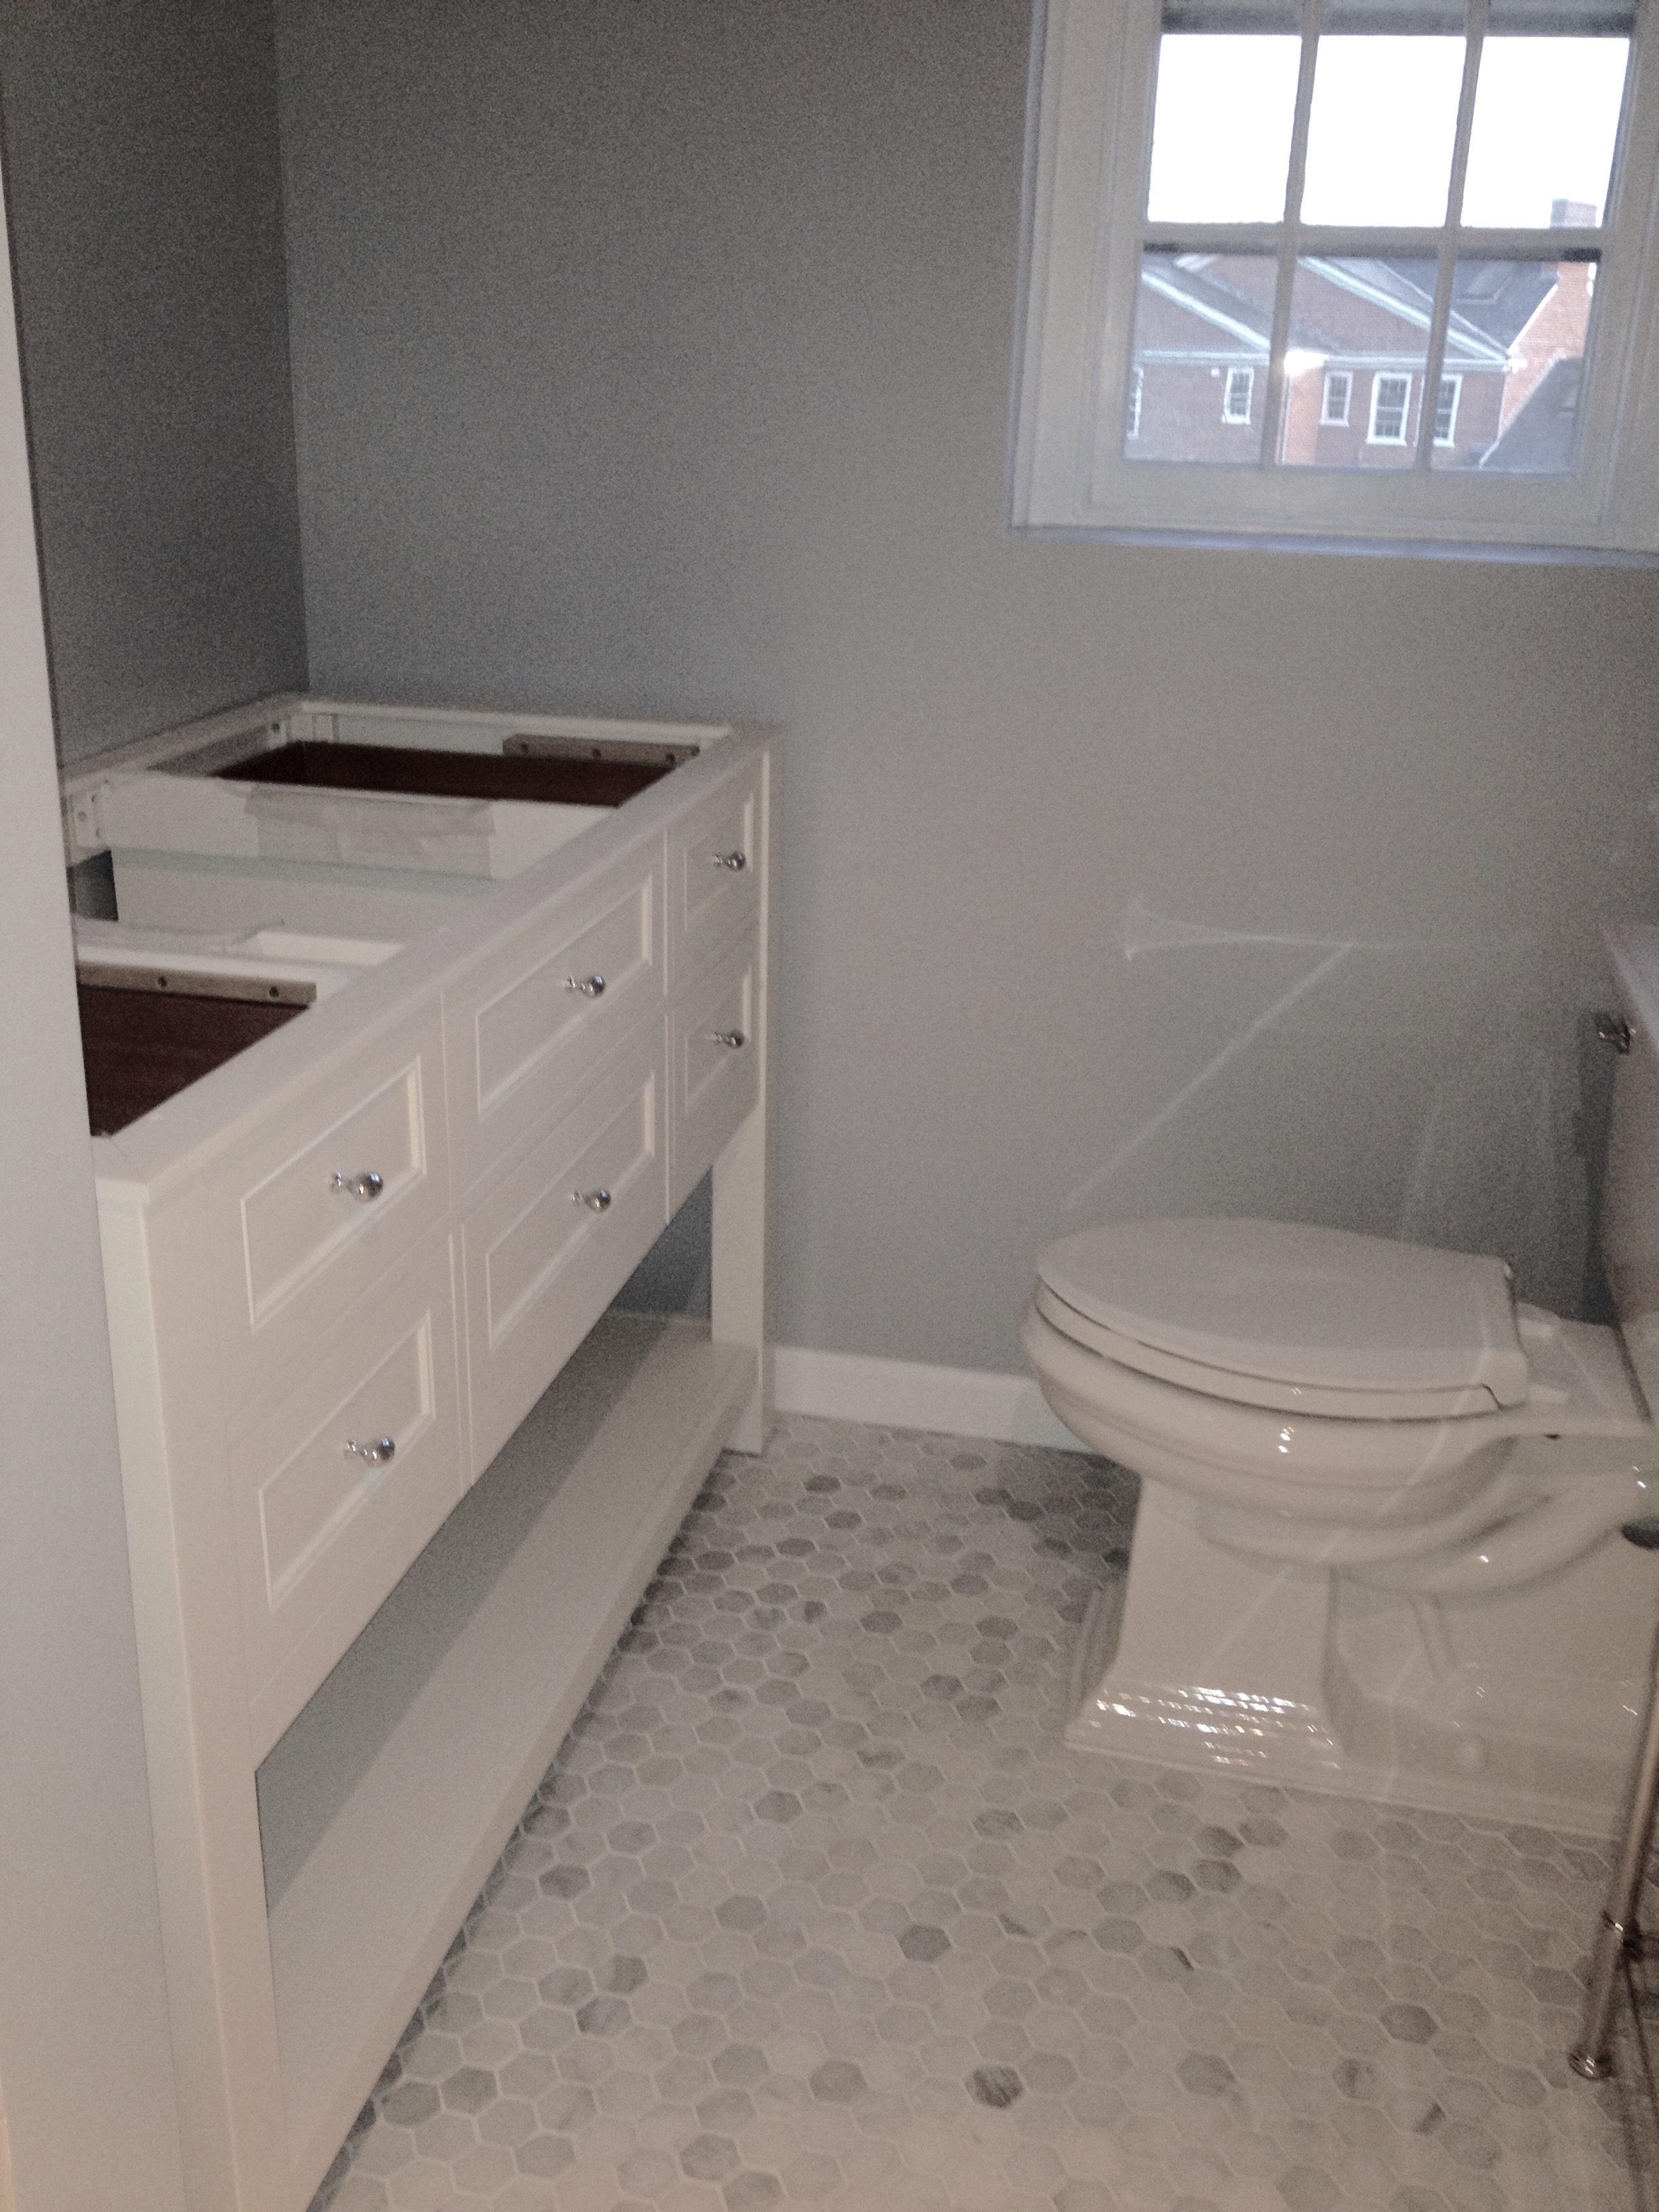
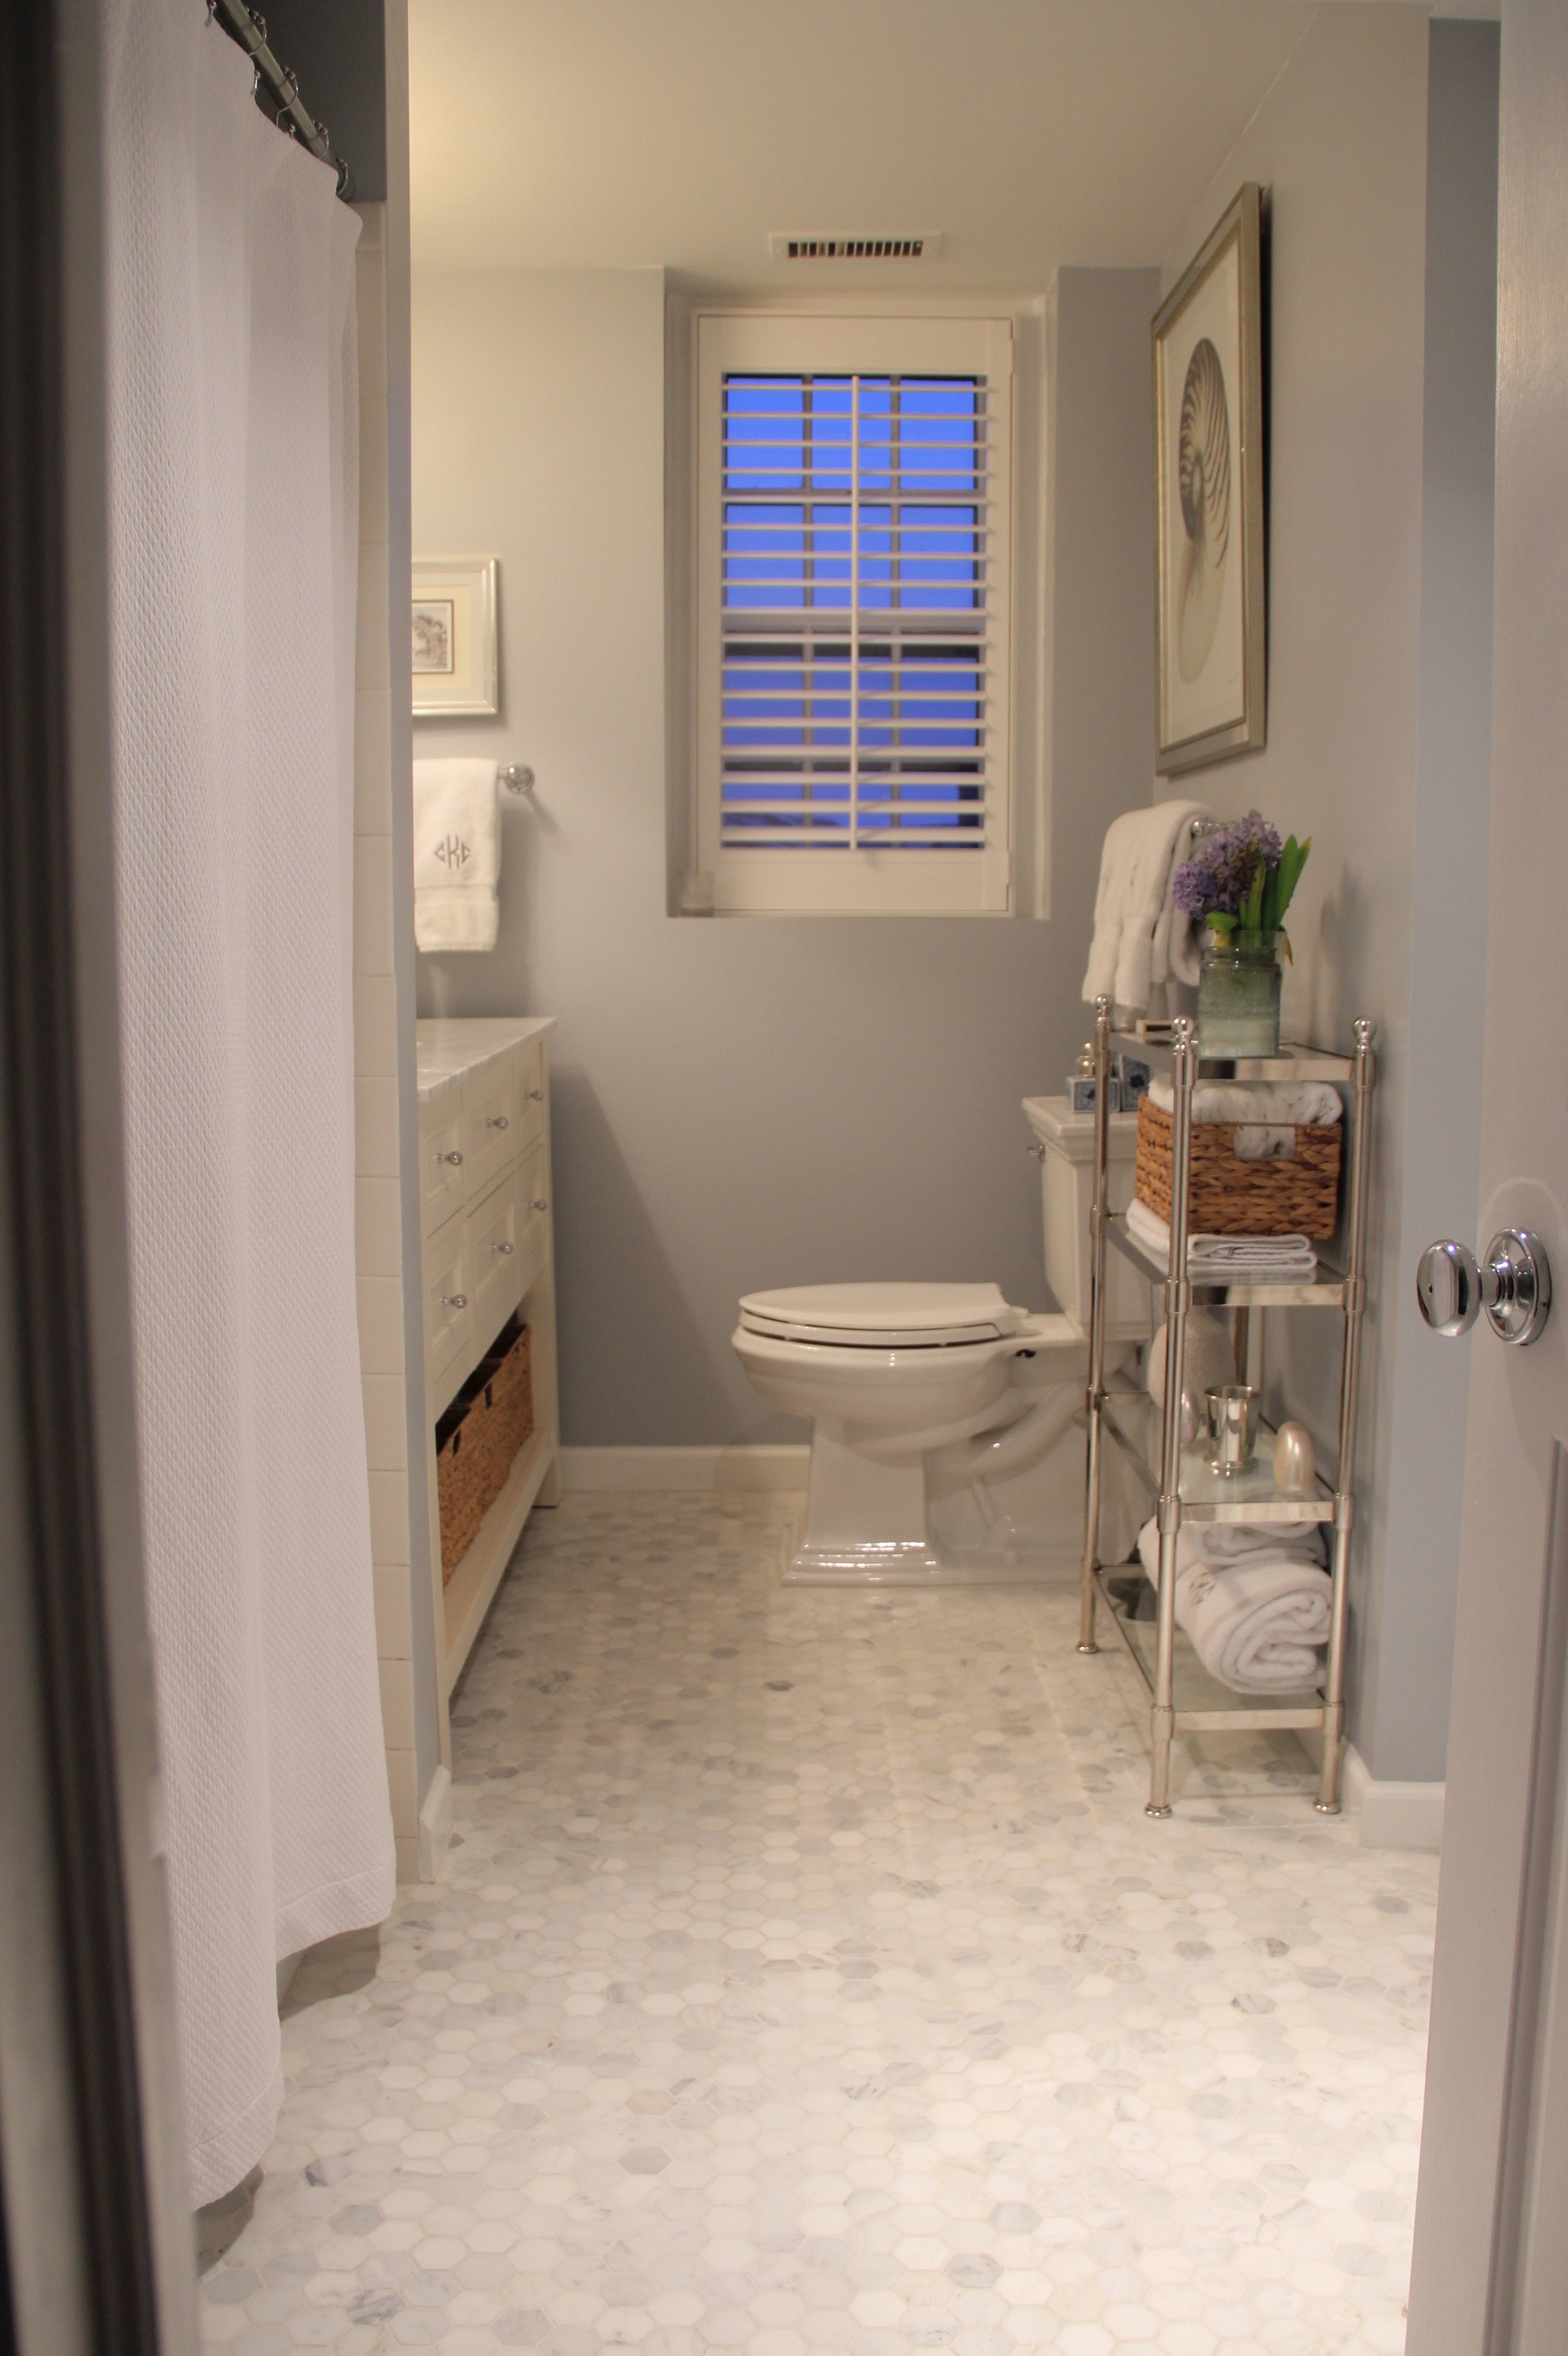
Before moving into our current home, I hadn't appreciated what a difference hardware (door knobs in particular) could make in terms of creating an updated look. During our bathroom renovation, we had decided to change out the old brass towel bars for polished chrome towel bars to match the knobs on the vanity. Our contractor then pointed out that we needed to replace the laundry door knob (our washer/dryer is in the bathroom) to remove the "gold tooth" aesthetic from the sea of polished chrome. One knob led to another and before I knew it, I had changed out all of the knobs in our house. Just like the Closetmaid shelves, only a screwdriver was needed for assembly/installation and at a cost of $8-$15/knob it was totally worth it!
I know that Rome wasn't built in a day, but being patient during our home renovation process has been challenging. These easy and affordable fixes have been a huge help during this process and might I add, it has been very gratifying reap the fruits of my own labor. These small changes have had a huge impact in the overall aesthetic and comfort of our new home and I hope that these ideas have inspired you to maybe find little ways to update your own space. As always, if you have any questions regarding info discussed today or anything else domestic, feel free to contact me any time!

