Morning Crunch Muffins

I learned of this recipe while on my honeymoon.  My husband and I took a cooking class, which I highly recommend doing with your significant other or even just a friend.  It was really nice to have an activity date night that wasn't just dinner and a movie (not that there is anything wrong with that) and we learned something to boot!  The class taught my husband a healthy and flavorful salmon recipe that he could easily cook.  As well, the class gave me great inspiration for recipes like these morning crunch muffins.   

These breakfast cakes are low sugar, high-protein, flavor packed and Paleo Diet-Friendly!  Added bonus, they are great for making ahead of time and freezing each cake individually wrapped (a perfect breakfast on the go).

Makes 12 Muffins

Makes 12 Muffins

Ingredients

  • 1c Unsweetened Shredded Coconut (toasted)
  • 4 Tbs Toasted Flax Seeds
  • 3 Tbs Raw Unsalted Sunflower Seeds
  •  3 Tbs Sesame Seeds (not toasted)
  • ¼ c Dried Unsweetened Dark Cherries
  • ½ tsp Kosher Salt
  • ½ tsp Baking Soda
  • ¼ c Sliced Raw Almonds 
  • 4 Tbs Grape Seed Oil (or Safflower Oil)
  • 4 Tbs Agave Syrup
  • 2 tsp Vanilla Extract
  • 4 Tbs Almond Meal/Almond Flour 
  • 4 Tbs Garbanzo Bean Flour (or Hazelnut Flour)

Directions

  1. Preheat oven to 325 degrees
  2. Combine all ingredients
  3. Grease muffin pan either Grape Seed Oil or Pam Cooking Spray
  4. Distribute batter evenly in 12 muffin cups
  5. Press batter into each cup so that it is packed tightly
  6. Bake for 15 minutes
  7. Let cool and wrap individually

Slow Cooker Lentil Soup

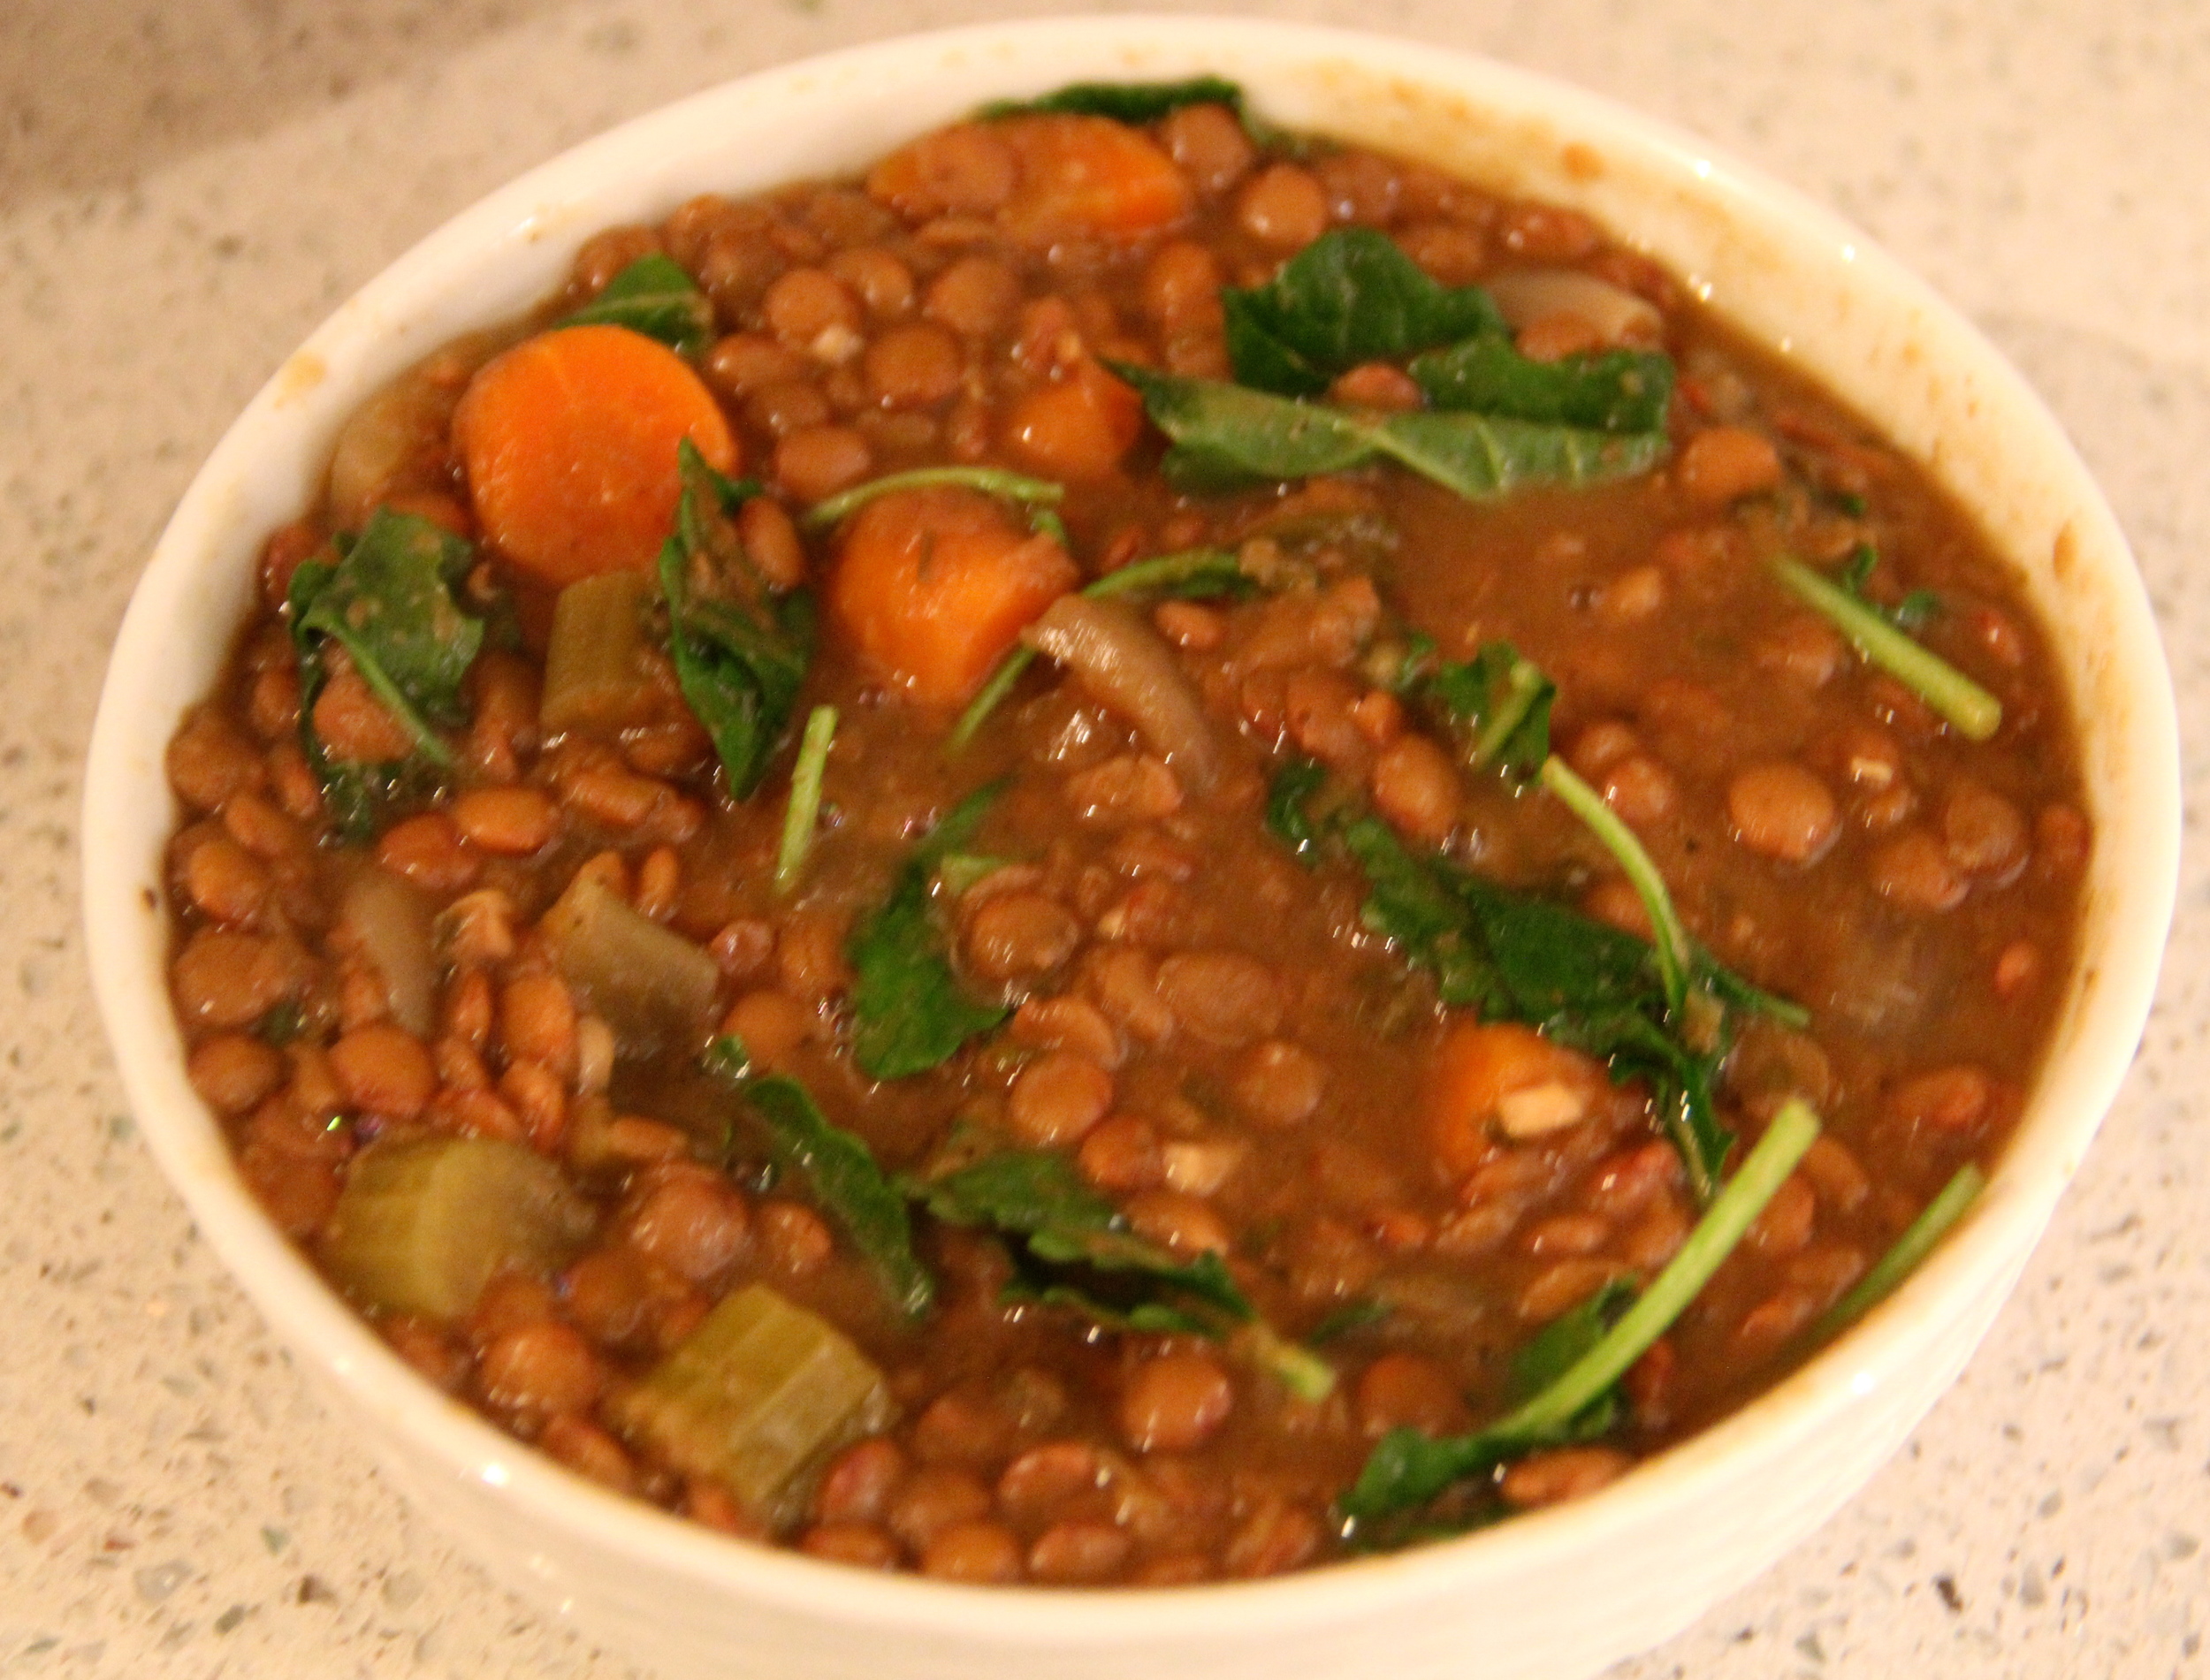
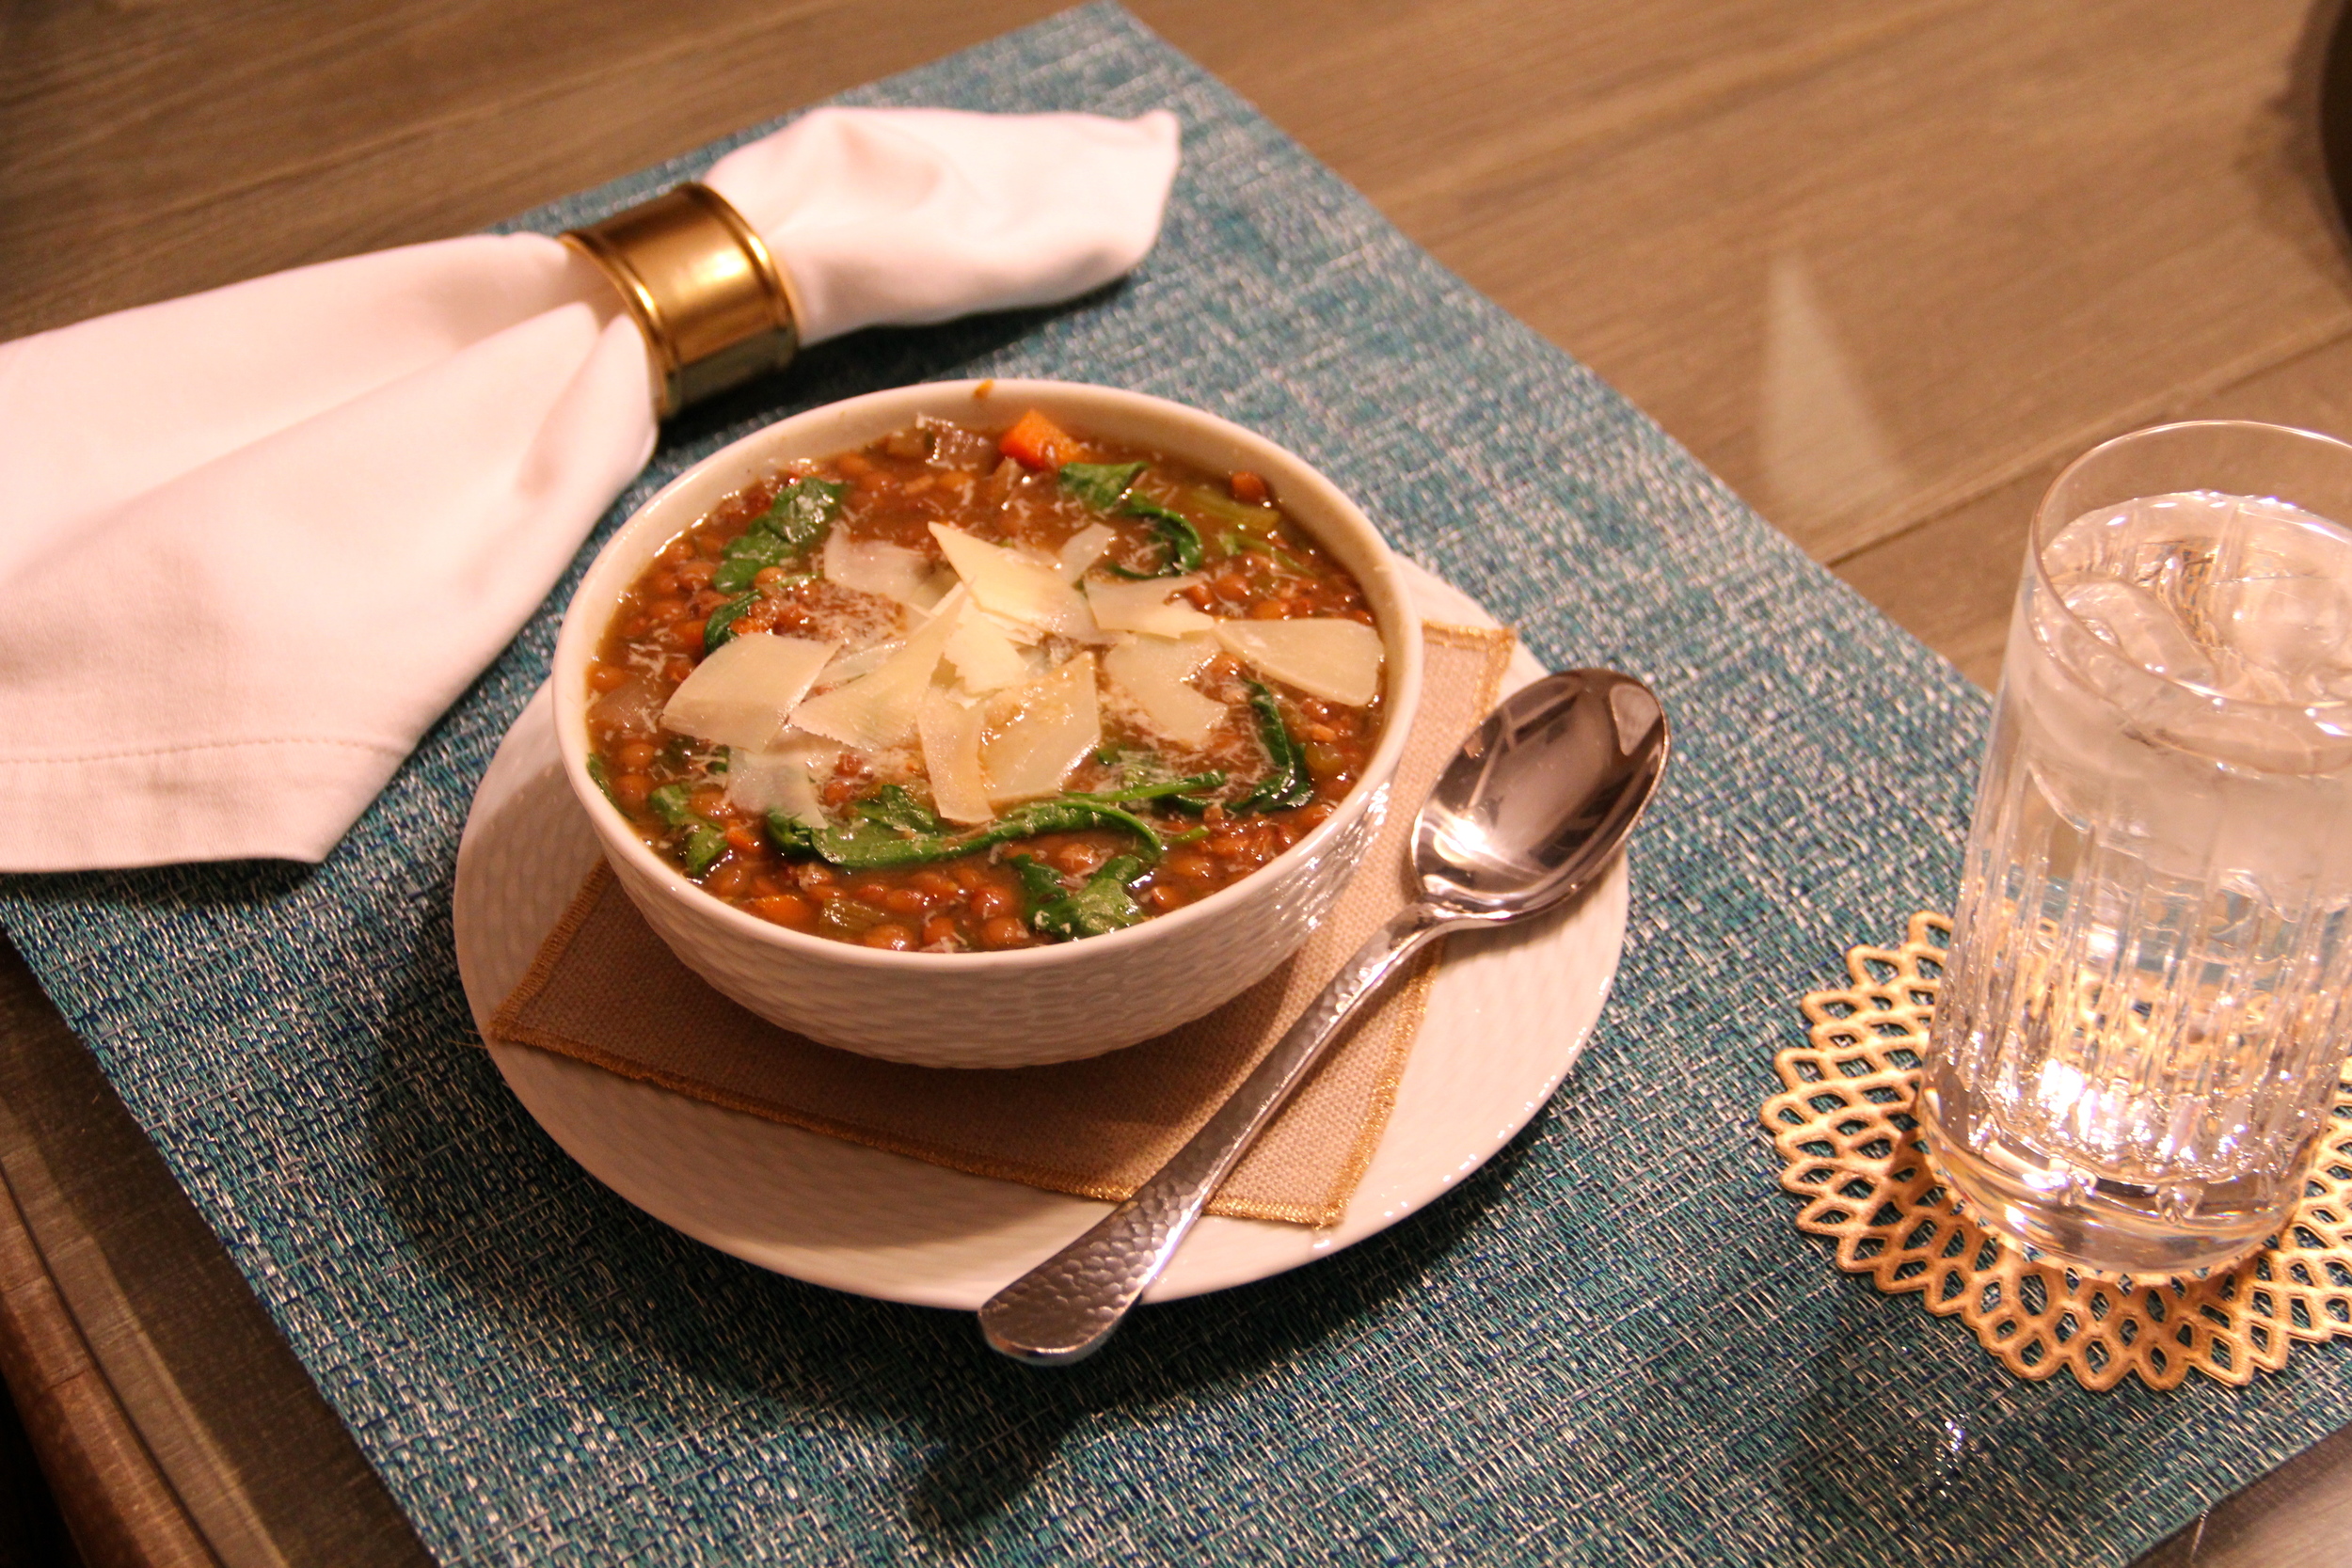
While it may seem like Winter is this long, cold, dry, depressing season during the year, I have to say that I totally don't believe this to be true.  From snow skiing to the entirely different wardrobe I get to take advantage of during this season, winter has a bunch of wonderful things to offer.  However, my #1 reason for loving winter would have to be Soup Season!   

I love soup and during the winter, I seem to exist off of it!  Its so warm, comforting, delicious and can be very healthy.  Speaking of healthy, I have come up with a wonderful and very healthy Lentil Soup recipe made in my beloved Crock Pot!!  Oh how I LOVE my Crock Pot.  Just set it and forget it!  The best part about this recipe?  In addition to being inexpensive to make, it's delicious, nutritious and also vegetarian friendly!  This recipe yields many servings of soup, so I love to make it over the weekend and then my husband and I will reheat it during the week.  This slow cooker lentil soup is definitely worthy of being a staple in your recipe repertoire. 

Ingredients

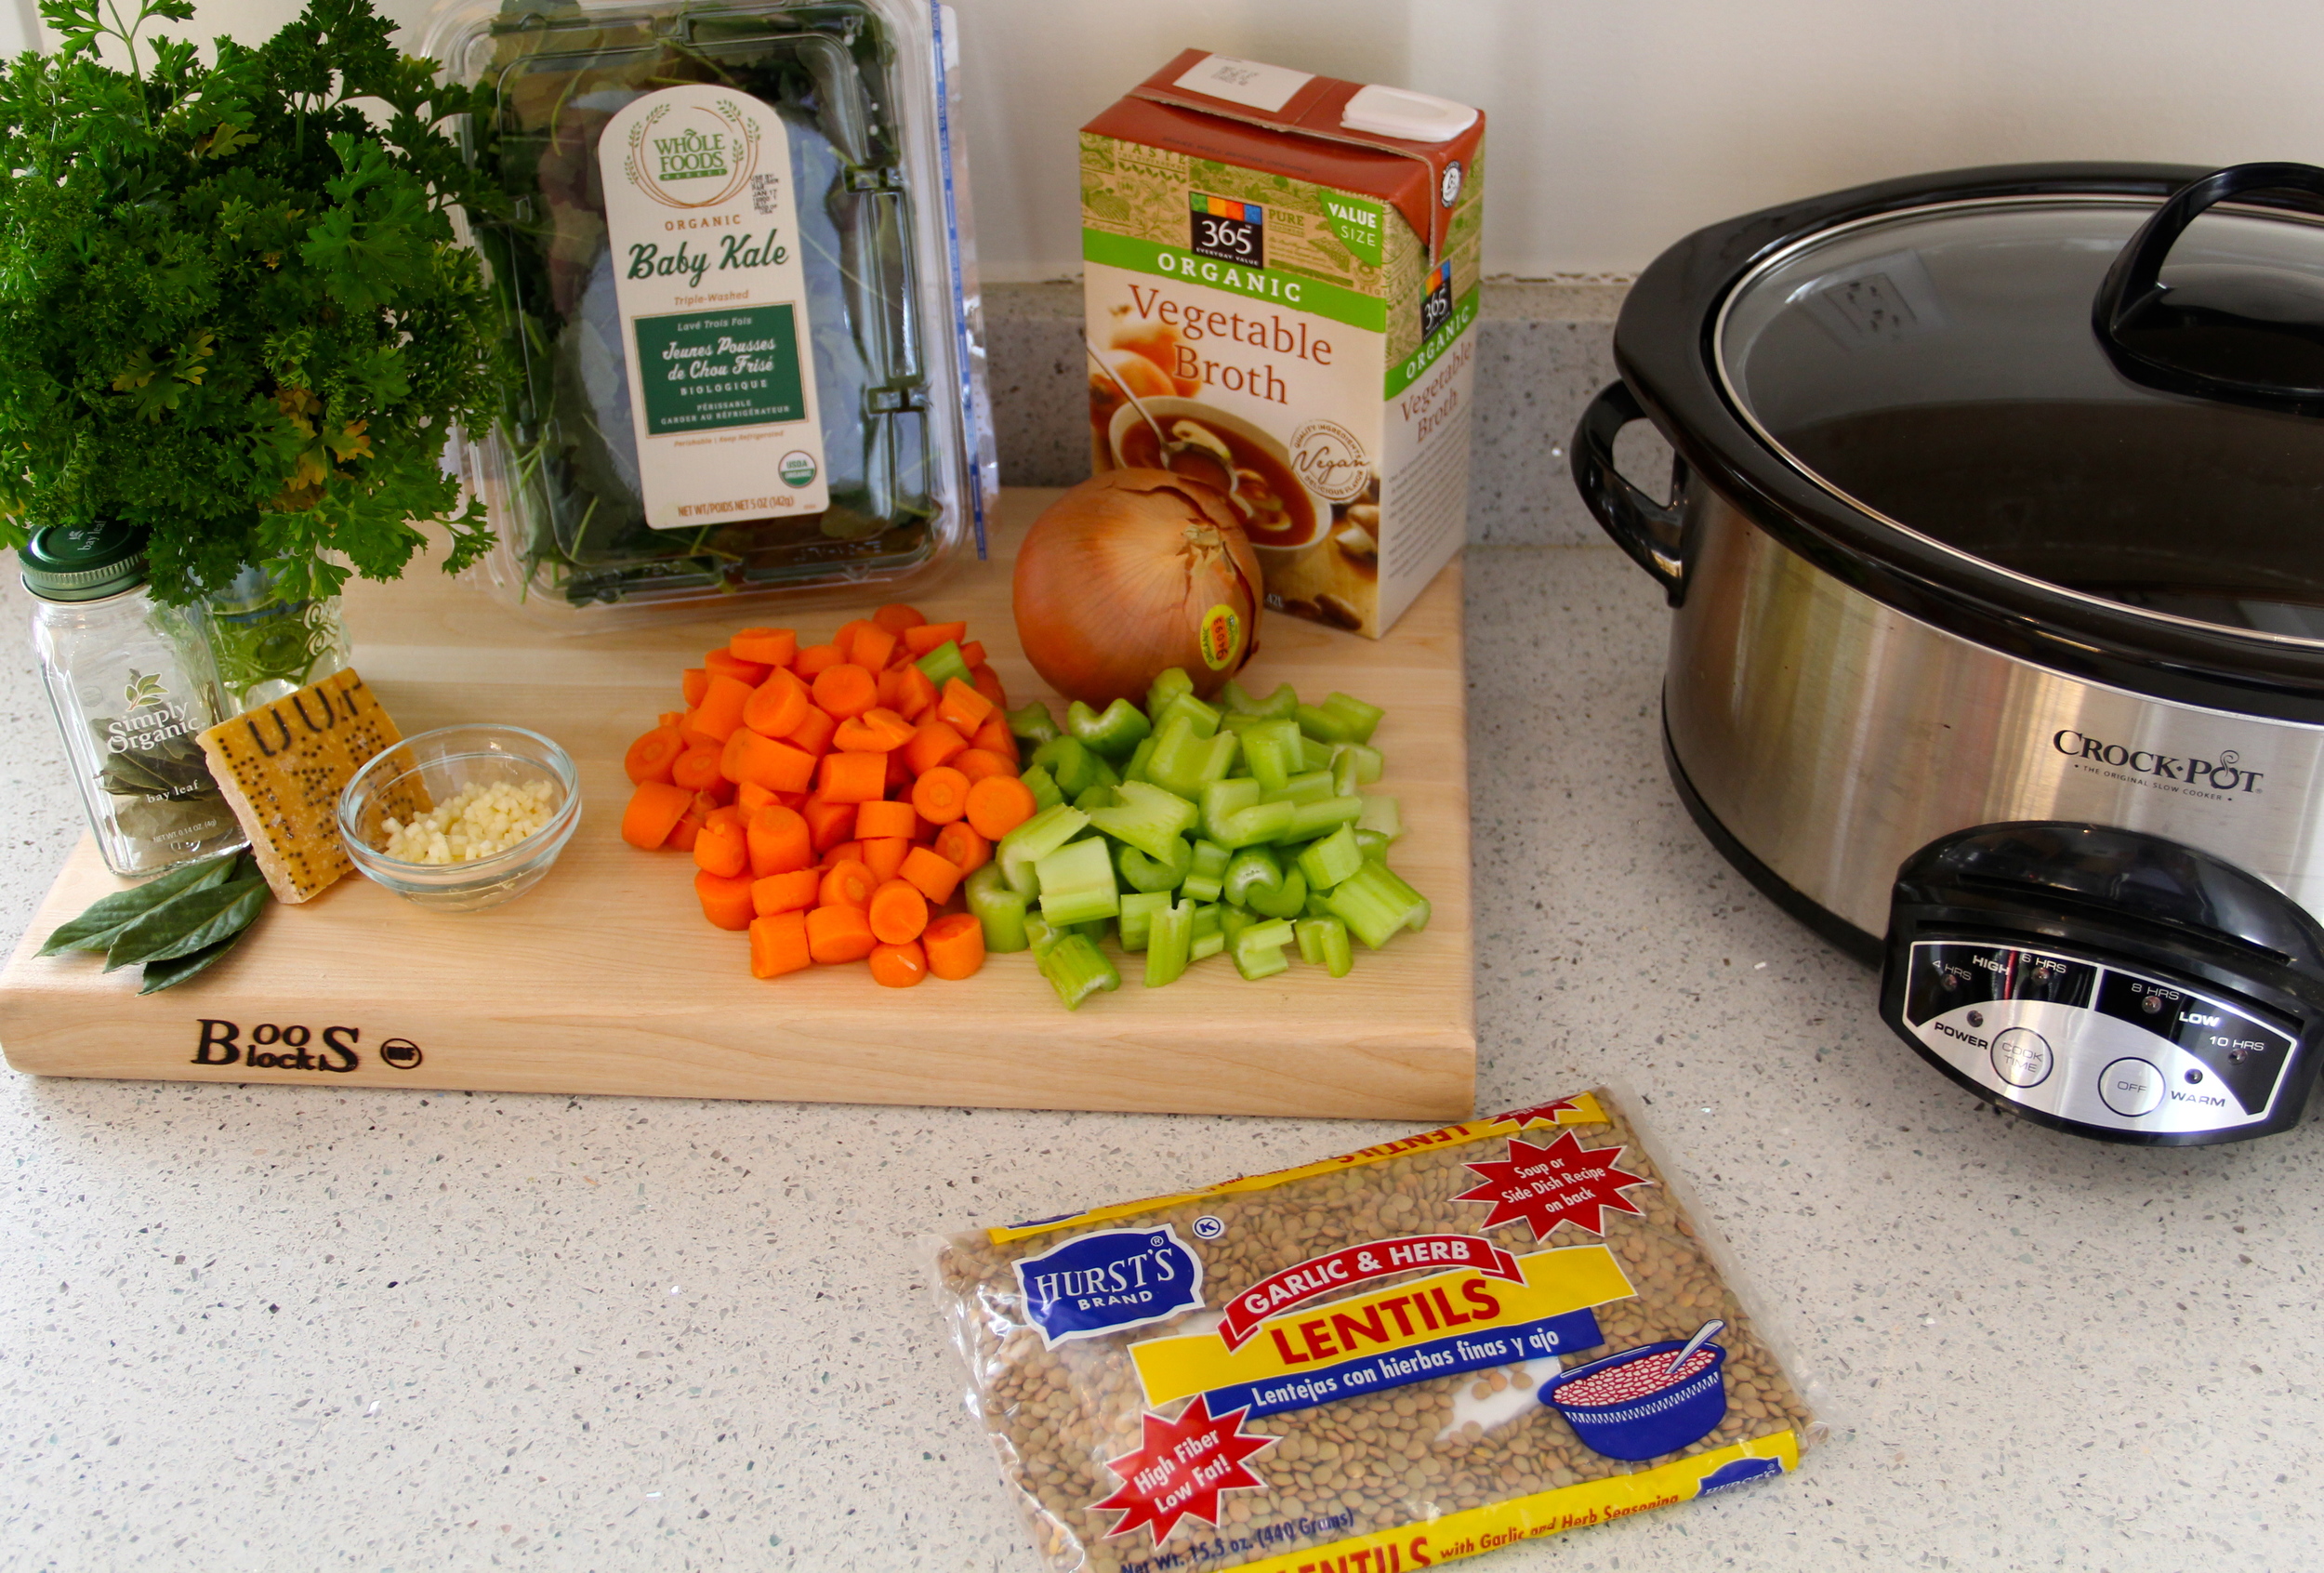
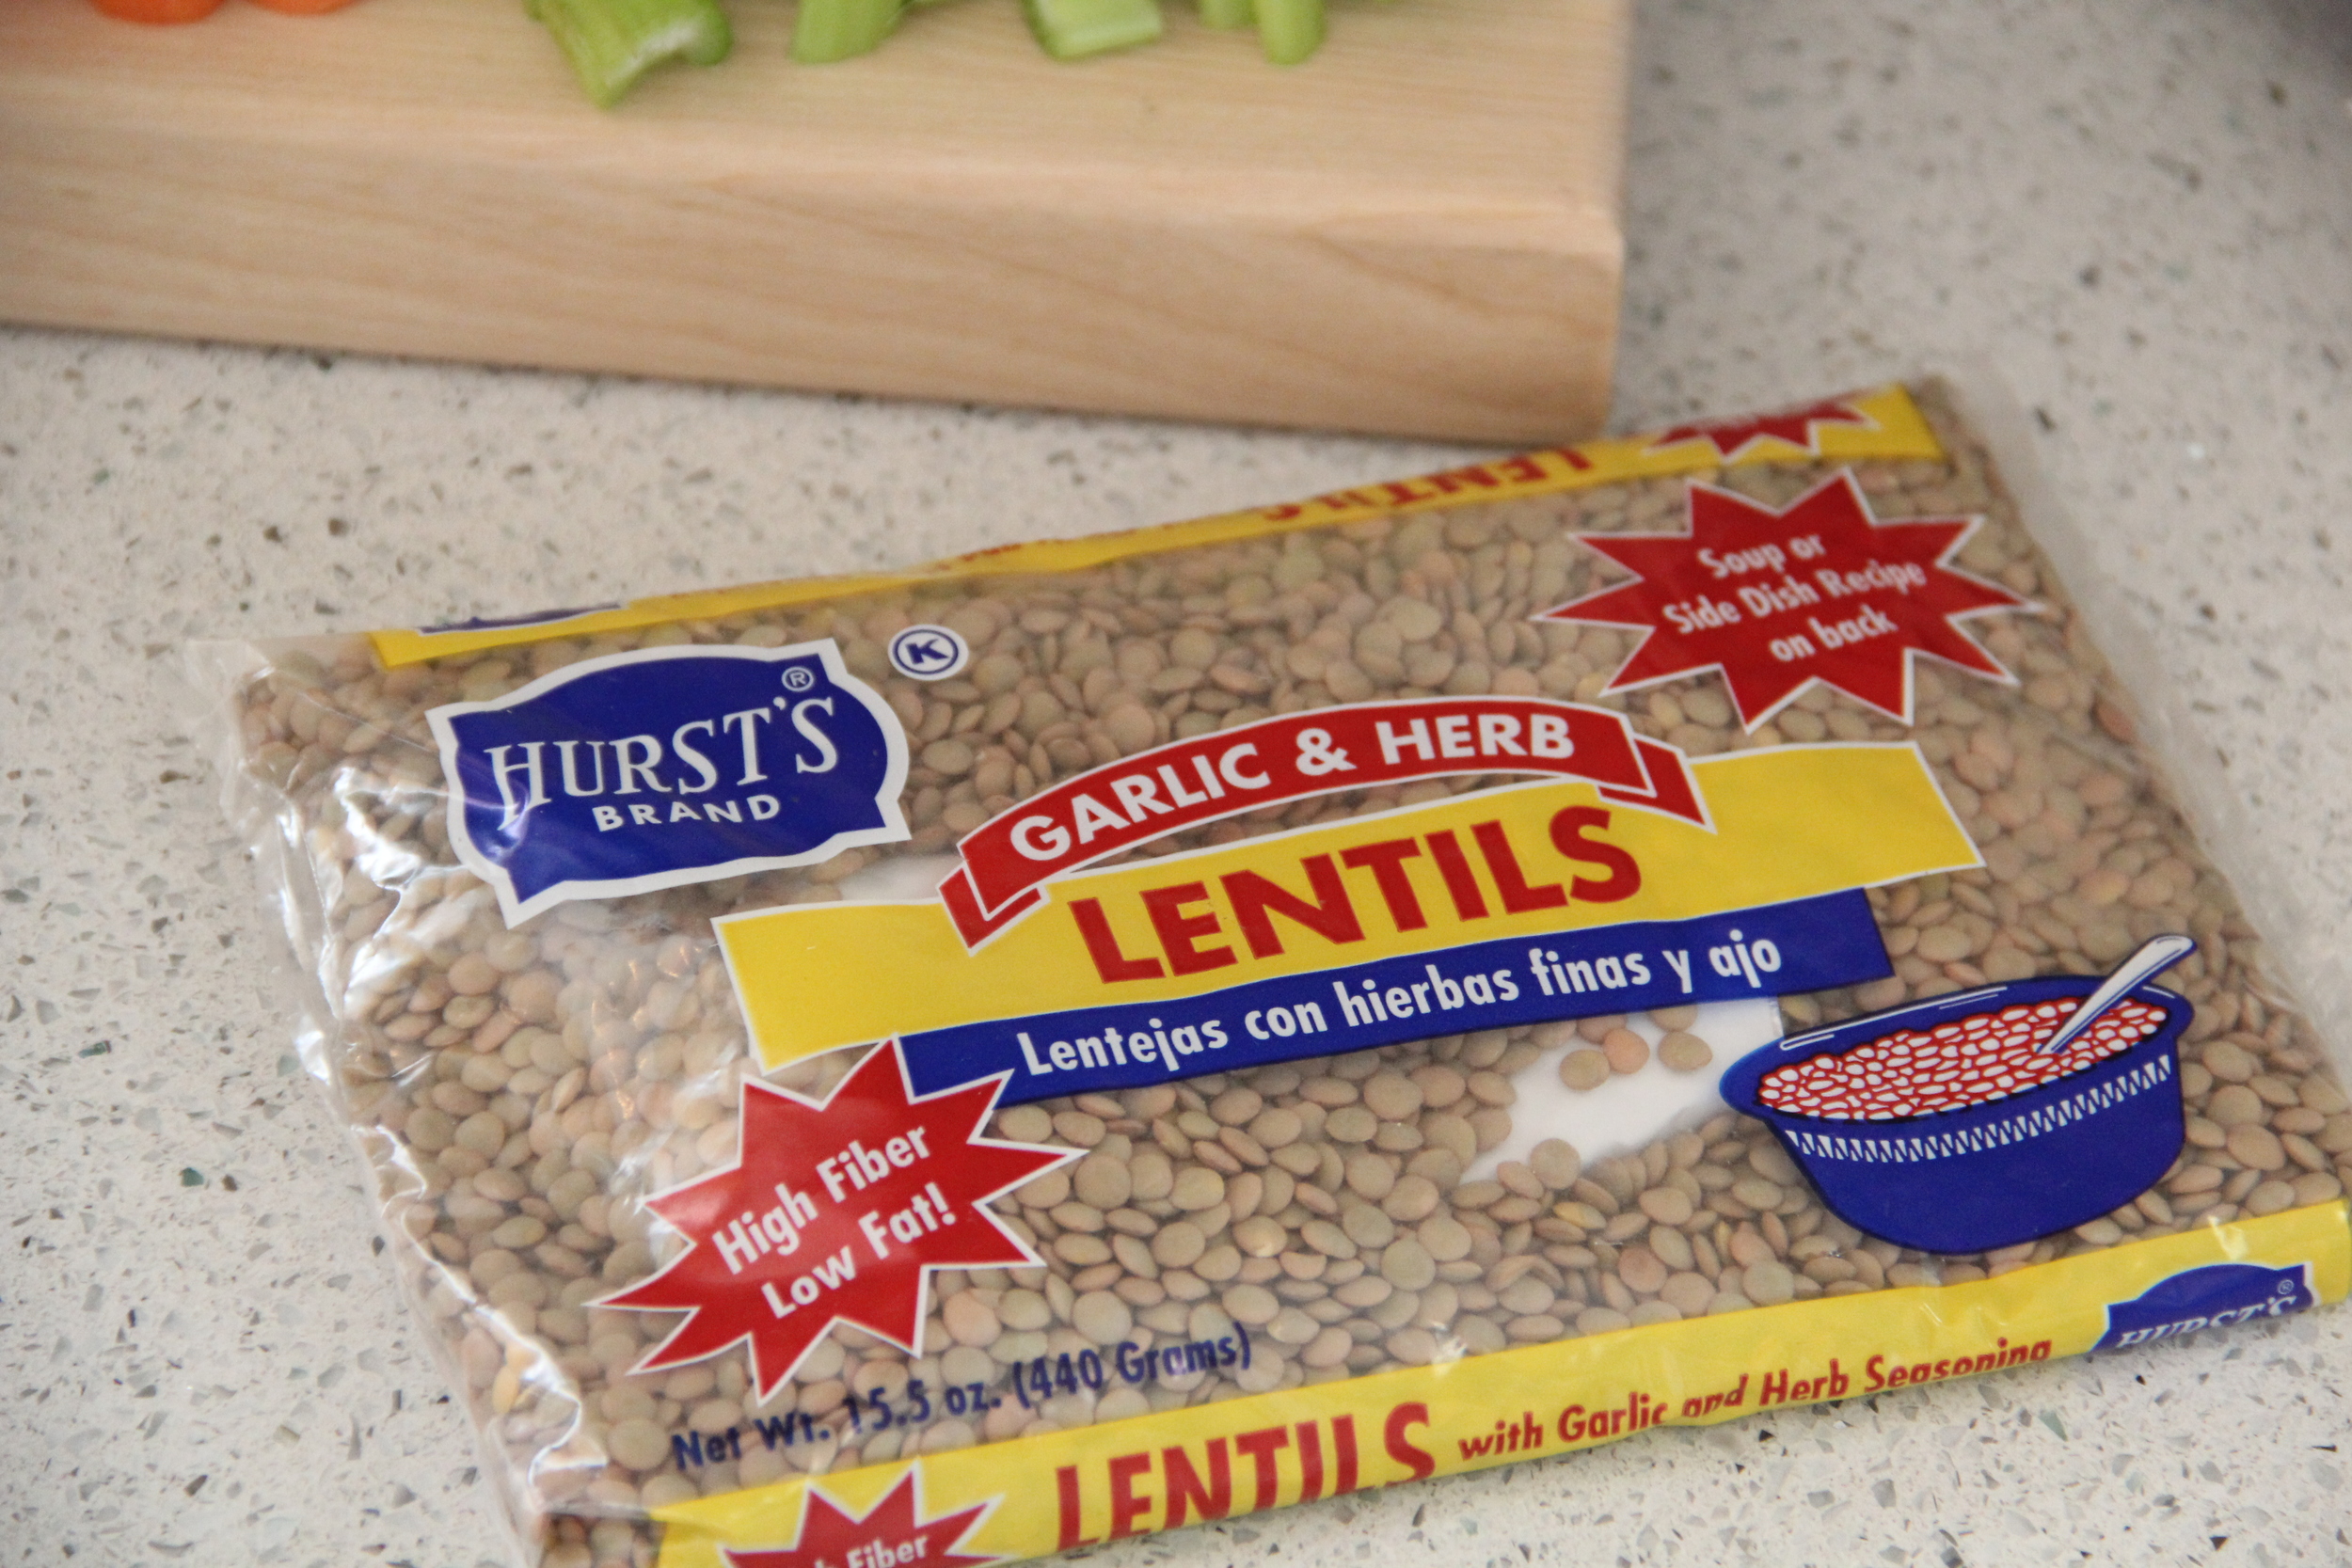
  • 1 Bag of Hurst's Brand Garlic & Herb Lentils (Harris Teeter and Publix carry this specific bag of lentils.  You can also order them in bulk from the Hurst's Store Website)
  • 1 Medium Yellow Onion Diced Coarse
  • 5 Stalks of Celery cut into 1/2inch pieces
  • 1.5 Cups of Carrots cut into 1/2inch pieces
  • 6 Cups Vegetable Broth
  • 2 Cups Water
  • 1 Parmesan Cheese Rind (Either Cut this off of a parmesan block that you buy or you can go to grocery stores like Whole Foods and buy a container of Just the Rinds--the rinds will keep in your fridge for months and are a staple in most of my soup recipes because of all of the flavor they add)
  • 5 Cloves of Garlic Minced
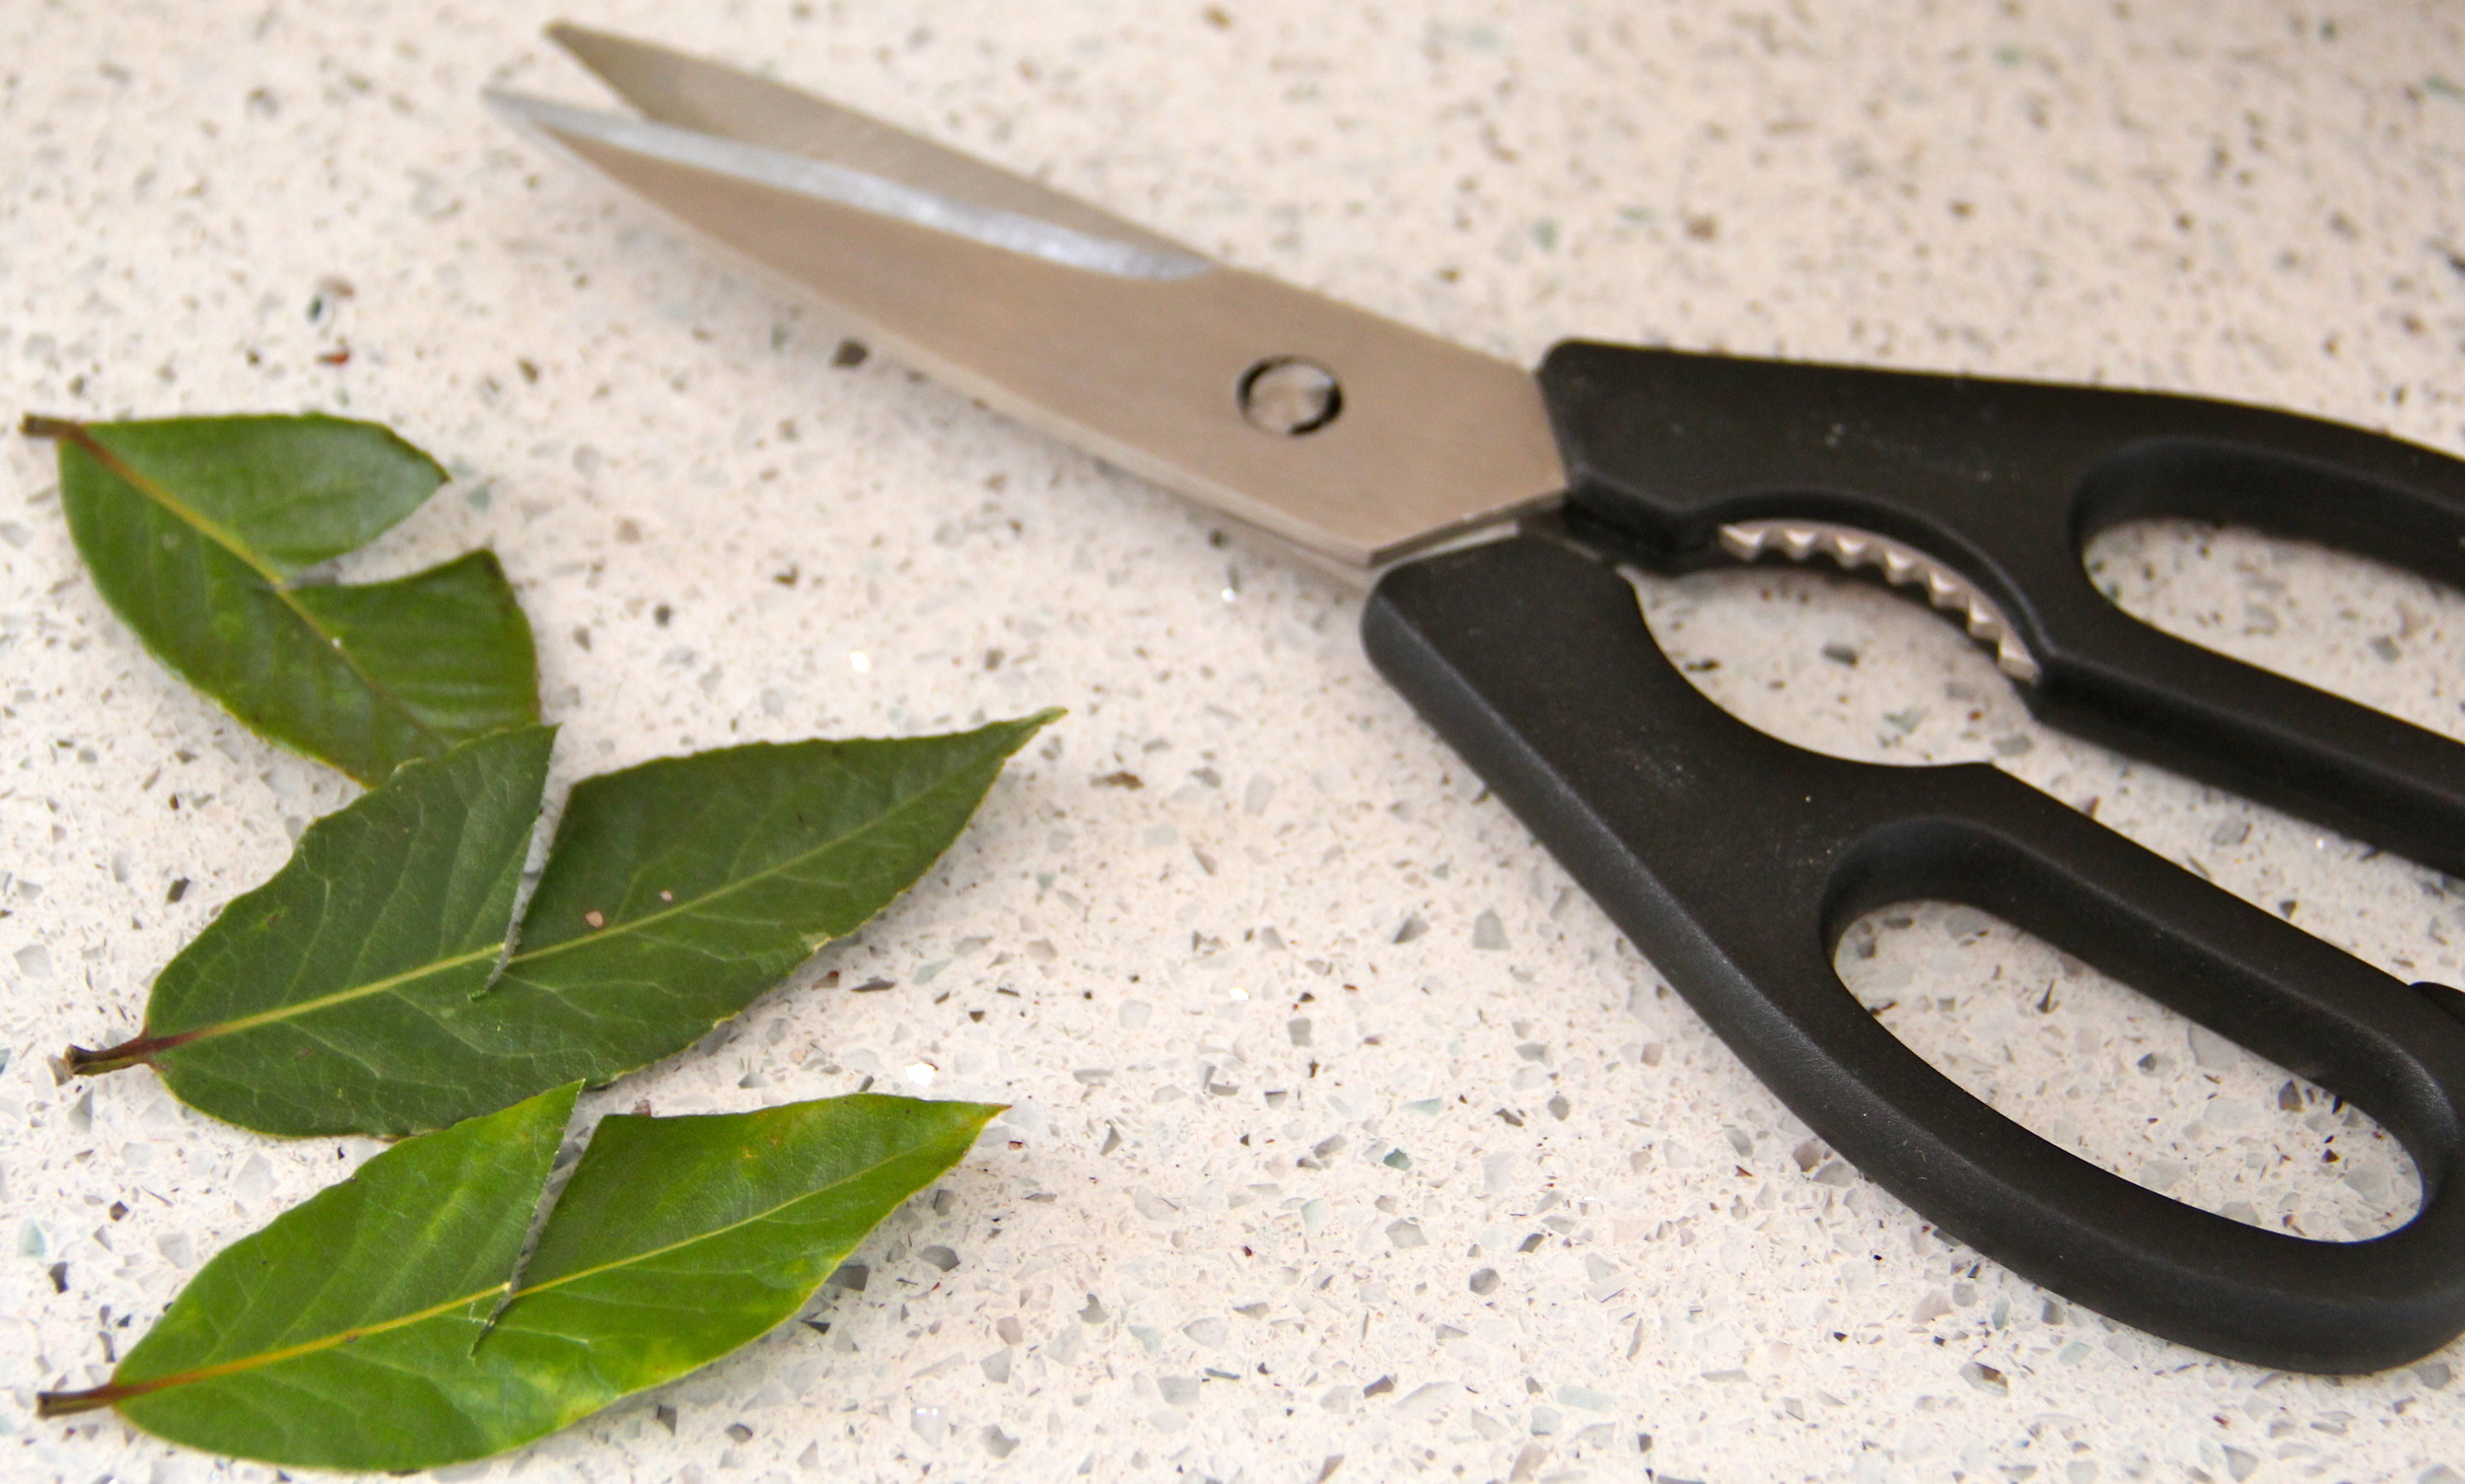
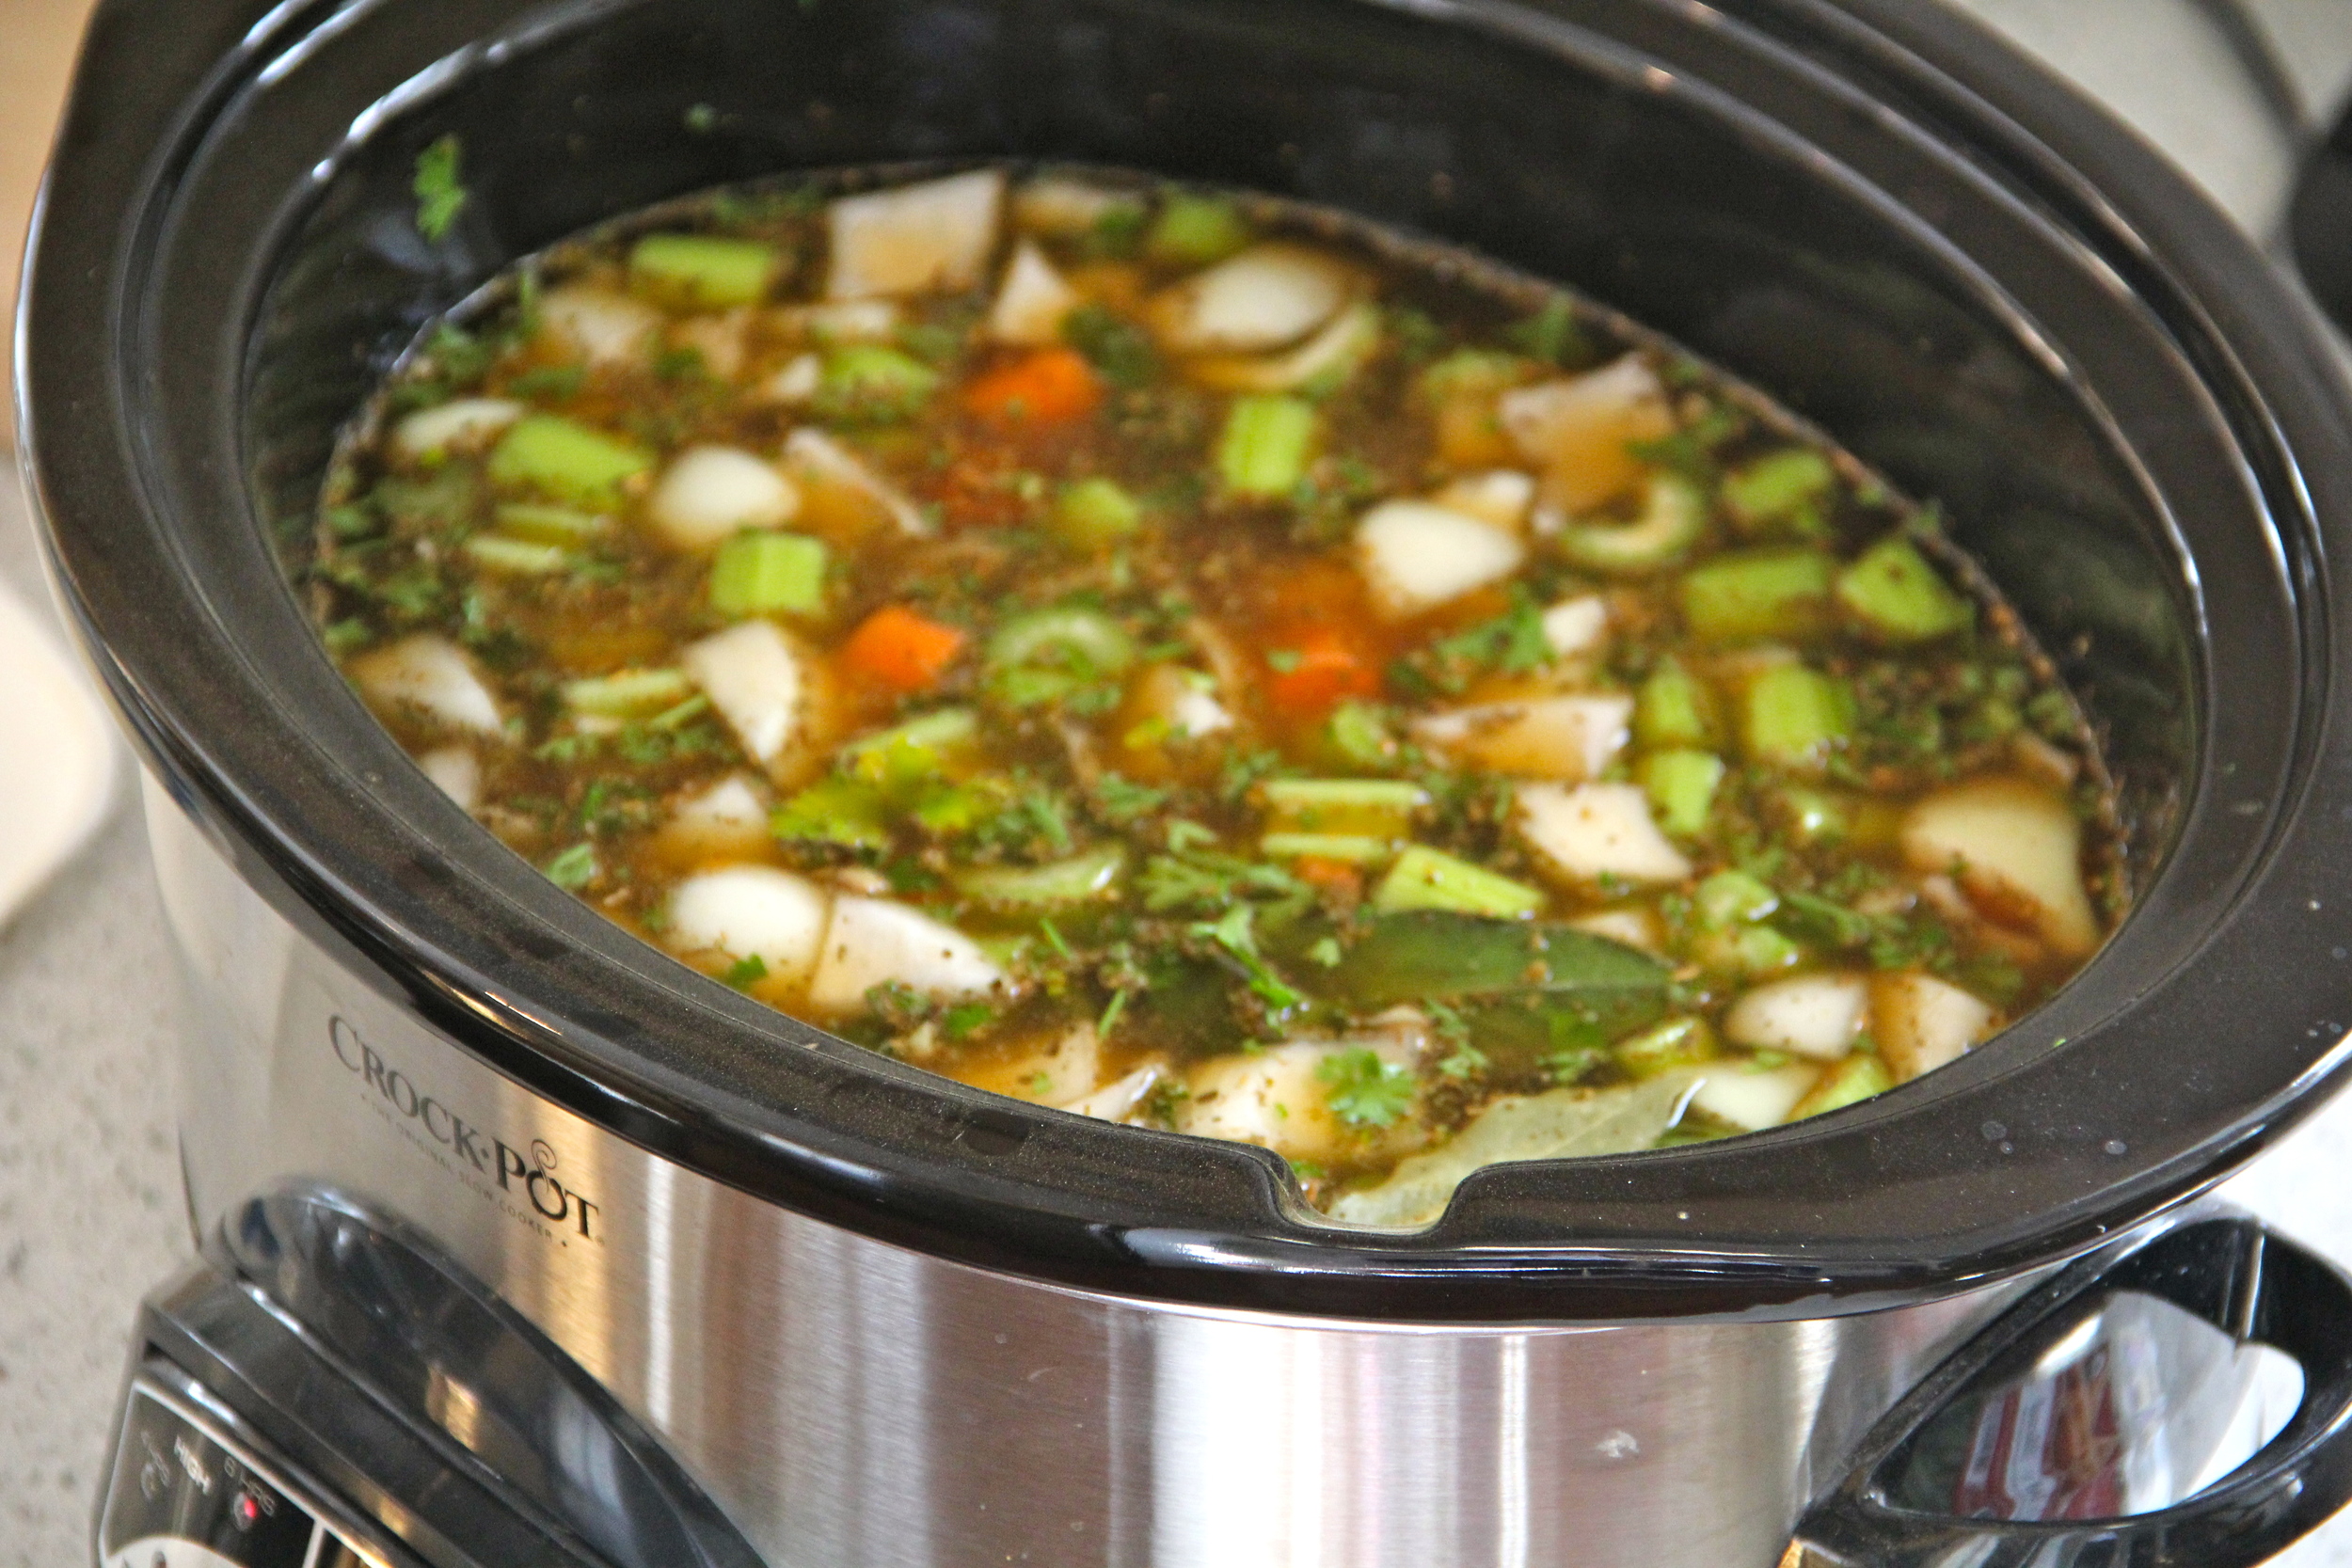
  • 3 Fresh Bay Leaves Cut in the Center (see image below)
  • 2 Dried Bay Leaves
  • 1/4Cup Fresh Chopped Parsley
  • Fresh Baby Kale
  • Fresh Shaved Parmesan

Instructions:

  1. Add the Vegetable Broth and Water to the Crock Pot
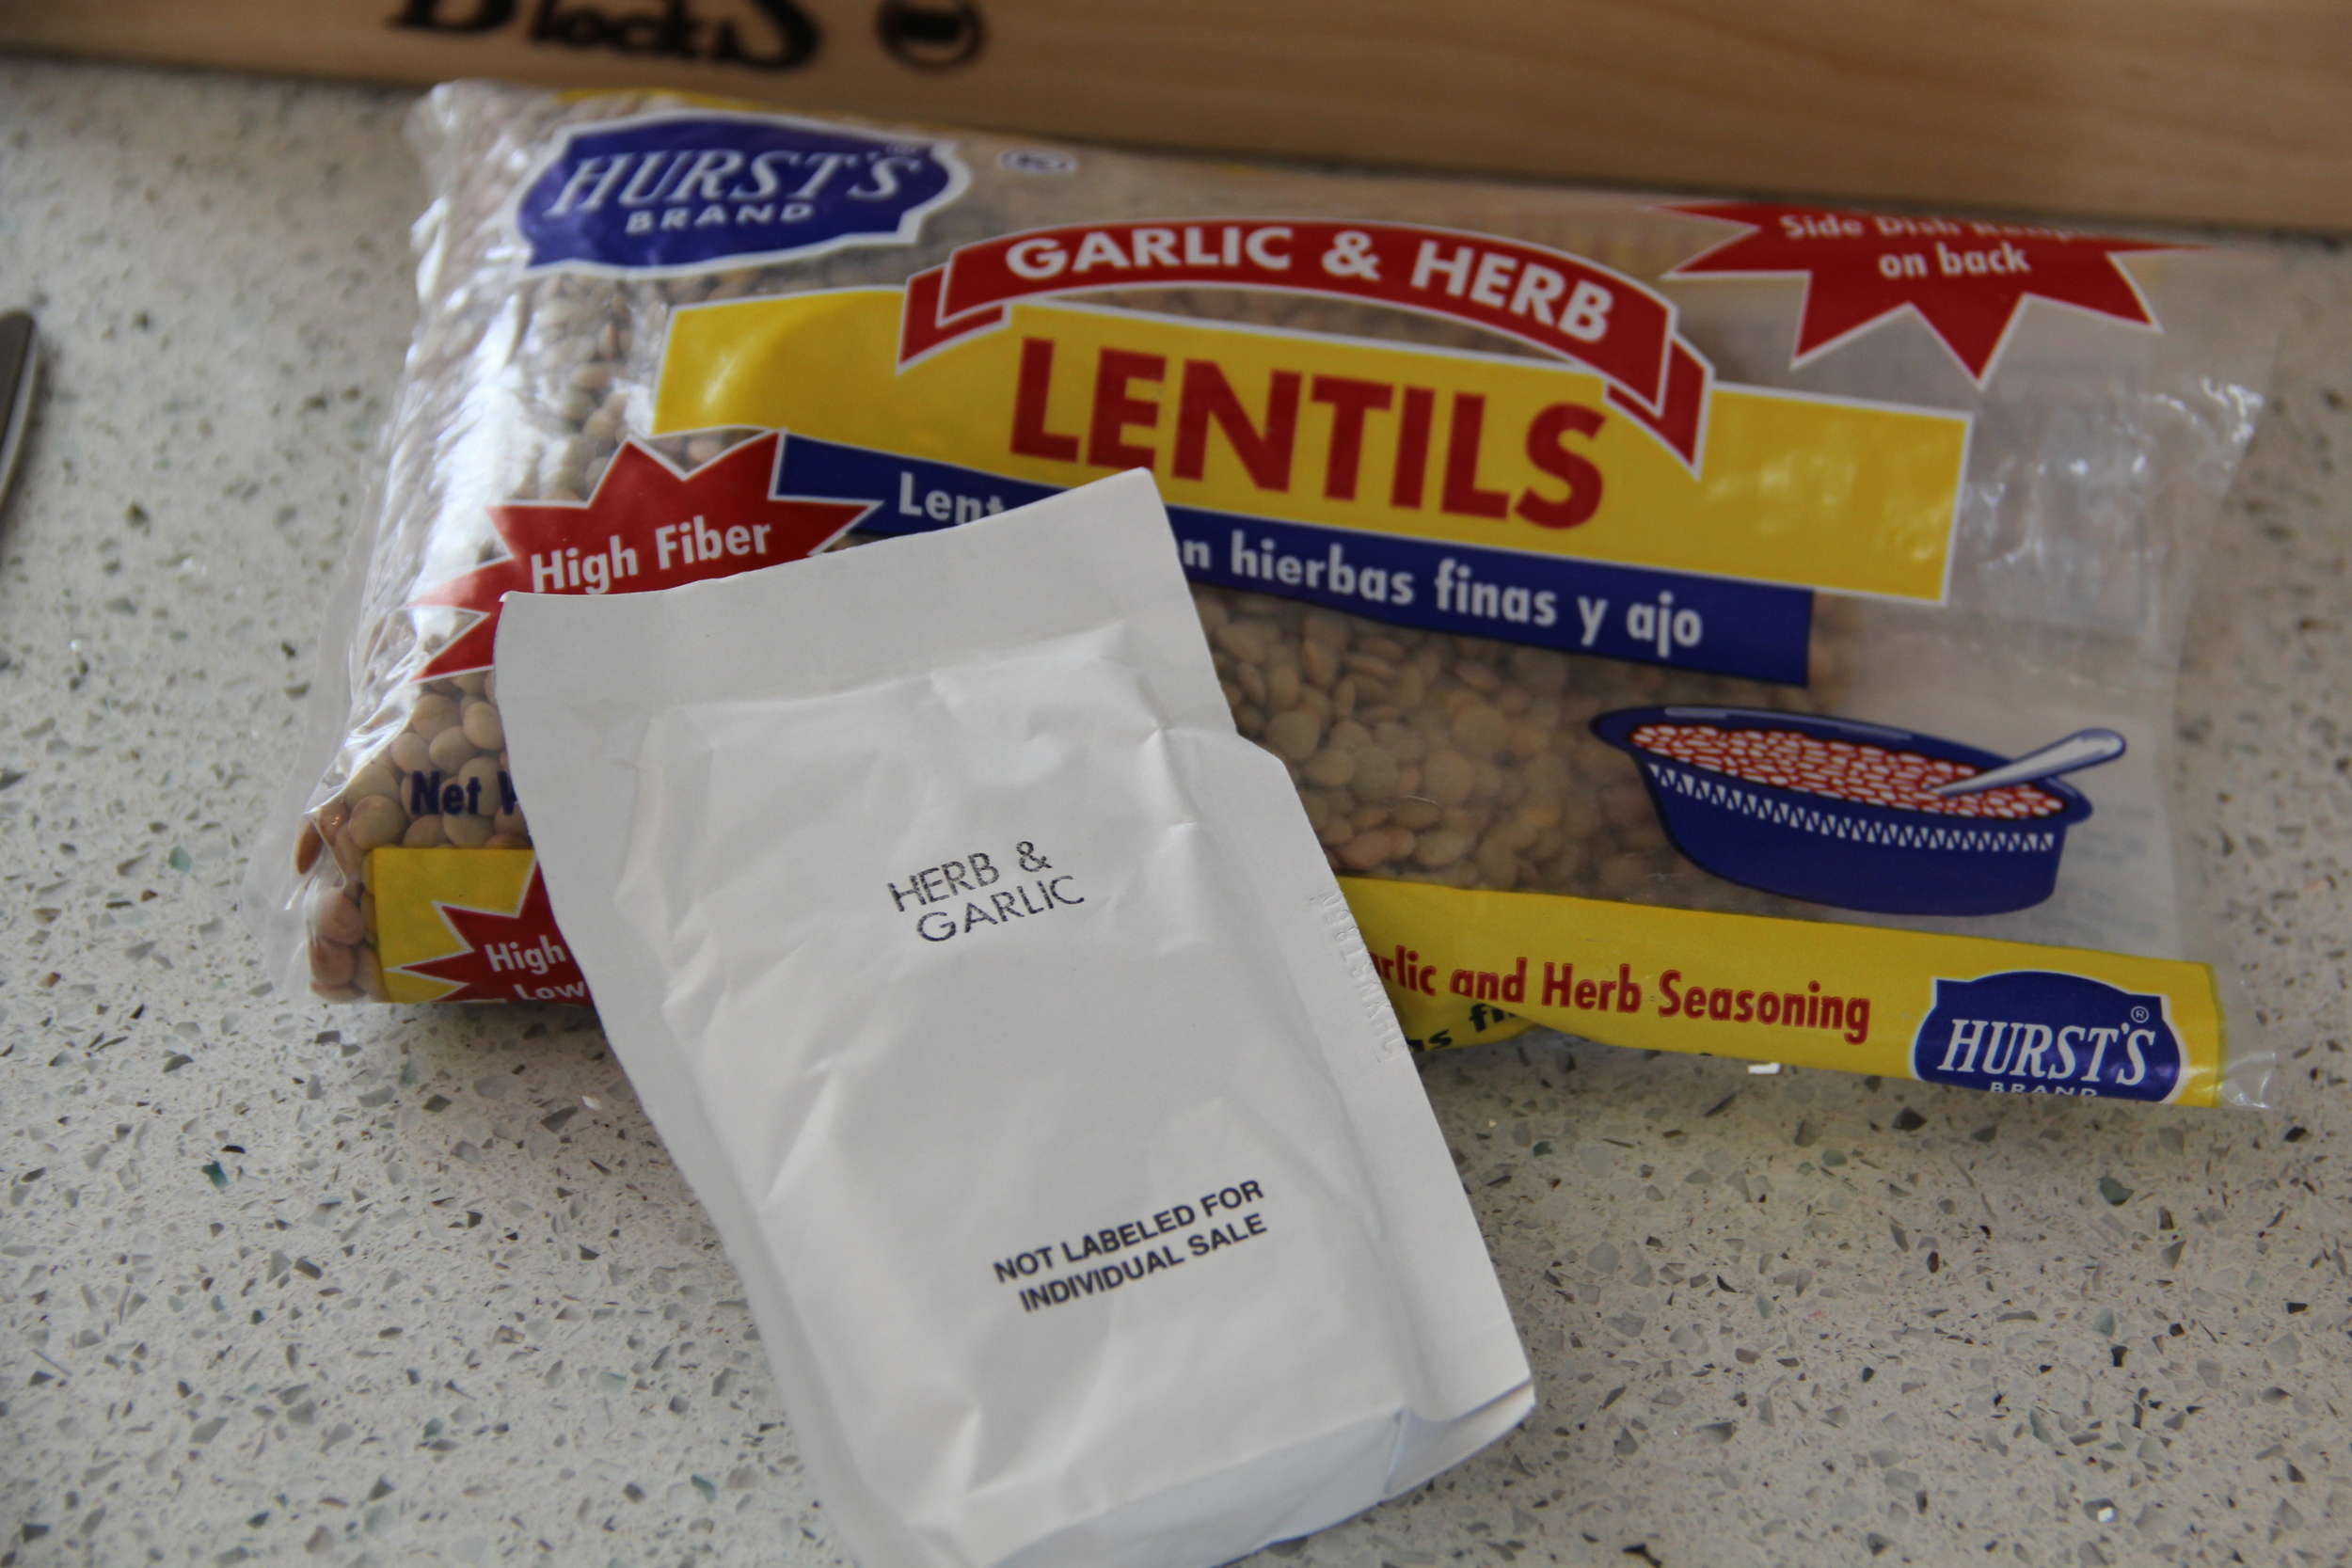
  2. Add the Lentils, Flavor Packet, Celery, Carrots, Onion, Garlic, Parmesan Cheese Rind, Fresh Bay Leaves, Dried Bay Leaves and Parsley to the Crock Pot
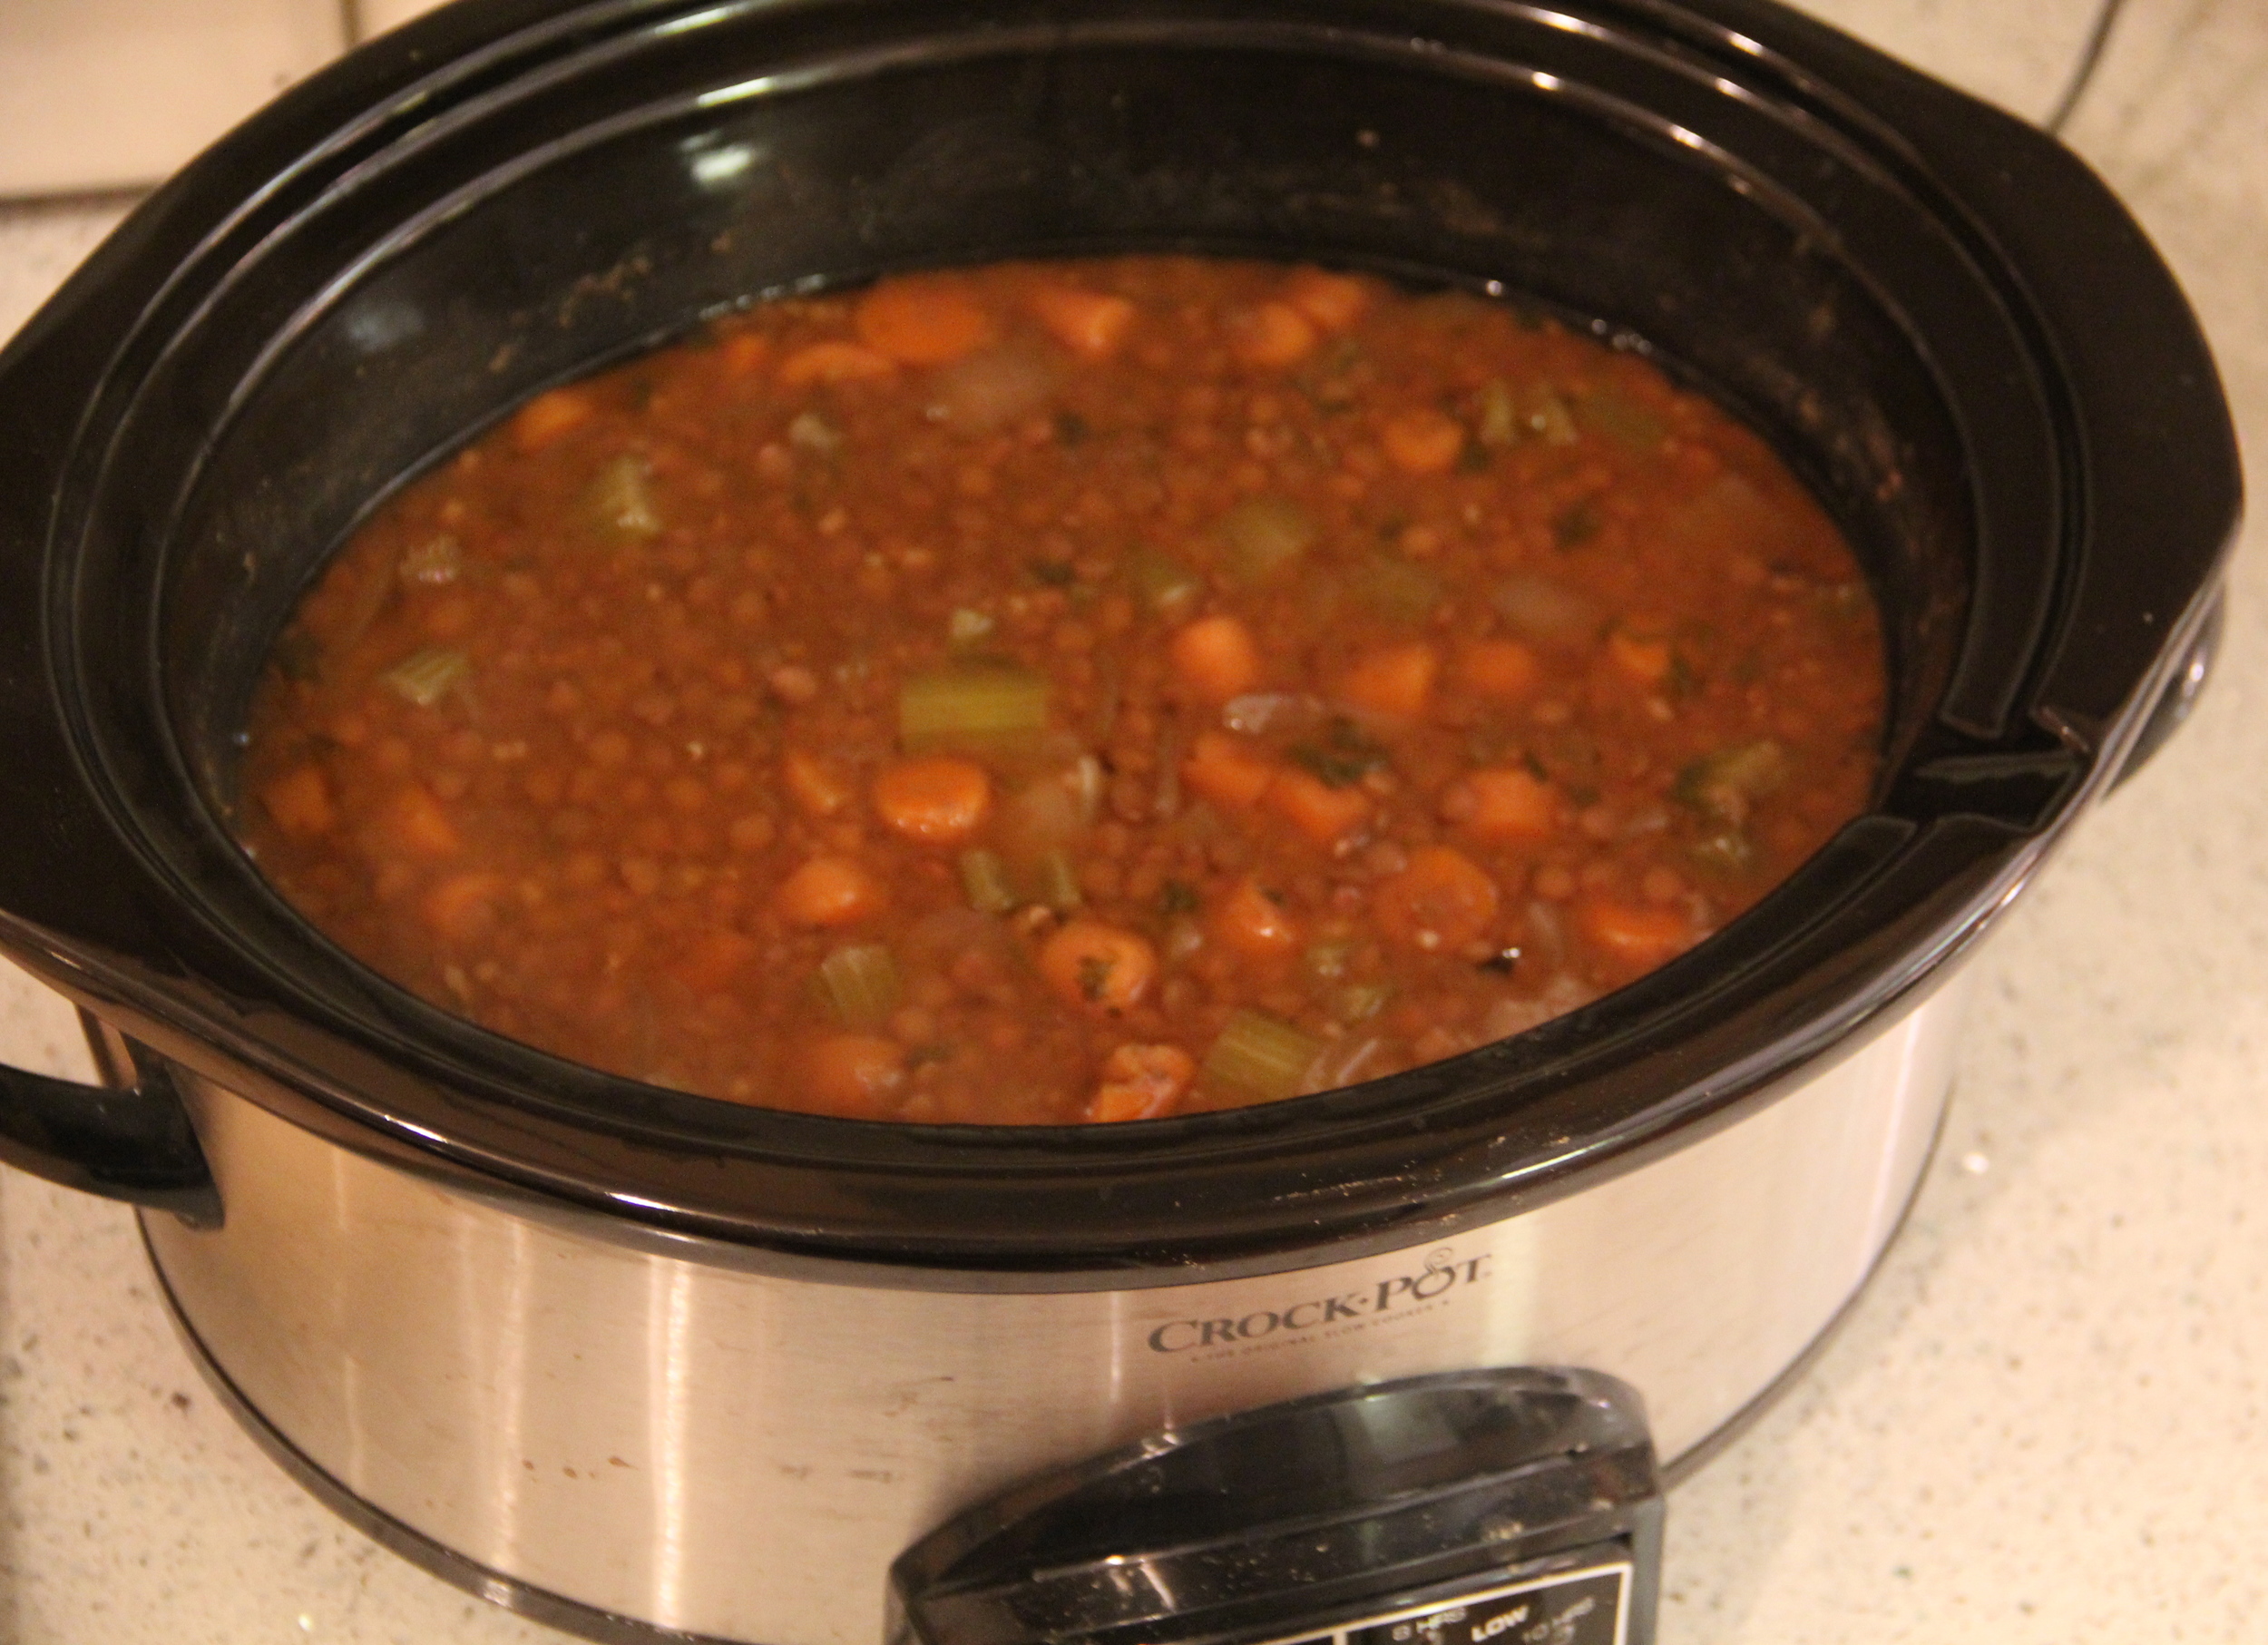
  3. Stir contents and set Crock Pot to High 6hrs (Stirring Contents Every 2hrs)

4.  Once the Crock Pot transitions to Warm mode, the soup should be done and ready to serve.

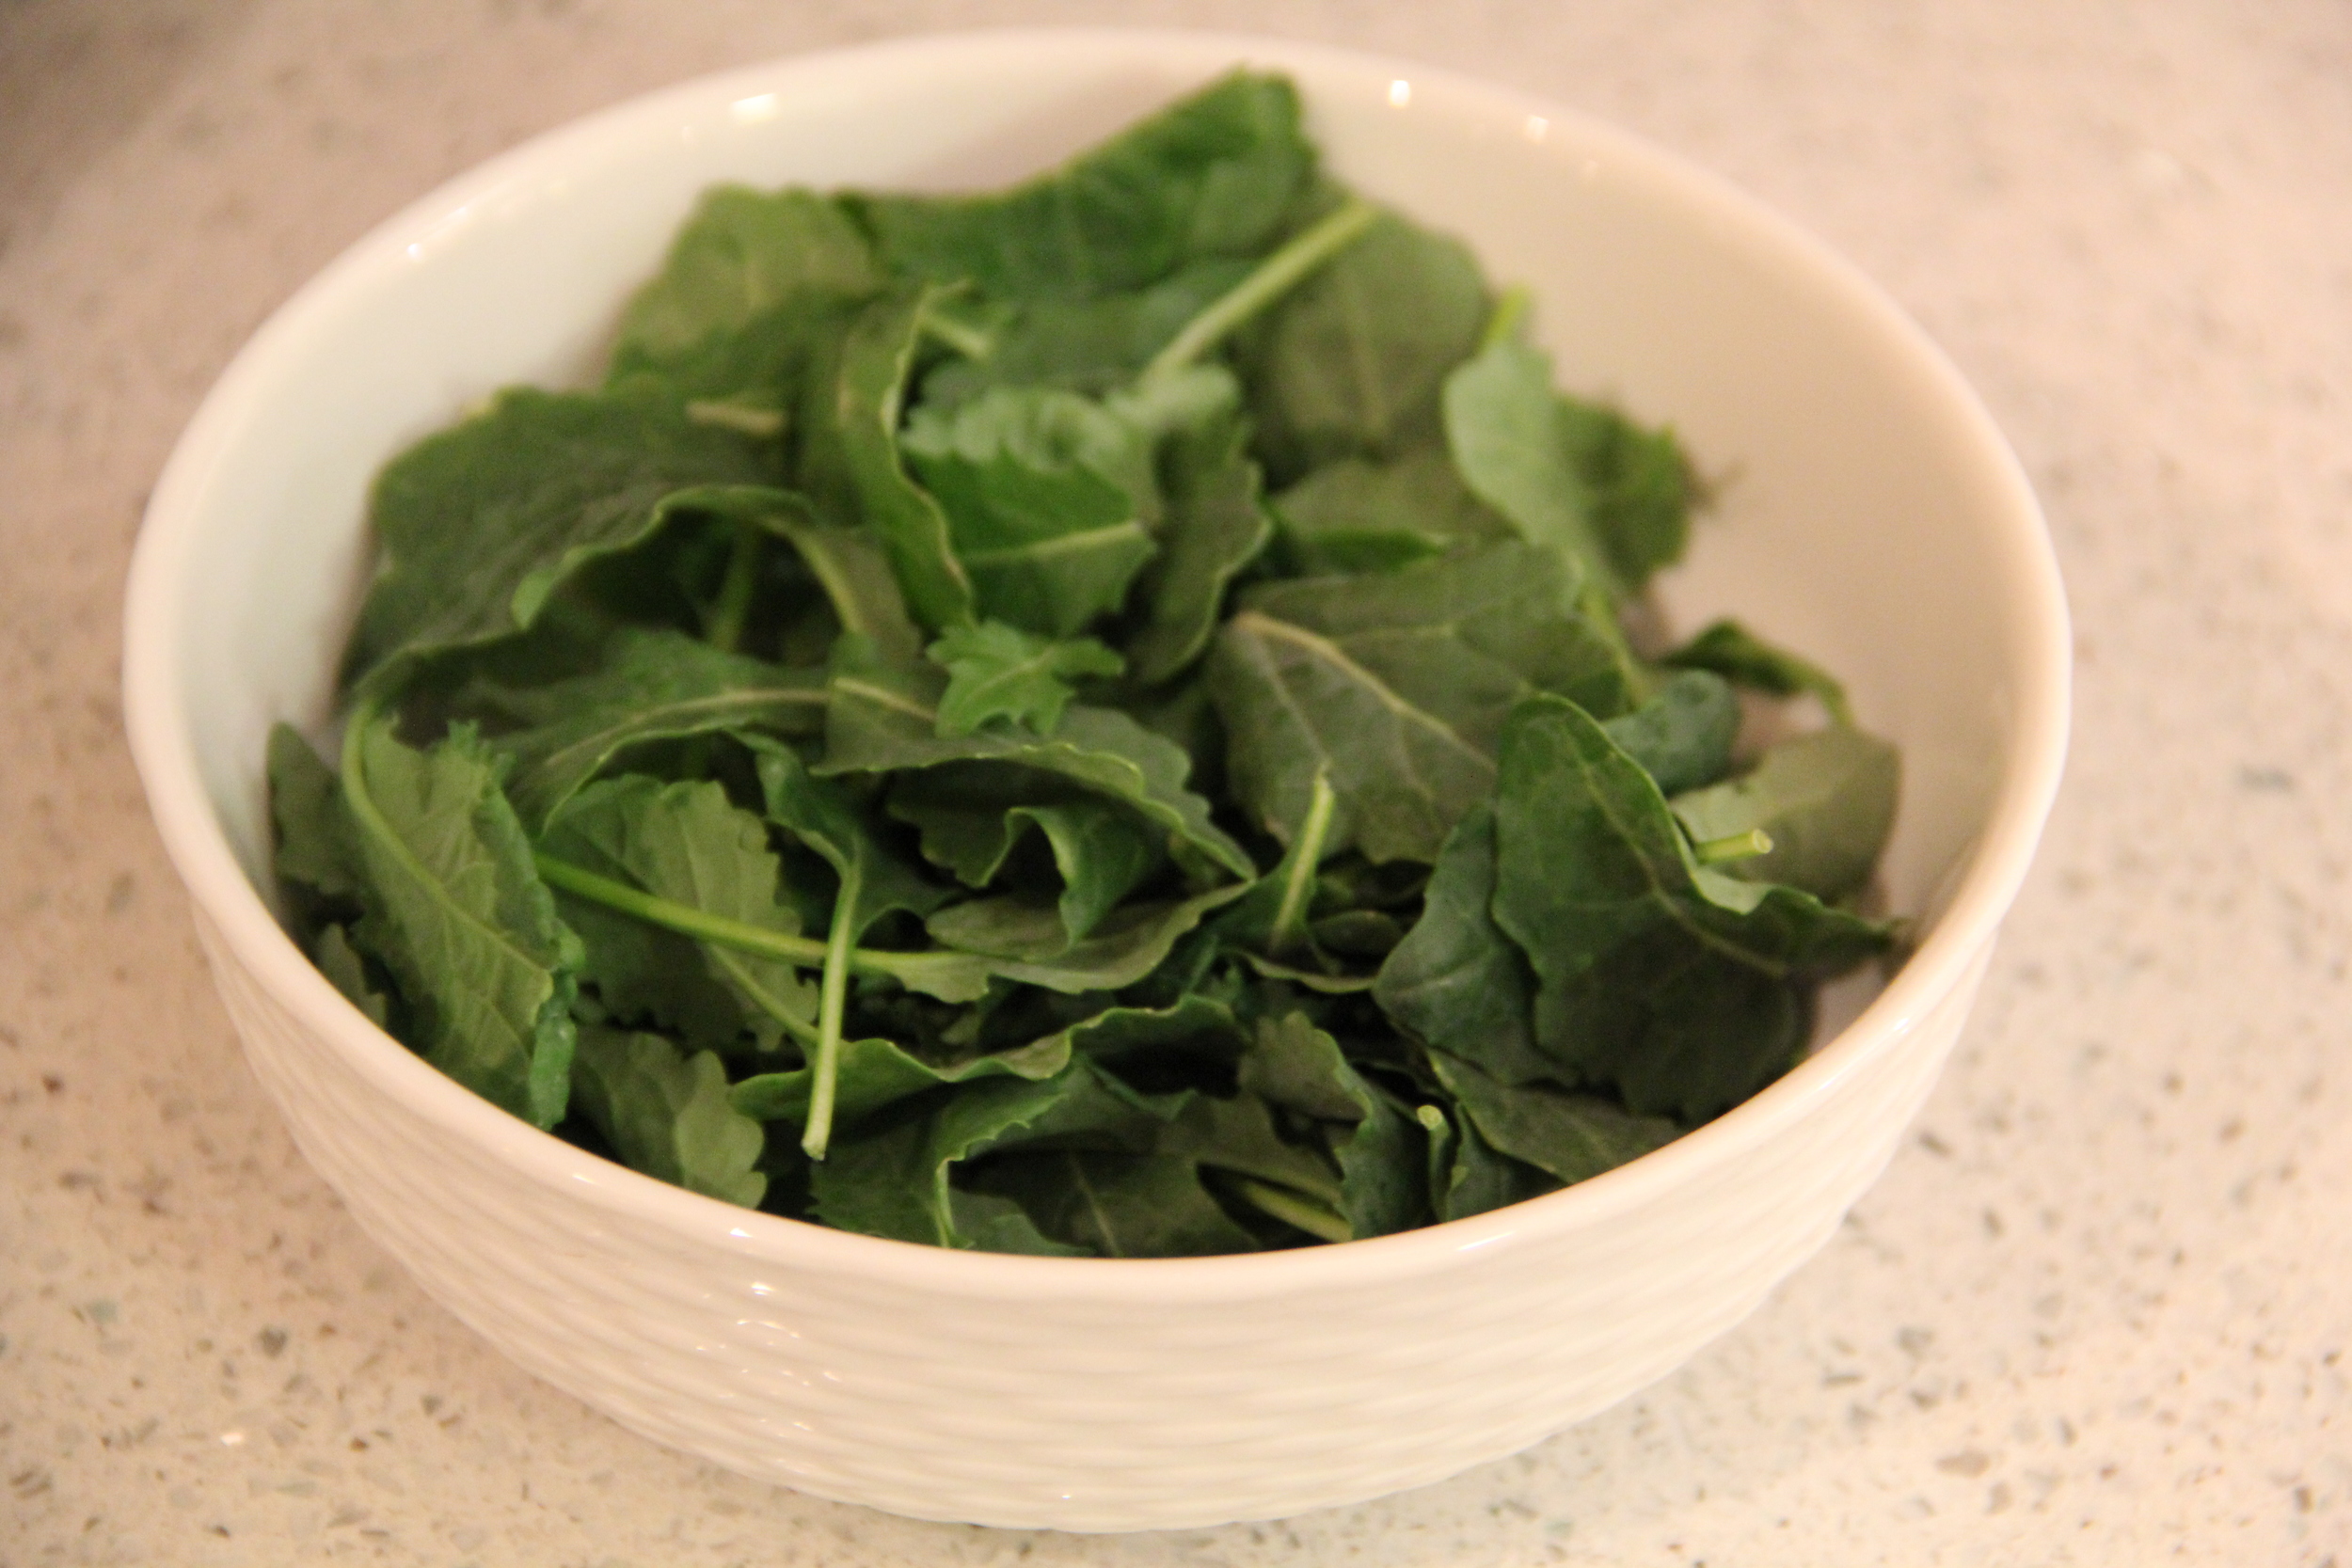
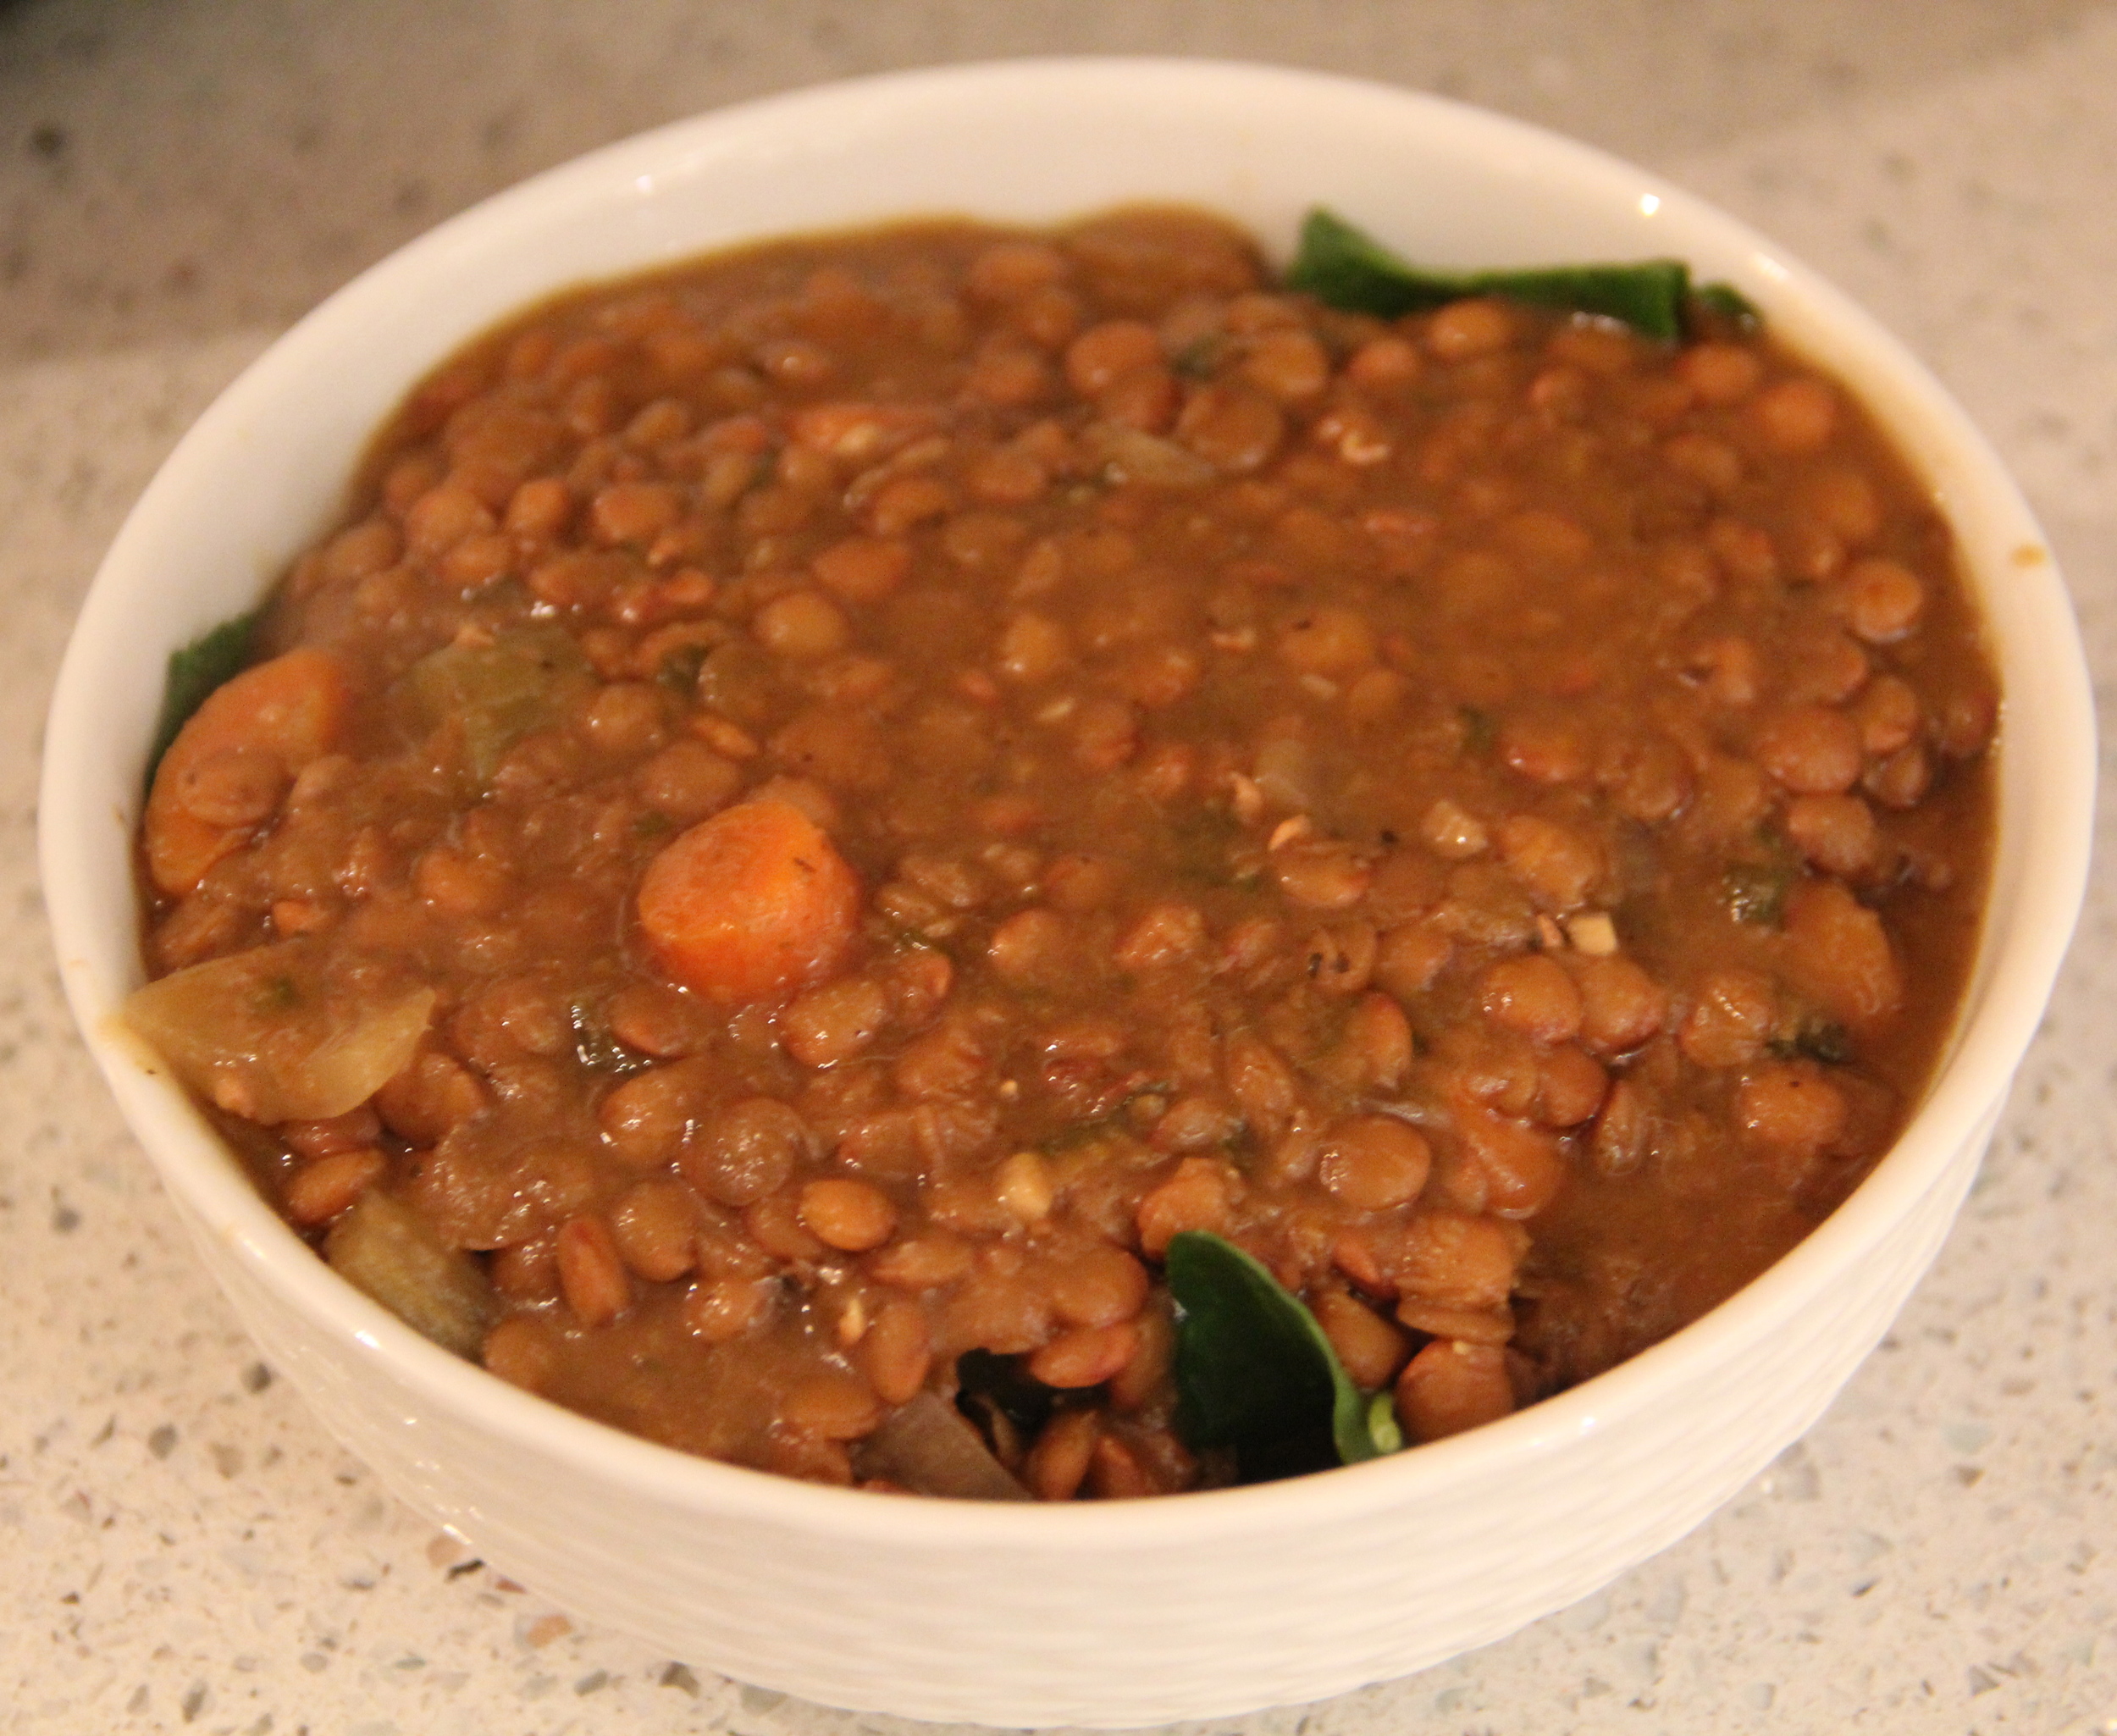
5.  Add the baby kale to the bowl first, then ladle the soup over the baby kale (the kale will wilt in a few minutes.  This way you will have deliciously wilted kale that is bright green in color.  **Adding the kale to the crockpot to cook with the lentils will cause the Kale to turn a green/gray color.**

6.  Garnish with parmesan cheese shavings and serve!

Grilled Fig & Goat Cheese Crostini

I am all about hosting a quality cocktail hour and I believe that cocktail party success has a formula- good quality beverages, music in the background, fresh decor (even a simple arrangement of flowers), delicious nibbles with at least one or two unique and/or hot hors d'oeuvres.  

As you well know, the cheese board has become a staple for my cocktail parties.  It is delicious, has variety of edible options and easy to assemble.  In addition to the cheeseboard, I always like to have at least one or two other special hors d'oeuvres options.  This latest creation, Grilled Fig & Goat Cheese Crostini, was inspired from the ingredients I typically like to serve on a cheese board and it is the perfect small bite to serve at your next cocktail party.  So easy, full of flavor and dare I say somewhat healthy to boot!  A definite crowd pleaser!

Ingredients

  • 1 French Baguette
  • Goat Cheese Spread (Plain)
  • Fresh Thyme
  • Black Mission Figs Sliced Vertically in Half
  • Honey
  • Balsamic Glaze
  • Grapeseed Oil
  • 2 Tbs Canola Oil

Instructions

  1. Preheat oven to 350 degrees fahrenheit

  2. Slice Baguette into 1/4 in thick slices on the diagonal

  3. Assemble on a cookie sheet lined with parchment paper

  4. Brush the tops of the baguette slices with grape seed oil

  5. Sprinkle slices with salt and fresh cracked pepper

  6. Bake in the oven until golden brown (between 15 and 20min)

  7. Meanwhile - Heat 2tbs of Canola Oil in a skillet or grill pan on Med/High Heat

  8. Once the pan is hot, add Figs face down

  9. Cook for approx. 5 minutes (or until you start to see the fig start to caramelize)

  10. Flip Figs and cook for an additional 5mins then remove from heat

  11. When baguette slices are done cooking, allow to cool for approx. 5-10min

  12. Spread a thin layer of goat cheese on each toasted baguette slice

  13. Sprinkle with fresh thyme leaves

  14. Then add a grilled fig to each crostini

  15. Drizzle with either balsamic glaze, honey or both! 

  16. Serve and enjoy

Easy Baked Brie

There are so many different schools of thought on the appropriate cocktail party menu in terms of both quantity and variety.  While I'm not a cocktail party expert (I just enjoy hosting them…a lot), one rule that I have always stuck with is that you should always plan to serve at least one or two hot hors d'oeuvres.  

This is definitely not a hard thing to do, nor should it sound intimidating.  I initially got started serving hot hors d'oeuvres because of the fabulous selection of heat and serve options available at my local grocery stores.  I now have a repertoire of my favorite heat and serve hors d'oeuvres, but as I have continued to grow (in the culinary sense), I have wanted to create my own hot hors d'oeuvre recipes that are easy to make and delicious (just like the heat and serve options I have loved for years!).  

A baked brie recipe seemed like the easiest starting point with the highest likelihood of recipe creation success.  I wanted to come up with something unique, delicious and full of tips on the best products and techniques to use so that I could share them with you!  Below is the breakdown of my Candied Walnut and Quince Paste Baked Brie Recipe.  

Ingredients

  • 1 Brie Wheel
  • 1 Sheet Frozen Puff Pastry Dough (thawed)  *Recommend Pepperidge Farm Puff Pastry*
  • 2 Tbs Chopped Candied Walnuts
  • 1 1/2 Tbs Quince Paste
  • 1 Egg + a splash of water (My Brie Egg Wash)

Instructions

  1. Preheat oven to 400 degrees
  2. Roll out thawed puff pastry sheet
  3. Place brie wheel centered on puff pastry sheet
  4. Spread 1 1/2 Tablespoons of Quince Paste on top of brie wheel
  5. Add chopped candied walnuts
  6. Gather pastry sheet and pinch closed over brie wheel and toppings
  7. Brush pastry with egg wash
  8. Bake on a lined cookie sheet for 20min
  9. Remove from oven and serve hot

Hot hors d'oeuvres are a great addition to your cocktail party menu and while I am still a fan of the different store bought heat and serve appetizers, I love that I now have this baked brie recipe to add to my repertoire. 

Learning About Cheese

If there is one thing you should know about me by now, through my instagram or even previous posts, is that I love to "cheesescape."  I think that a cheeseboard is a great cocktail party staple and has the ability to be constantly reinvented depending on the time of year/season/occasion you are serving the cheeseboard.  In addition to my love of cheesescaping, I really do love to learn (sounds so dorky, I know). So naturally, I have an insatiable appetite for any/all information about cheese pairings, regional cheeses, serving and storing cheeses, etc.  I find myself constantly Pinteresting for new cheesescape presentation ideas and also with my head in books trying to learn all that I can to elevate my cheesescape complexity with each presentation.  

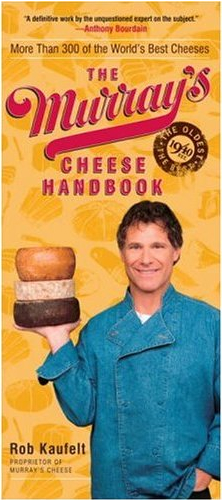
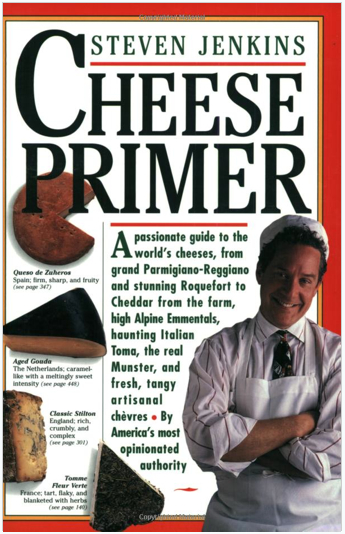
Over time, I have discovered a core repertoire of cheese resources (aside from Pinterest) that have been a huge help advancing my personal cheesescape skill level.  The Murray's Cheese Handbook, by: Rob Kaufelt and Cheese Primer, by: Steven Jenkins, are two resources that I would recommend to anyone looking to learn more about cheeses and the art of creating a cheeseboard (aka "cheesescaping").  Both books provide a wide array of applicable knowledge needed for selecting, pairing, serving and even storing cheeses.  These books are packed with great information on cheeses and tips on creating that perfect cheeseboard.   Below I have provided few of my favorite highlights about each book:

Favorite Features from Cheese Primer: 

  • How to properly store cheese
  • What to look for when purchasing Cheese and how to serve the cheese
  • Tips on assembling a cheese board
  • Suggested Cheeseboard Pairings with Wine Suggestions (themed by geographic region and/or season)
  • What to do with leftover cheese
  • A complete breakdown of all different types of cheeses around the world

Favorite Features from The Murray's Cheese Handbook:

  • Cheese 101- Understanding the different types of milk used to make cheese, the difference between pasteurized and unpasteurized cheese, 
  • Seasonal Cheeses
  • Breaking down the 7 different categories of cheeses
  • How to order the presentation of cheeses on your cheese board
  • Some favorite domestic cheeses with suggested wines and other accouterments that pair well with each cheese.

In addition, Murray's Cheese Website has a great amount of helpful tips and resources available for learning more about cheeses and an array of different pairings

Favorite weekend morning activity - Breakfast and a little Cheese Reading

Favorite weekend morning activity - Breakfast and a little Cheese Reading

There is no denying that the best way to educate yourself on cheeses is to actually go to cheesemonger and taste/experience the varieties of cheeses firsthand.  However, if you aren't in a position (ex. geographic, available free time, knowing a good local cheesemonger, etc.), these books are excellent resources for learning the basics of cheeses, pairings and cheesescaping.