• Welcome
  • Entertain
  • Decorate
  • Food & Drink
  • About
  • Contact
Menu

Redefining Domestics

Street Address
Washington, DC
Phone Number

Practical applications for turning your house into a home.   

Redefining Domestics

  • Welcome
  • Entertain
  • Decorate
  • Food & Drink
  • About
  • Contact

Lemon Honey Ricotta Bites

February 23, 2015 Callie Cagney
IMG_8609.JPG

I recently had the pleasure of trying this delicious combination at a cocktail party.  I have to admit that when I first heard the description for this hors d'oeuvre, I wasn't sure if I would be a fan.  Well, it only took one bite and I was hooked!  I found out that this particular recipe came from none other than Martha Stewart.  While I LOVED her version, I wanted to create a slightly healthier version with some additional flavor complexity.  This recipe is easy to make, tastes delicious and now even somewhat healthy! 

IMG_8509.JPG

Ingredients

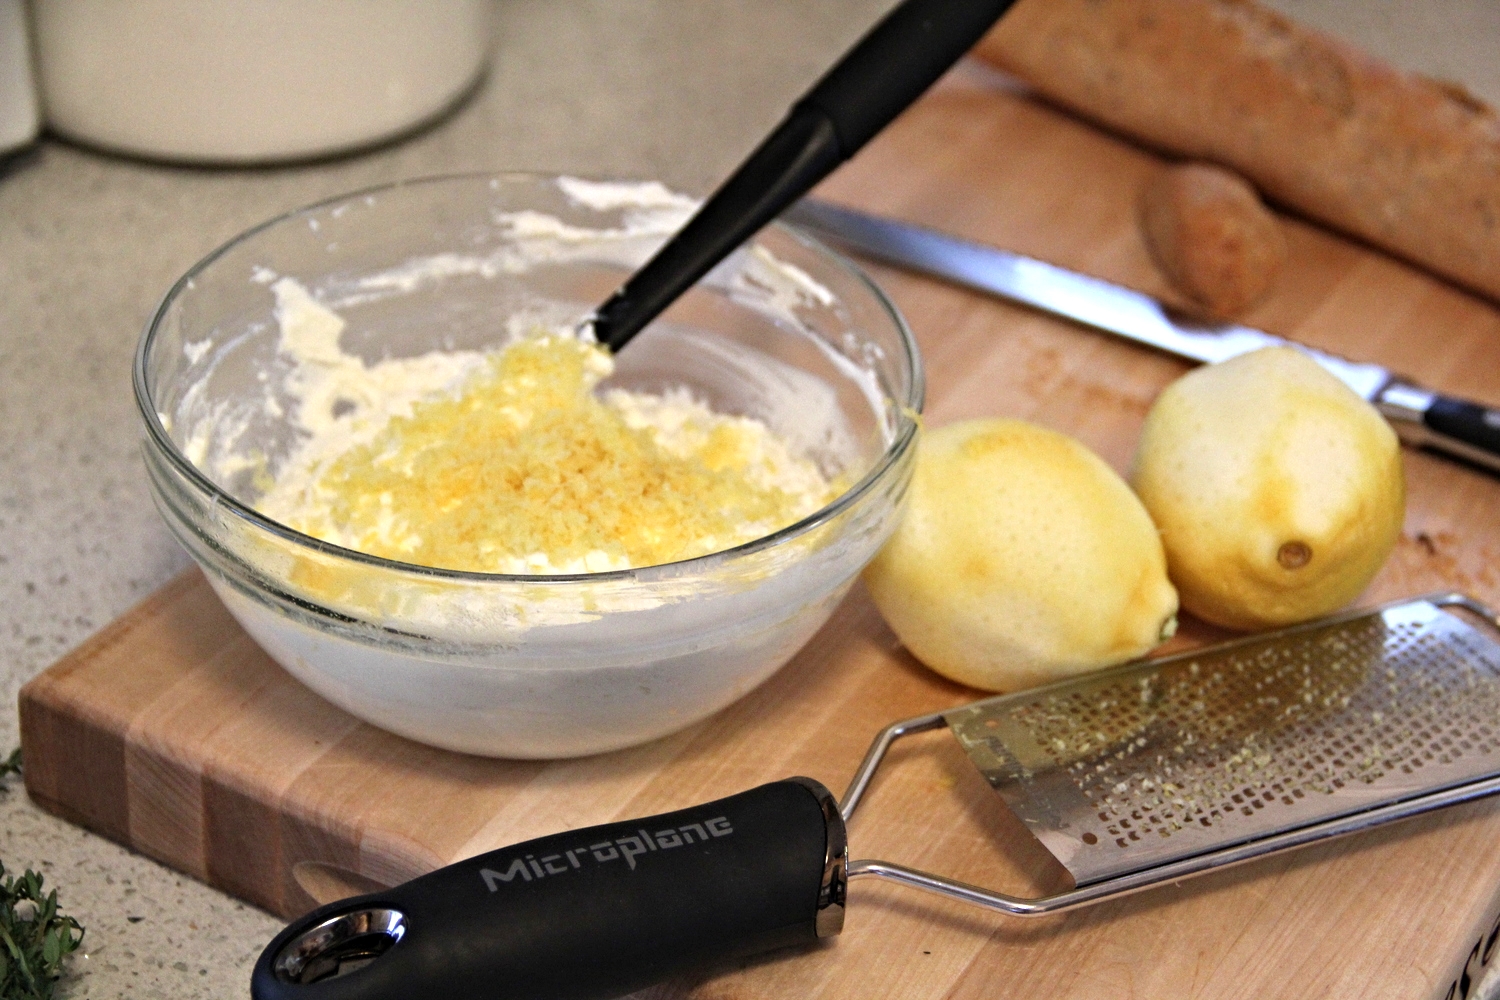
  • 1 15oz Container of Part-Skim Ricotta Cheese
  • 1 Whole Grain Baguette
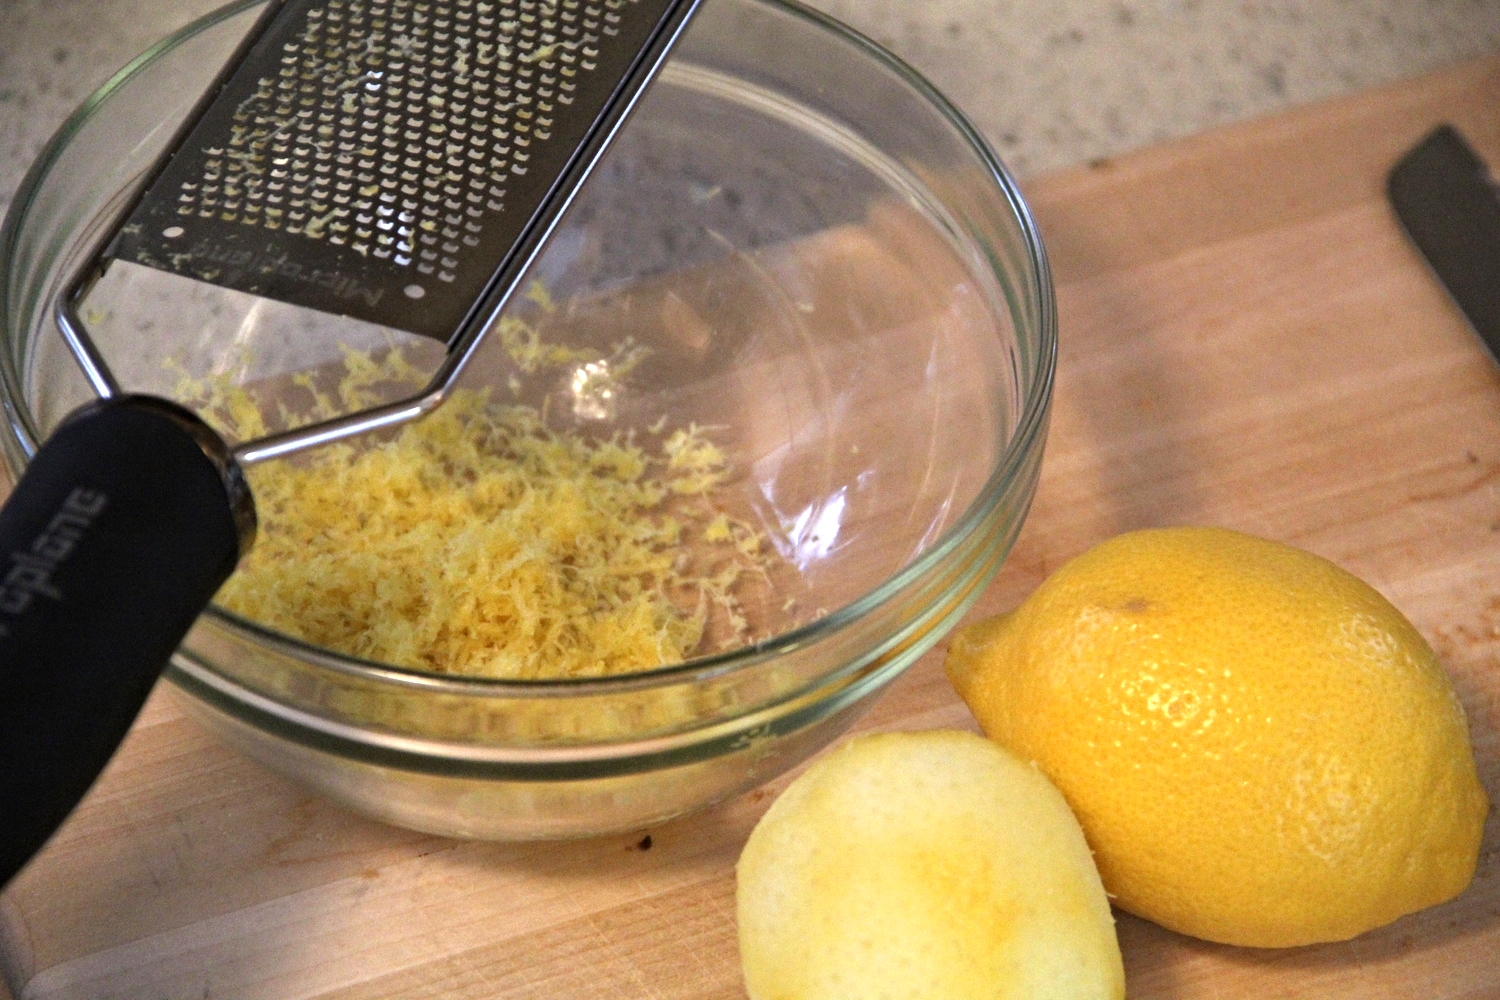
  • Zest of 1 1/2 Large Lemons
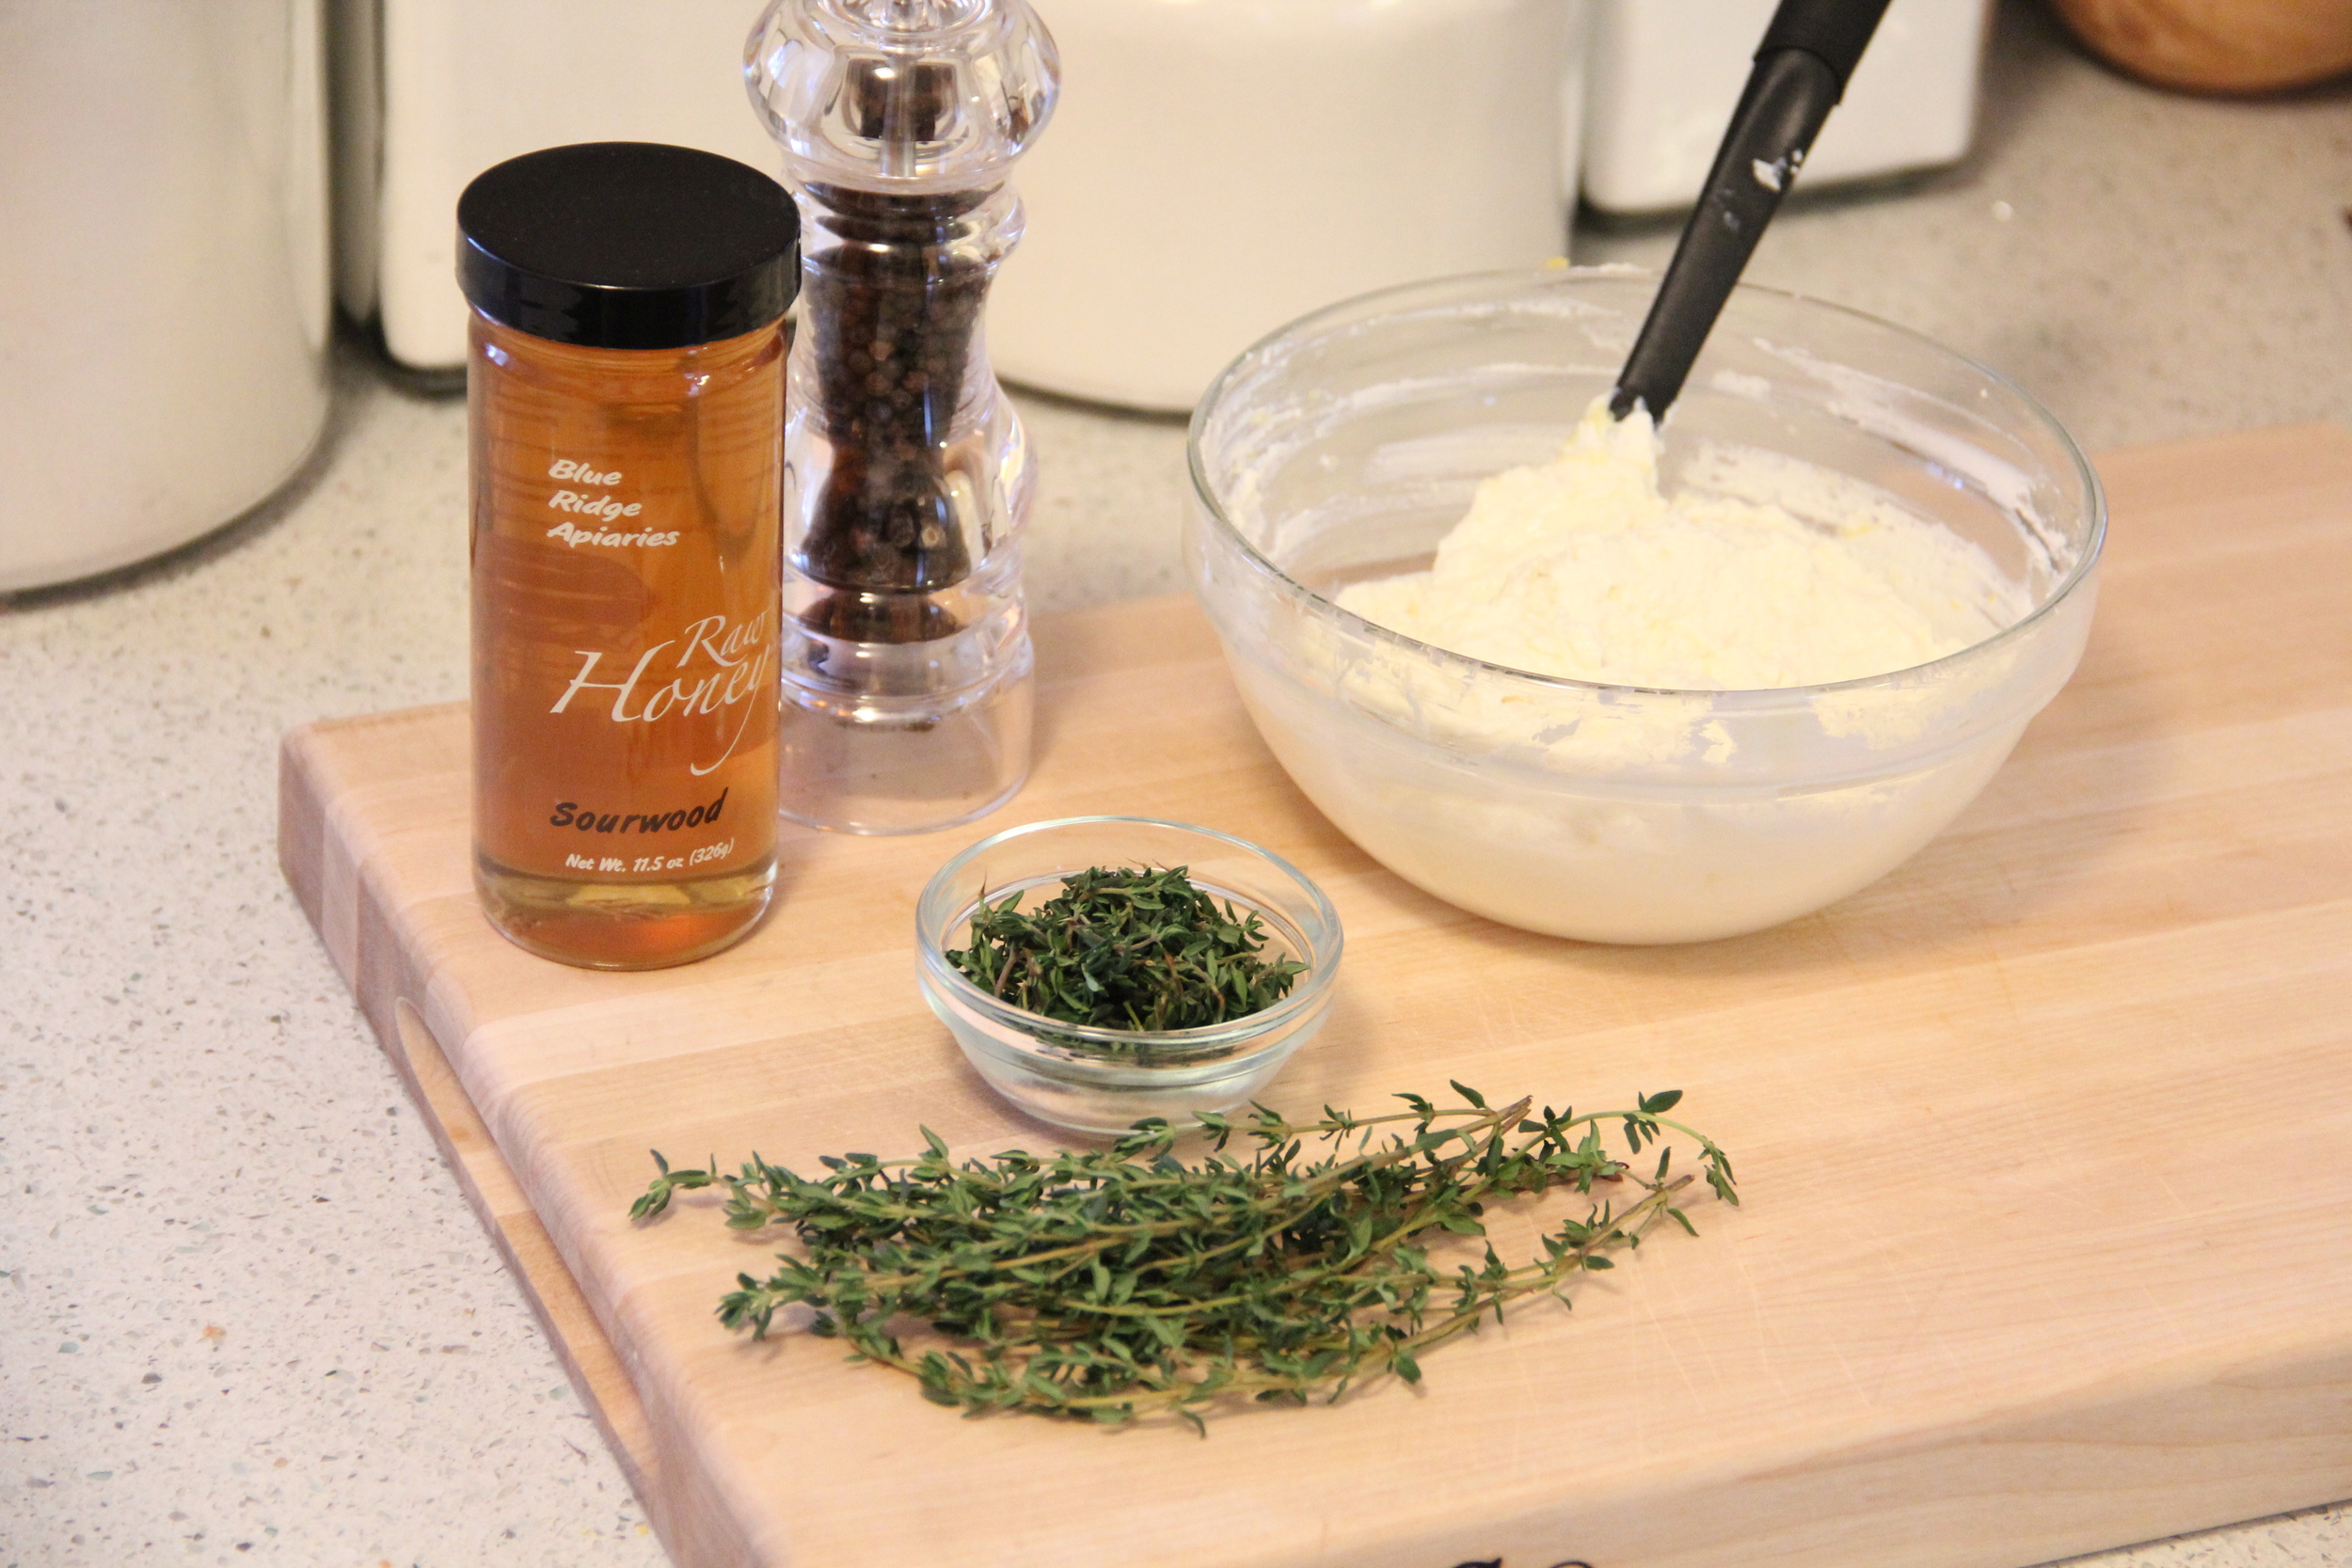
  • 2 Tbs Fresh Thyme Leaves
  • Grapeseed Oil
  • Kosher Salt
  • Fresh Cracked Pepper
  • Honey 
IMG_8533.JPG
IMG_8572.JPG

Instructions

IMG_8550.JPG
IMG_8563.JPG
IMG_8593.JPG
  1. Preheat oven to 350 degrees fahrenheit
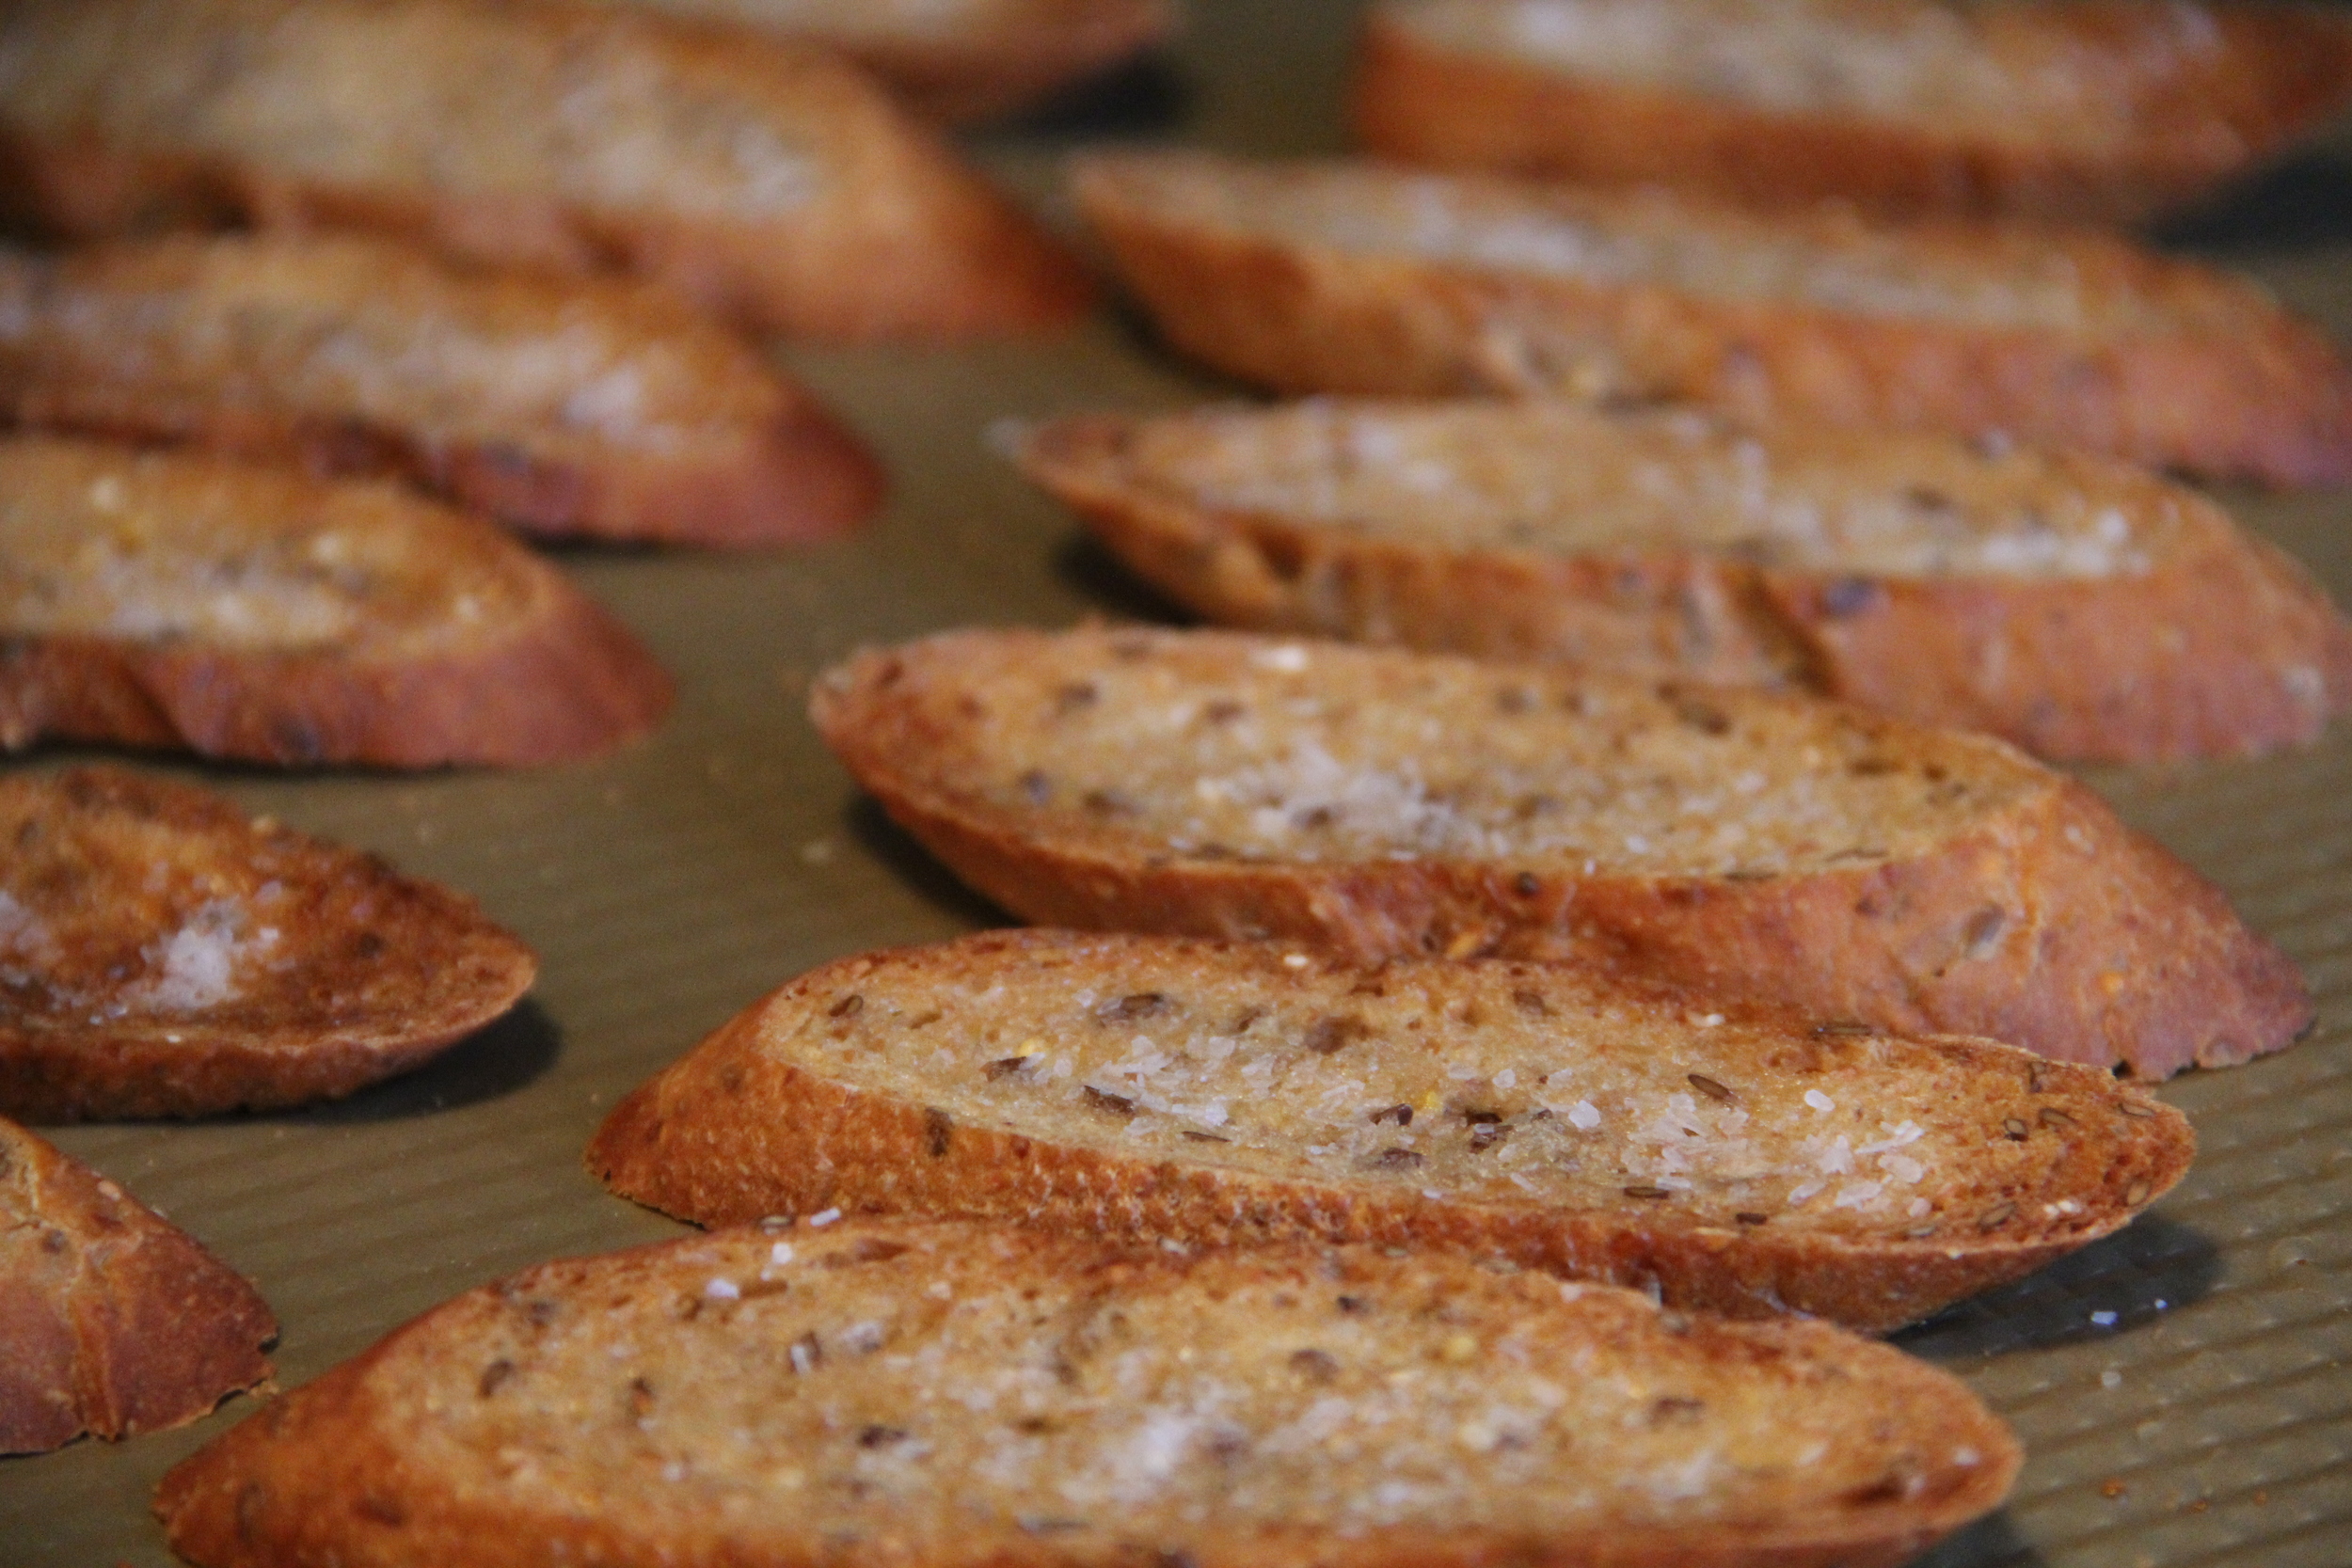
  2. Slice baguette into 1/4in thick slices on the diagonal
  3. Assemble on a cookie sheet lined with parchment paper
  4. Brush the tops of the baguette slices with grape seed oil
  5. Sprinkle bread slices with kosher salt
  6. Toast in the oven until golden brown (approx. 15-20 minutes)
  7. Meanwhile, in a bowl combine Ricotta Cheese and Lemon Zest
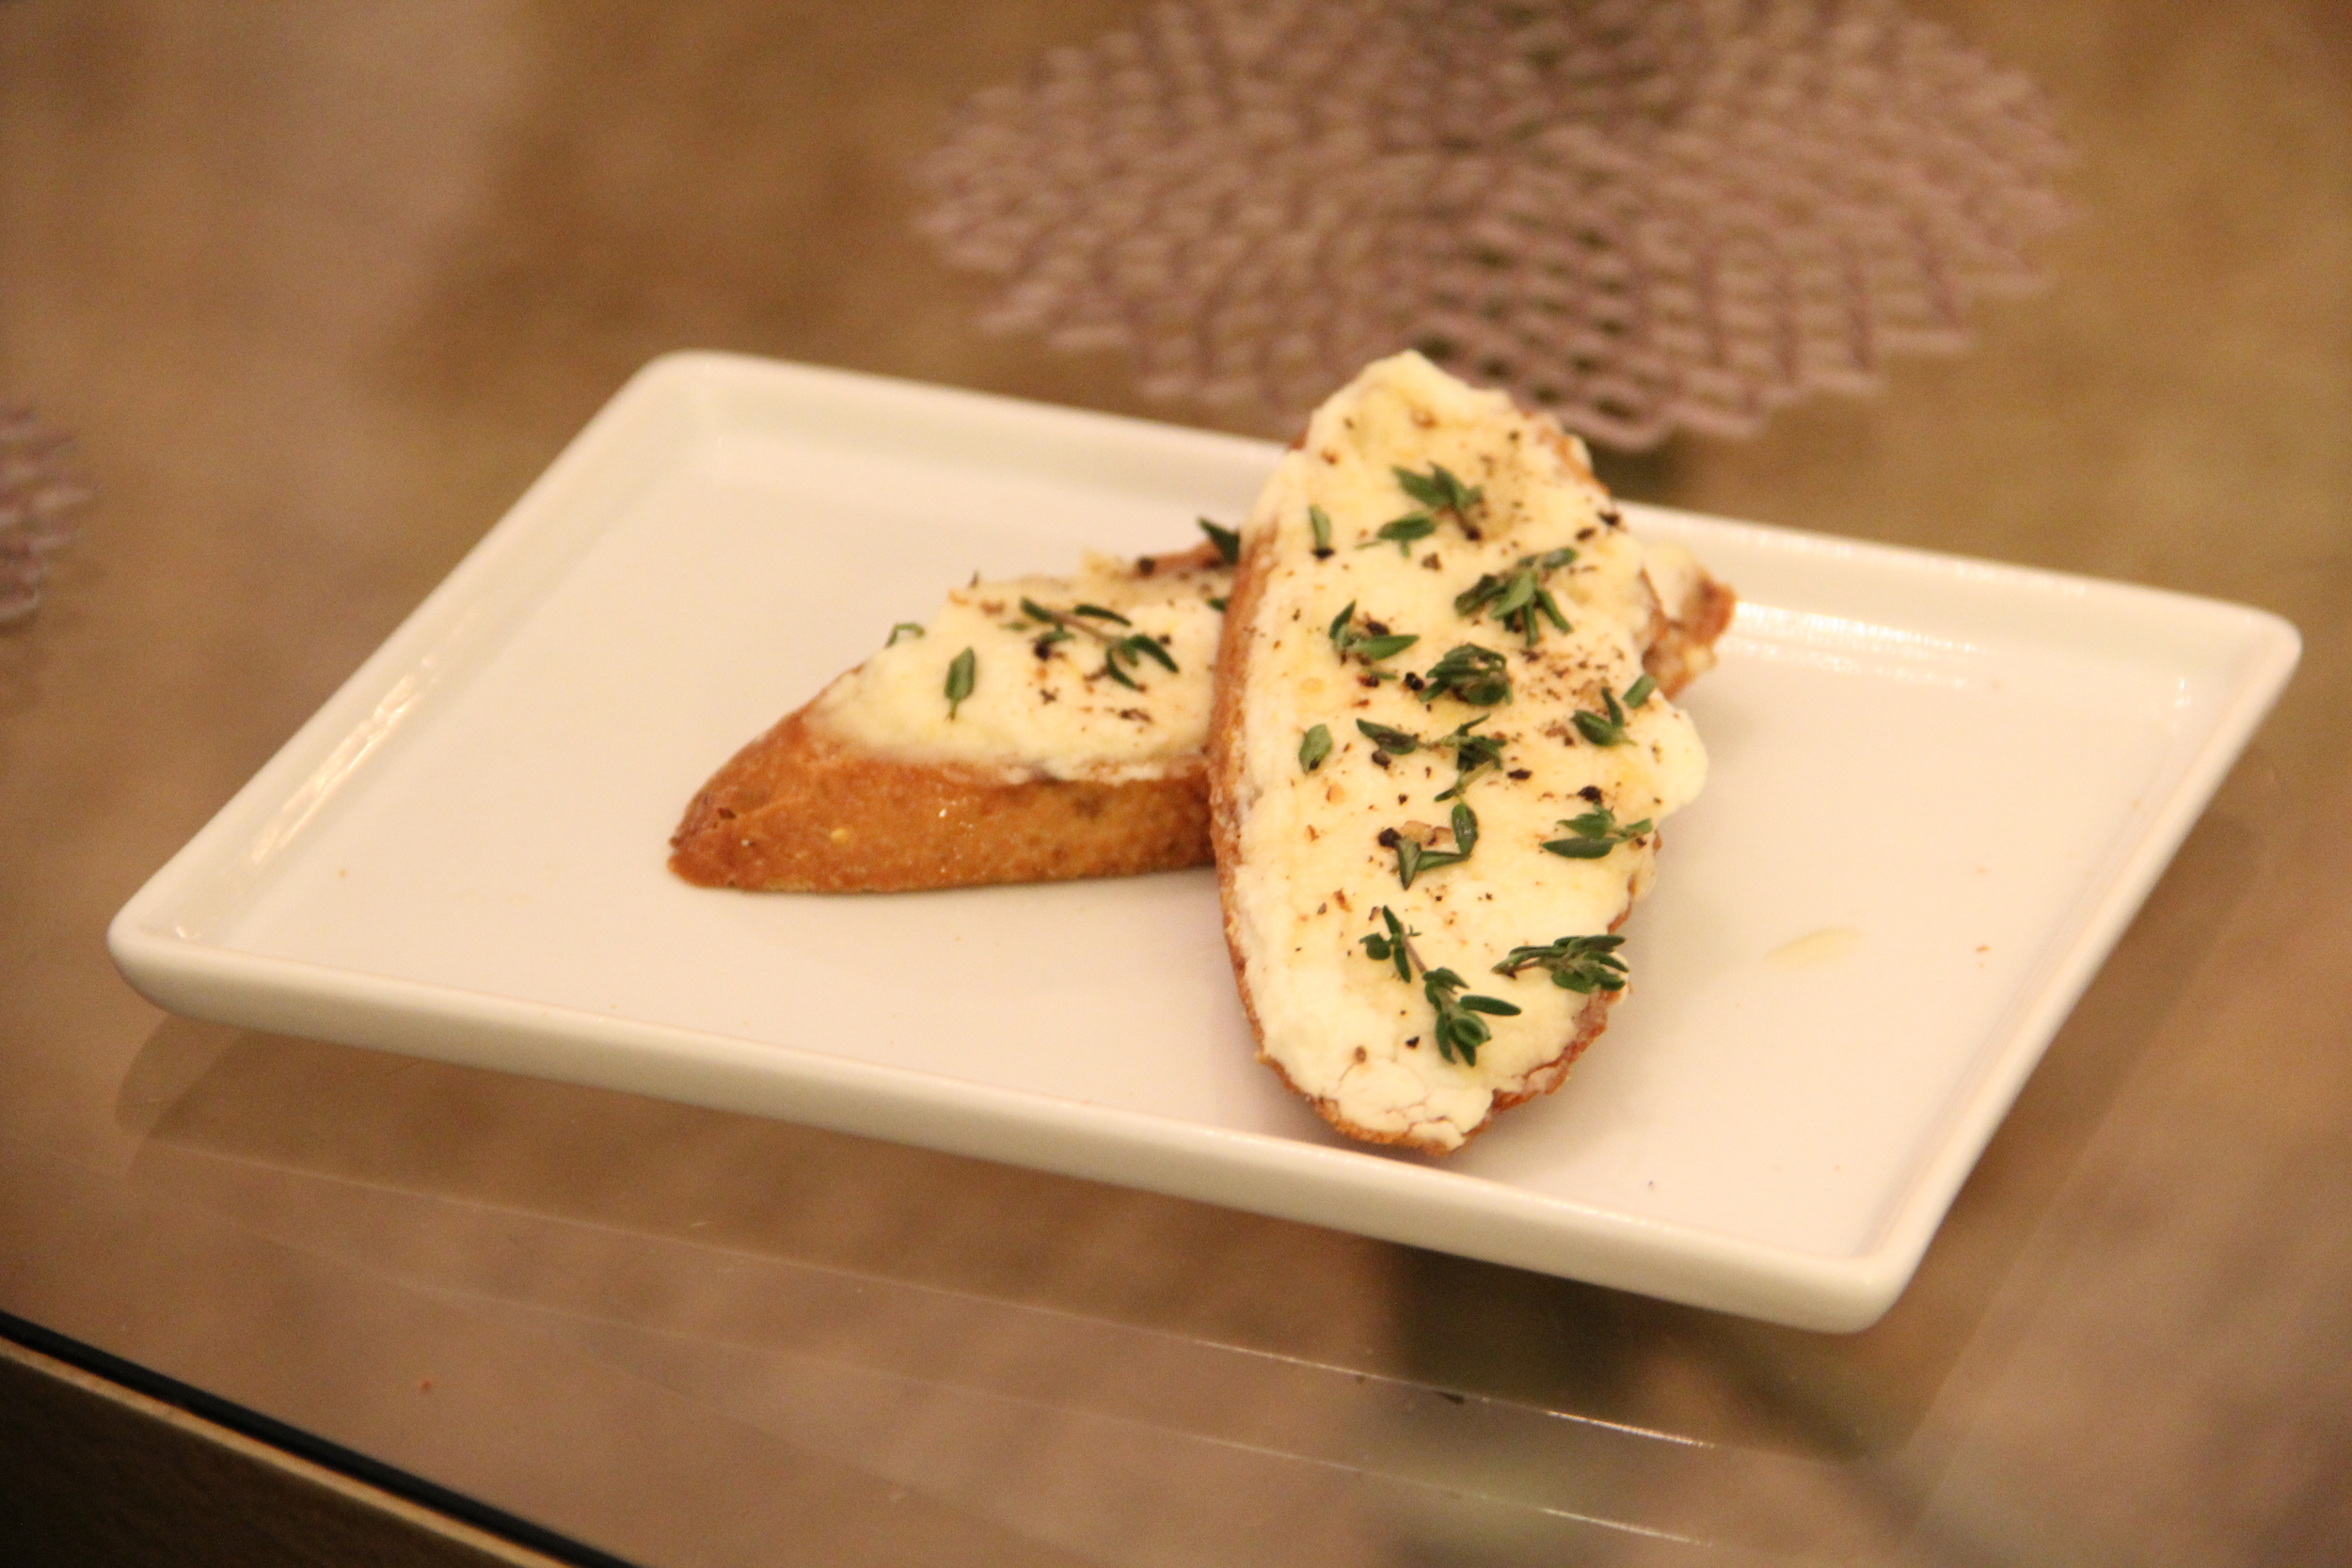
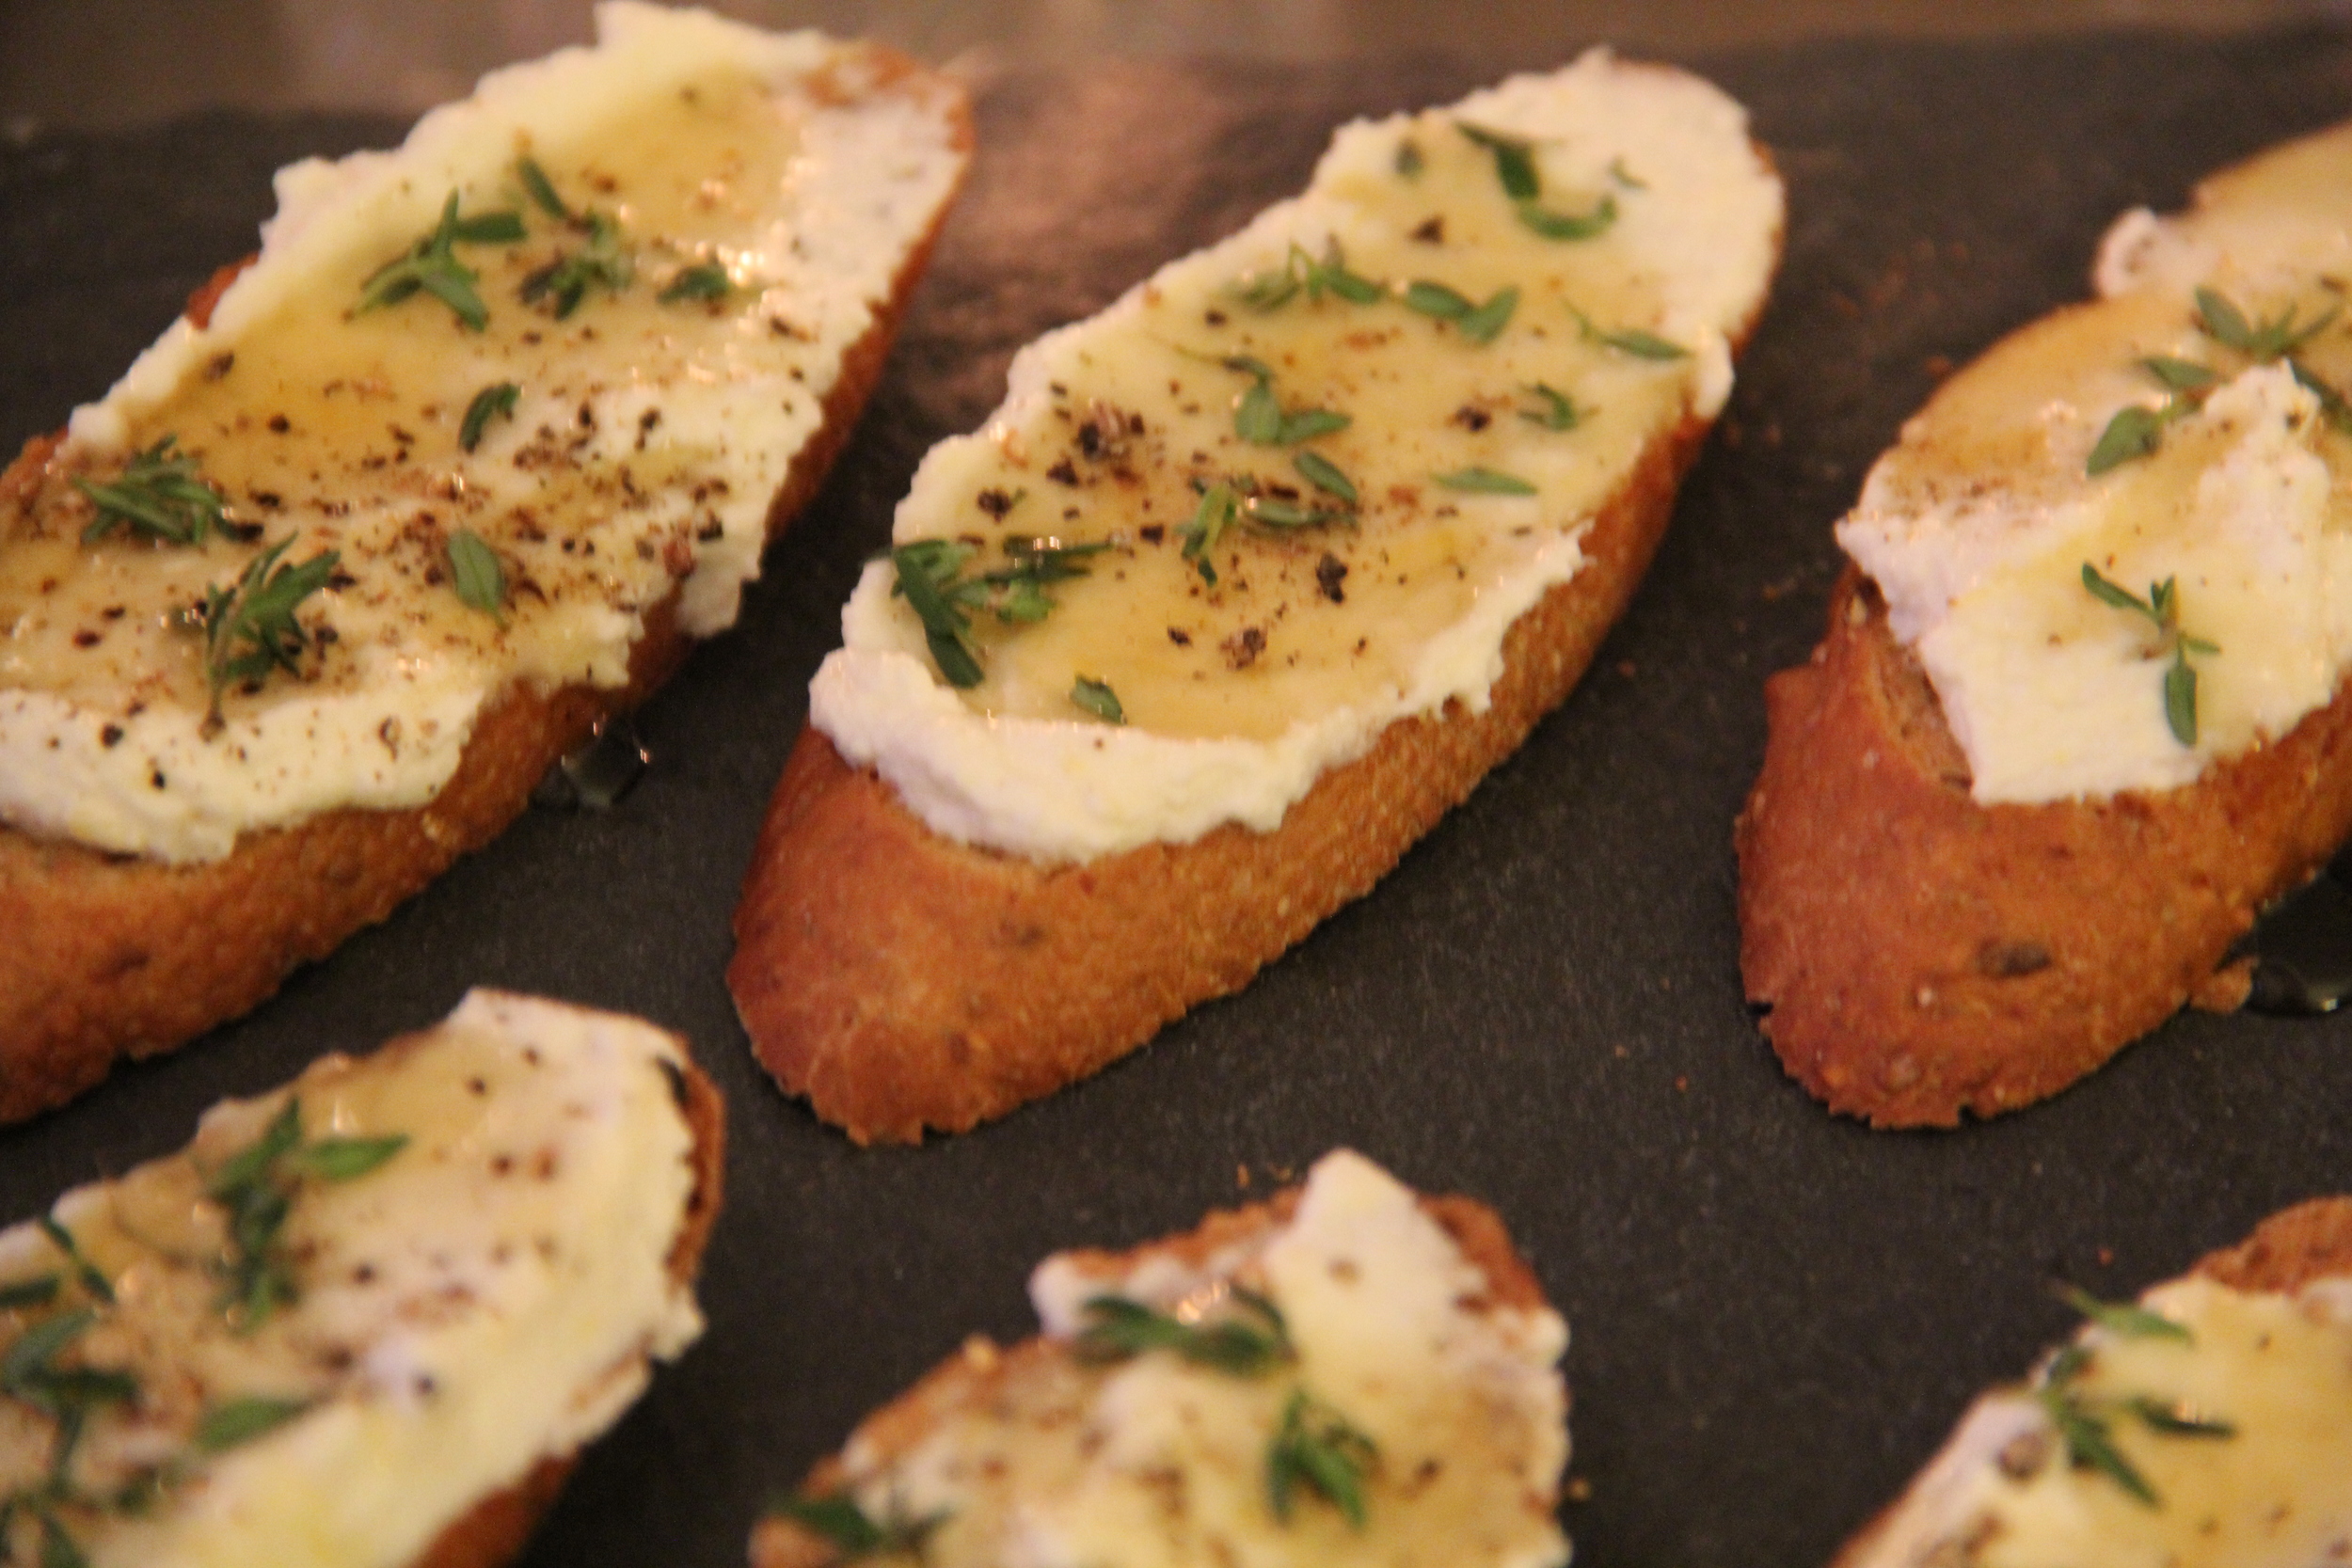
  8. Once baguette slices have toasted and cooled for approximately 5-10min, spread an even layer of ricotta mixture on the top of each slice
  9. Sprinkle with fresh thyme leaves and fresh cracked pepper
  10. Finish each crostini with a drizzle of honey
IMG_8606.JPG
IMG_8655.JPG
IMG_8677.JPG


In Food and Drink Tags Hors D'oeuvres, Recipe
Comment

My Two Favorite "How-To" Books

February 16, 2015 Callie Cagney
IMG_7786.JPG

If I could only have two books to guide me through all things domestic, there is no question as to which books I would pick.  As I have mentioned before, I love information (the more the merrier!) and these two books are jam-packed with the most useful tips, guides and recipes.  When it comes to turning a house into a home, these two books have it covered!  

Read more
In Food and Drink Tags Home Tip, Homekeeping, Recipe
Comment

Apple Pie Baking Tips You Need to Know

February 13, 2015 Callie Cagney
Sea Salt Caramel Apple Pie I made for Thanksgiving.  Baked in my favorite Emile Henry Artisan Pie Dish.

Sea Salt Caramel Apple Pie I made for Thanksgiving.  Baked in my favorite Emile Henry Artisan Pie Dish.

The first apple pie I made completely from scratch was a disaster (and that's a nice synopsis).   It took FOREVER to make and what did I end up with?-- A pie that was soggy, concave, burnt exterior, under-baked interior and a taste that was assaulted with citrus.  I was upset with the results to say the least (partially because I had wanted a good piece of pie). In addition to being upset, the whole pie making process left me feeling very frustrated (I followed the instructions to the letter, how could this have possibly failed!?!). Below is a picture of the before and after of my first pie making experience.  I am slightly mortified showing you this, but you need to know that a) the story is true and b) why I was so inspired to write this post.

IMG_1055.JPG
IMG_1062.jpg

One thing to know about me is that when I fail at something, I don't cry or throw myself a pity party.  Instead, I take a more productive approach- Research, Rinse and Repeat!  Meaning, I study what I did, figure out what went wrong and then try it again until I achieve success.  Yes, my first pie was an epic fail, but I learned a lot from failing.  Below I have compiled a list of tips and resources that have helped me to figure out (and eventually conquer) the art of apple pie making.   

Tips (that I wish I had known for my first pie)  

  • If Using Raw Apples~Drain Them!- Once you peel, core and cut your apples, toss the slices in the juice of 1 fresh squeezed lemon and 1/4c of sugar and then place slices in a sieve/colander to drain for an hour and a half.  This Alton Brown Video was eye opening as to why this is technique is so important.  Draining your apples prior to baking will help to minimize the wateriness in your pie. 
  • Pack Those Apples Tightly-  As I mentioned, my first pie was concave (i.e. It looked like a deflated balloon).  The reason why this happened was because I haphazardly dumped my apple pie filling into the pie dish and then proceeded to bake.  What I didn't consider was the fact that when apples cook, they shrink in size.  If you don't tightly pack your apple slices into your pie in a somewhat orderly fashion, they will create large air pockets in your pie as they cook down.  Failing to tightly pack your apples will not only cut down on your ratio of apples to crust per bite, but it can also compromise the integrity of your crust because it no longer has the support of the apples to help keep the pie dome shape.  
  • 2 Baking Temperatures and Covering Your Crust- Bake the pie at 400 degrees fahrenheit for the first 35 minutes and then turn the heat down to 375 degrees and place a piece of aluminum foil lightly on top of the pie for the remainder of the baking time.  This will keep the exterior crust from burning, while providing the interior crust and pie contents ample time to cook throughout.
  • Pie Vents- You may already know that before your pie goes into the oven you need to take a sharp paring knife and cut a few slits into the top crust.  This is done to provide your pie with vents for the steam to escape.  The interesting part about pie vents that I did not know before, is that pie vents can be very helpful for checking the doneness of your pie.  When your pie is done baking, you should be able to stick a knife through every vent on your pie and down through all of the apple layers without any resistance.  If you experience any resistance, then your pie isn't done baking.  In addition, pie juices will start to escape through the vents when the pie is done baking (not always, but often).  
  • Egg Wash and Granulated Sugar- Before your pie goes in the oven, brush all exposed crust with an egg wash and then lightly sprinkle granulated sugar over the top of the egg washed crust.  This will help you to achieve that golden brown crust with the added touch of sweet crunch from the slightly caramelized granulated sugar. 
Flaky Golden Crust and a Perfectly Cooked Apple Filling.  Served ala mode of course and garnished with a Cinnamon Sugared Simple & Crisp Apple Crisp.  

Flaky Golden Crust and a Perfectly Cooked Apple Filling.  Served ala mode of course and garnished with a Cinnamon Sugared Simple & Crisp Apple Crisp.  

As you can see from the picture I have shared directly above, even pie stories can have happy endings.  Although it was rough, I am really appreciative of that first pie experience.  

In Food and Drink Tags Apple Pie, Dessert
Comment

Blood Orange & Cranberry Cocktail

February 6, 2015 Callie Cagney
Blood Orange & Cranberry Cocktail garnished with Frozen Blood Orange Slices

Blood Orange & Cranberry Cocktail garnished with Frozen Blood Orange Slices

Lately I have been getting a little tired of my go-to Kettle Greyhound (Vodka & Grapefruit Juice on ice).  It is a great cocktail- very refreshing, most restaurants/bars can make it for you and most importantly (for me) its not too sweet.  I am not a fan of super sweet cocktails primarily because the combination of alcohol and sugar tends to bring on a nasty headache in the morning.

Clearly I have digressed a little, but my point being that I have come up with a new cocktail recipe that is delicious, perfect for winter when  citrus is in abundance and most importantly, not too sweet!  Who doesn't love a good cocktail recipe?  Here is the recipe for making this delicious libation:

Ingredients:                                                                            (Serves 4) 

  • 12 oz. Blood Orange Juice **Blood Orange Juice is definitely less expensive in grocery stores, but if you can't find it locally, here is a link for buying it online.  
  • 4oz Premium Cranberry Juice (I like R.W. Knudsen Just Cranberry)
  • 12 oz. Club Soda or Seltzer Water (Perrier is a great option)
  • 1 Lemon (I suggest Meyer Lemons- they tend to be juicier)
  • 8-12 oz. Citron/Citroen Vodka (Absolut or Ketel One would be my preference for this recipe)
  • 2 oz. Cointreau (Orange Liqueur)
  • Ice (*Tip-Blood Orange Flavored Ice Cubes are a great addition to this cocktail)
  • Blood Orange Slices (Frozen) or Fresh Cranberries (Skewered and Frozen) or Simple & Crisp - Dried Blood Orange Crisps
41+84hidv3L.jpg
ProdAdminImage.ashx.png
3_307535.jpg
1_92310750_3.jpg
Unknown-1.jpeg
Simple_and_Crisp_Edits-3-2_large.jpg

Instructions:

  1. In a large pitcher combine- Blood Orange Juice, Cranberry Juice, Vodka, Cointreau, Club Soda and the Juice of 1 Meyer Lemon
  2. Stir Contents and pour over ice
  3. Garnish with either frozen blood orange slices, frozen cranberry skewers or Simple & Crisp Dried Blood Orange Crisps

(*Note- I also like to add extra frozen blood orange slices to my pitcher to keep the beverages extra cold without diluting the flavor)

Pitchers to Consider:  Williams-Sonoma Monogrammed Glass Pitcher, CB2 Double Edge Pitcher, Anthropologie Hobnail Pitcher, Crate & Barrel Cha-Cha Pitcher, Towle Serveware Hammersmith Pitcher

img5o.jpg
double-edge-pitcher.jpg
ANTHROPOLOGIE-Hobnail-Pitcher.jpg
cha-cha-pitcher.jpg
1264920_fpx.tif.jpeg

Double Old Fashioned Glasses to Consider: Williams-Sonoma Dorset Double Old Fashioned Glasses, Sur La Table Gold Rim DOF Glasses (Set of 4), CB2 Single Edge Double Old Fashioned, Scalamandre by Lenox Zebra Double Old Fashioned Glass (Set of 2), Villeroy & Boch Octavie Double Old Fashioned Glass

Unknown-2.jpeg
PRO-1615806_Default_2_200x200.jpg
single-edge-double-old-fashioned.jpg
8256979_fpx.tif.jpeg
villeroy-boch-Octavie-Double-Old-Fashioned-Glass-10-oz-20.jpg


In Food and Drink Tags Blood Orange, Cranberry, Cocktail, Vodka, Citrus
1 Comment

S'more Cupcakes

February 2, 2015 Callie Cagney

I got the idea for this creation from a recipe on foodnetwork.com for S'more Brownies.  The brownie recipe is beyond delicious, but for entertaining purposes, I needed to come up with a variation that could be made into individualized servings (easier to pass around and less fuss overall with serving the dessert).  Cupcakes seemed like a natural fit.  With a few modifications, I developed a recipe that was both easy and delicious.  These cupcakes have been a hit with all of my dinner party guests and I hope you find the same enjoyment from this recipe as well!

For the Crust

Ingredients

  • 1 Box Graham Cracker Crumbs
  • 1 1/2 Sticks Salted Butter (Melted)
  • 4 TBS Sugar
  • 1/4 tsp Salt
IMG_6455.JPG
IMG_6462.JPG
IMG_6470.JPG
IMG_6474.JPG

Instructions

  1. Preheat oven to 325 degrees fahrenheit and place oven racks on bottom  third section of oven
  2. Combine Crumbs, Sugar and Salt in a bowl with a fork
  3. Once dry ingredients are combined, add melted butter and continue to combine until mixture resembles wet sand
  4. Use a cookie scoop (or similar to achieve uniformity) and add one scoop to each muffin cup that has been lined with a  cupcake paper
  5. Press mixture down to create a packed crust (I like to use a 1/4 cup measuring cup with a flat bottom because it fits the space perfectly and I don't have to get my hands dirty)
  6. Bake in oven for about 20minutes

For the Cake

Ingredients

  • Option A- From Scratch, I use Ina Garten's Recipe for Beatty's Chocolate Cake (Cake Recipe Only)
  • Option B- Quick and Easy Box Mix.  Just get a high quality chocolate cake mix and make the batter as instructed.  When I use a boxed cake mix for this recipe, I like to use Duncan Hines Triple Chocolate Decadent Ingredient Rich Cake Mix.  

Instructions

  1. Make chocolate cake batter
  2. When crust is finished baking, remove from oven, move oven rack back to mid-level and increase baking temperature to 350 degrees fahrenheit
  3. Fill each graham cracker crust cupcake cup with batter and then bake in oven for approximately 21-25minutes.  Test cakes with toothpick for doneness.  When toothpick comes out clean the cakes are done.  **Note- Start with less time and then add extra cooking minutes as needed. You can always bake for additional time but you can "unbake" something that has been over baked.    

For the Marshmallow Frosting

Ingredients

  • 7.5oz Jar of Marshmallow Creme (I like to use Fluff)
  • 1 1/2 sticks of unsalted butter (Melted)
  • 1lb Confectioners Sugar
  • 1 1/2 tsps Vanilla Extract

Instructions

  1. With a mixer (hand or stand) combine all ingredients until smooth (*Note-If frosting appears too thick add 1-2 tablespoon(s) of milk or water until consistency is smooth).
  2. Once cupcakes have cooled completely, frost somewhat generously

Garnishing your Cupcakes

IMG_7978.JPG
IMG_6520.JPG
  1. Stand Jet-Puffed Marshmallows on an aluminum foil lined cookie sheet, and place under broiler until tops are golden brown (**NOTE- Watch these marshmallows closely!  It only takes about a minute or two for the tops to become golden brown, but they can burn in a matter of seconds if left unattended)
  2. Place a roasted marshmallow on top of each cupcake
  3. Sprinkle some of remaining graham cracker crumb mixture on top of each cupcake

Recipe Makes Approx. 18 Cupcakes


In Food and Drink Tags Recipe, Dessert, Cupcakes, Smores
Comment
← Newer Posts Older Posts →

Subscribe to the Redefining Domestics Blog:

Thank you!

Categories:

  • Decorate (64)
  • Entertain (71)
  • Food and Drink (103)


Latest Posts by Category:

Featured
IMG_1993.JPG
Entertain
Pinterest Worthy Halloween DIYs
Entertain
Entertain
Featured
IMG_8787.jpg
Decorate
How to Hang a Lighting Fixture
Decorate
Decorate
Featured
IMG_1694.JPG
Food and Drink
A Healthy Recipe for Homemade Granola
Food and Drink
Food and Drink

Instagram 

http://instagram.com/calliecagney

View fullsize We are lucky to have you in our sphere Chris Kalna!❤️ #happyfathersday #girldad #cookiebaking #suttonbutton #lovethem
View fullsize National Puppy Day with my two toddlers❤️ #suttonbutton #jolene #nationalpuppyday #jojosbathtubfomo😂
View fullsize Bibbidi Bobbidi Boo, she’s 2! Happy Birthday Sweet Girl💙 #suttonbutton #halloween #cinderella #happybirthday #shestwo!
View fullsize Fourth of July Vacay is already off to a fun start❤️💙⛱ #fourthofjuly #mountains #thesetwo #ggccsummer2019
View fullsize This little girl turned 1 on Halloween! Sutton, you are pure joy! Happy Birthday sweet girl! #suttonbutton #happybirthday #halloweenbaby #birthdaycake #diy #beaufortbonnet
View fullsize Our first 4th of July as a trio❤️💙 #happyfourth #familyphoto #skr #suttonbutton #vacation #northcarolina
View fullsize First day of vacation with these two loves💙 #thecutest #vacation #july4th #mountains #sKr #suttonbutton #beachingit #waterbaby
View fullsize Happy First Father’s Day to this stud muffin! You bring a lot of joy and sports watching to our lives. The Ladies Kalna are lucky to have you!❤️ #Fathersday2018 #chrissums #sKr #socute #luckyus #moreusopenplease
View fullsize Girlfriends kicking off MDW together💕🐳🛁 #suttonandmadden #mdw #littlebesties #bathtime #toocute
View fullsize Baby’s first Christmas tree 🎄 #deckthehalls #sKr #christmastree #happysunday
View fullsize Baby sKr’s jammie game is on point🙌🏻❤️ #thingstodo #retailtherapy #stillpregnant #petiteplume #potterybarnkids #babyclothes #toocute #babygirl #pajamaparty
View fullsize My husband and I joke about Baby K’s “master suite.” Clearly we’re both struggling with a case of bedroom envy😂 #stillpregnant #babynursery #iviebaby #glitterguide #mypotterybarn #serenaandlily #babygirl #skr #projectnursery

Pinterest

http://www.pinterest.com/calliecagney/

Follow Callie Cagney's board Home Decorating on Pinterest.
Welcome RSS

© 2016 Redefining Domestics. All Rights Reserved.