Tips for Making Pizza at Home

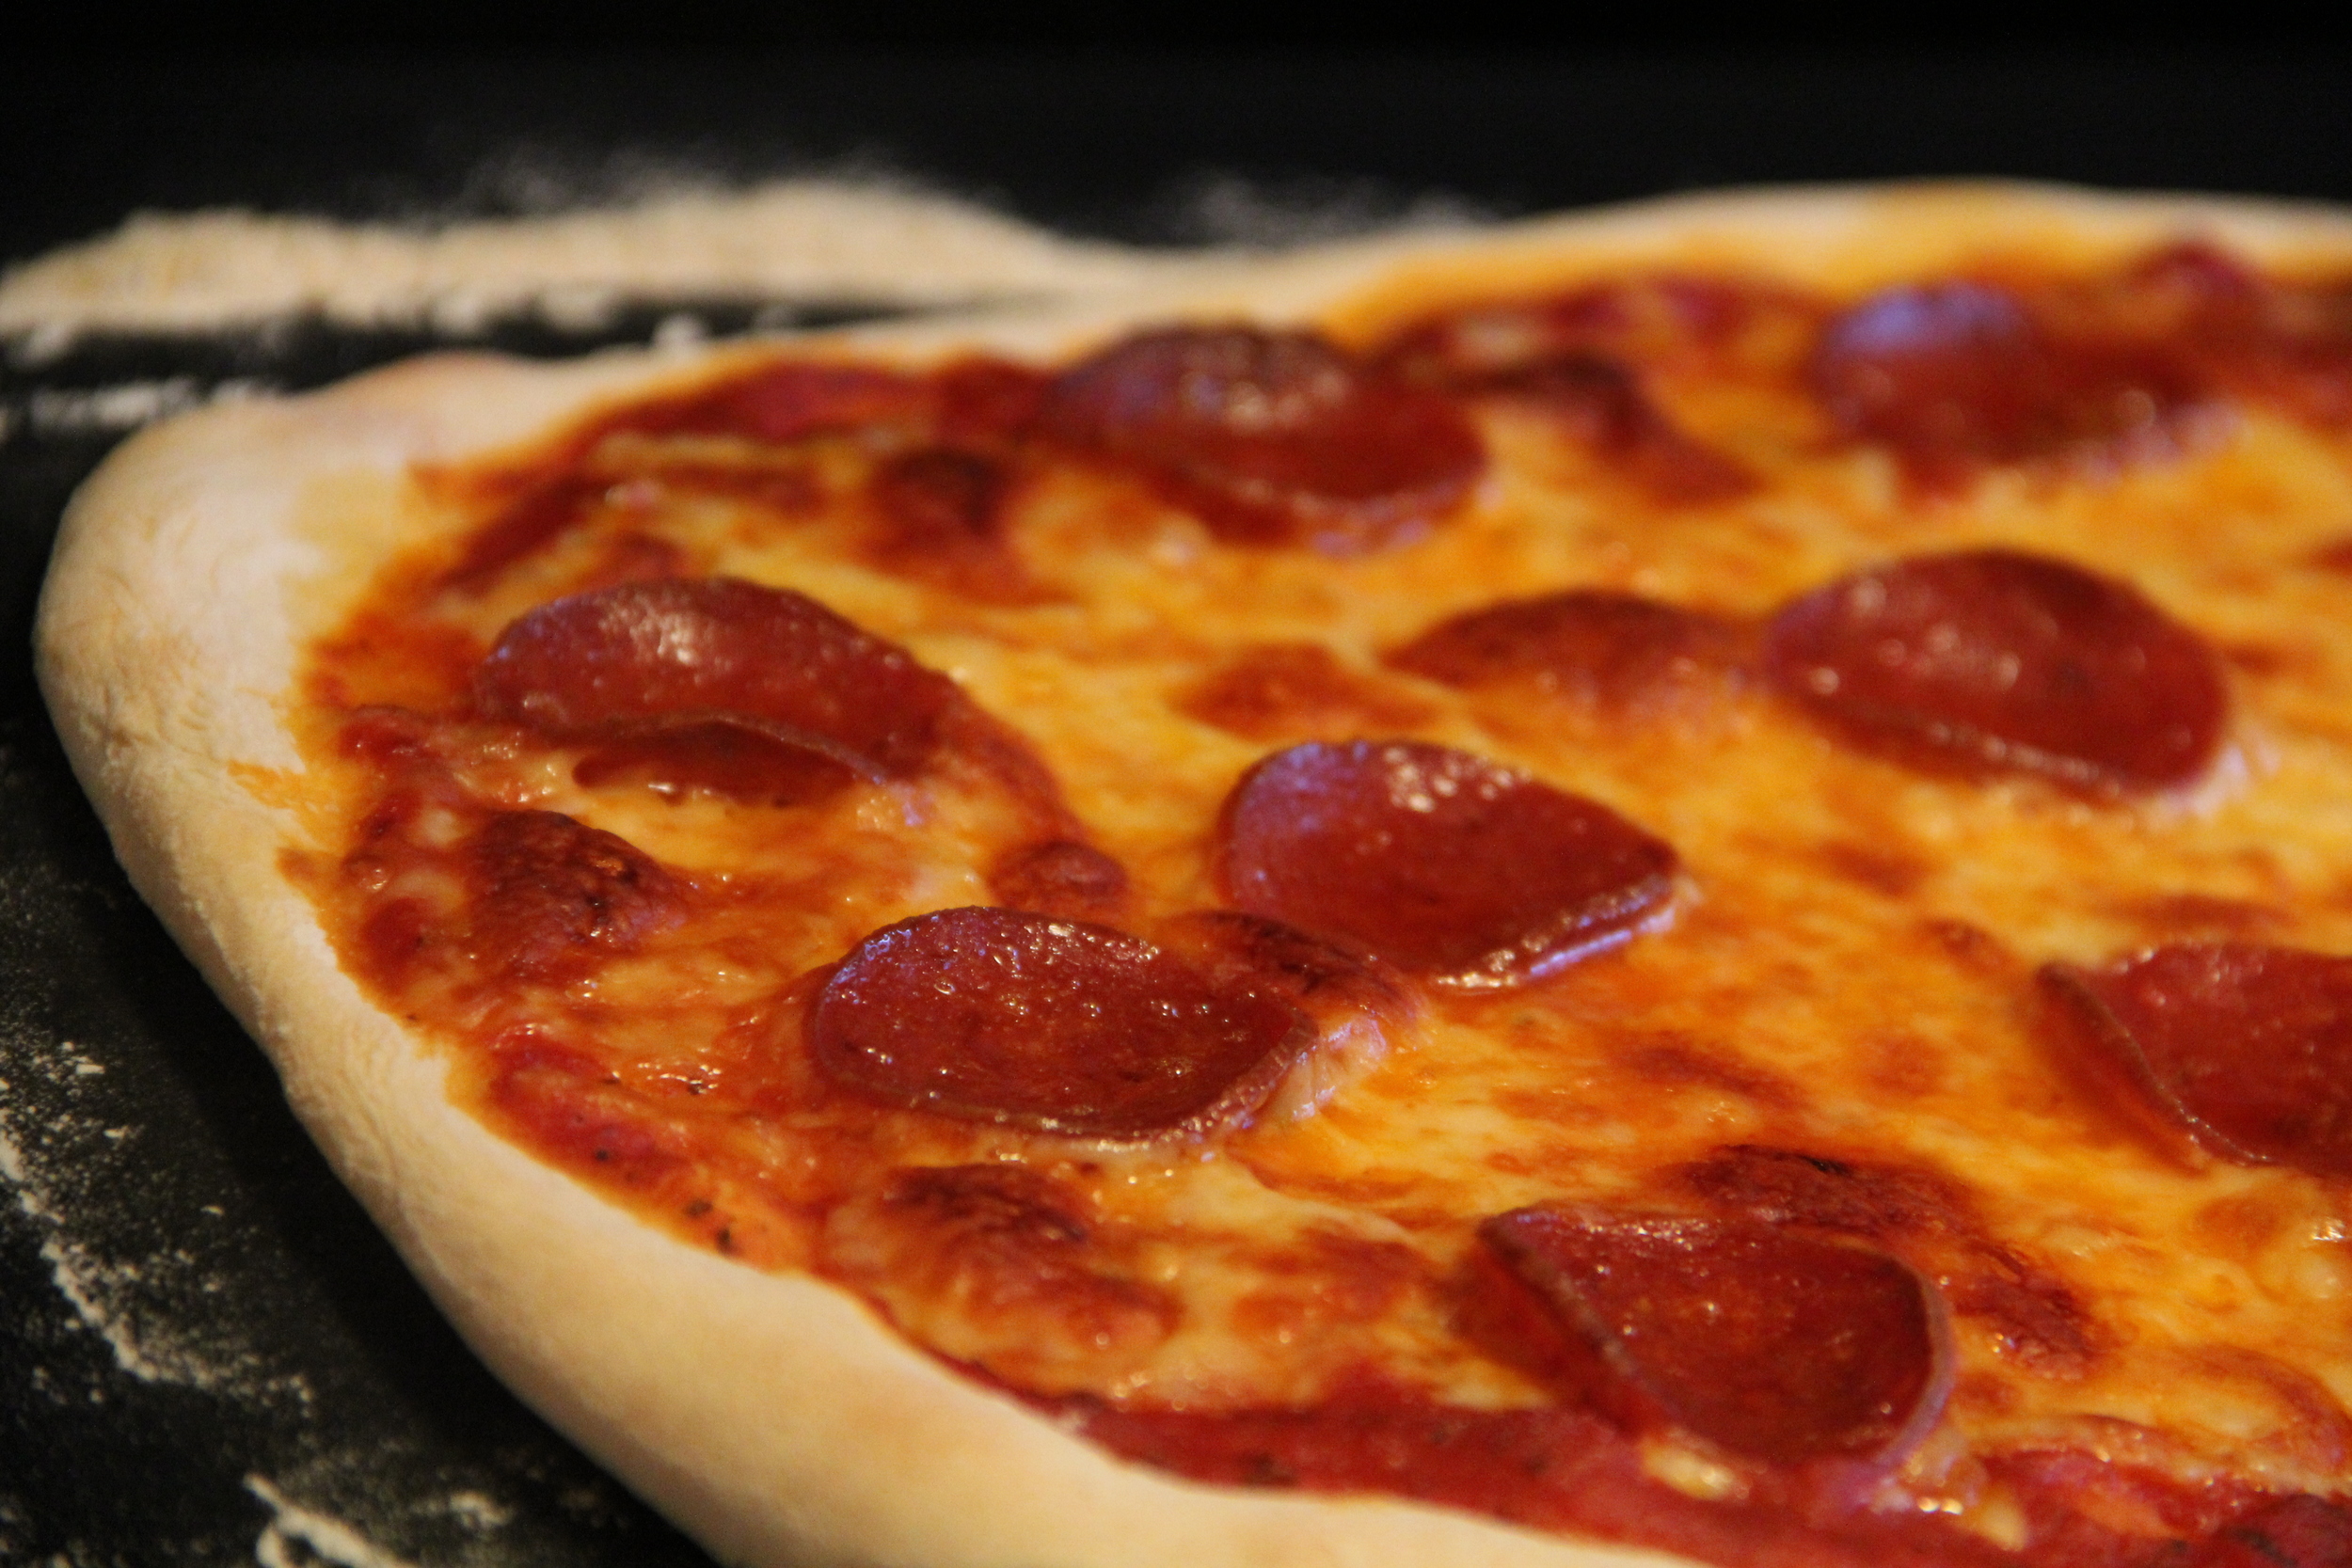
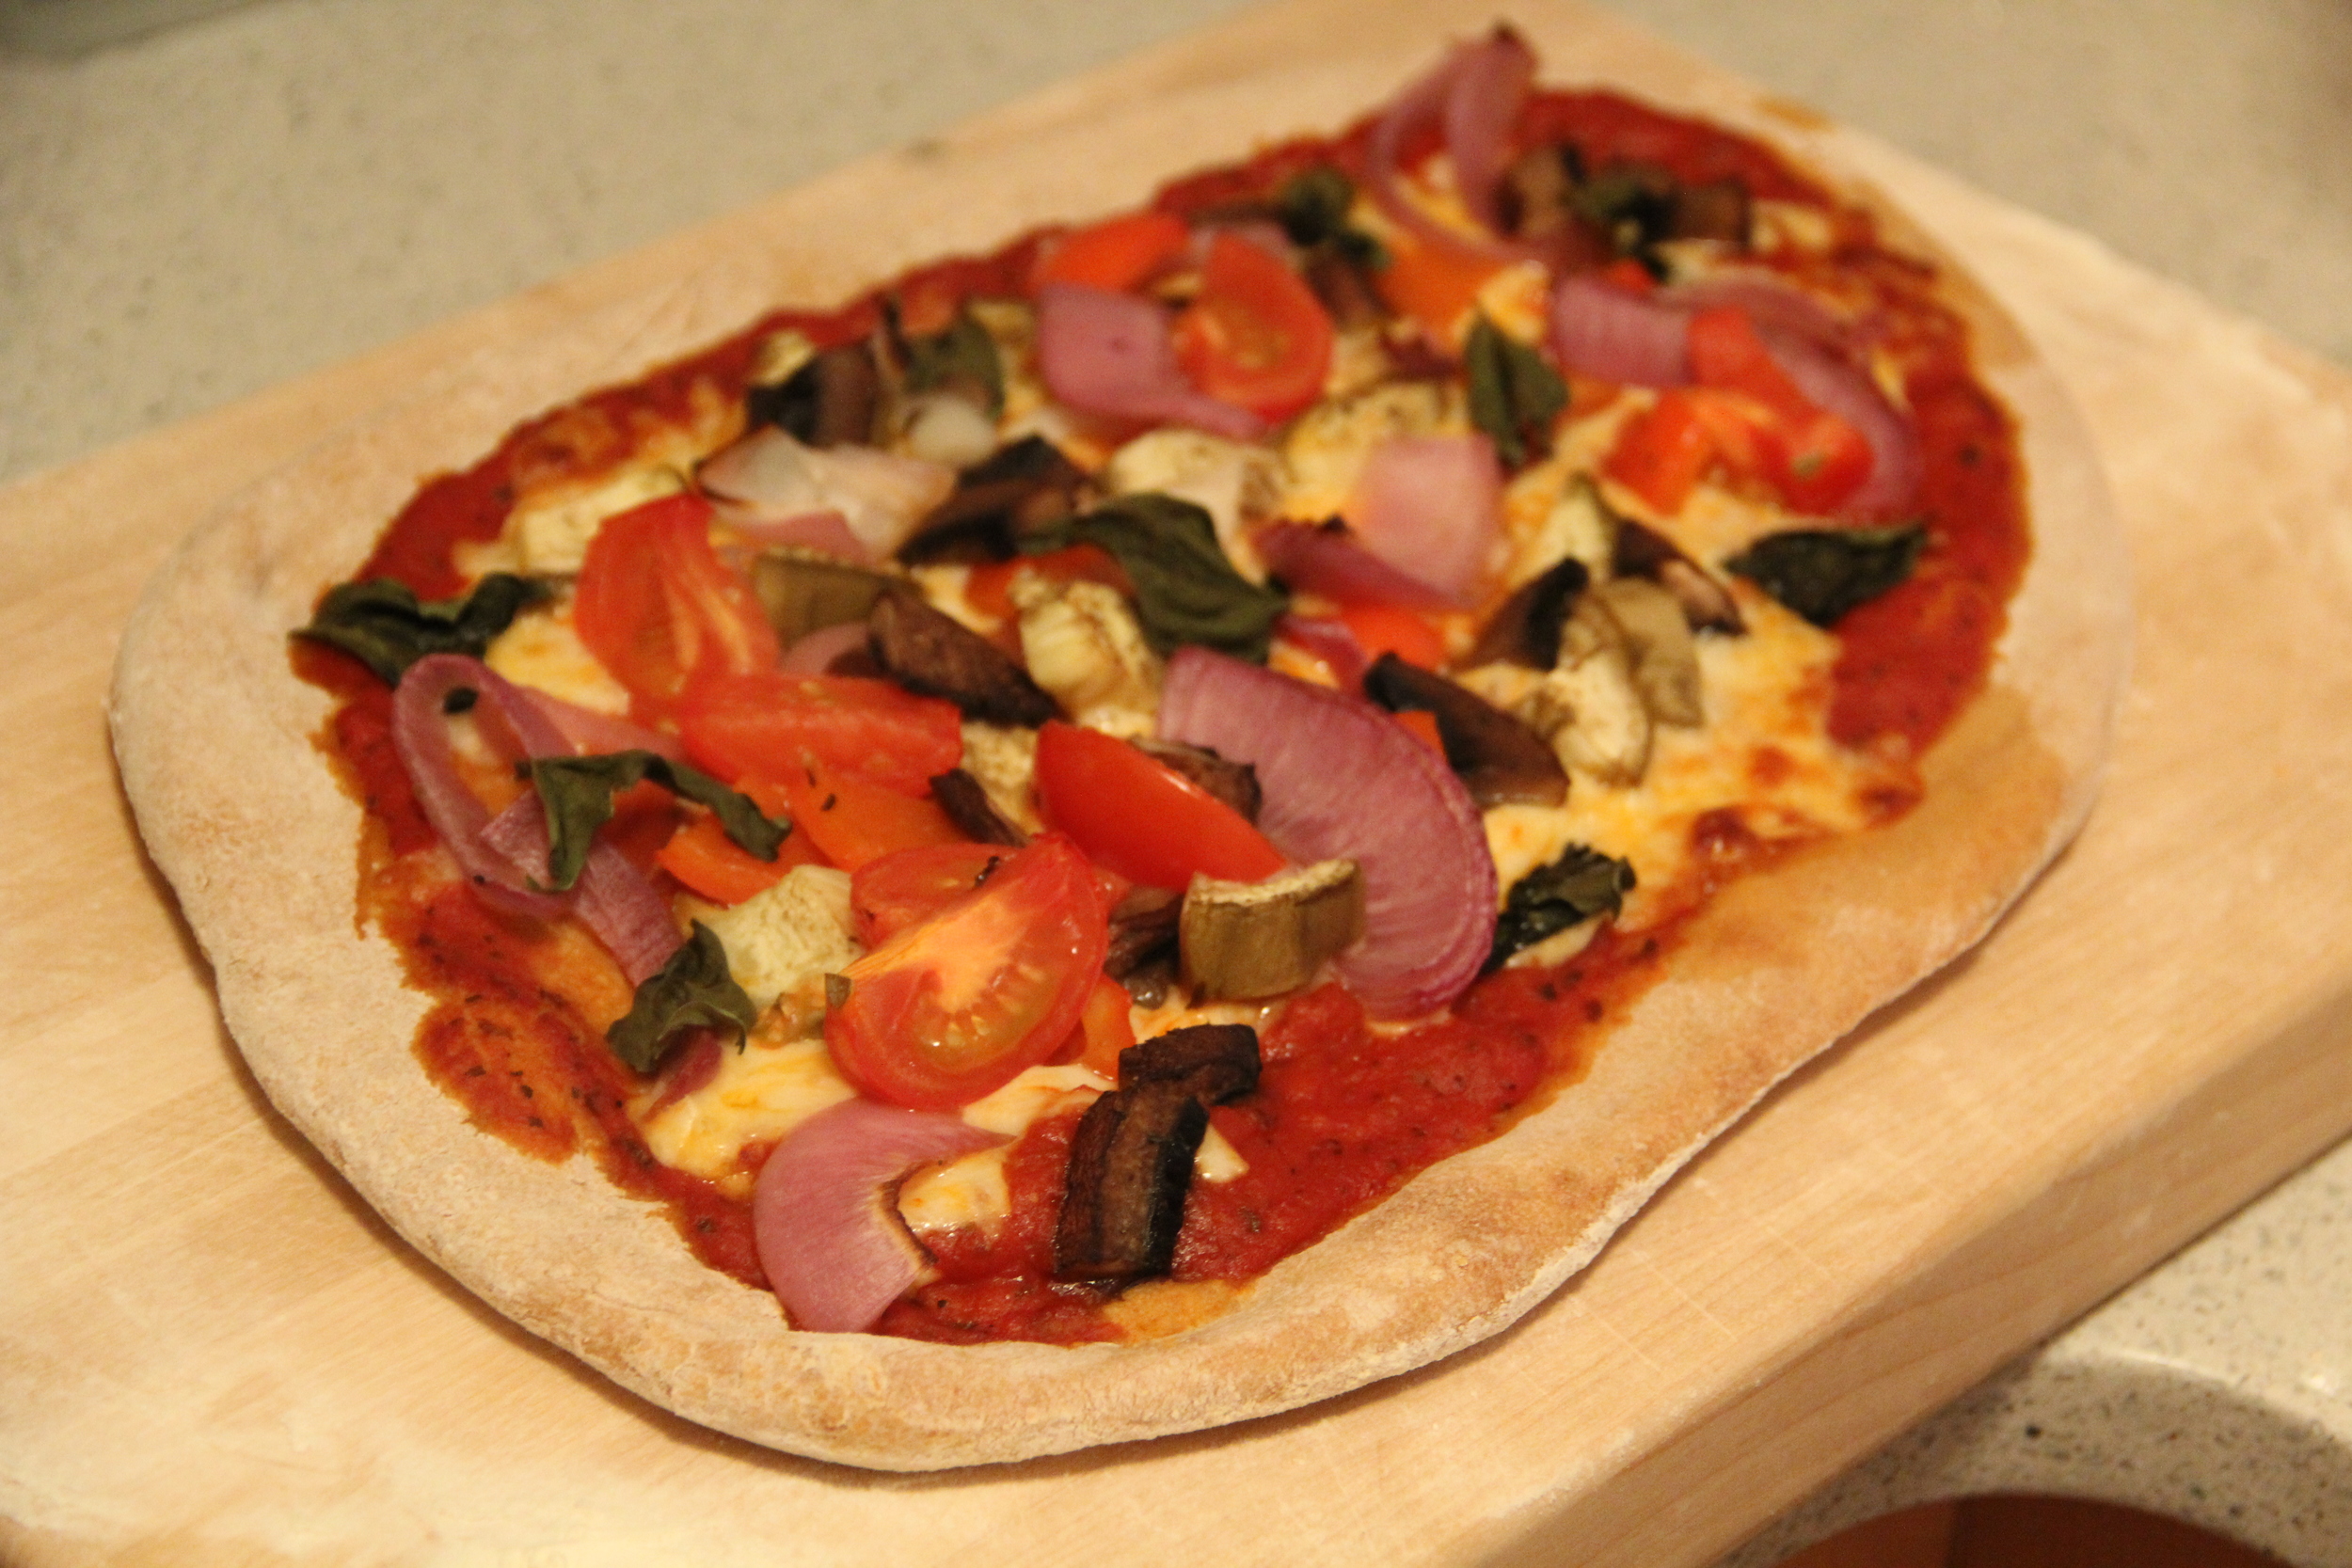
My husband and I have been trying to make an effort to cook together more often.  I certainly enjoy cooking on my own, but cooking together as a couple has been a nice change of pace from our standard wine and a movie date night.  Over this past weekend we decided to make homemade pizzas.  We didn't come up with this idea until Sunday afternoon, so in an effort to keep things from getting too complex, we decided to buy the pre-made pizza dough at the store and then roll it out and assemble the pizzas ourselves.  

In order to make this date night happen, we needed to make 2 stops on our Sunday errand run.  The first was to our local kitchen supply store for a pizza stone.  I had been wanting the Emile Henry Rectangular Pizza Stone for some time now and this was the perfect excuse to get it.   A pizza stone really does make a huge difference when cooking your pizza, but if you're not looking to add another piece of bakeware to your kitchen, a cookie sheet works just as well.  The second stop was to the grocery store to pick up the pre-made pizza dough (both white and whole wheat), veggies, cheese, basil, pizza sauce and pepperoni.  

When we arrived back home I immediately got to work setting up the pizza making station.  It wasn't until I had laid out all of the ingredients and went to preheat the oven that I realized the pre-made dough we had purchased did not come with cooking instructions!  Who sells a product without instructions?!?  

I took a moment to collect myself and then did what anyone would do in this situation, I Googled it.  The results of my search made me realize that there was a need in the market. Not one resource I found provided me with all of the necessary information needed for making homemade pizzas.  After much research, I was eventually able to piecemeal together a set of instructions for making these pizzas and put my newly harvested information to the test.  There was definitely a period of trial and error during this process but in the end I was able to achieve home made pizza success.  Below I have compiled a list of my favorite tips for making homemade pizza, along with a set of instructions in the event that you ever fall victim to the same situation I did (purchasing a bag of pre-made pizza dough sans cooking instructions).   

Dough Prep 

  1. Let your store-bought dough come up to room temperature or at least close to room temperature in order to make the dough easier to roll out.
  2. Once the dough has been brought up to about room temperature, generously flour the rolling surface and your dough.  
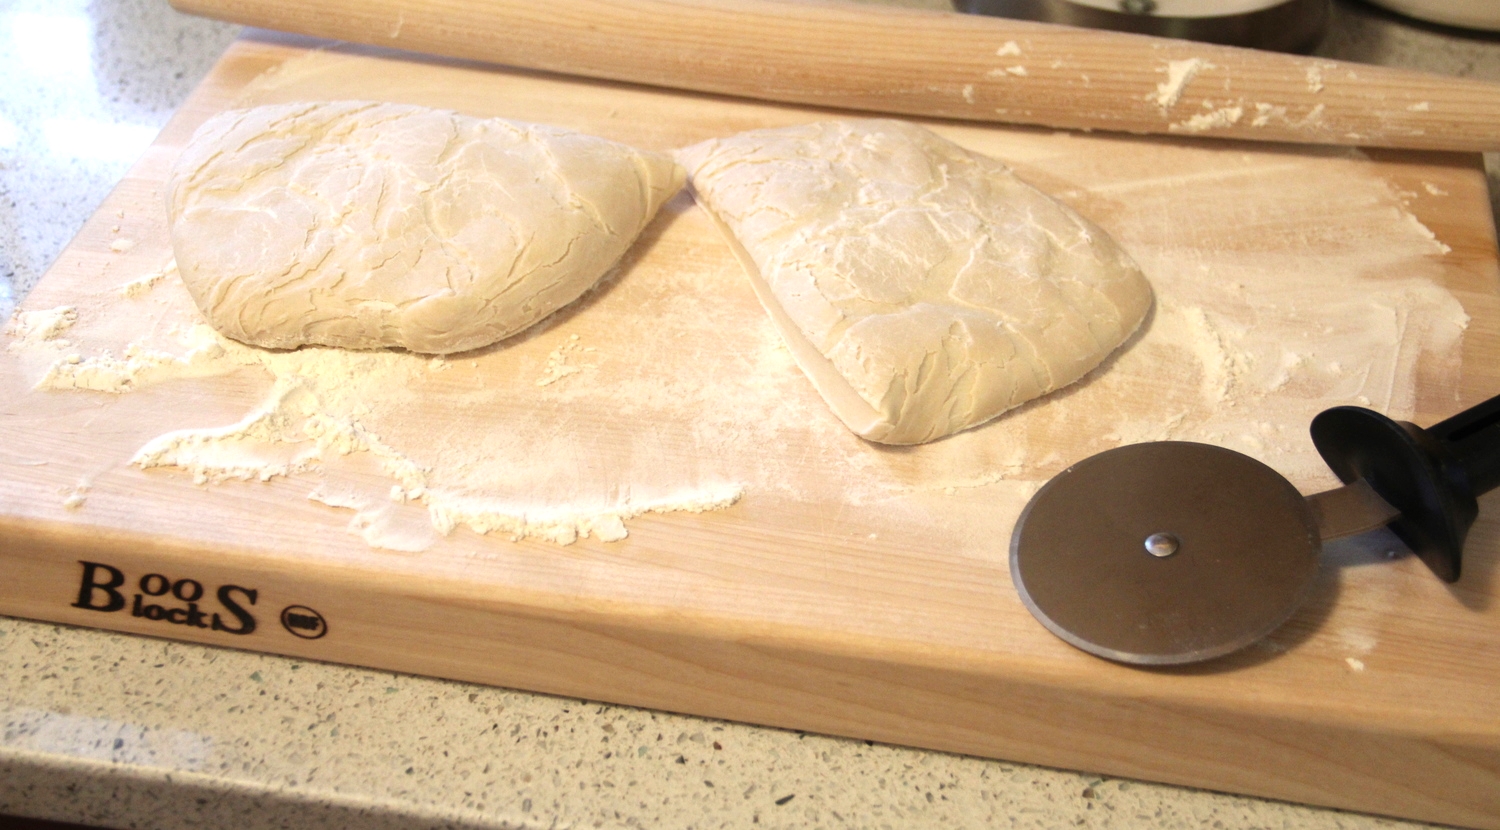
  3. Use a pizza cutter to cut the dough in half (store half in the fridge or freezer for later)
  4. Use a rolling pin (I prefer my french pin because I think it provides the most control) to roll out your dough.  **Note- store bought dough tends to have greater elasticity, so this task will require a bit of patience.  It's also okay to intermittently stretch the dough with your hands between rollings. 

Toppings 

Topping are the best part of pizza making in my opinion.  My advice for toppings is two-part:

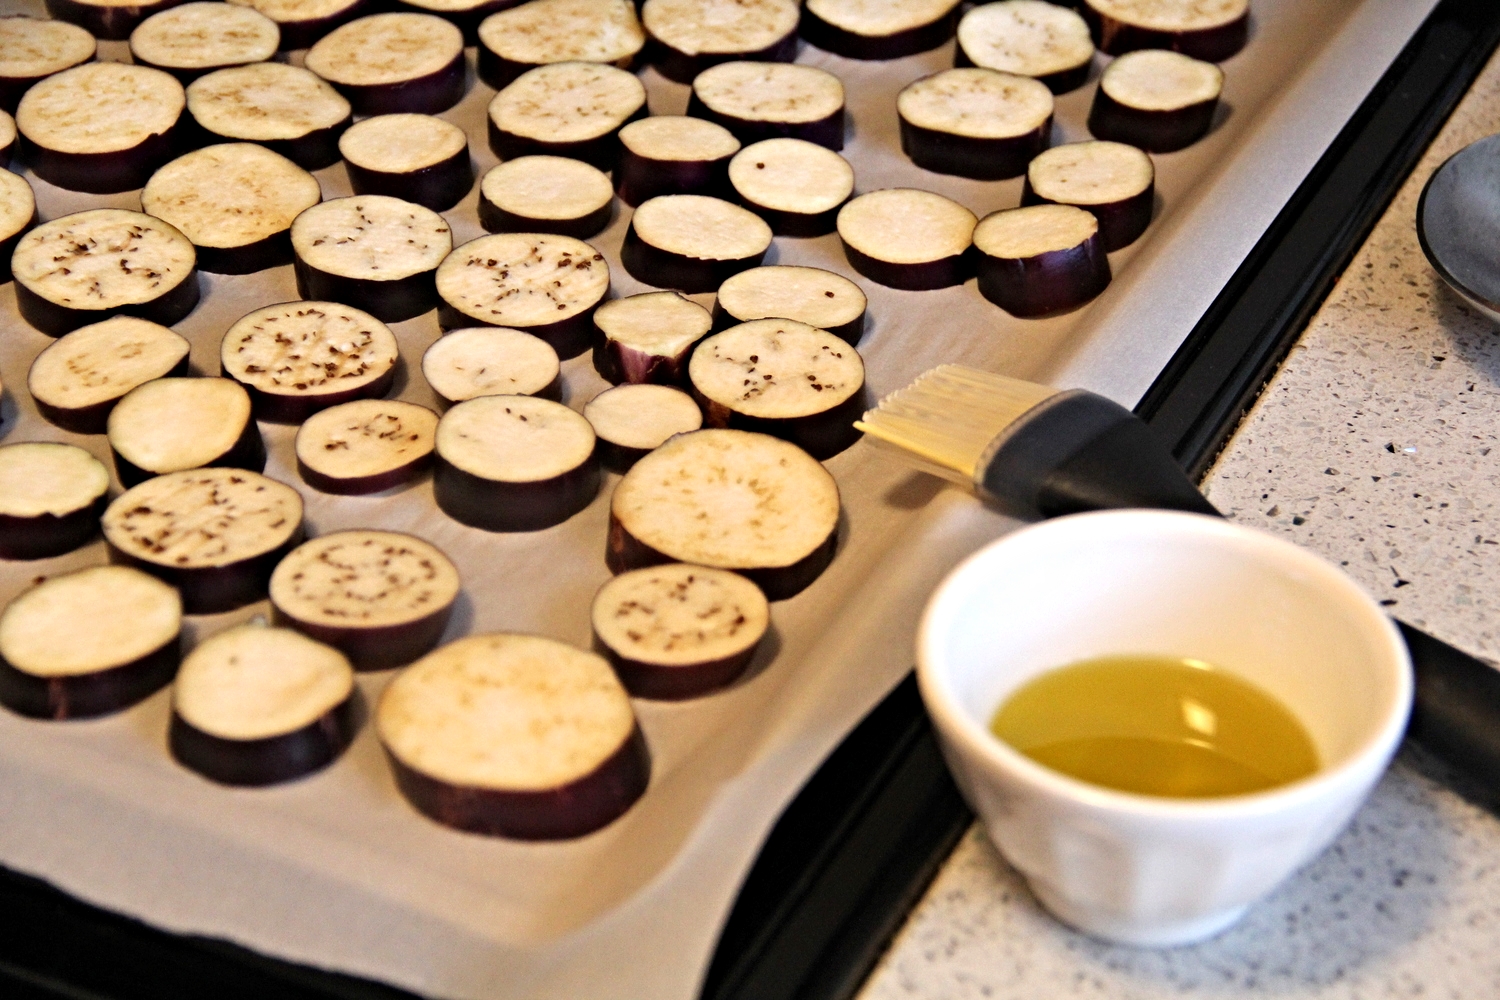
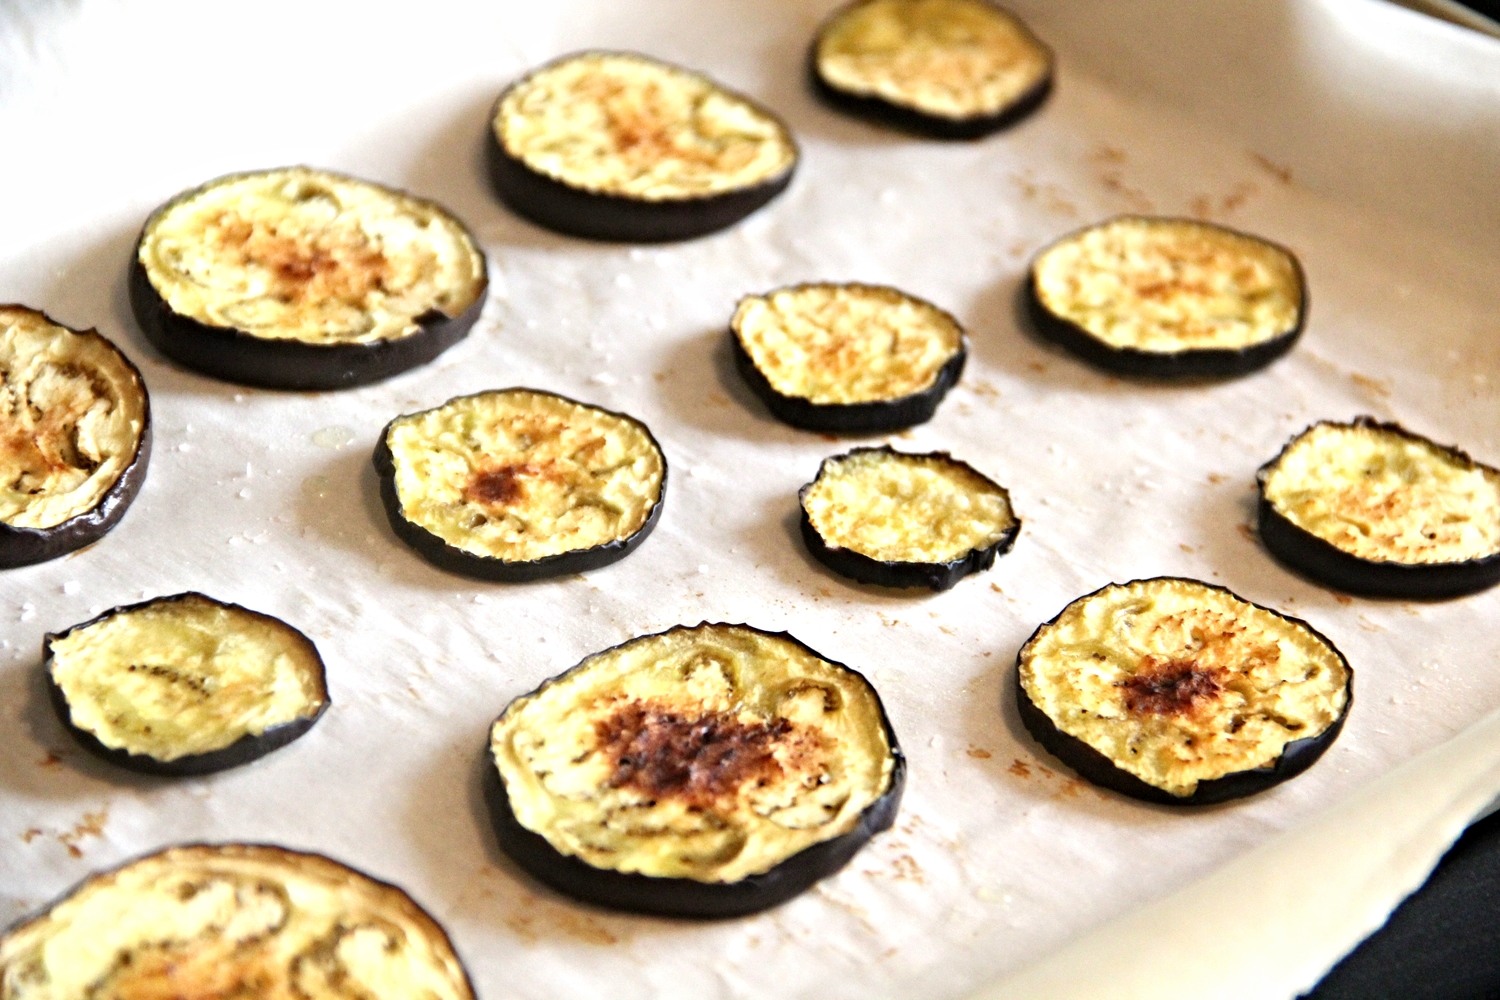
  1. Keep Topping Moisture to a Minimum- if using veggies, cook them in the oven ahead of time to draw out moisture.  In addition, shredded low-moisture mozzarella is better than fresh mozzarella, which is typically sold in a container of cheese water.  Reducing the moisture in elements like cheese and vegetables will help to ensure that your crust stays crisp and doesn't get soggy.  
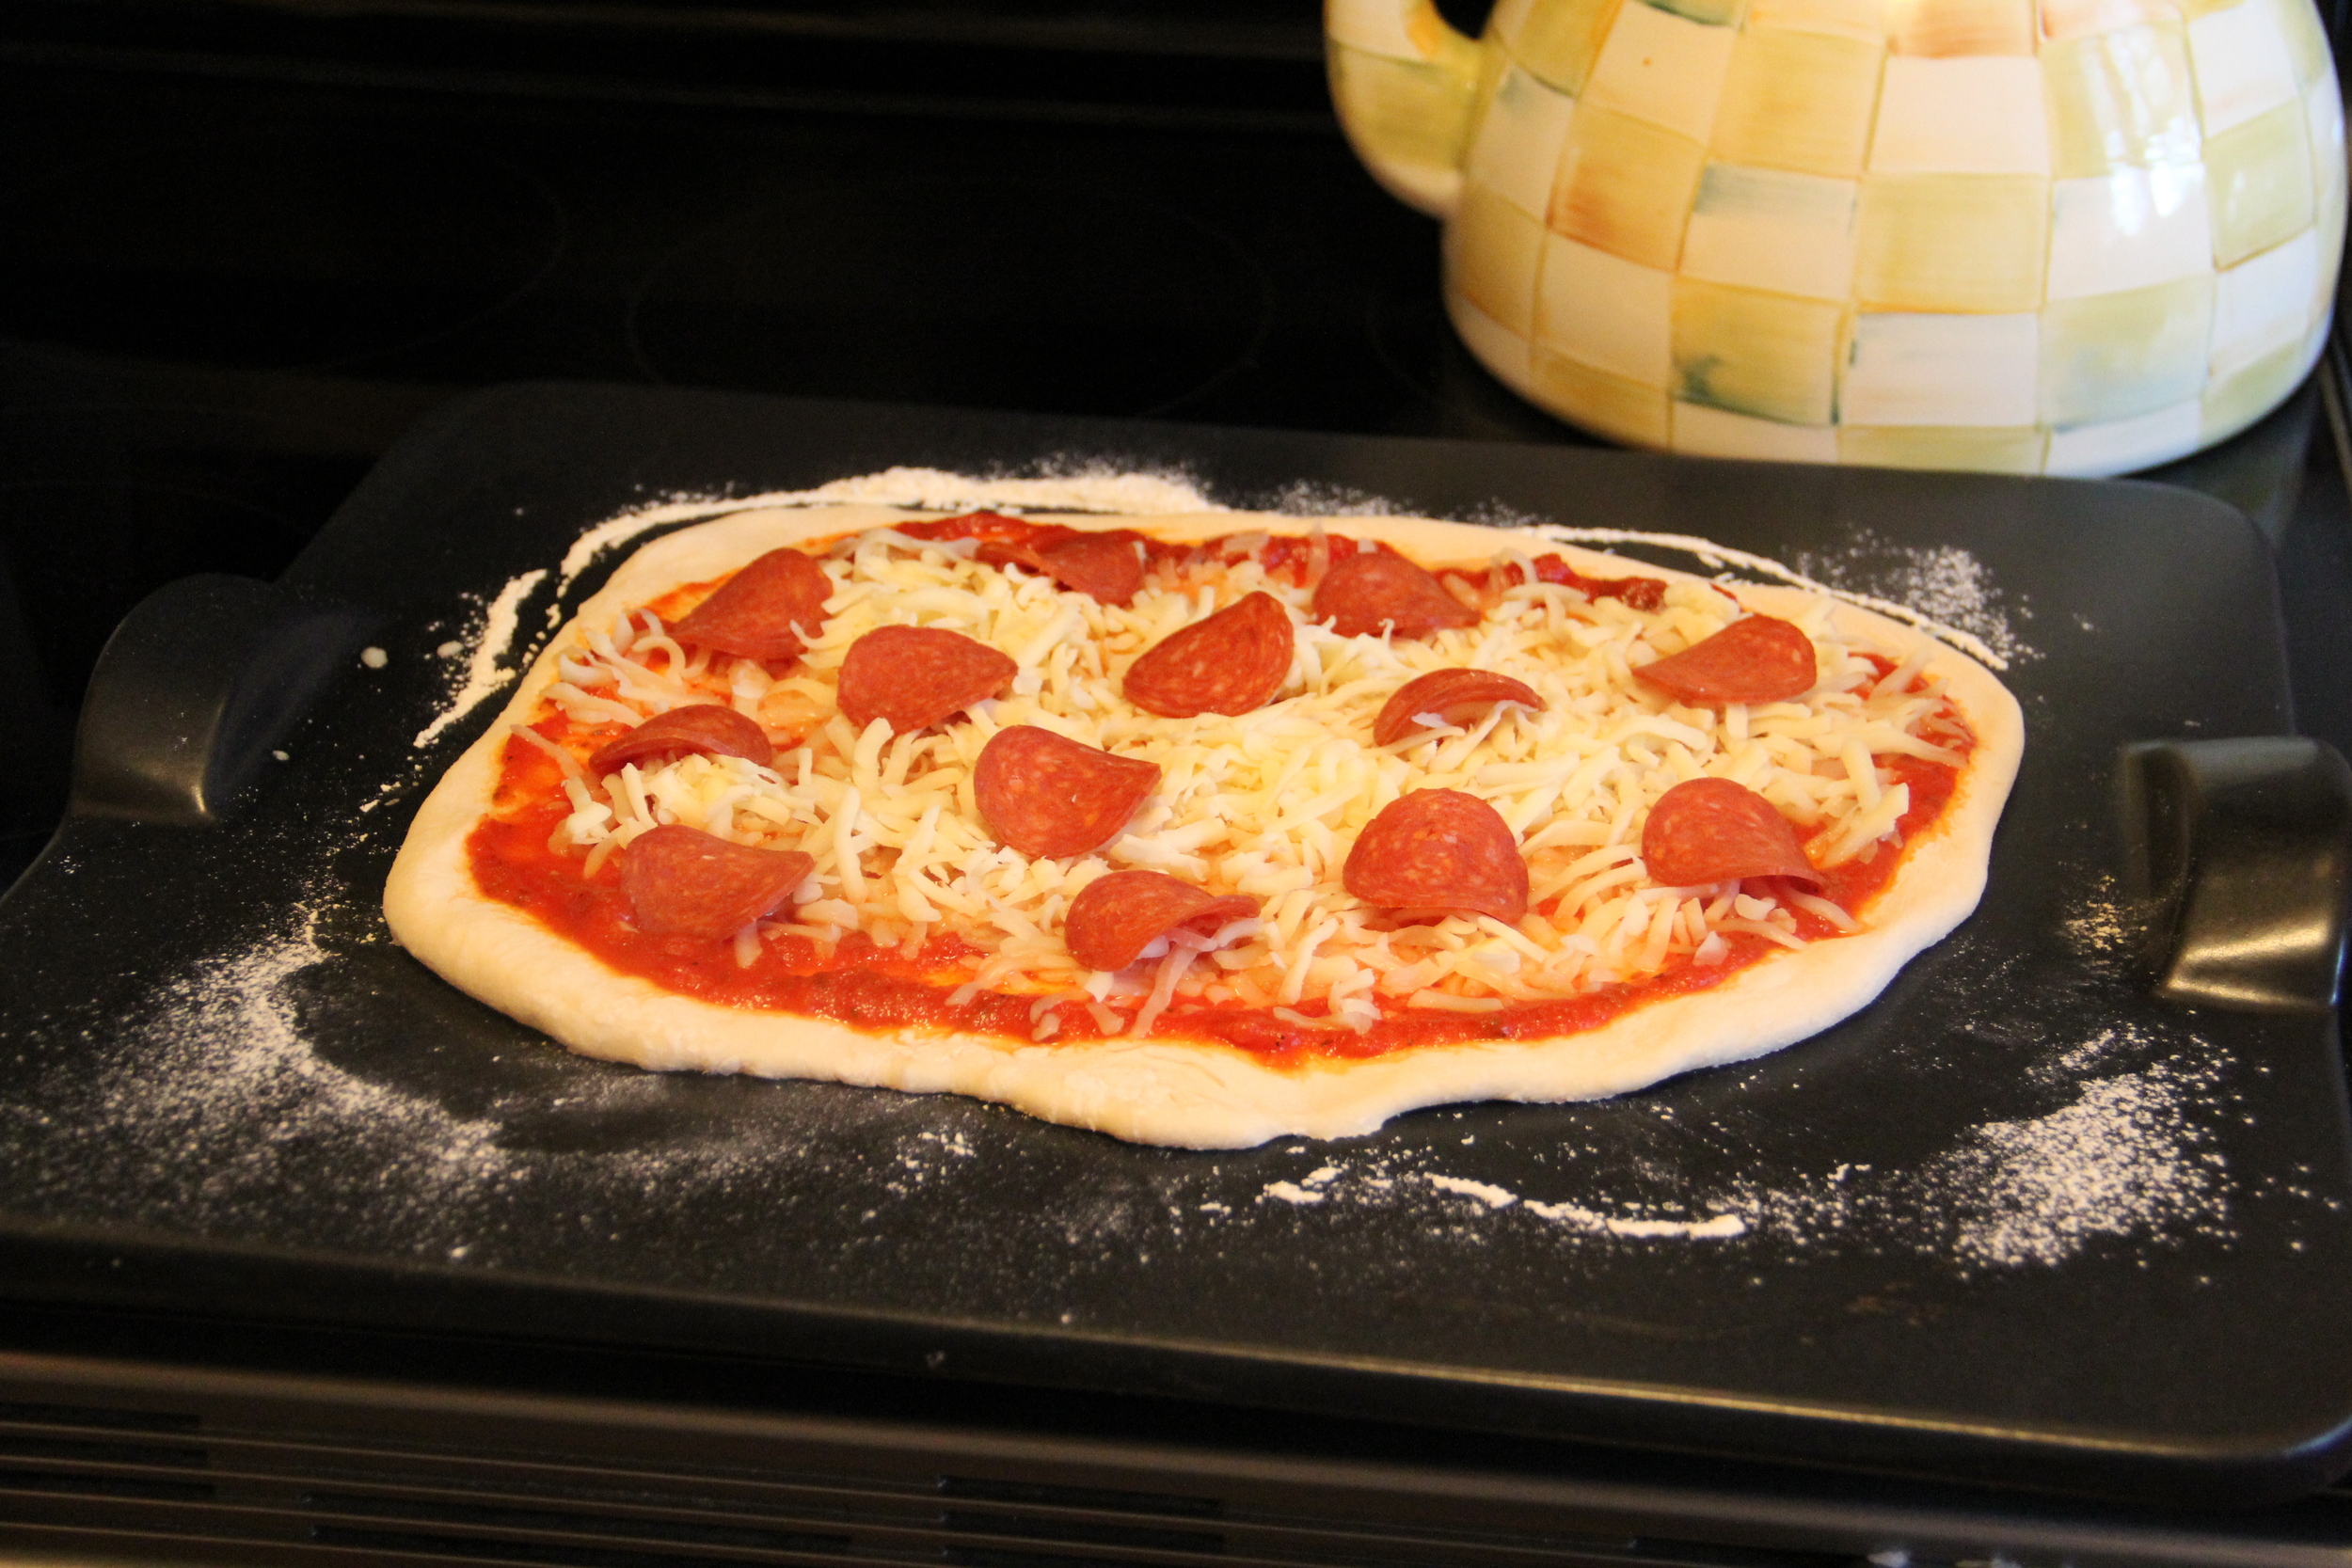
  2. Do not overload your toppings- I know it's tempting, but don't do it.  Why?  Too many toppings will inhibit the cook time of the center portion of your crust.  In a nutshell- the perimeter will cook faster than the center, thus increasing the likelihood that you will end up with burnt crust and a doughy center.  Moderate toppings that are evenly distributed will help ensure that your pizza cooks evenly.  

Cooking 

  1. Place your oven rack on the bottom third tier
  2. Preheat your oven to 450 degrees Fahrenheit with the pizza stone in the oven
  3. Once your oven reaches 450 degrees Fahrenheit, remove the pizza stone and dust with flour or coarse cornmeal
  4. Lay your rolled dough on top and add all desired toppings
  5. Bake pizza for 12-15 minutes
  6. Once pizza has finished cooking, remove from the oven and allow it to rest for 3-5 minutes so that the cheese and toppings can set.
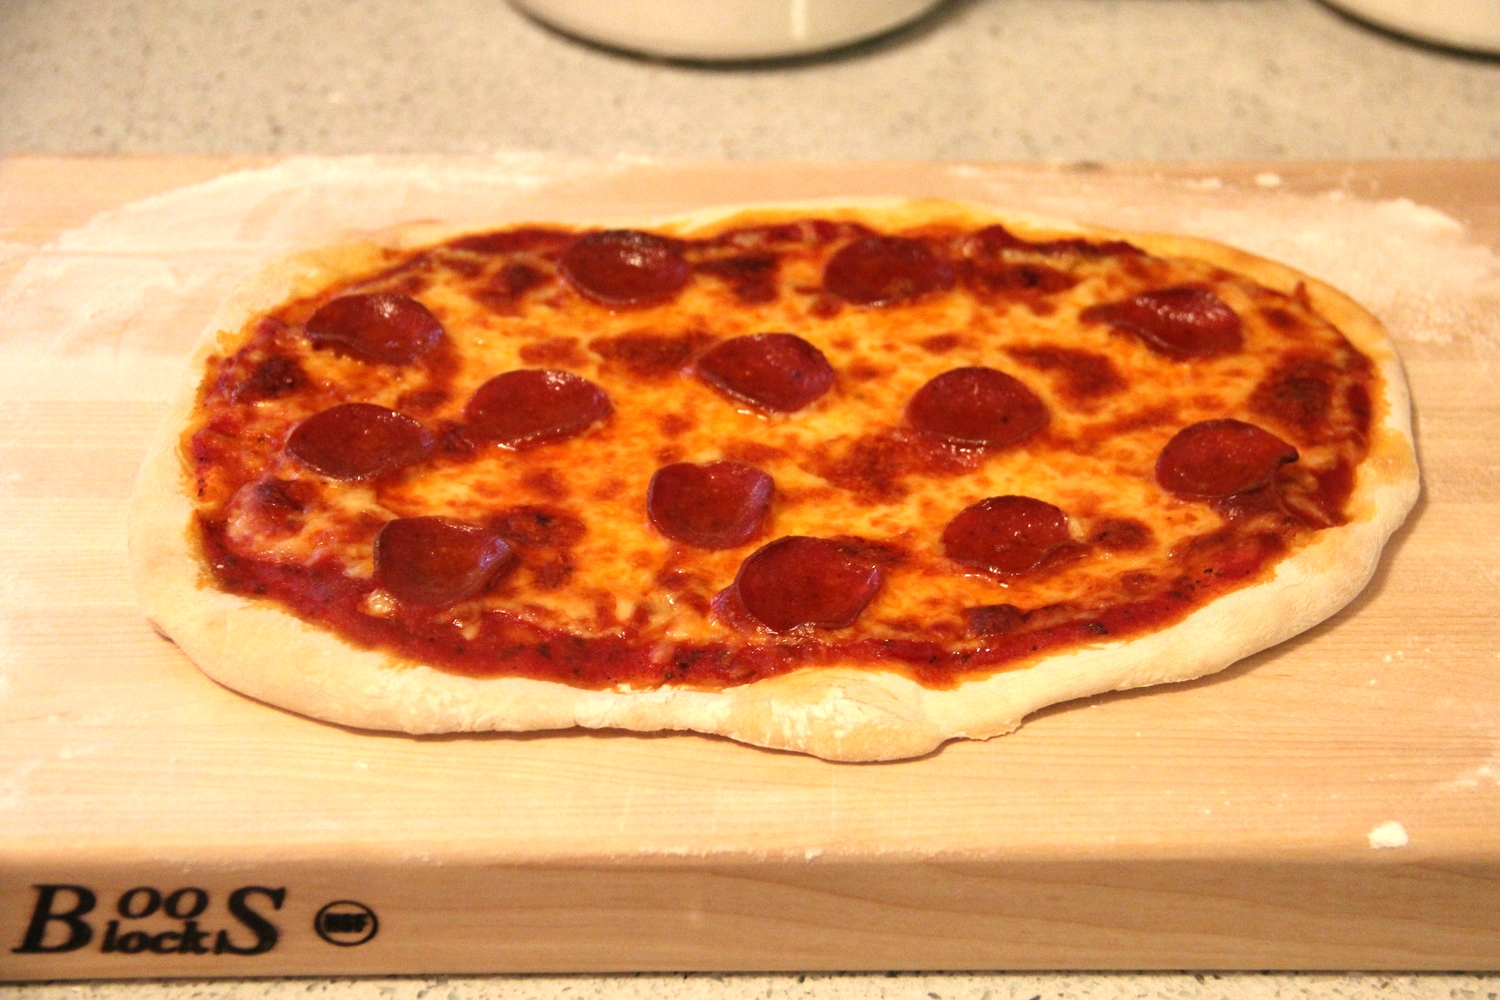
  7. Transfer pizza to a cutting board
  8. Cut Pizza (I recommend using a pizza wheel), serve and enjoy!

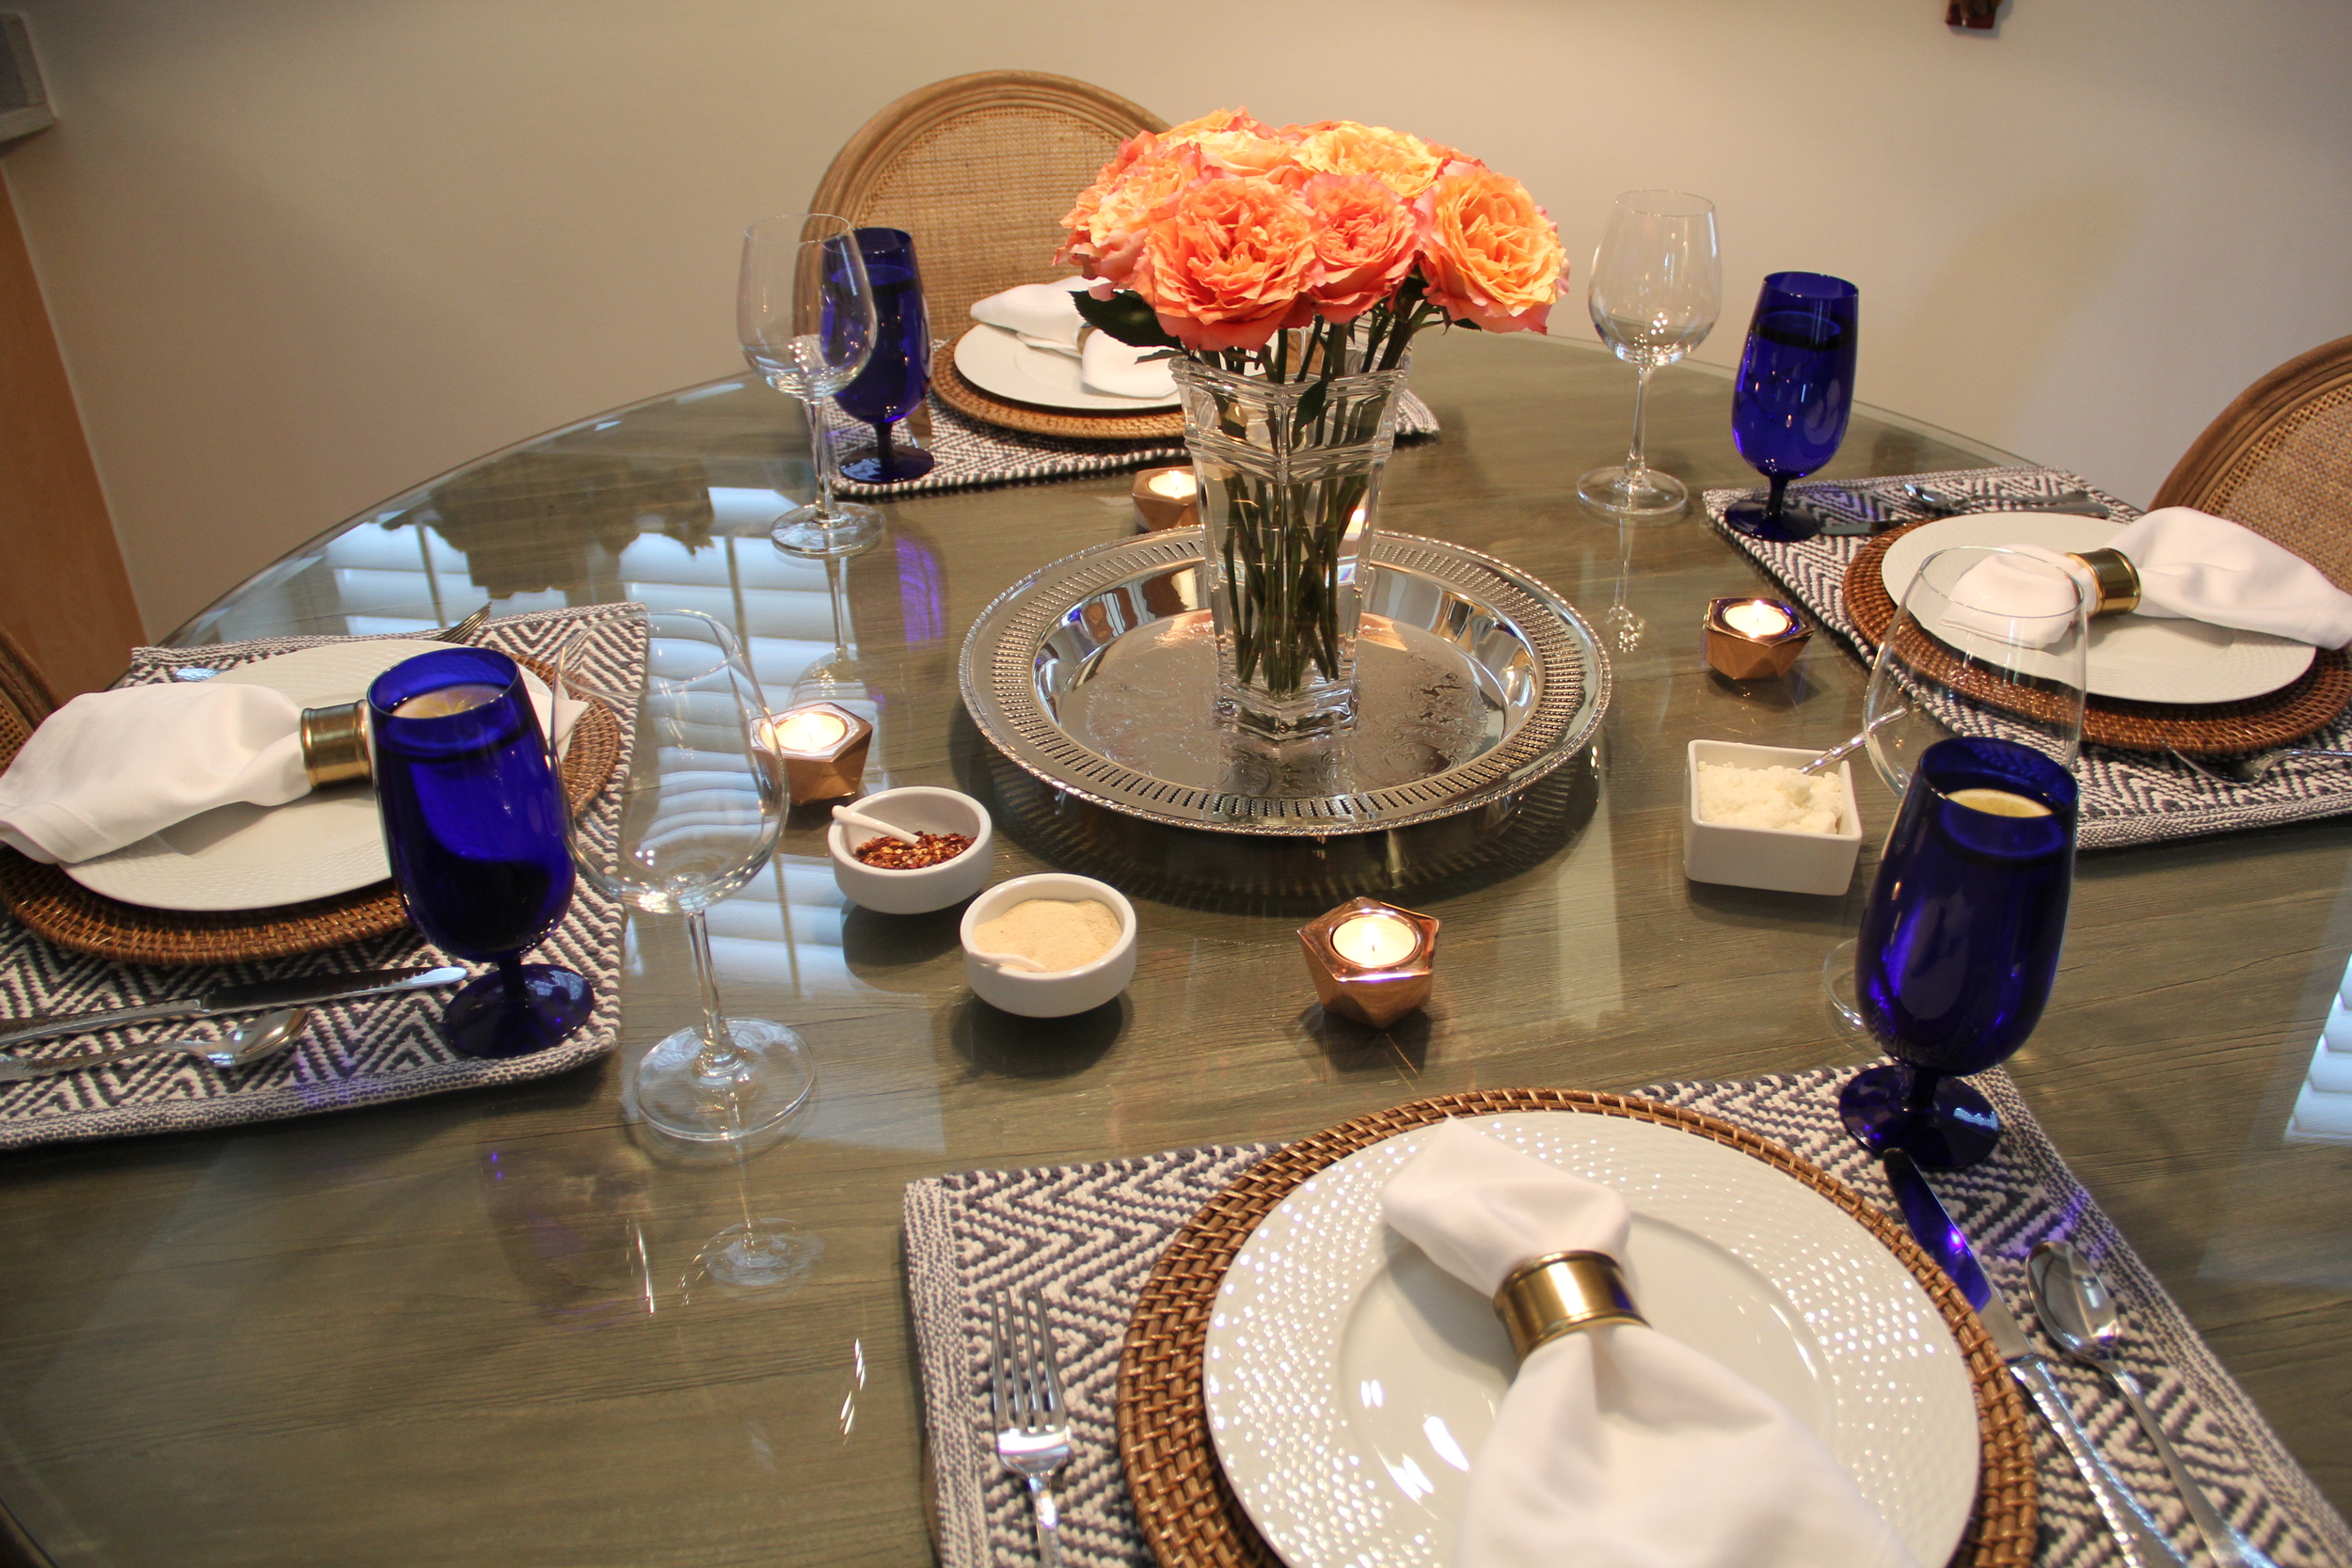
All in all, this was a great date night (forgot to mention that this actually turned into a double date night - see tablescape picture above).  I made three different pizzas and placed dishes of chili flakes, garlic granules and grated parmesan cheese on the table for guests to flavor according to their own pizza preferences.  Pizza making is fun, easy (now that I have instructions) and something that can be shared with significant others and even kids! Suffice it to say that pizza night is quickly becoming synonymous with date night in my house.  

2 Cocktails for Spring

Typically I like to release a cocktail recipe post on a Friday as a way to kick off the start of the weekend.   In light of the fact that today is Tax Day, I am mixing things up and sharing my two favorite cocktail recipes for Spring.  Lets face it, on Tax Day a cocktail post seems very appropriate.  

These are two very easy cocktail recipes that I have been loving this season.  I am in no way reinventing the wheel, but have certainly added my own creative touches with both presentation and a few ingredient modifications.

Classic Champagne Cocktail

This is an easy recipe and a great way to enhance your standard glass of champagne.  The sugar cube does not make the cocktail sweet, but rather balances out the bitters.  In addition to loving this cocktail, I have also become a huge fan of the champagne coupe this spring.  Coupes are elegant, unique and do not have to be expensive (mine were on sale for less than $6/glass at the time of purchase).  Here is a link to a set of 4 coupes for under $20!

  • 1 Sugar Cube
  • Angostura Bitters
  • Champagne or Sparkling Wine
  • Twist of Lemon Peel and/or Edible Flower to Garnish

Instructions:  

  1. Place one sugar cube in a champagne glass.
  2. Saturate the sugar cube with Bitters
  3. Fill Glass with Champagne or Sparkling Wine
  4. Garnish with an edible flower and/or a twist of lemon peel

Springtime Greyhound

This is a refreshing cocktail that I have loved for a while.  The classic Greyhound recipe is extremely simple (see here).  Over the years, I have found ways to enhance this cocktail so that it still kept its original flavors, but now has a bit more punch.  To make this a "springtime cocktail," it's important to use a pink grapefruit juice and ruby red fresh grapefruit slices (along with an edible flower) to garnish.  Beyond the cocktail ingredients, I would recommend serving this cocktail with a pretty cocktail napkin (currently I am loving these Monkey Business Cocktail Napkins by Caspari).  

  • 1 part Citroen Vodka
  • 2 parts Grapefruit Juice (High Quality)
  • 1 part Perrier or sparkling water equivalent
  • 1 Fresh Squeezed Lemon Wedge
  • 1 Slice of Fresh Ruby Red Grapefruit and/or Edible Flower to Garnish

Instructions:

  1. In a double old fashioned glass, combine ingredients over ice
  2. Garnish with a slice of fresh ruby red grapefruit and/or edible flower

Cheers to Springtime! (and Tax Day!)