Figuring out what you want to display on your bathroom countertops can be a challenge. The added task of making a space functional, aesthetically pleasing and cohesive can quickly turn a into an overwhelming and involved project. In this post I have outlined a few of my favorite tips for how I was able to achieve the balance between function and refinement.
Add a Tray
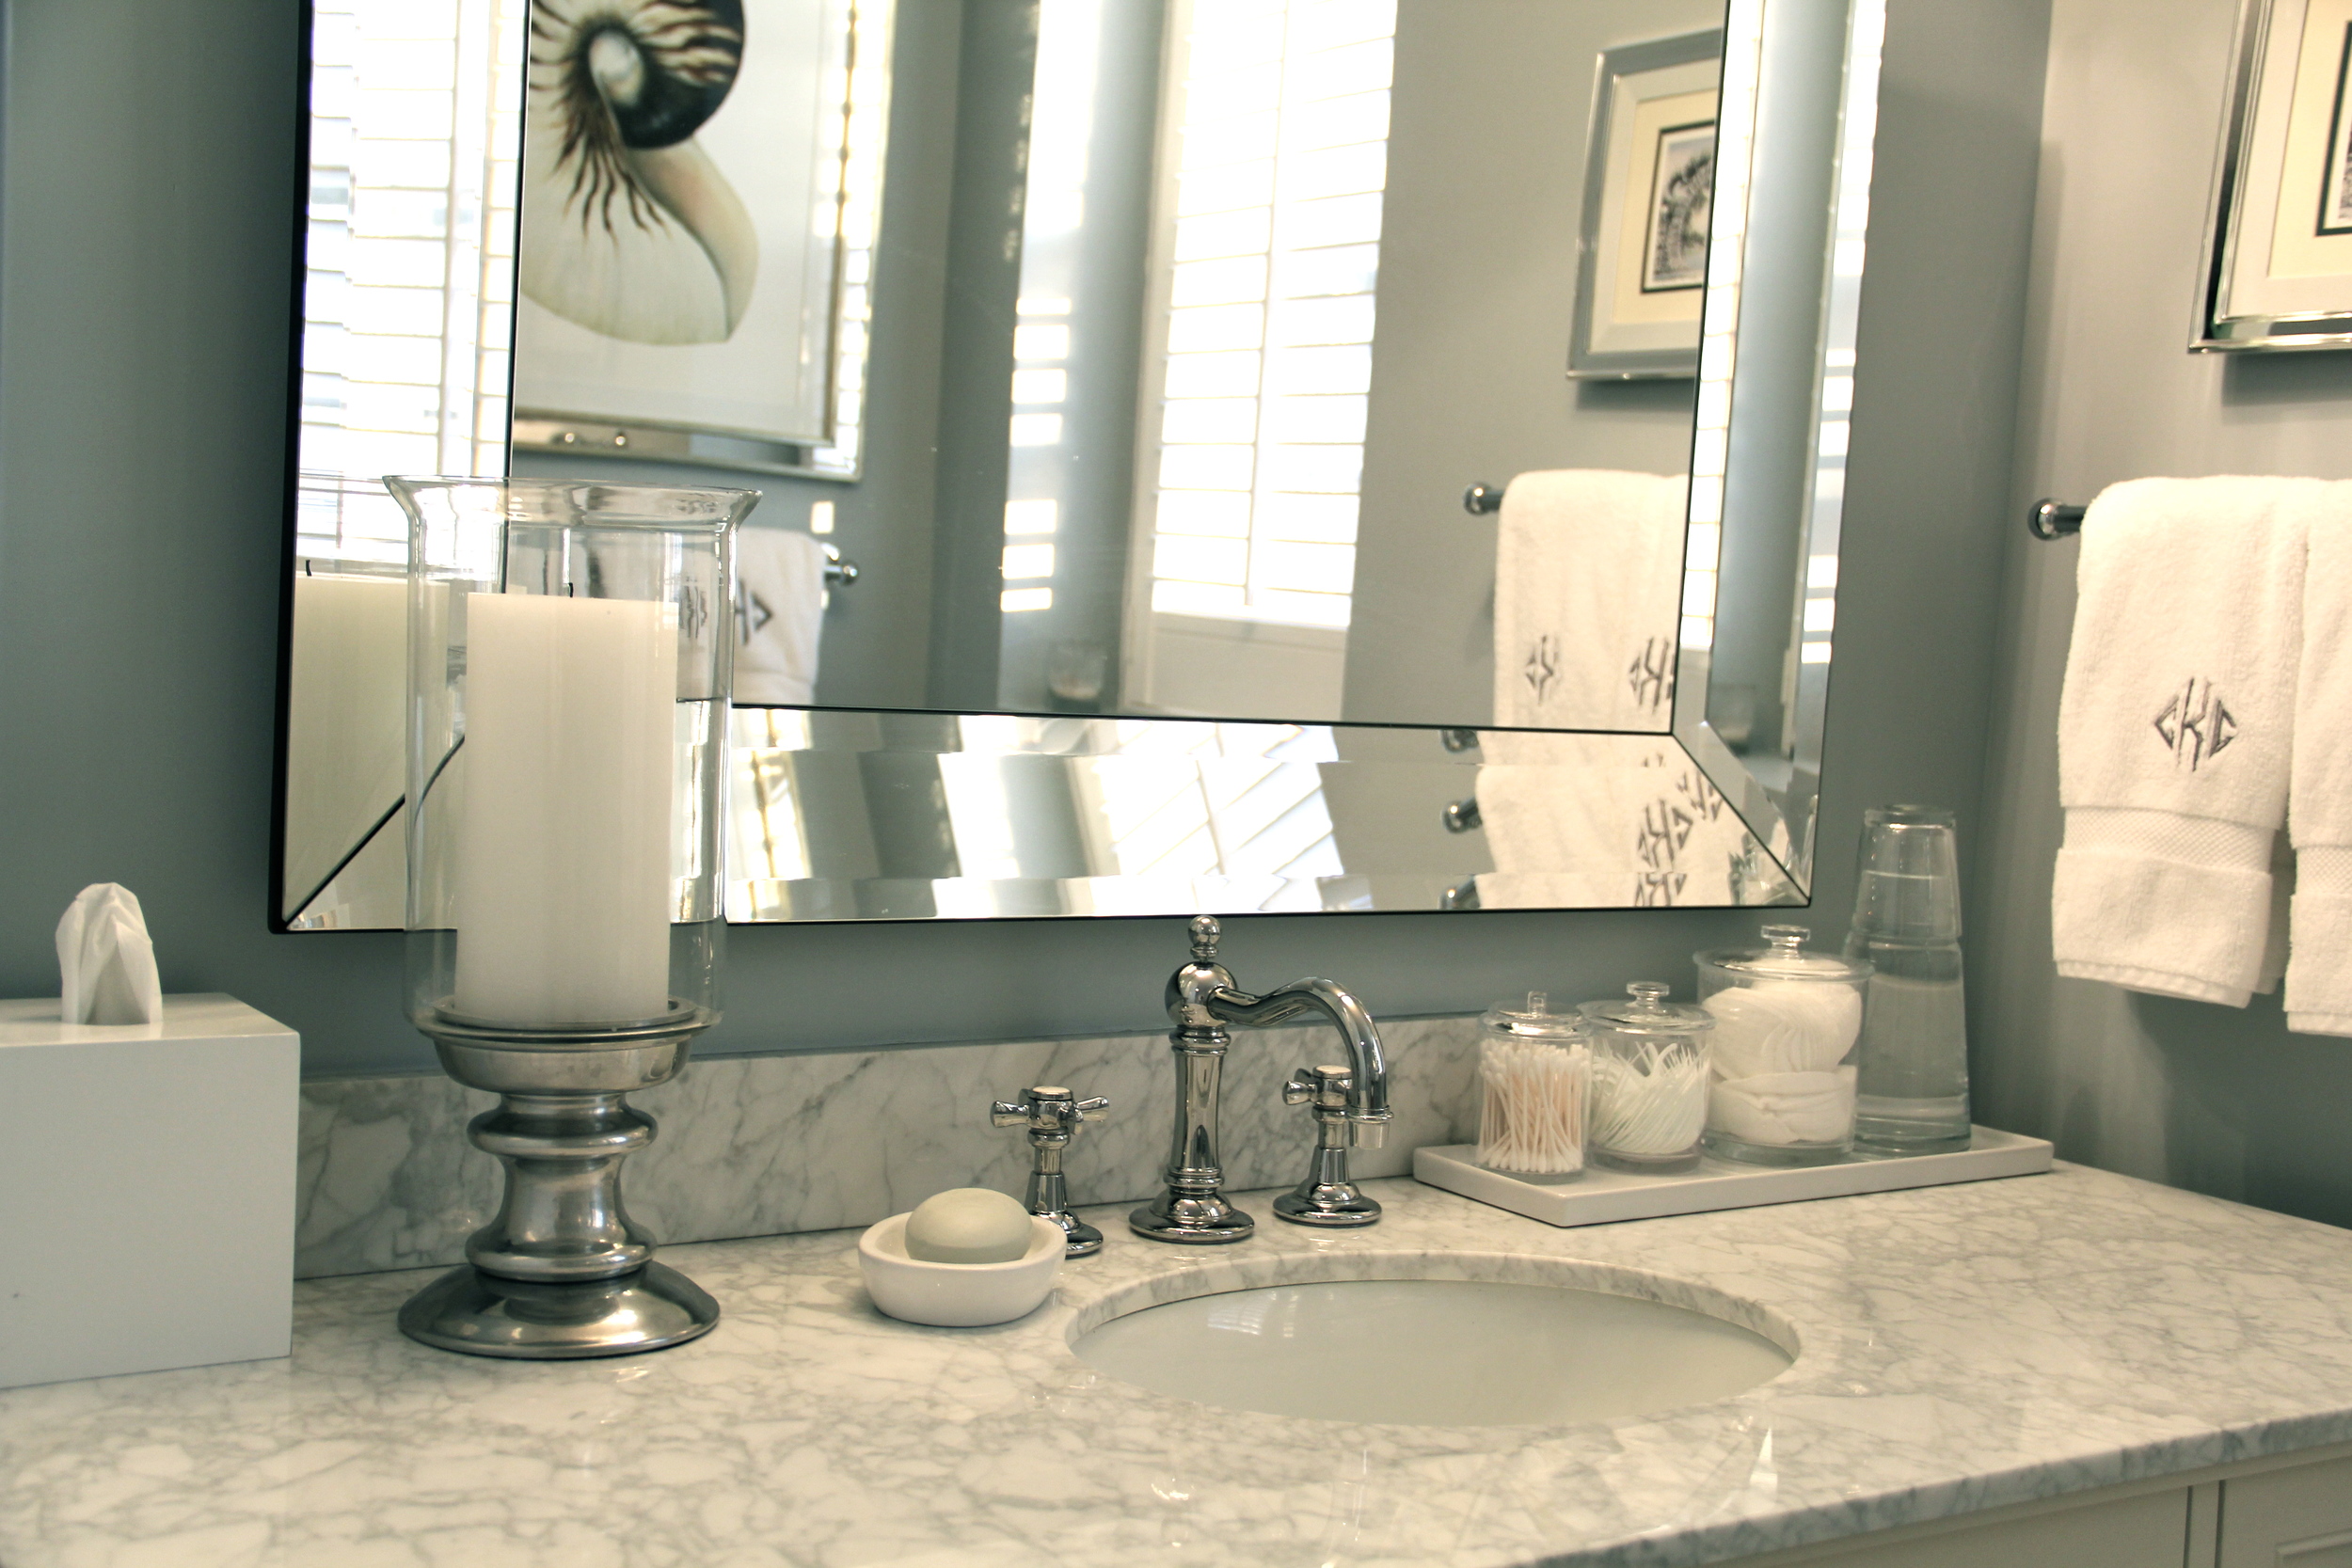
One of the easiest ways to tie a look together on your bathroom countertop is by adding a tray. It not only corrals all of your countertop accessories and containers, but also creates a finished and purposeful look.
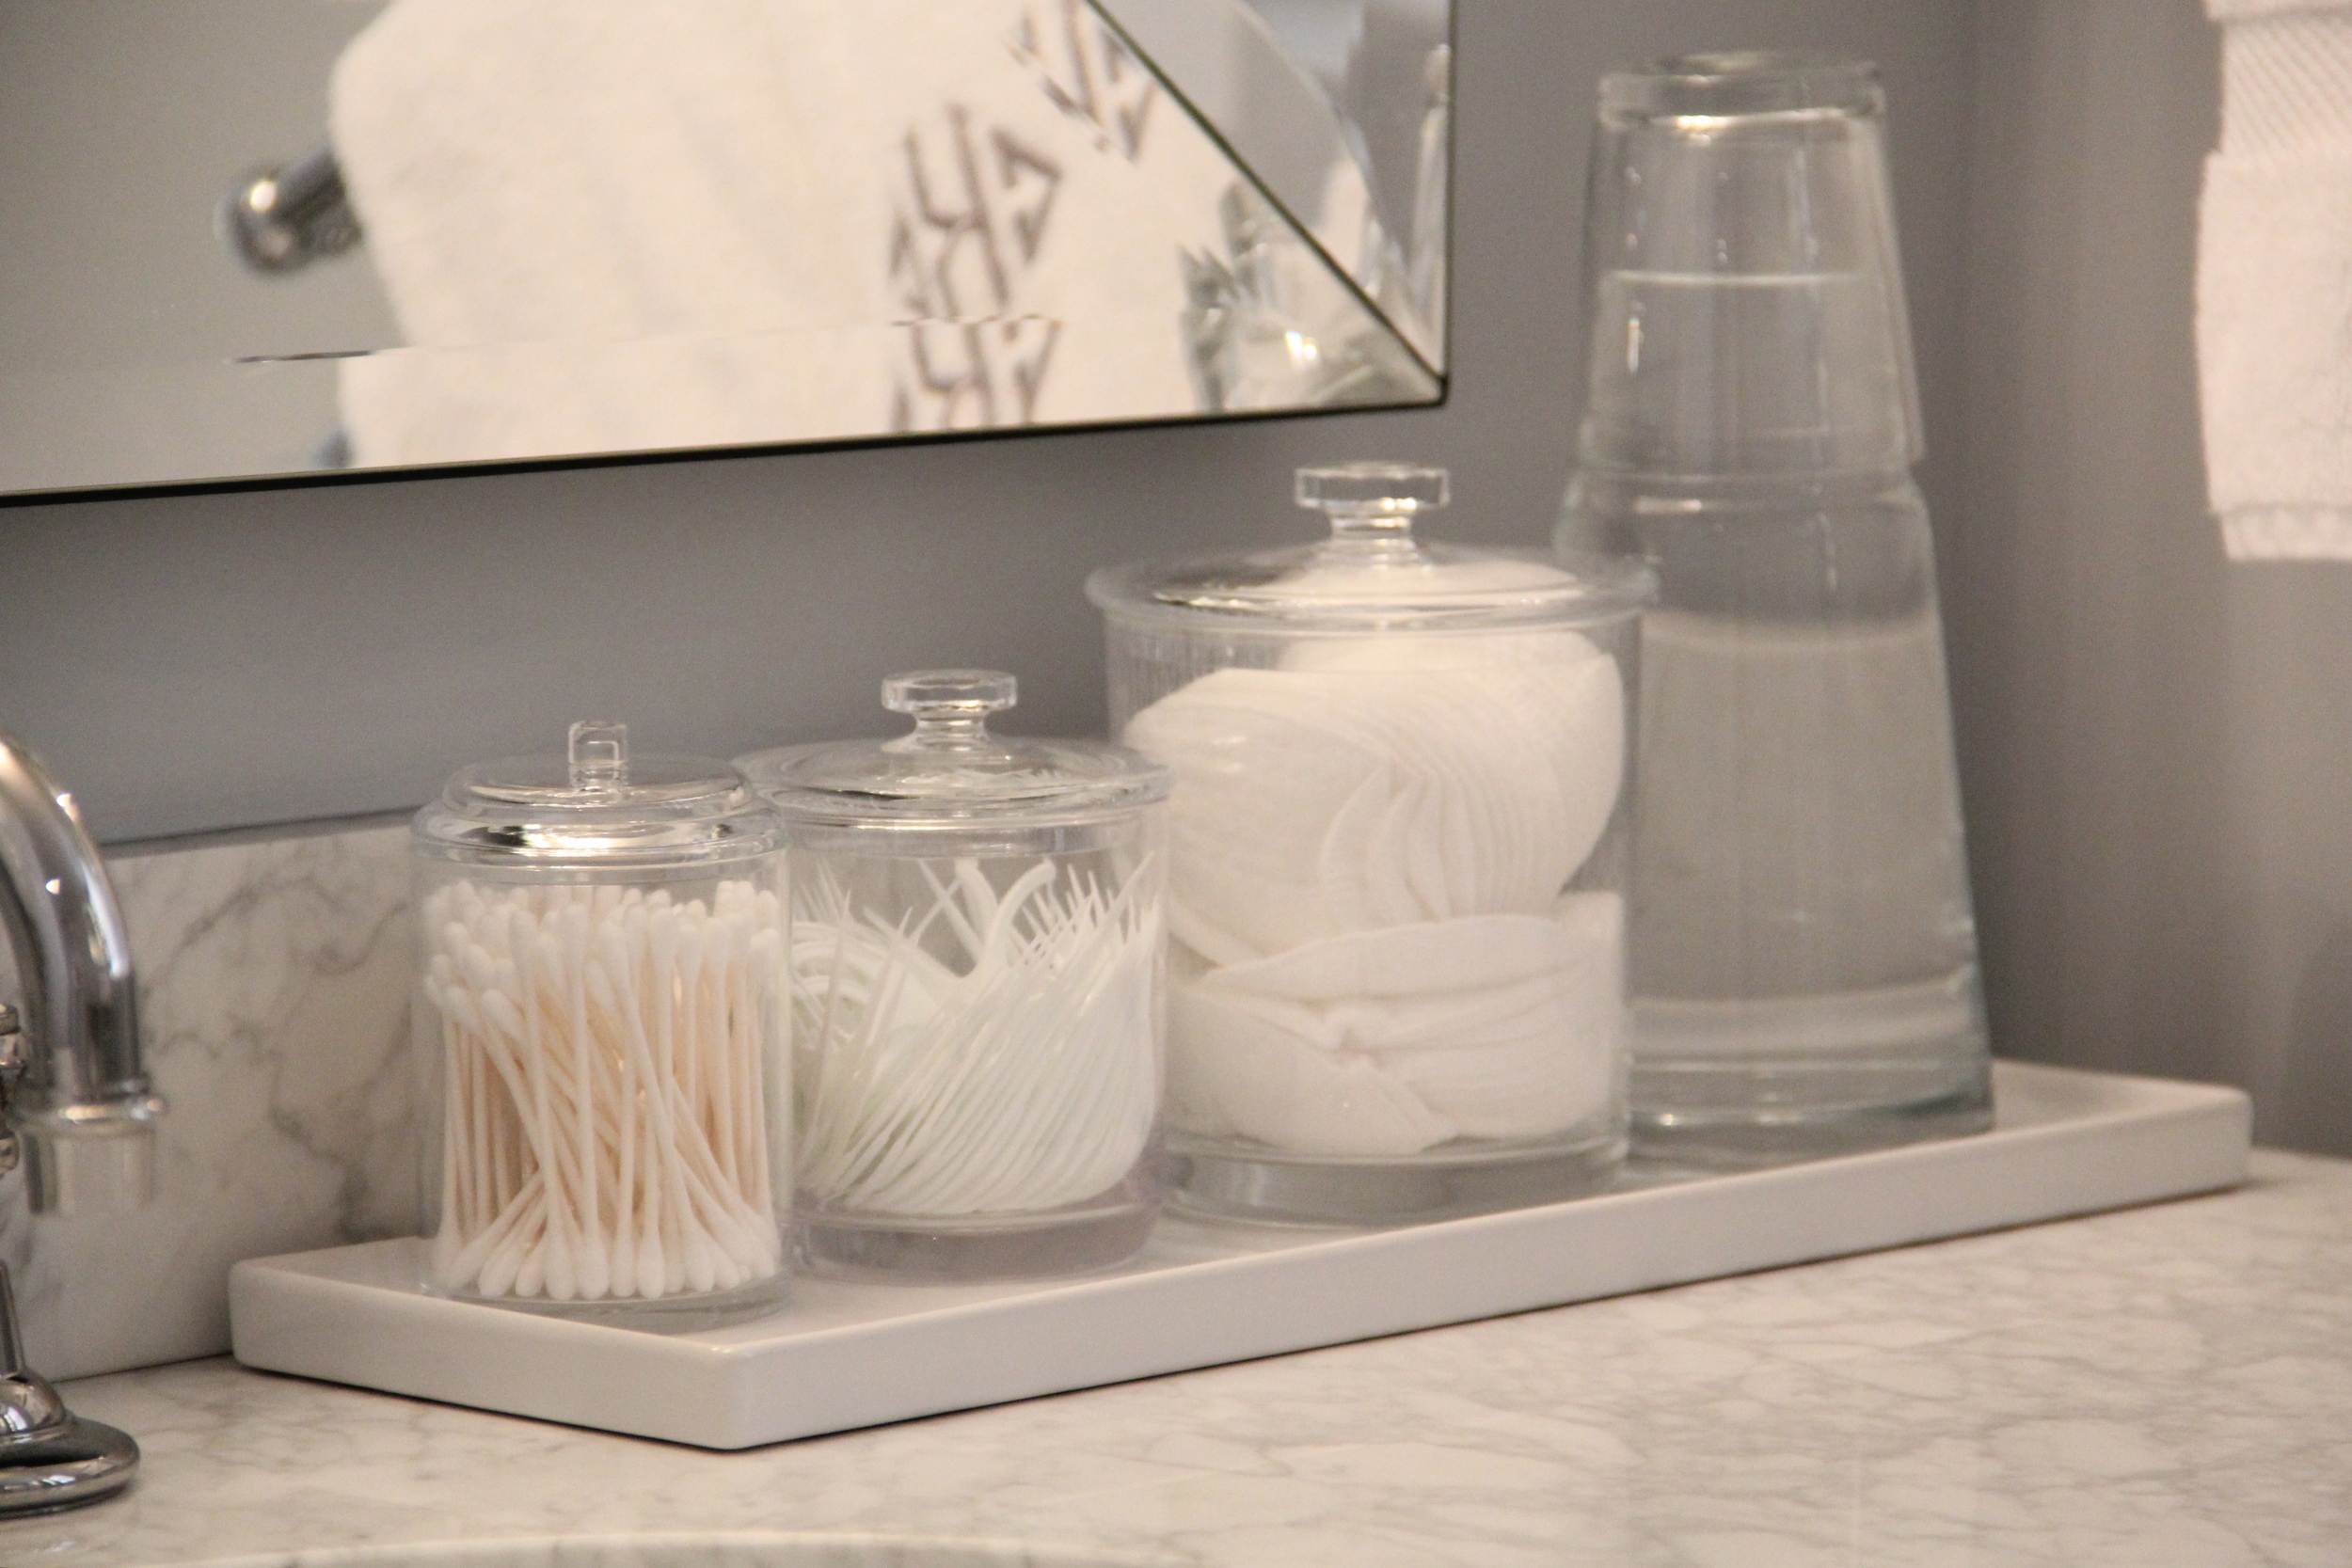
The right side of my bathroom countertop has been adorned with Container Store Acrylic Canisters to hold my Q-Tips/Dental Floss Sticks/Oval Facial Pads, a West Elm Carafe to store my mouth wash and the CB2 Bento Tray to corral everything and tie the entire look together.
- Trays dont have to be expensive. The white "tray" seen pictured above is actually the CB2 Bento Rectangular Platter (a piece of serveware) that honestly has the perfect shape and size for my space and retails for less than $10!
- Other vanity trays to consider include: the Crate & Barrel Glass Vanity Tray, Target's Threshold Oil Can Bath Coordinates, CB2 Teak Rectangular Stacking Box , West Elm's White Lacquer Bath Tray and West Elm's Slate Bath Tray
Think Monochromatic
Another tip for a clean countertop look is keeping the number of different colors to a minimum. I opted for a monochromatic white look and purposefully picked all white personal care items to display in clear vessels.
- The acrylic canisters used to store all other personal care items displayed can be found at the Container Store. Other great bathroom canisters include: Restoration Hardware's Faceted Bath Accessories, Crate & Barrel's Glass Canisters, Anthropologie's Monarch Mercury Jars
- If you are looking for a simple, classic and clean look, I would suggest checking out the the Container Store's White Lacquered Bathroom Collection, West Elm's Metallic Lacquered Bath Accessories, Crate & Barrel's Ambrose Bath Accessories and Restoration Hardware's Pharmacy Accessories (Available in Frosted Glass, Metal/Polished Chrome and Clear Glass)
Useful Accessories to Consider
- Mouthwash - You can find a glass carafe like the one used in our photos to store mouthwash from CB2, Williams-Somoma's Monogrammed Glass Carafe, Pottery Barn's Classic Glass Bath Decanter or the Crate & Barrel Bedside Carafe.
- Tissues- If you choose to display tissues (I do), then I would strongly encourage you to invest in a tissue box cover. Rarely (and I do mean rarely) am I able to find a box of tissues off of the store shelf where the cardboard box decorations align with my bathroom color scheme. Having the tissue box cover allows me to get whatever tissues are being sold at the best price and/or have the features I am looking for (aloe, super soft, etc…) and not worry about their exterior box design. A few of my favorite tissue box covers include: West Elm's White Lacquered Tissue Box, Crate & Barrel's Sedona Tissue Box Cover, Pottery Barn's Linen Hemstitch Cover or Restoration Hardware's Newberry Rectangular Tissue Cover.
- Candle- See my post on Coffee Table Candles for ideas on the different types of candles to display (even though I am talking about coffee table candles, the suggestions in the post can totally apply to your bathroom countertop. The only caveat being that I would not use the same fragrance candle scents in both my living room and my bathroom. I prefer the smell of fresh linen or powder when selecting a scented candle for my bathroom.
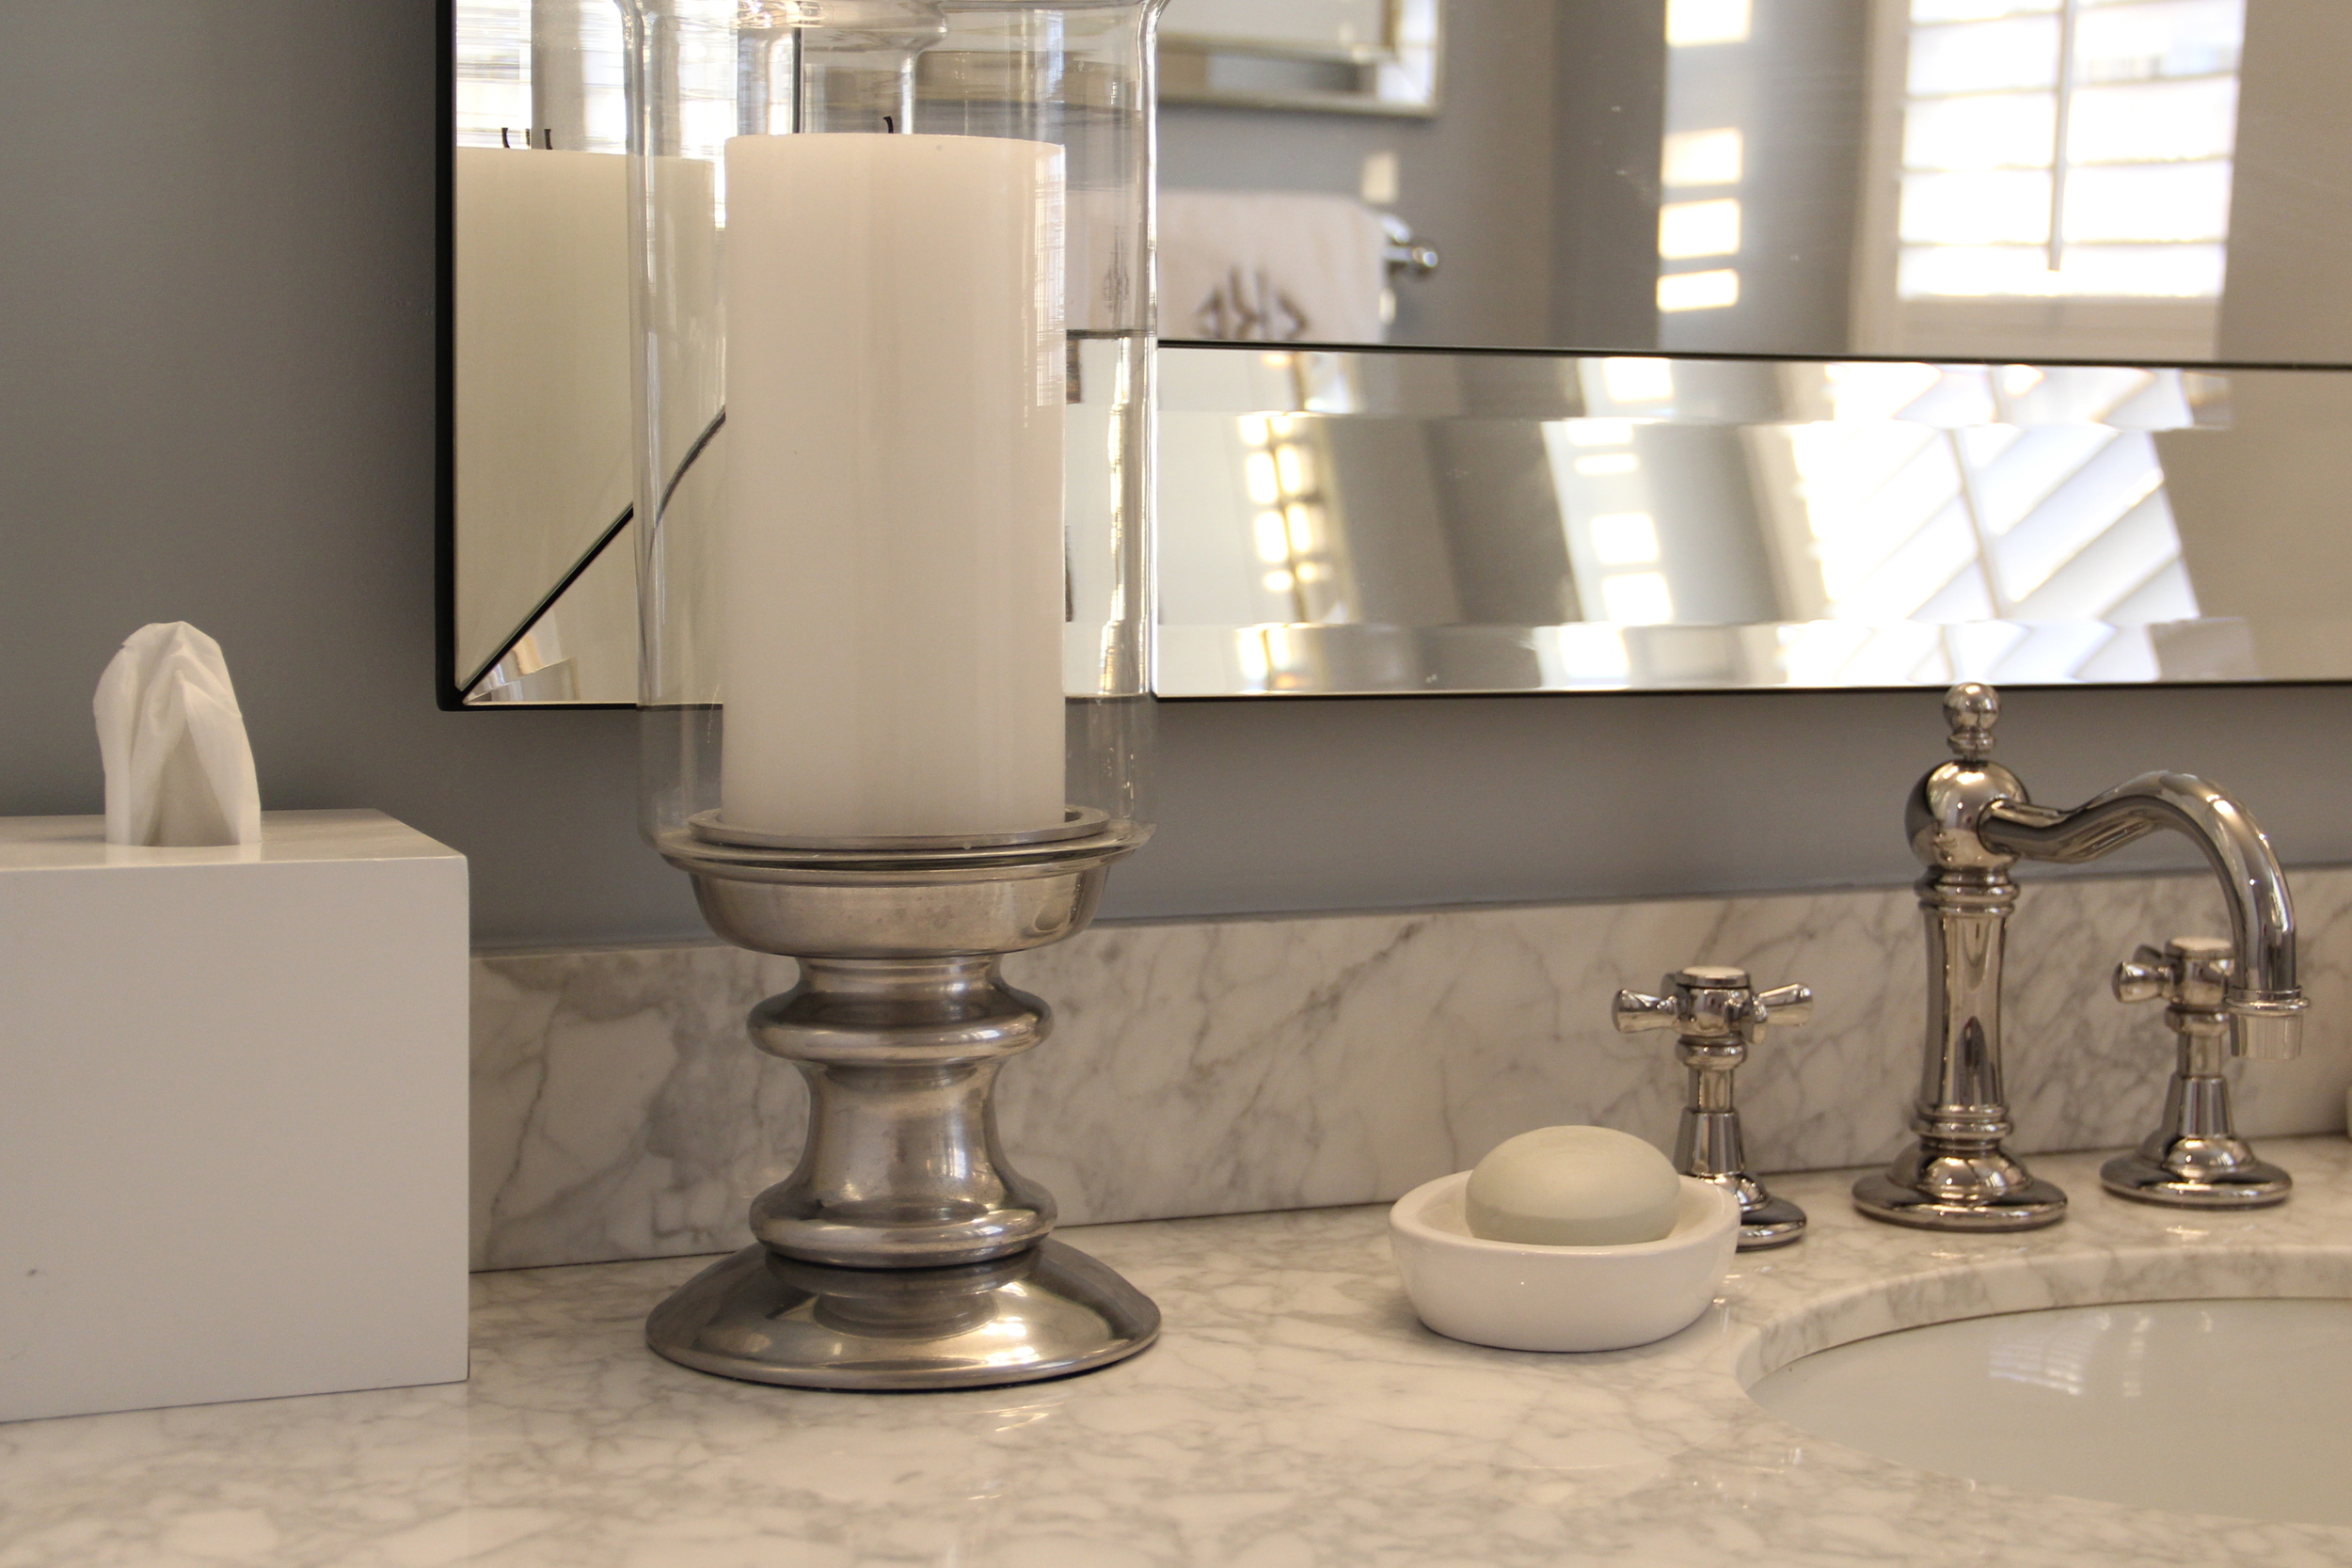
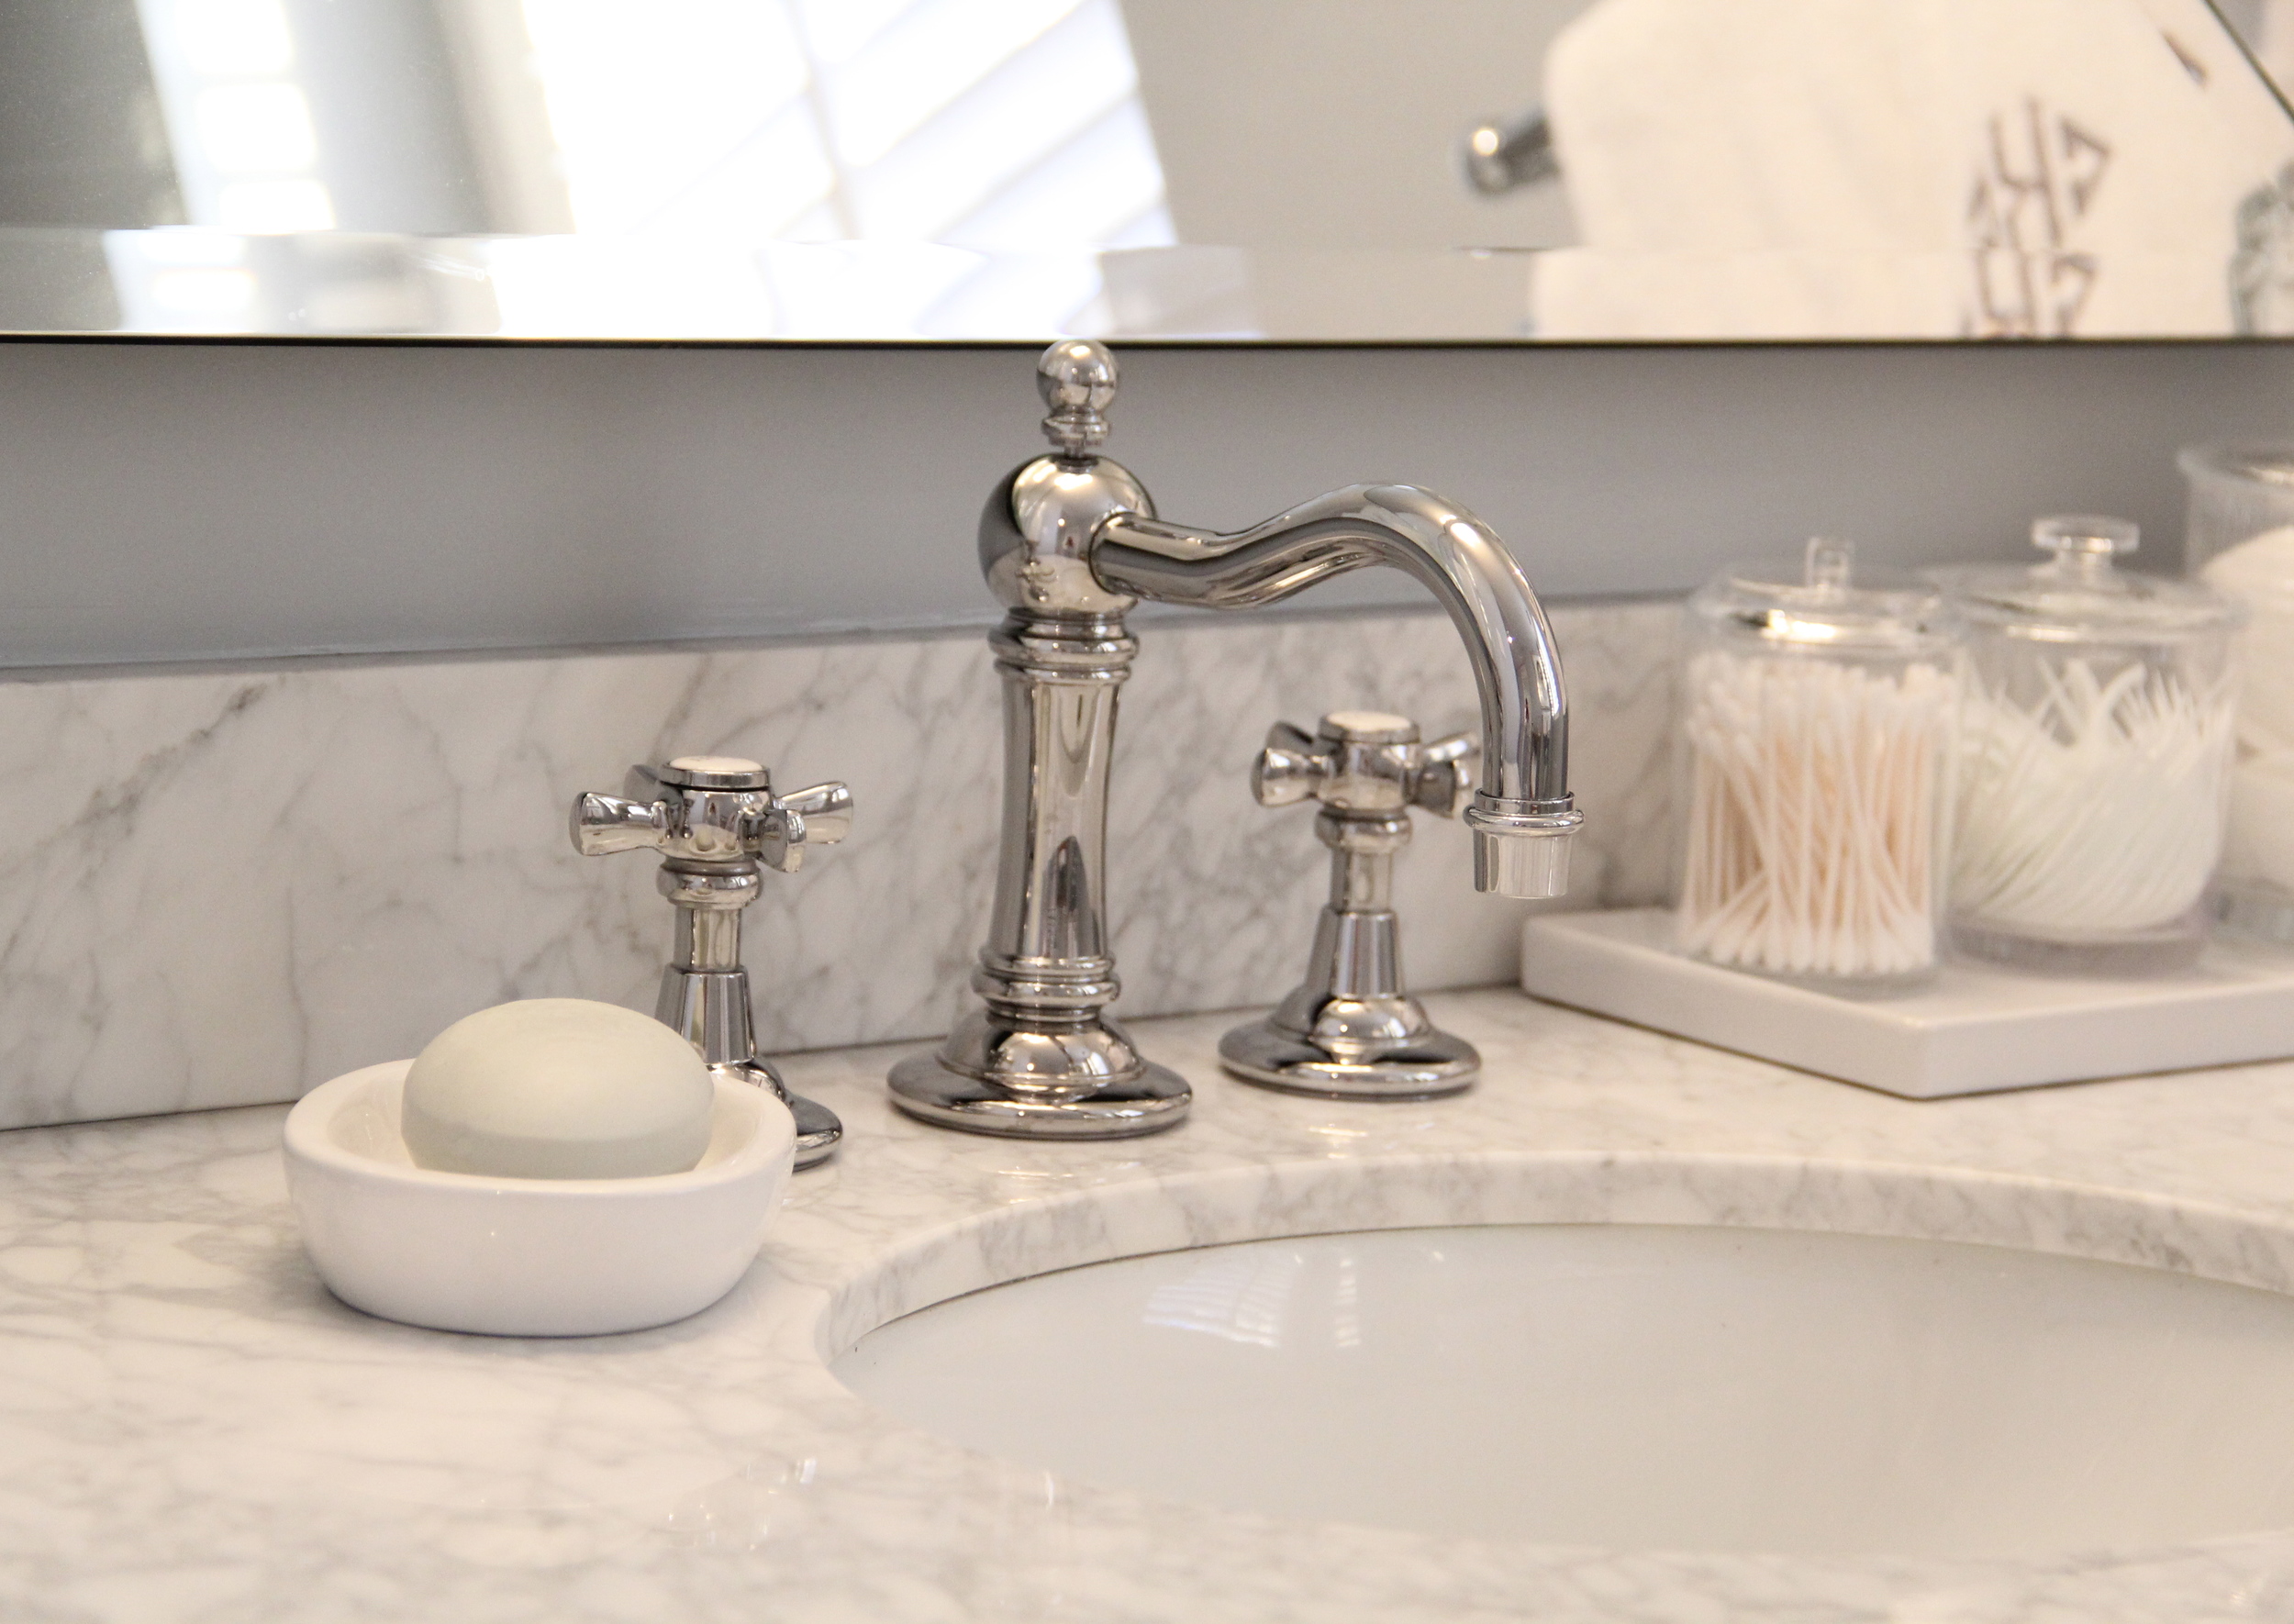
The left side of my bathroom countertop includes the West Elm White Lacquer Tissue Box Cover, a Pottery Barn Hurricane with a White Pottery Barn Pillar Candle, and the Crate & Barrel Pure Oval Soap Dish paired with a fragrant bar soap from Anthropologie.
Arranging your bathroom countertop space doesn't have to cost a lot to look great and be very functional. Just remember to keep your space clean, minimize the number of colors used and make sure the items you choose to display have purpose.