Date Night Idea: Take a Cooking Class

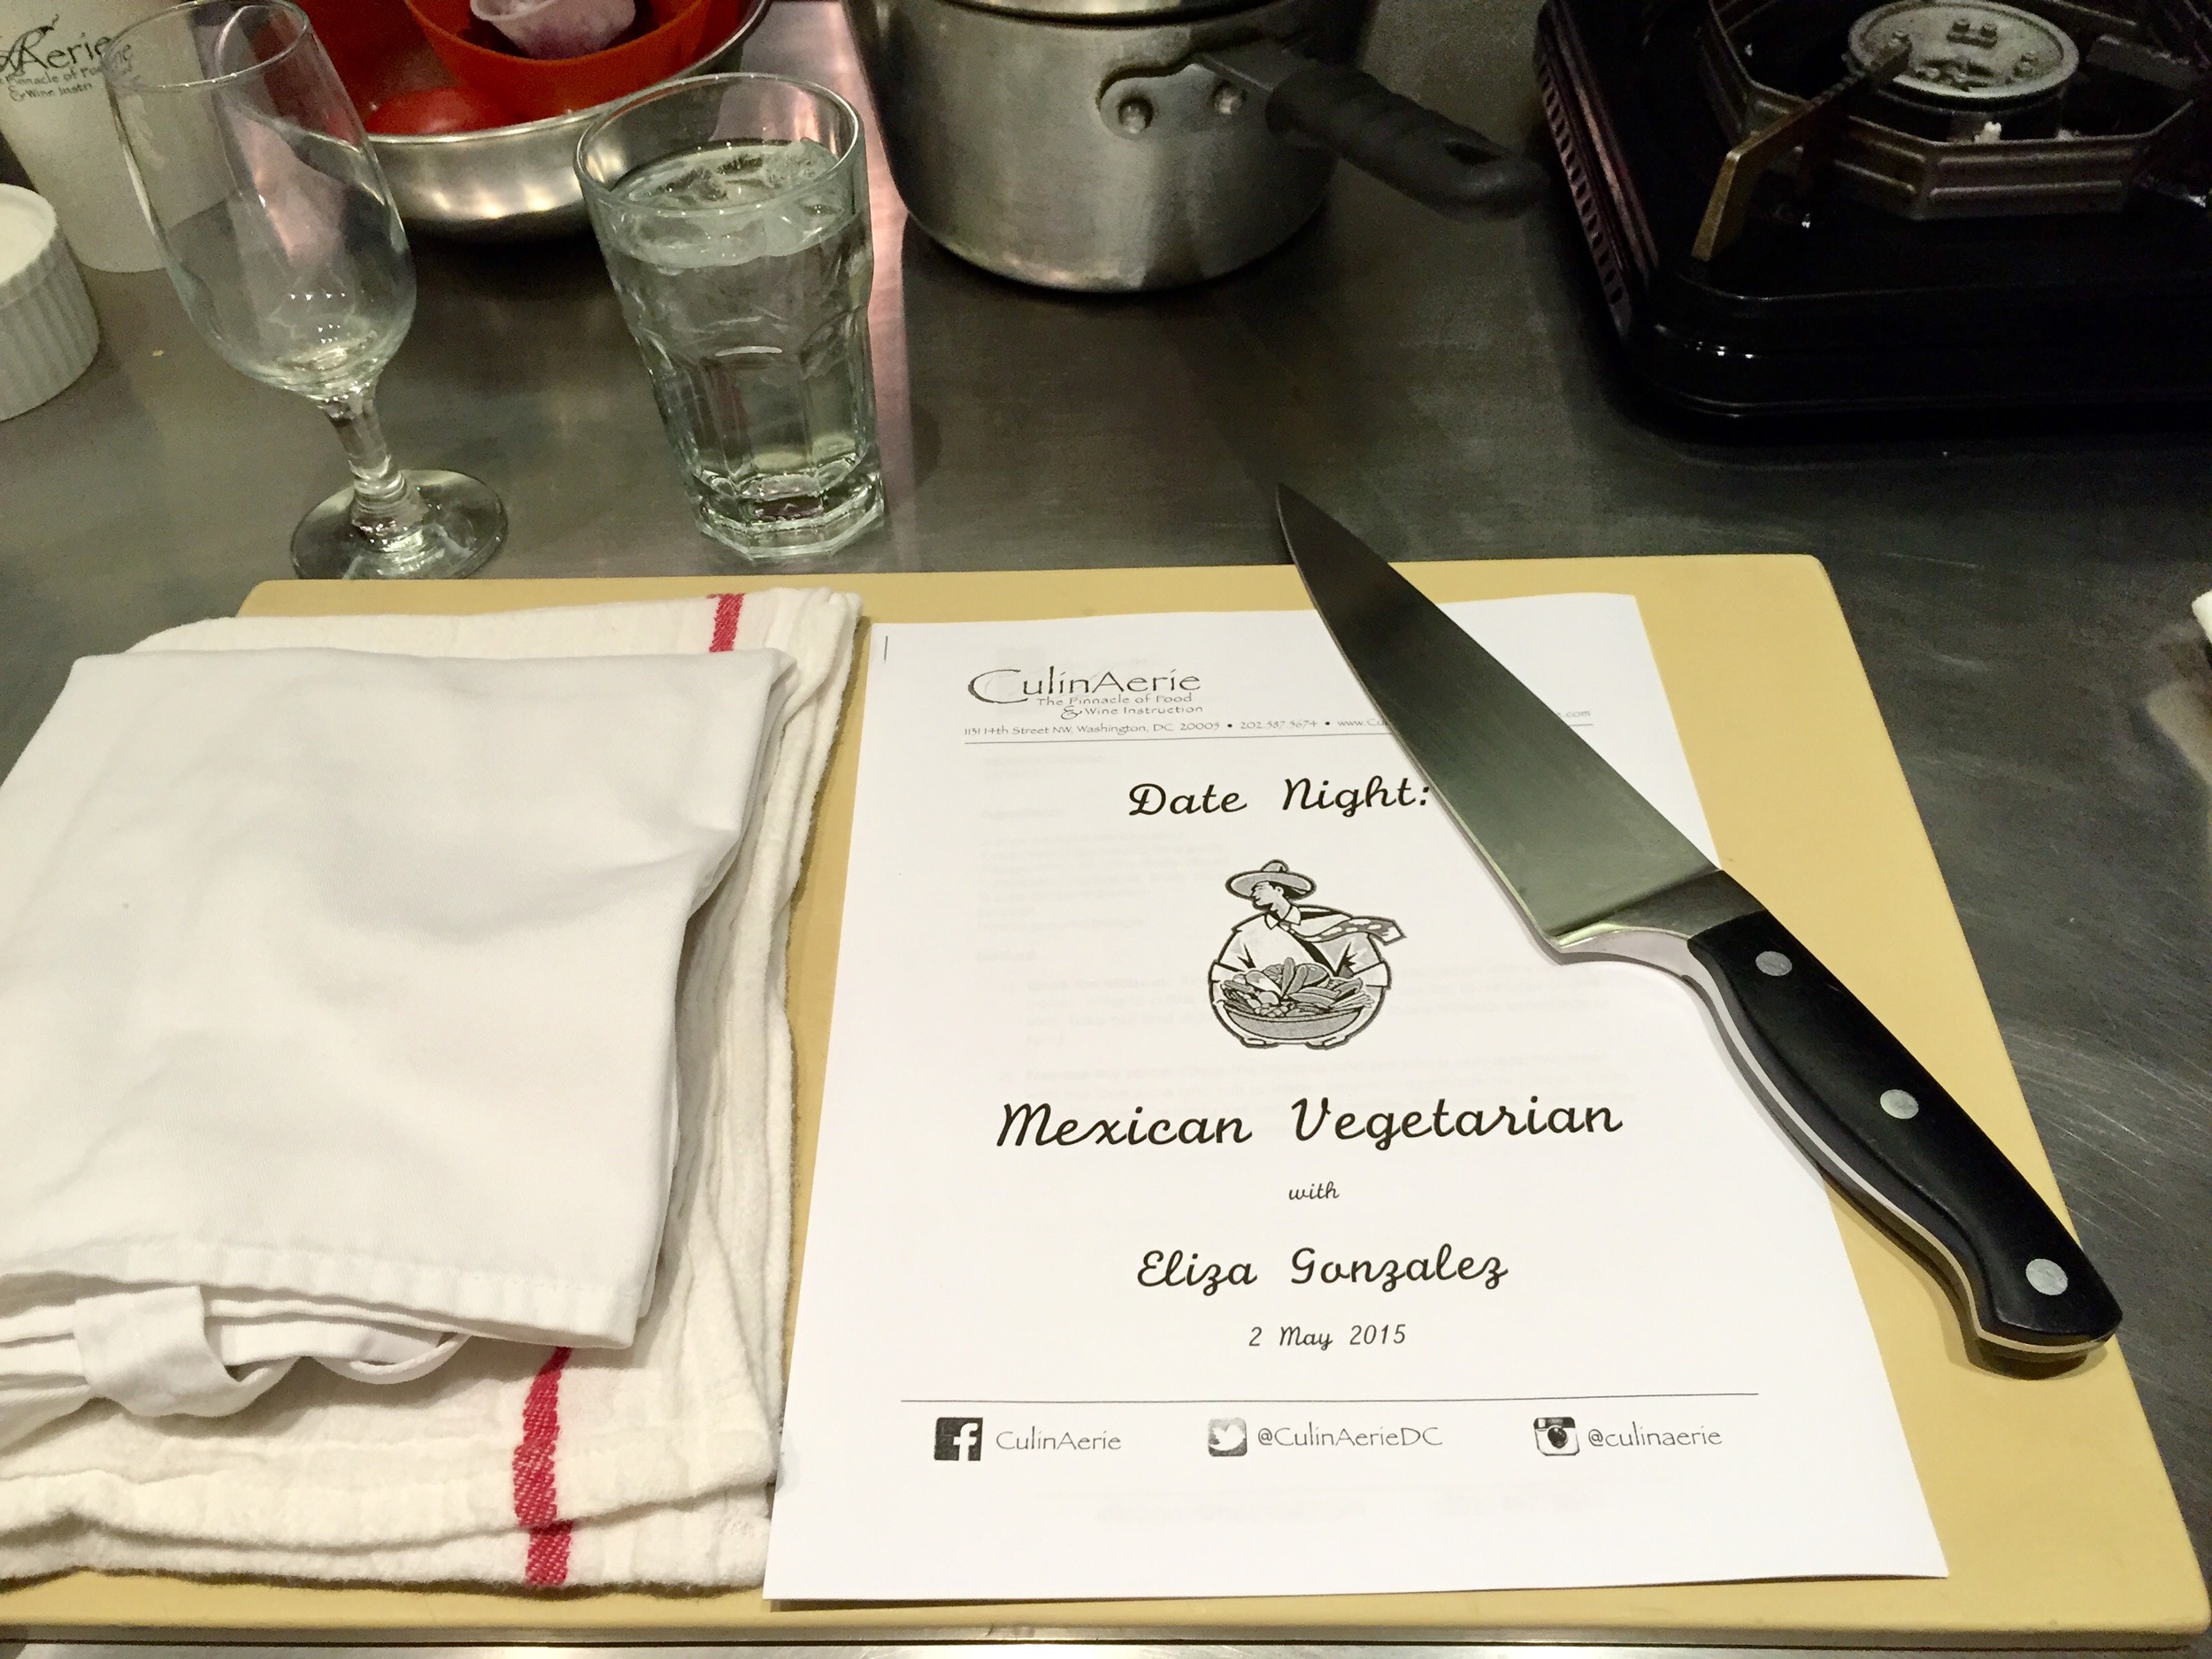
This past Saturday my husband and I took a cooking class at CulinAerie, a local cooking school company, for our weekly date night.  The last time we took a cooking class was on our honeymoon in Bermuda.  We had a great time and had said that we definitely wanted to take another cooking class, but of course one thing led to another (buying a new house, moving, renovations…life!) and a year and a half passed before we started looking in DC for a class.  

My search for a local cooking class was extremely fruitful (thank you Google!) and I was able to put together a list of cooking class options.  From there I started asking around for feedback from my friends on any experiences they had had with any of the cooking classes on my list.  A few of my friends suggested I try out CulinAerie, as they had all had wonderful experiences there.  I shared this information with my husband and we decided to go for it!  

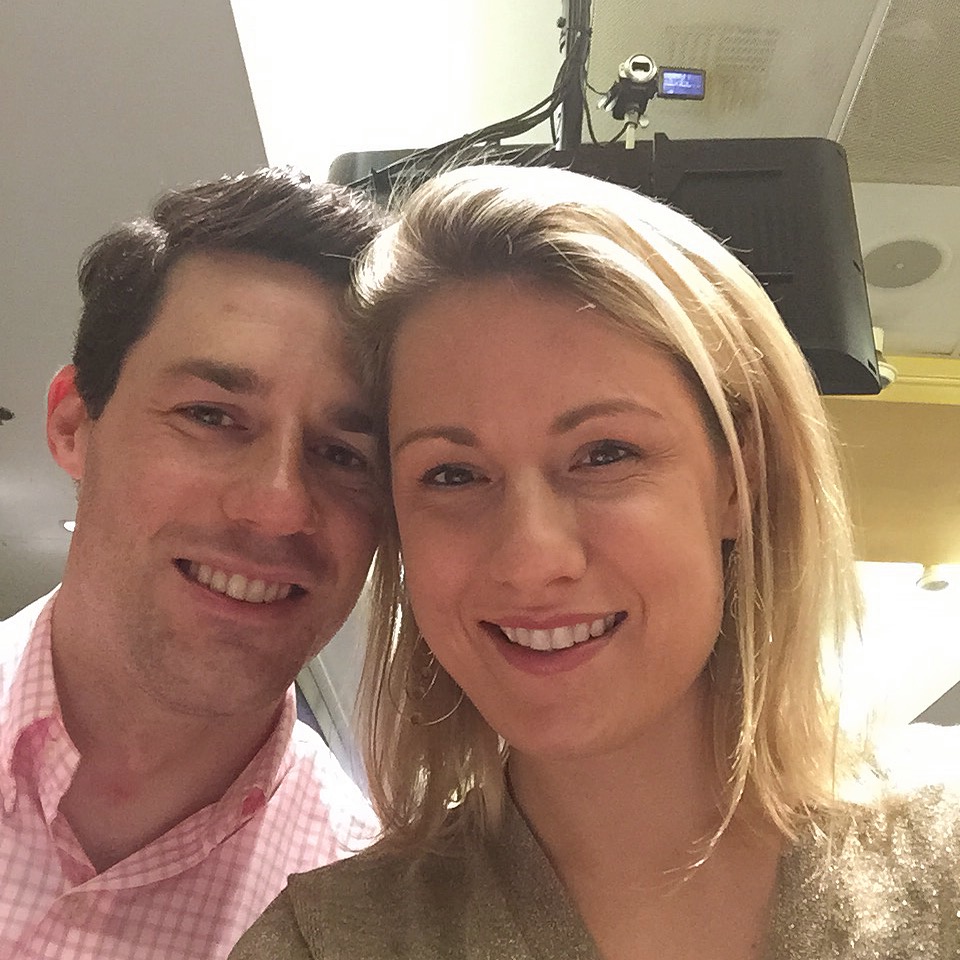
A close friend of mine, who had taken a few cooking classes at Culinaerie before, recommended that we arrive early in order to secure seats in the front row for the best view.  Let me just say, that I am so glad we did!  CulinAerie has video monitors throughout the classroom to ensure everyone can see what the teacher is doing, but I loved having the ability to watch the teacher's demonstrations up close.  

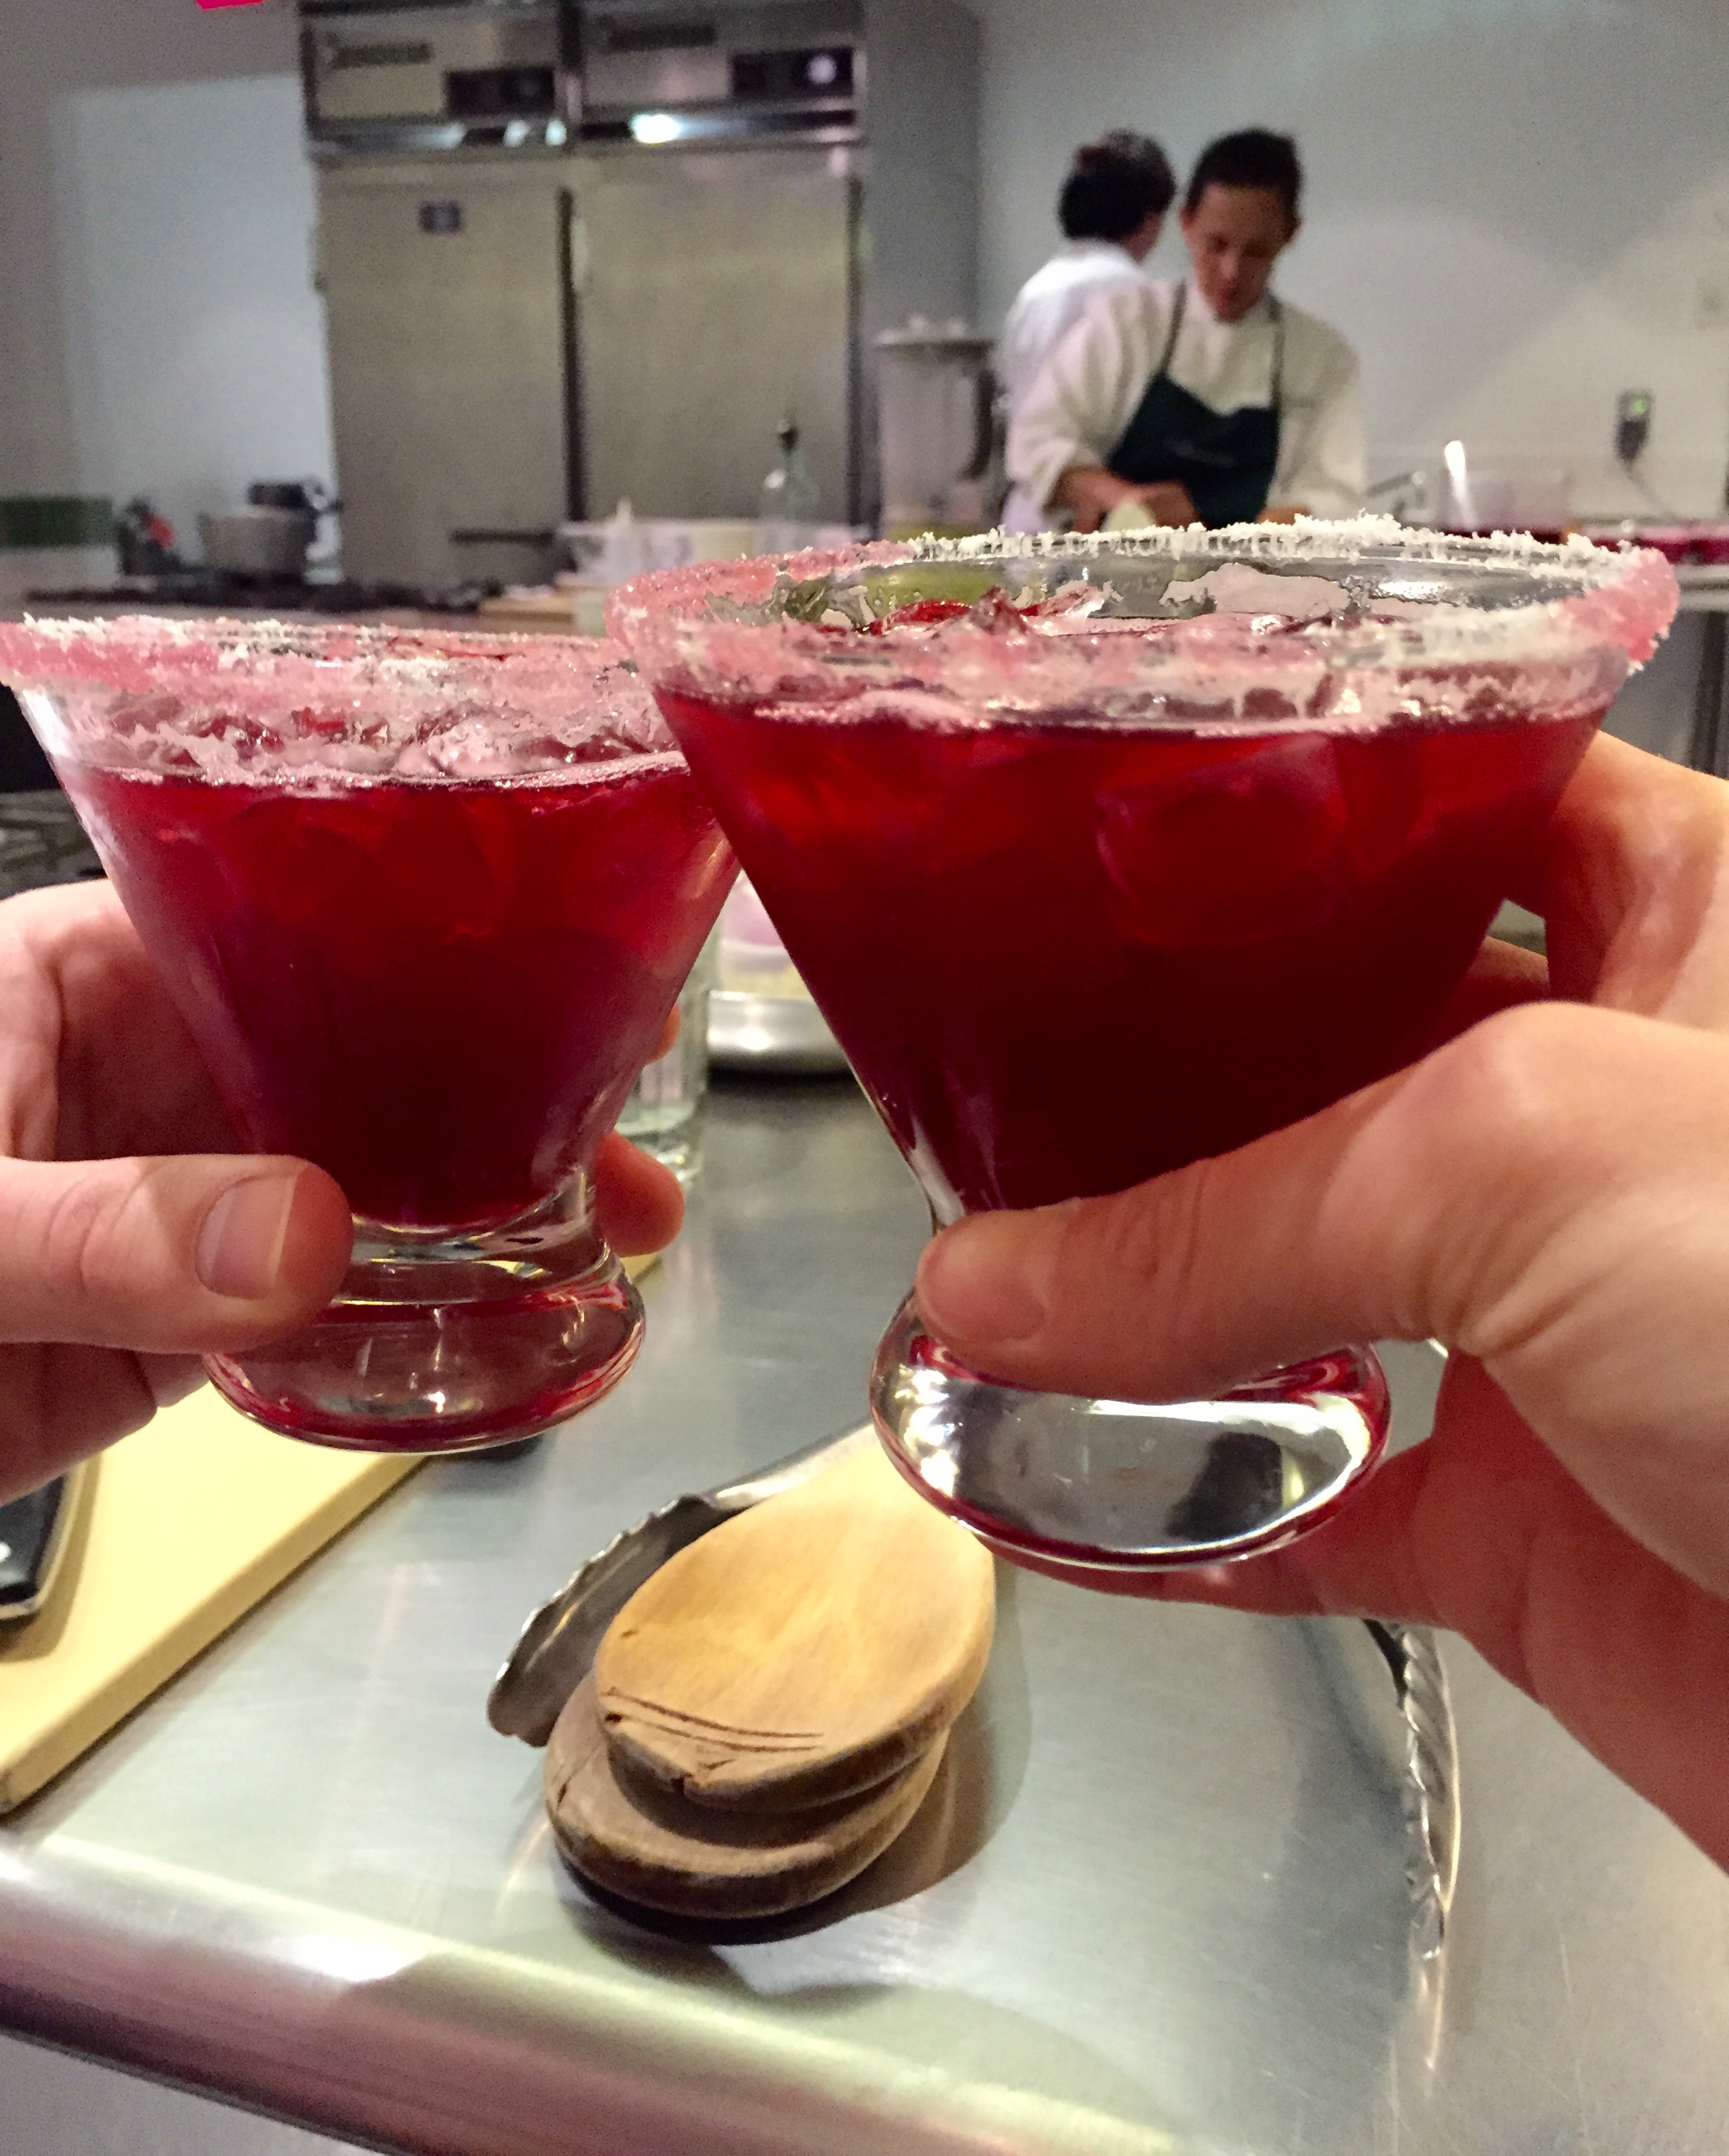
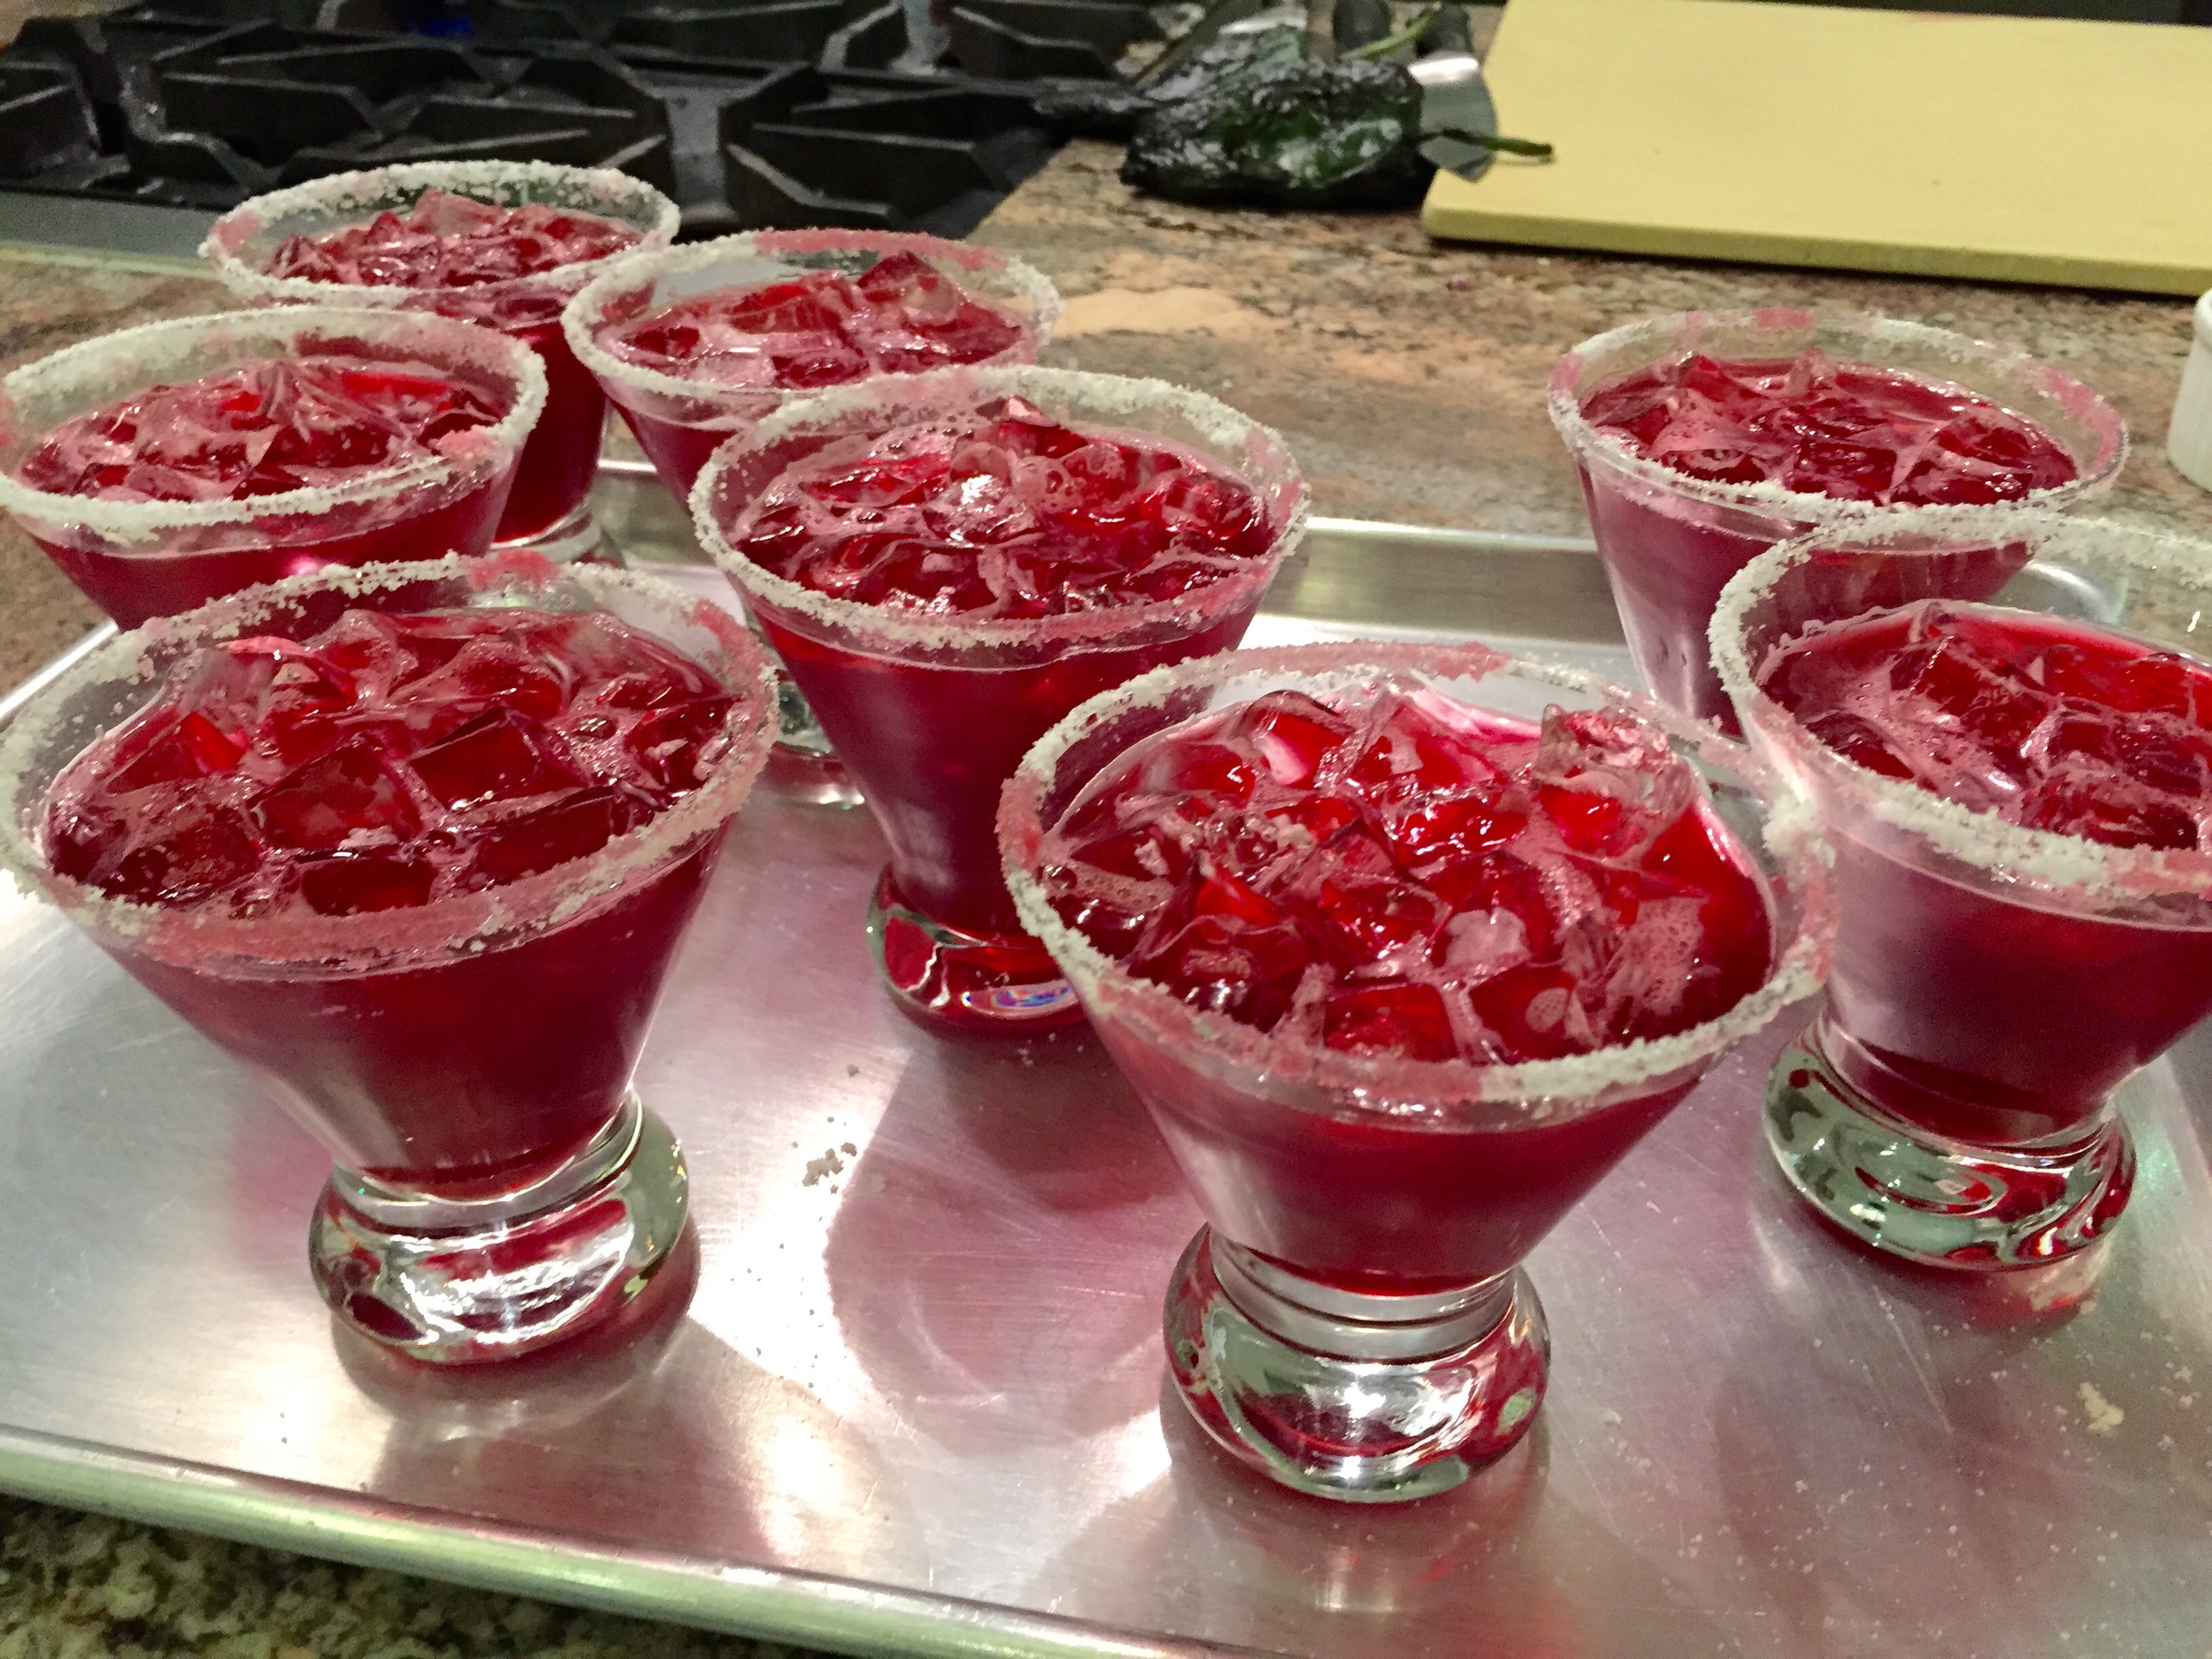
Once we secured our seats and got settled, a kitchen assistant came around with a tray of the most delicious Hibiscus Margaritas.   I wasn't able to obtain the exact recipe from the teacher, but I did track down a similar Hibiscus Margarita recipe on the web.  This a fabulous cocktail recipe to consider trying during the Spring and Summer months.  I am actually planning on serving this tasty cocktail for Cinco de Mayo tomorrow night!  

After we had enjoyed a round of very tasty margaritas, it was time to start cooking!  The theme of the evening was Vegetarian Mexican Cuisine.  Here is a recap of what we made:

The Menu

  • Hibiscus Ceviche- I had always assumed that Ceviche had to be made with a raw fish or a similar meat component.  Boy, was I wrong!  Rehydrated Hibiscus Flowers are actually quite meaty in texture and work beautifully in a ceviche recipe.  
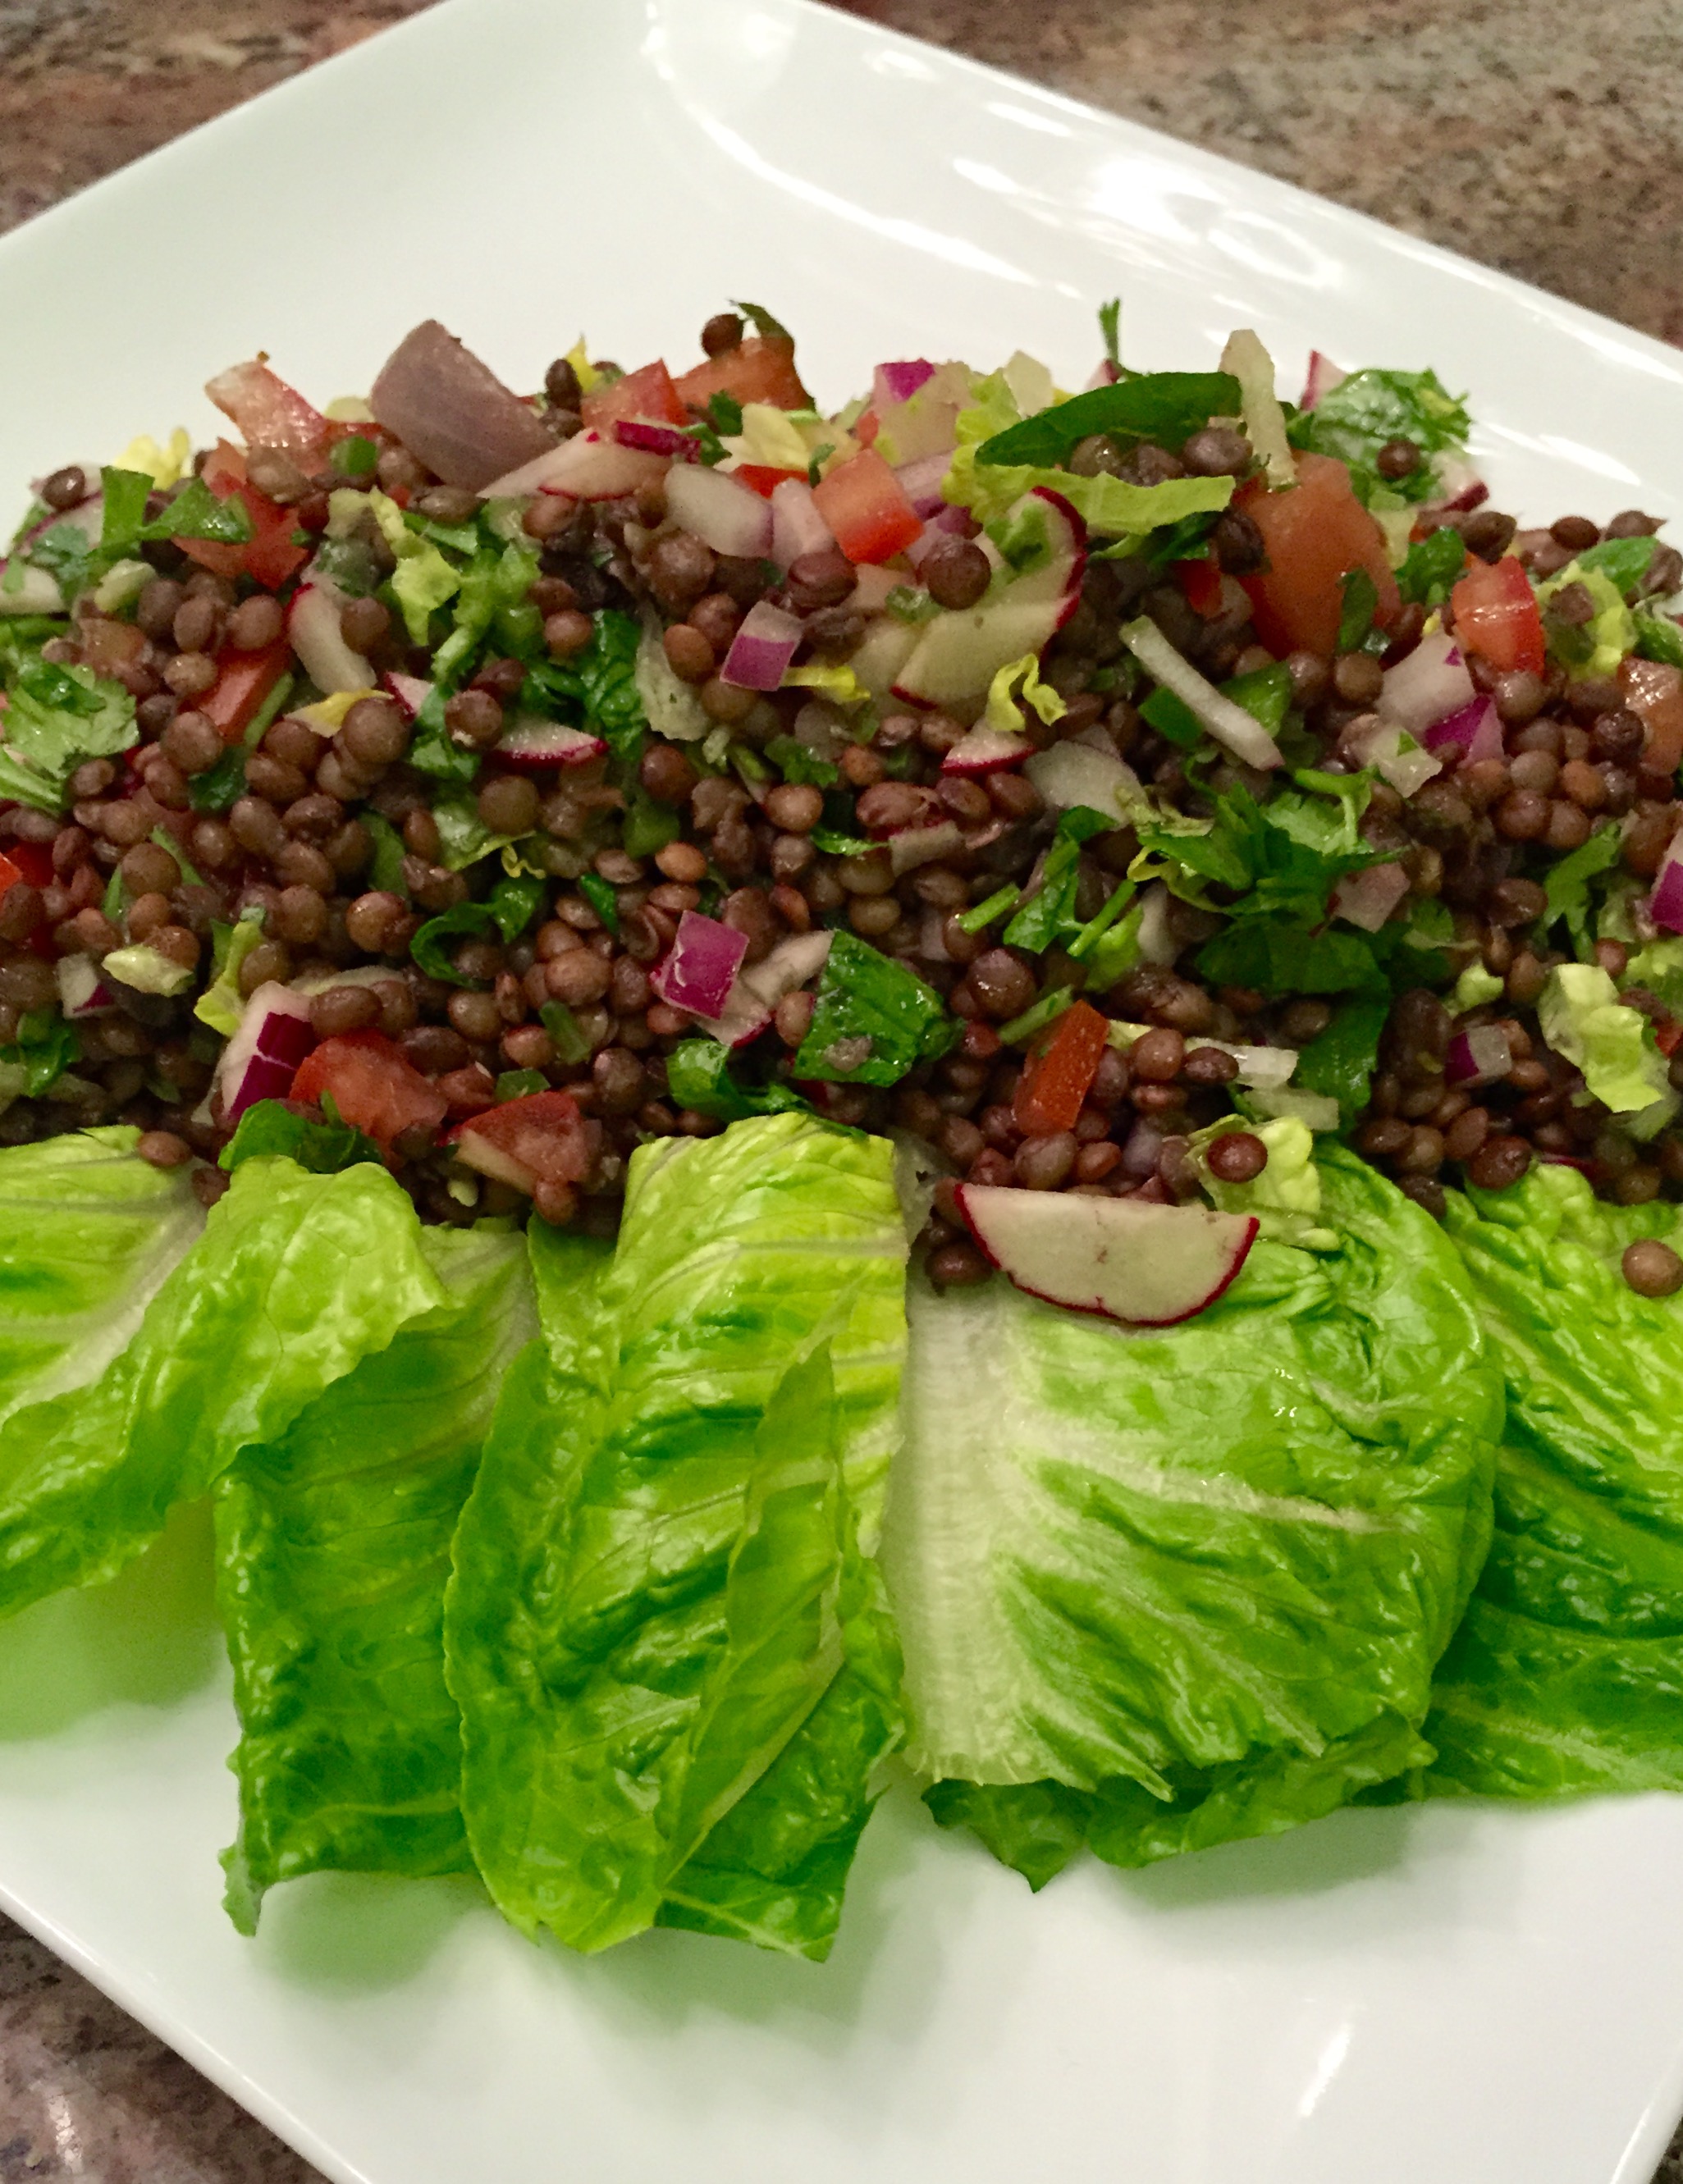
  • Mexican Lentil Hash- This recipe was super easy to make and very healthy.  I loved the rainbow of colors used from all of the different vegetables and the overall flavor profile was excellent.  My favorite part about this dish was actually when my husband remarked "Hey, this is pretty easy to make.  I can definitely make this for you sometime."  Music to my ears!!!  (Picture of this dish is featured below)  
  • Roasted Poblano stuffed with Potato, Corn and Queso with Roasted Tomato Sauce-  this was another delicious dish, but honestly the highlight was learning a new kitchen technique.  I had previously roasted my bell peppers in the oven, which always took a long time.  Learning how to char poblano peppers over an open stove top flame was so much faster and the charred skin was a cinch to remove.  (Finished product is also pictured below)
  • Granita de Pitaya (or Red Prickly Pear)- This is a great dessert idea to consider making during the Spring and Summer.  It's light, refreshing and also easy to make!  Here is a similar granita recipe from Martha Stewart for Mango-Lime Granitas

Of course there are the obvious benefits of taking a cooking class for date night- learning a new recipe and having a delicious dinner with your significant other.  However, what I loved the most were all of the additional benefits I reaped from taking this class.  

Benefits Beyond the Dinner

  • Flavor Inspiration- Until this class I would have never had the guts or know-how to use hibiscus or charred poblano peppers in a recipe.  Now that I have had the experience from this class, I cannot wait to start incorporating roasted pablano peppers and hibiscus flowers into my culinary repertoire.  
  • Knife Skills- One of my favorite parts of the evening was when the teacher gave us a lesson on knife techniques.  Learning how to dice an onion like a pro, quickly chop cilantro and easily de-seed and dice a jalepeno was absolute GOLD.  I cannot tell you how much time I will save in the future when preparing dishes just from knowing these simple knife techniques.
  • Flavor Enhancers/Brighteners- Another great tip we learned during this class was the power of adding acid to a dish.  The addition of an acid (ex. lemon juice, lime juice, vinegar) can really bring out the flavors of the dish.  
  • Meeting New People- Lets face it, its not always easy to meet new people these days.   My days are spent blogging in the morning, going to work all day, coming home and spending time with my husband, and then repeating the same schedule the next day.  There is not a whole lot of time left over (or energy) in any given week for going out and meeting new people.  During this cooking class we were paired with another couple, who my husband and I both enjoyed meeting.  While I am not totally sure that we will become long term friends with this couple, I did realize that taking a class like this is a great way to put yourself out there and meet other people in your area with similar interests.  
  • Quality Time- This was probably the best benefit of the evening.  I had honestly grown so tired of the standard Movie and/or Dinner Date Nights.  Movie date nights have always made me feel silo-ed from my husband, since we are sitting in a dark theater for hours unable to talk.  In addition, dinner date nights at restaurants while nice, were tough places to have a conversation (since you are in a heavily populated room) and short lived (1-2hrs tops?).  I loved this cooking class because it involved teamwork, learning something new, enjoying a delicious meal and going outside of our traditional routinized date nights. 

My husband and I had the best time taking this cooking class at CulinAerie.  Not only did we learn something new and get to spend quality time together, but my husband has now offered to cook me dinner this weekend (yay!).  We have already been back on their website trying to decide on which class to sign up for next!  I have also realized that cooking classes are great for double dates, so we are planning on coordinating with another couple for the next class.  

After taking this class I am done with constantly defaulting to the standard dinner and a movie date night.  I have been completely re-energized when it comes to planning creative date nights and cannot wait to start researching new ideas.  Do you have any favorite date night activities?  

Spring Entertaining Essentials

Now that we are well into Spring, I wanted to share some of my favorite entertaining essentials for the season.  It was not easy creating this list, as I have found so many fabulous entertaining accessories.  With that said, I have selected the following items not only because I frequently use them, but they are also unique, aesthetically pleasing and under $30!  

3- Tiered Serving Piece 

This is a piece that I actually acquired during the "Lilly-palooza" event at Target a few weekends ago (see here for my complete story).  Originally I had come across this multi-tiered stand in the serveware section and thought it would be great for serving petit fours, desserts, etc… Upon arriving back at home, I called my mom to tell her about my newest acquisitions.  It wasn't until she asked me to send her a link to the new serving piece that I realized it was actually a jewelry stand!  Learning this interesting bit of information didn't phase me.  I have used this piece multiple times for serving food and have yet to use it for jewelry, but apparently this piece is multipurpose! 

I love the elegant aesthetic of this 3-tiered piece.  The gold and cream color combination goes beautifully with most of my serveware pieces and looks great when paired with a variety of brightly colored Spring flowers.  In addition to the aesthetic, this piece is also a great space saver.  My favorite use for this piece is to hold all of my cheesescape crackers and accompaniments.  

Paper Table Runner 

I first debuted this accessory in my post on Spring Cheesescaping.  Since this post, I have used this paper at least half a dozen times.  I absolutely LOVE disposable table runners.  Why?  

  1. They come in an assortment of bold colors and textures, which are perfect for framing your neutral serving dishes  and other entertaining accessories.
  2. The roll of paper actually lasts a long time.  As I mentioned, I have used this paper at least half a dozen times and still have what appears to be a very full roll of runner paper remaining.  
  3. Post party clean-up is a cinch!  Instead of having to collect all of the crumbs and sticky food particles from the table after a party, I simply roll up the paper and throw it in the garbage.  
  4. This roll of table paper is under $30.  Considering how many uses I have gotten out of this paper so far and all of the other benefits, I consider this price to be very reasonable.   

Gold Cheese Knives 

Gold flatware has been all of the rage lately.  I am certainly a huge fan of this look, however I haven't been able to justify the price (especially since I already have a full set of everyday flatware).  My solution?  Gold Cheese Knives!  These cheese knives are an updated look at an affordable price.   In addition, I love that this gold cheese knife set comes with a spear for serving pre-cut charcuterie and a flat paddle, which is perfect for using to serve chutneys and/or fruit preserves.  

Edible Flowers 

Nothing screams "Springtime" like floating a flower in your cocktail!  As you may have seen in previous posts (like this one), edible flowers are my latest go-to cocktail garnish.  Unique, natural, pretty and at a cost of $1.69/container you really can't go wrong incorporating these little gems into your next party.  

Bud Vases 

Spring means flowers and lots of them!  Since flowers are my go-to decor accessory this season, I have decided to get creative with the way they are displayed (both arranging and vessels).  My favorite vessel as of late is the bud vase.  Why?

  1. Versatility- Bud vases allow for a floral pop of color in a variety of spaces.  Instead of just using one large arrangement on my coffee table when I am entertaining, I will arrange 4 small bud vases interspersed with votives.   I am also a fan of using bud vases to adorn my kitchen window sill, bedside tables, dining table, bar and even my bathroom countertops!
  2. Affordability- I have bought the majority of my bud vases from my local flower supply store at a cost of roughly $2.49/vase.  What is not to love about that?  

As I mentioned at the start of this post, it was a challenge to keep this list of Spring entertaining essentials to only 5 items.  The possibilities for Spring entertaining are endless and there are so many fabulous products/entertaining accessories on the market at the moment.  My best piece of advice is to look beyond the face value of any item you are considering buying.  Thank goodness I didn't look at the label of my latest cheesescape serving piece in the store.  If I had looked at the label of my 3-tiered "Jewelry" Stand prior to purchasing, I don't know if I would have gone through with buying it.  As always, I hope this post has provided you with a new perspective and inspiration for hosting your next Spring soiree.    

Tips for Making Pizza at Home

My husband and I have been trying to make an effort to cook together more often.  I certainly enjoy cooking on my own, but cooking together as a couple has been a nice change of pace from our standard wine and a movie date night.  Over this past weekend we decided to make homemade pizzas.  We didn't come up with this idea until Sunday afternoon, so in an effort to keep things from getting too complex, we decided to buy the pre-made pizza dough at the store and then roll it out and assemble the pizzas ourselves.  

In order to make this date night happen, we needed to make 2 stops on our Sunday errand run.  The first was to our local kitchen supply store for a pizza stone.  I had been wanting the Emile Henry Rectangular Pizza Stone for some time now and this was the perfect excuse to get it.   A pizza stone really does make a huge difference when cooking your pizza, but if you're not looking to add another piece of bakeware to your kitchen, a cookie sheet works just as well.  The second stop was to the grocery store to pick up the pre-made pizza dough (both white and whole wheat), veggies, cheese, basil, pizza sauce and pepperoni.  

When we arrived back home I immediately got to work setting up the pizza making station.  It wasn't until I had laid out all of the ingredients and went to preheat the oven that I realized the pre-made dough we had purchased did not come with cooking instructions!  Who sells a product without instructions?!?  

I took a moment to collect myself and then did what anyone would do in this situation, I Googled it.  The results of my search made me realize that there was a need in the market. Not one resource I found provided me with all of the necessary information needed for making homemade pizzas.  After much research, I was eventually able to piecemeal together a set of instructions for making these pizzas and put my newly harvested information to the test.  There was definitely a period of trial and error during this process but in the end I was able to achieve home made pizza success.  Below I have compiled a list of my favorite tips for making homemade pizza, along with a set of instructions in the event that you ever fall victim to the same situation I did (purchasing a bag of pre-made pizza dough sans cooking instructions).   

Dough Prep 

  1. Let your store-bought dough come up to room temperature or at least close to room temperature in order to make the dough easier to roll out.
  2. Once the dough has been brought up to about room temperature, generously flour the rolling surface and your dough.  
  3. Use a pizza cutter to cut the dough in half (store half in the fridge or freezer for later)
  4. Use a rolling pin (I prefer my french pin because I think it provides the most control) to roll out your dough.  **Note- store bought dough tends to have greater elasticity, so this task will require a bit of patience.  It's also okay to intermittently stretch the dough with your hands between rollings. 

Toppings 

Topping are the best part of pizza making in my opinion.  My advice for toppings is two-part:

  1. Keep Topping Moisture to a Minimum- if using veggies, cook them in the oven ahead of time to draw out moisture.  In addition, shredded low-moisture mozzarella is better than fresh mozzarella, which is typically sold in a container of cheese water.  Reducing the moisture in elements like cheese and vegetables will help to ensure that your crust stays crisp and doesn't get soggy.  
  2. Do not overload your toppings- I know it's tempting, but don't do it.  Why?  Too many toppings will inhibit the cook time of the center portion of your crust.  In a nutshell- the perimeter will cook faster than the center, thus increasing the likelihood that you will end up with burnt crust and a doughy center.  Moderate toppings that are evenly distributed will help ensure that your pizza cooks evenly.  

Cooking 

  1. Place your oven rack on the bottom third tier
  2. Preheat your oven to 450 degrees Fahrenheit with the pizza stone in the oven
  3. Once your oven reaches 450 degrees Fahrenheit, remove the pizza stone and dust with flour or coarse cornmeal
  4. Lay your rolled dough on top and add all desired toppings
  5. Bake pizza for 12-15 minutes
  6. Once pizza has finished cooking, remove from the oven and allow it to rest for 3-5 minutes so that the cheese and toppings can set.
  7. Transfer pizza to a cutting board
  8. Cut Pizza (I recommend using a pizza wheel), serve and enjoy!

All in all, this was a great date night (forgot to mention that this actually turned into a double date night - see tablescape picture above).  I made three different pizzas and placed dishes of chili flakes, garlic granules and grated parmesan cheese on the table for guests to flavor according to their own pizza preferences.  Pizza making is fun, easy (now that I have instructions) and something that can be shared with significant others and even kids! Suffice it to say that pizza night is quickly becoming synonymous with date night in my house.  

Thoughts on Bookshelf Decorating

One of my latest projects has been designing the bookshelf in my living room.  This project sounds a bit silly and like it should be accomplished in under an hour, well that couldn't be further from the truth.  Bookshelf decorating is extremely time consuming and it takes a while to get the shelf looking balanced with just the right assortment of pieces.  If you are considering decorating your bookshelf you should know that it is a process and doesn't necessarily come together overnight (if your bookshelf does come together that quickly please email me and share your secret!).  While my bookshelf decor project may not be finished, there are some helpful tips I have picked up throughout this process.    

Books

Books are a great way to break up a space.  I have two approaches when it comes to using books on a display shelf.  The first look is the monotone aesthetic.  On my top shelf I wanted to create a uniformed/formal look with books.  The easiest (and least expensive) way to achieve this was by going through the hard covered books in my house and collecting those that that had similar bindings under the book jackets.  The titles up close are comical because I have the Holy Bible paired with Jack Welch's book entitled "Winning."  Titles are not important in this case.  All books are black hard covers with gold embossed lettering, thus creating one harmonious look.   

My second book approach is stacking coffee table books.  Again, titles are not important because it is really all about the aesthetic.  On my bottom shelf I have given my speaker a little height and design by placing it on top of a stack of coffee table books.  If you are looking at this image and thinking "sure coffee table books are great but boy are they expensive,"  you are right!  Coffee table books can be annoyingly expensive, but there is a way to find affordable coffee table books.  The bottom two books in this picture are finds from that front sale section at Barnes and Noble.  For those two books I paid about $28, because again, the content doesn't matter when it comes to your shelf and it's about the aesthetic.  

Mix It Up

Every shelf of mine is a mix of fancy pieces and less expensive pieces.  There are no rules when it comes to creating a display shelf, so don't feel like you need to only display your nicest pieces.  You want to have a balance of textures and colors on your shelves to make it interesting.   Taking a look at my shelf with the largest quantity of knick knacks, I can tell you that there are nice Herend figurines paired with my CB2 Large Pinch Bowl and a piece of green agate that I found at Home Goods.  

Avoid the Inventory Look

 I have written quite a few posts on maximizing storage space (see here and here), and as a city dweller I can certainly appreciate the fact that storage space is precious.  With that said, I don't care how tempting it may be to want to use every inch of shelf space to hold your various tchotchkes, FIGHT THAT URGE!!  The last thing you want is to have a display shelf that looks more like an inventory of your various home goods.  Items on your display shelf should be artistically placed, hence why it is called a display shelf and not a storage shelf.  Sure there are creative ways to incorporate storage into your display shelf, like my basket with lid at the base of the shelf which I use to hold extra blankets, but you have to think strategically and aesthetically when doing so.  Your display shelf will hold some (but not all) of your home goods.    

Make it Functional

I have made my bookshelf functional by incorporating 2 ambiance essentials-- hurricanes and a wireless speaker.  When designing this shelf, I knew that it was going to have to house at least one of our speakers.  This fact didn't exactly thrill me because although I love having music in the living room, speakers are somewhat unsightly (my husband would not agree with this statement, but it's true).  In addition, my husband was adamant about the fact that the speaker could not have anything in front of it that could potentially obstruct the sound.  The solution was to place the speaker on the bottom shelf and have it resting on a stack of coffee table books so that it looked somewhat incorporated into the decor.   

Step Back 

Just like stringing lights on a Christmas tree, you need to take time during the decorating process to stand back and evaluate the look as a whole.  There could be gaps in the decor that you are not seeing because you are myopically focused on a particular area.  When it comes to a display shelf, its about creating a beautiful aesthetic on each shelf that also works harmoniously as a whole.  In short, you want your shelf to look balanced. 

While I am still in the process of designing my display shelf, I feel like these tips have really helped me to navigate the design process.  As I continue to make progress I will be sure to keep you updated on my Instagram page and with my various ideas on Pinterest.  Until the next "shelfie" update, I hope this has provided you with some inspiration/guidance on how to approach your own display shelf.