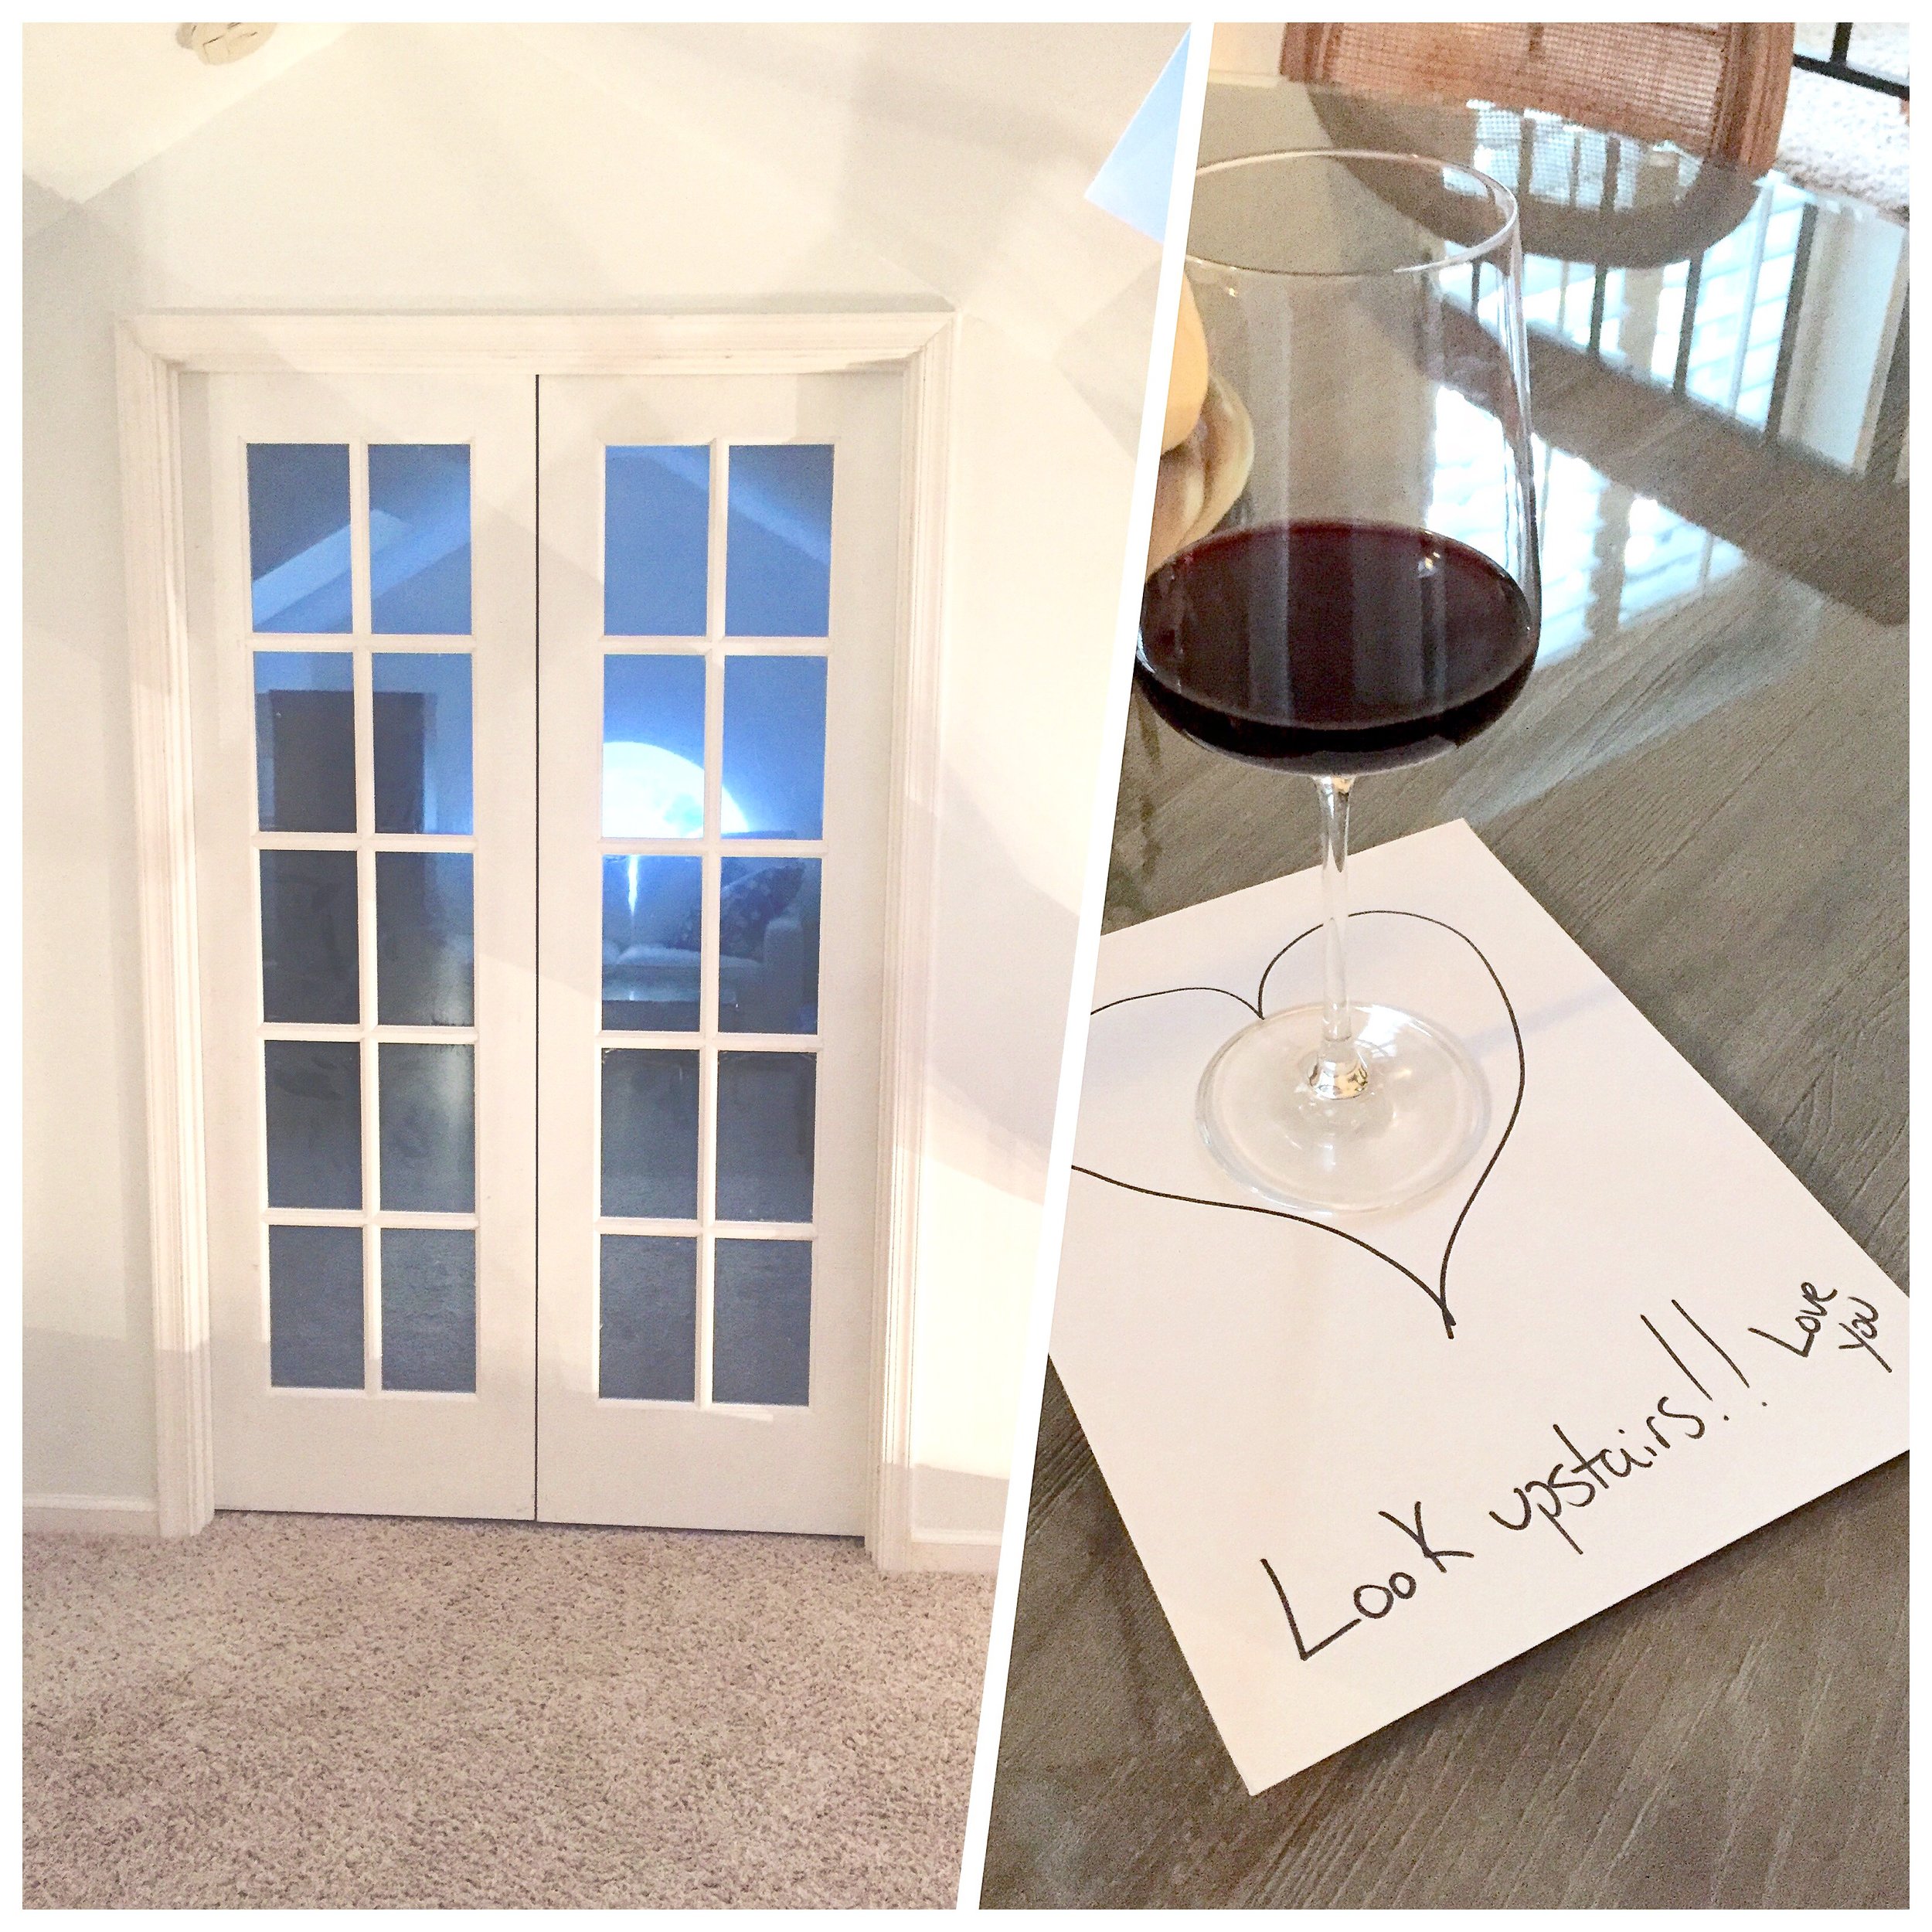
I go through peaks and valleys when it comes to home improvement projects. Typically my husband and I budget for one major home project a year, last year we added a new butlers pantry (see this post) and this year we built a wall upstairs to create a defined second bedroom (see below).
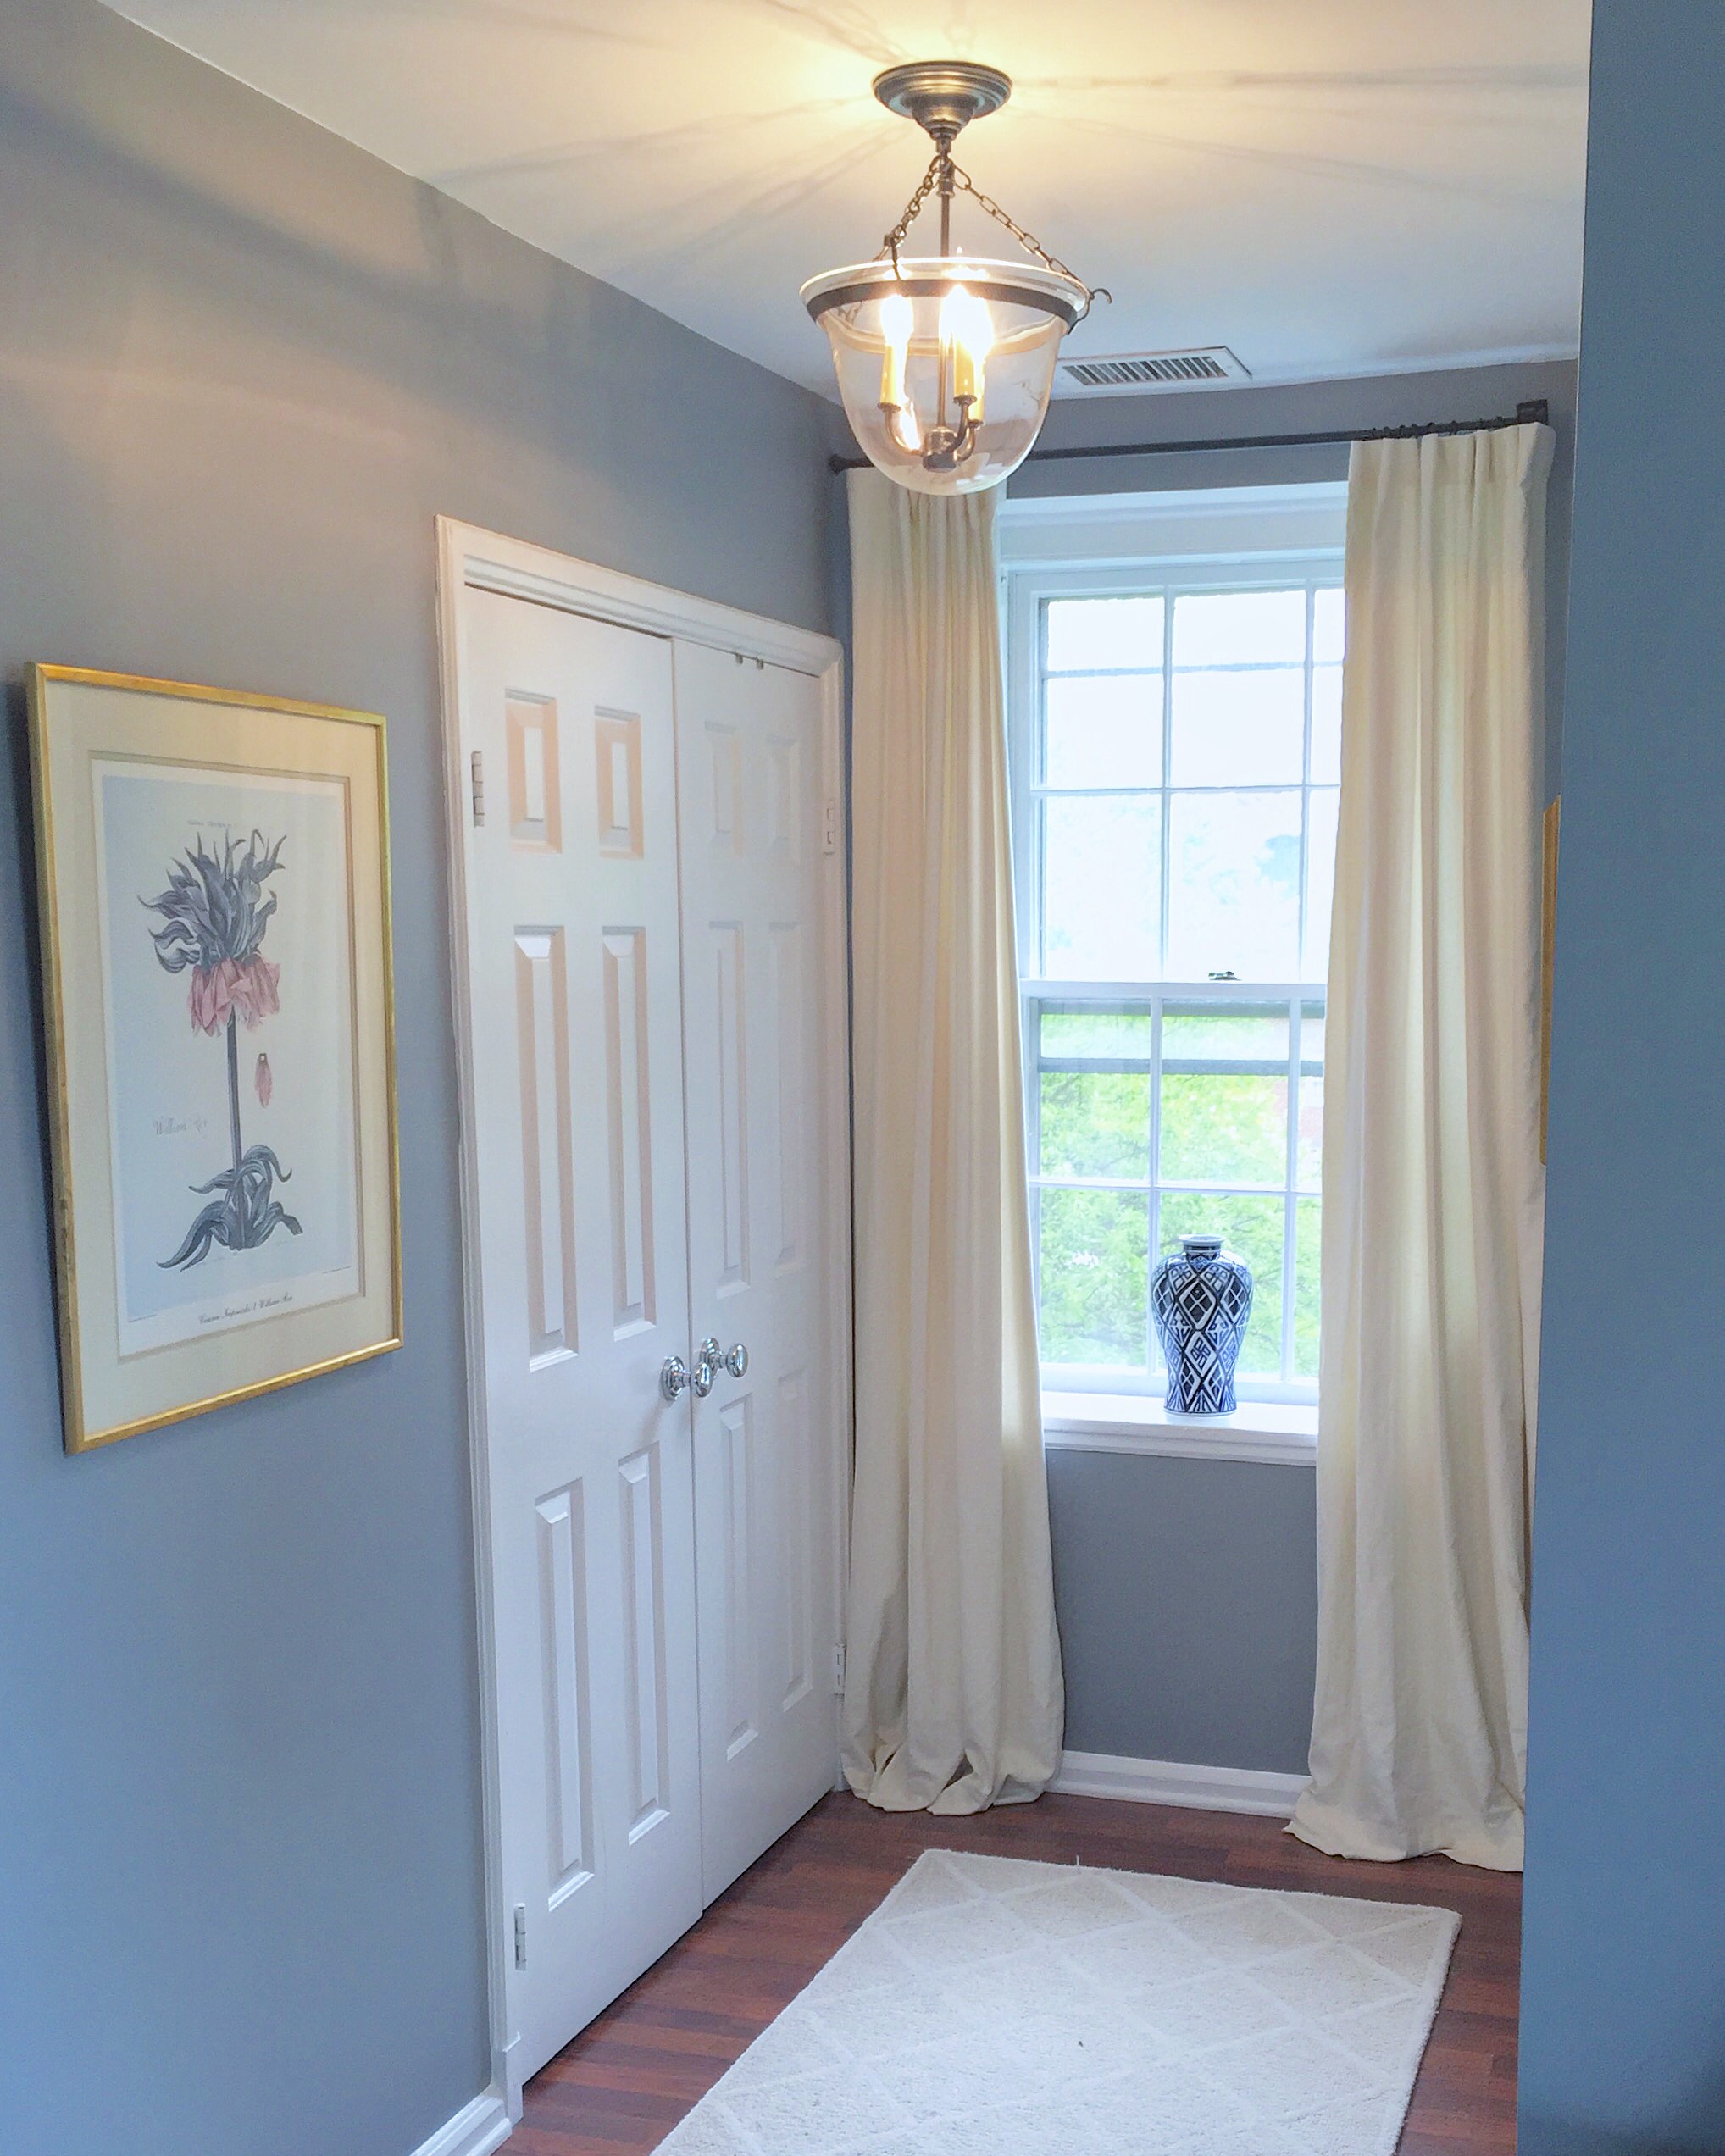
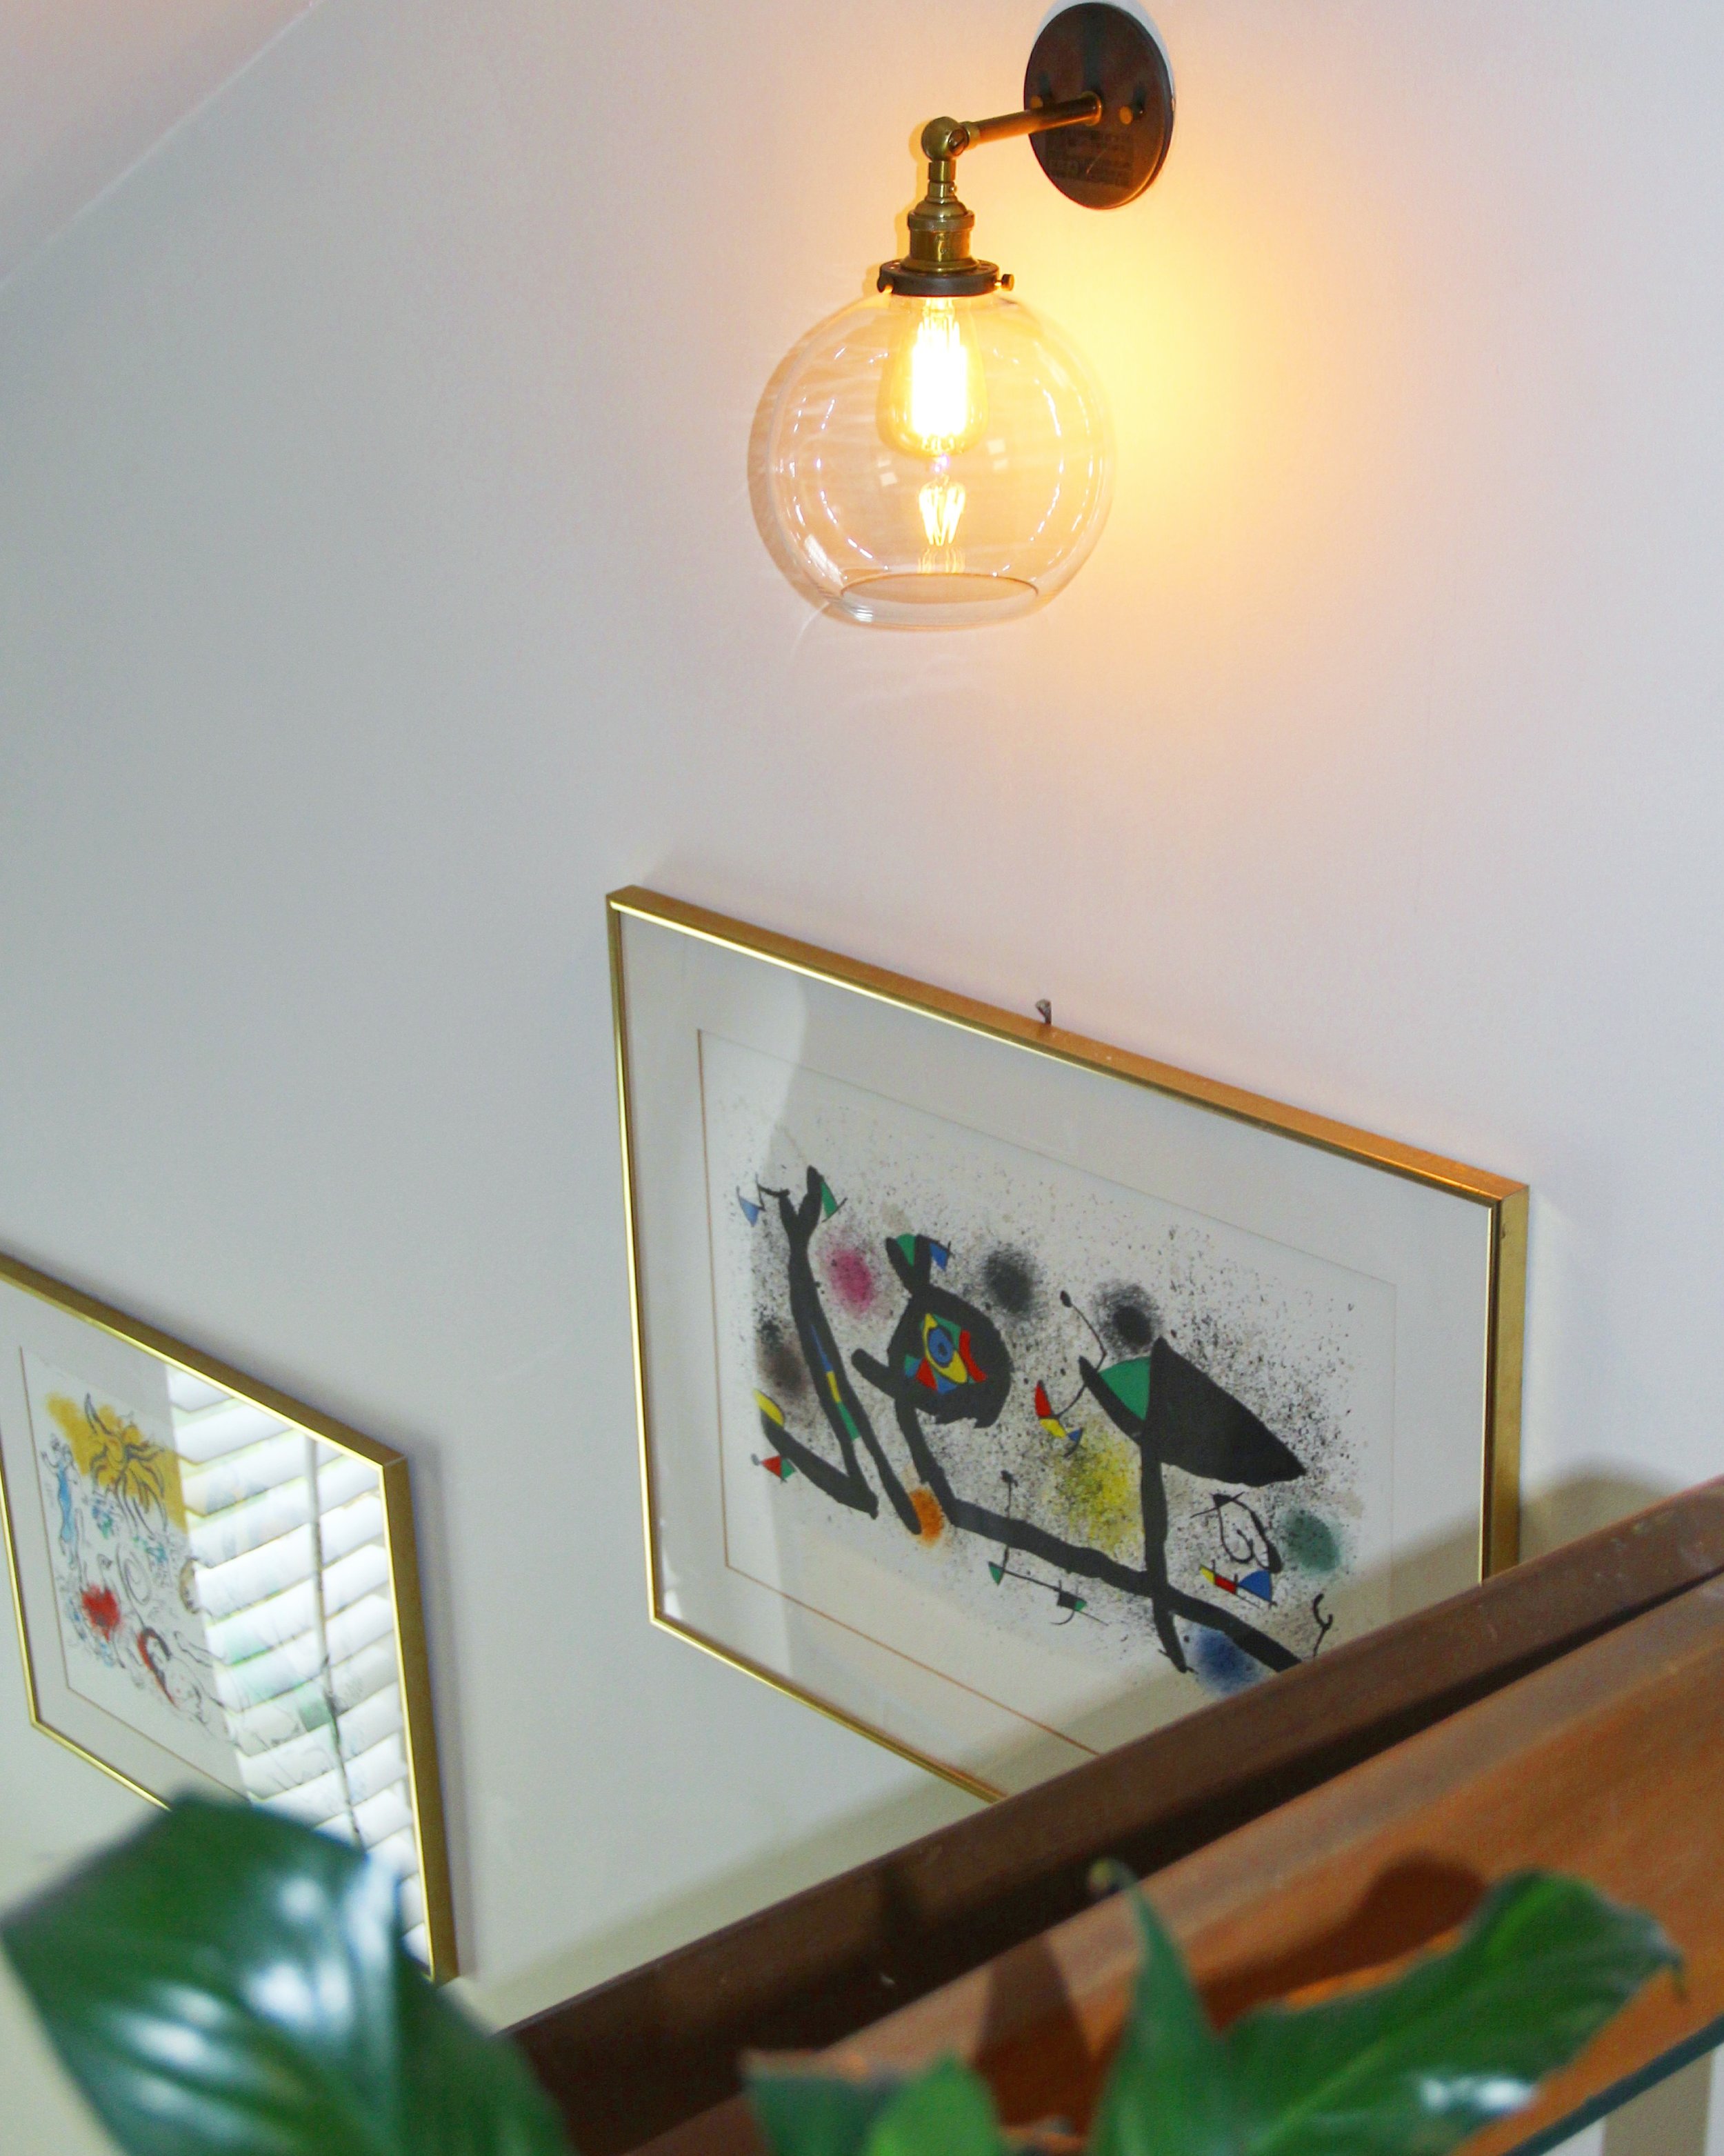
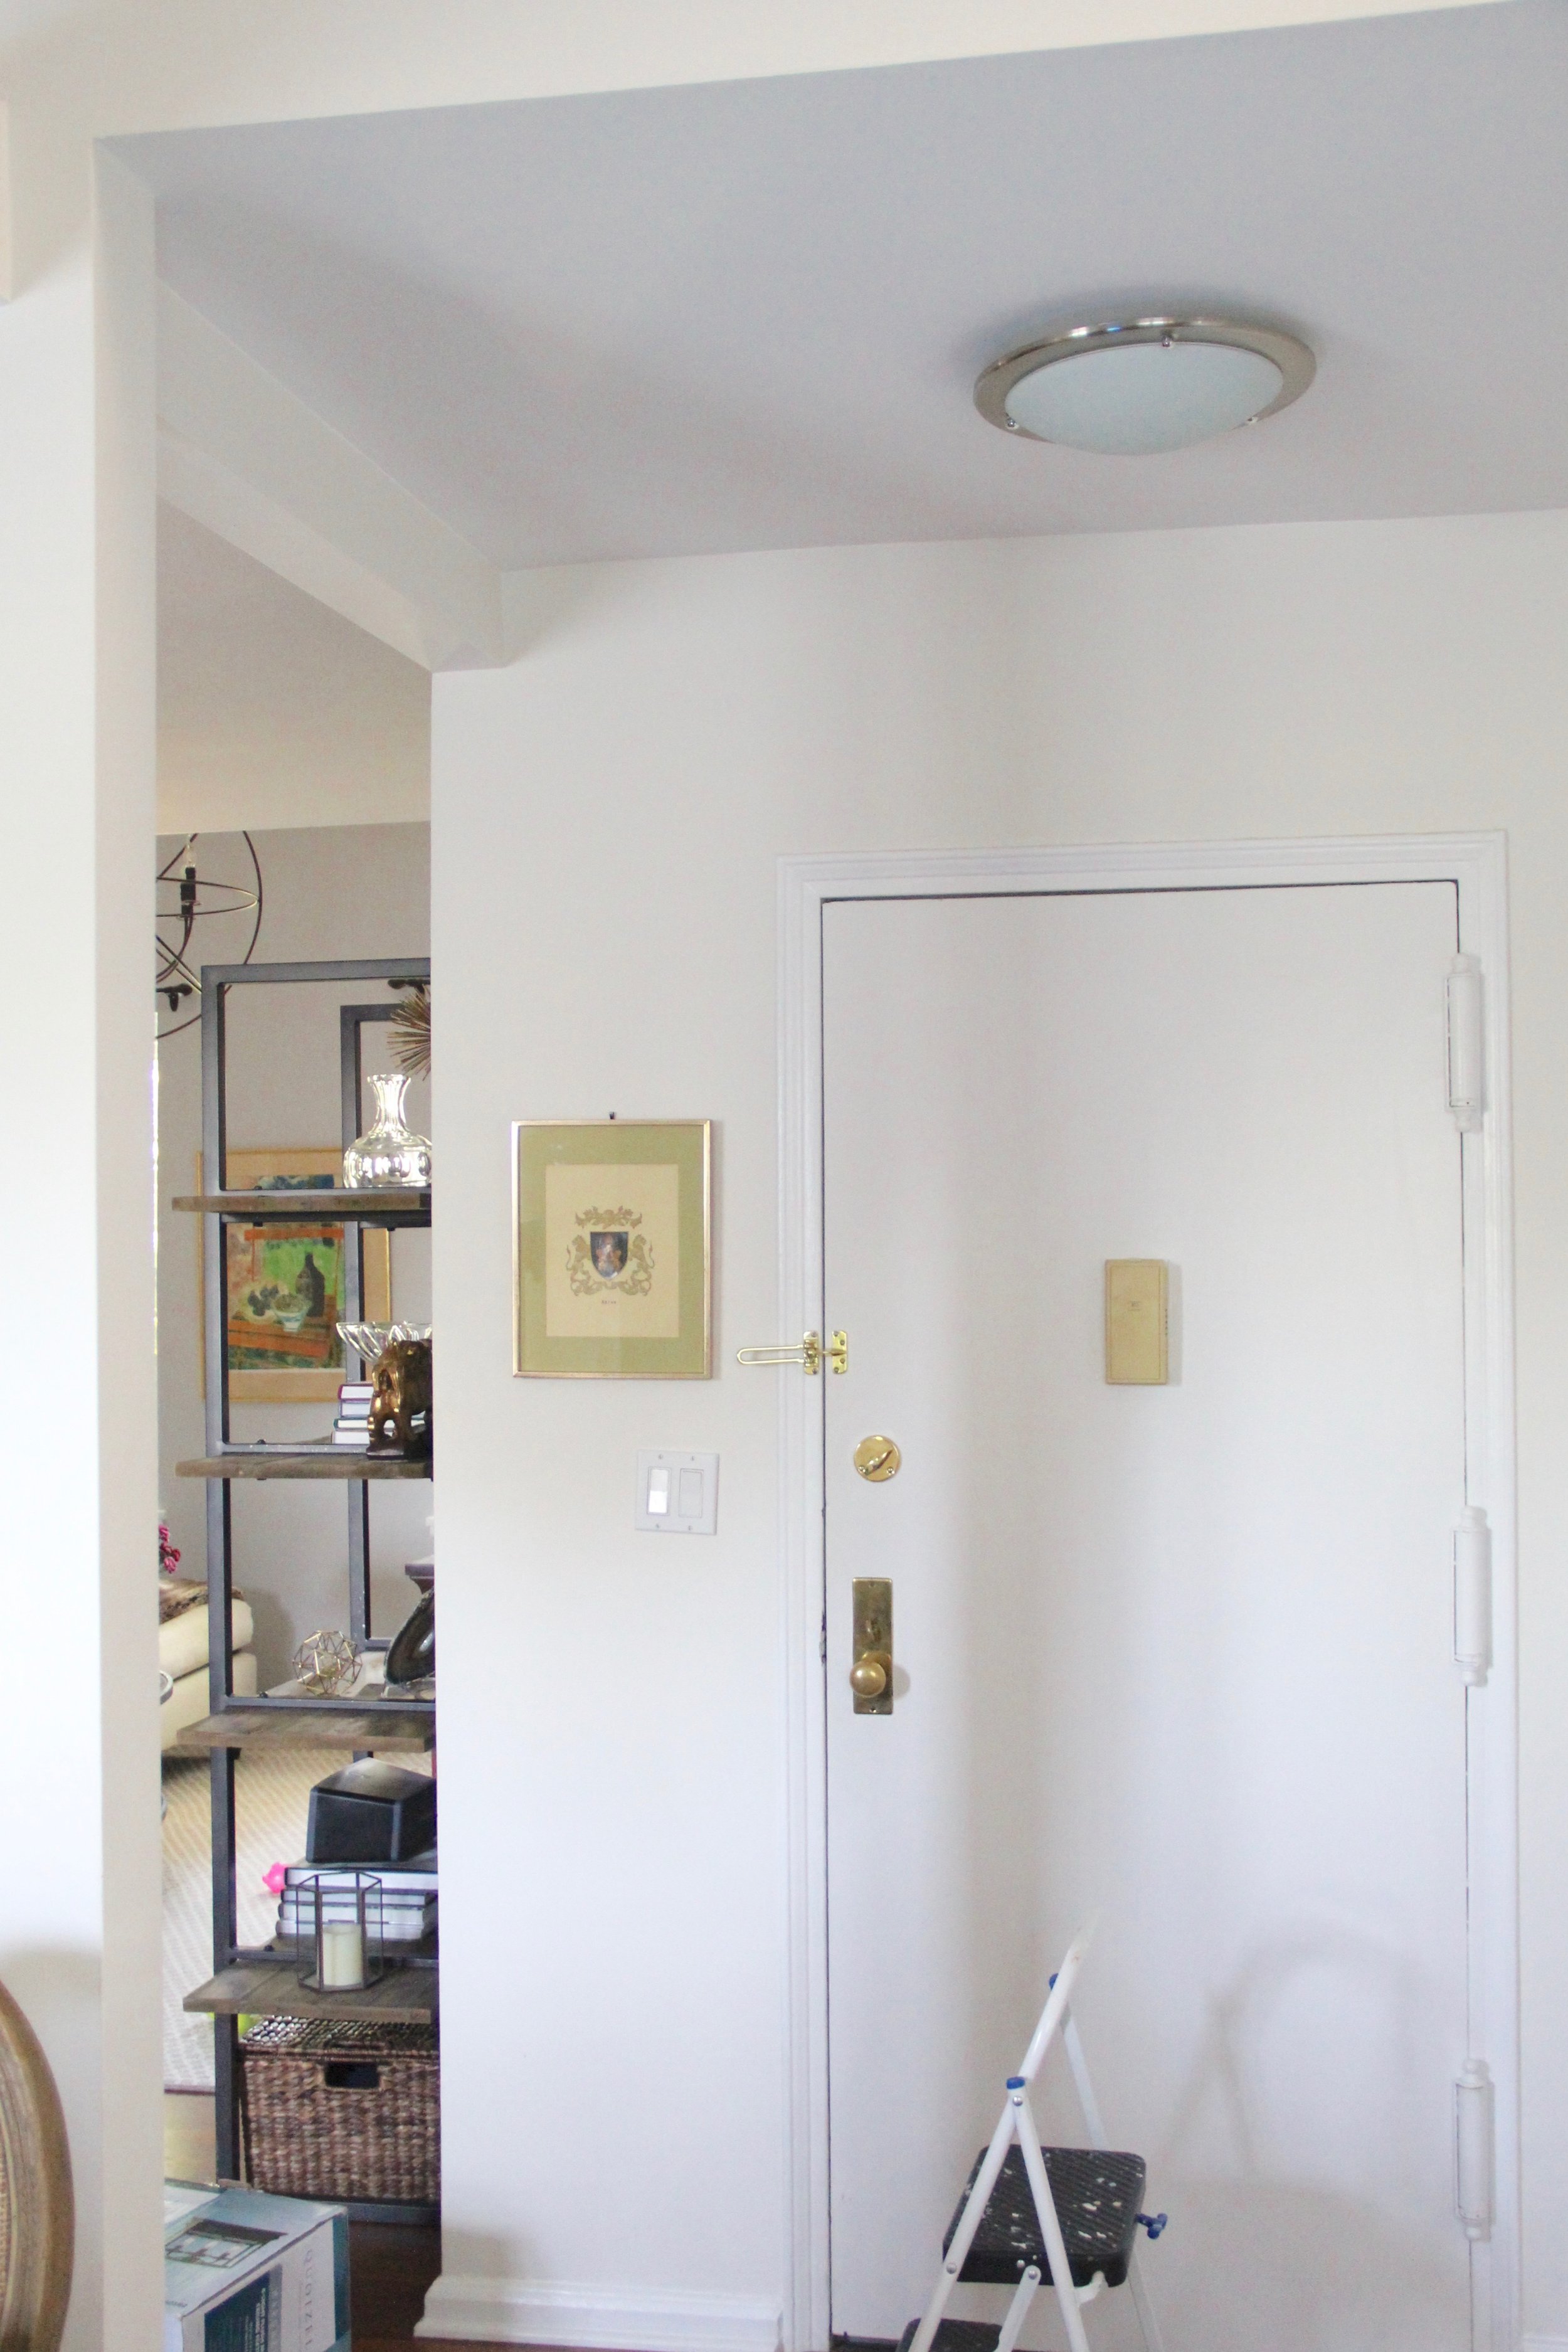
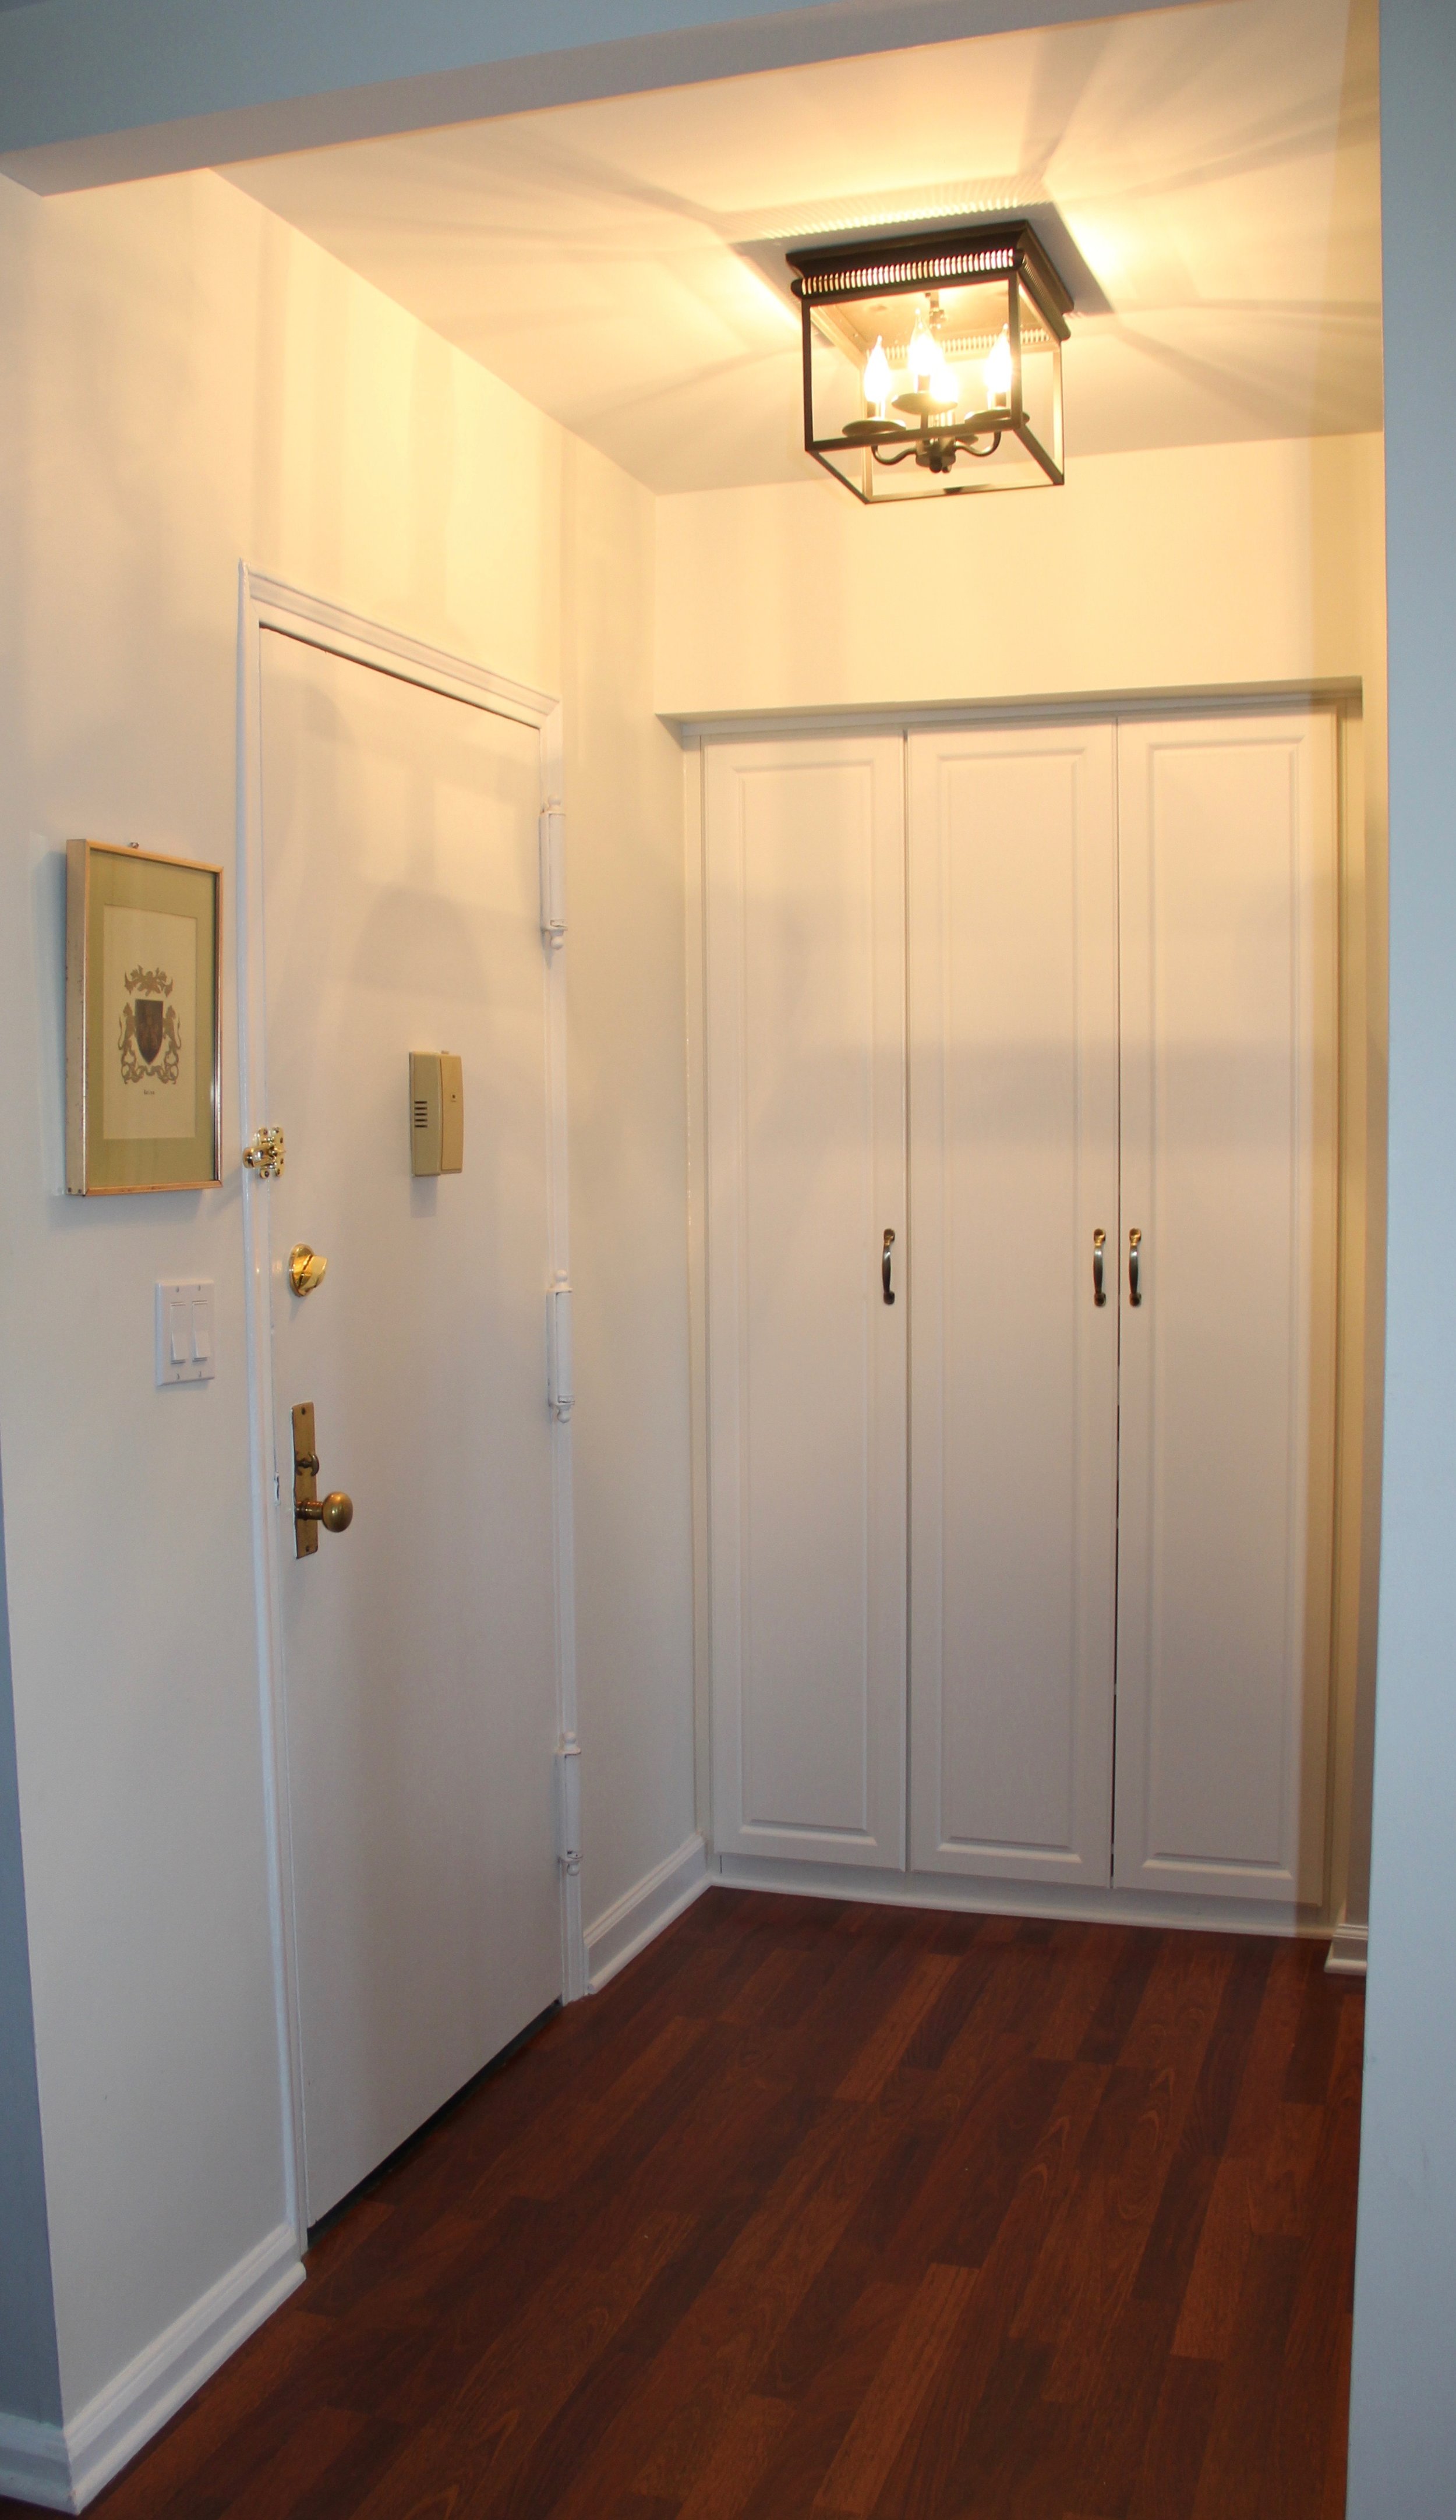
In between big projects I try to focus on little updates that I can do myself, like painting or hanging window treatments, to keep the home improvement momentum going while saving money on outsourcing these simple projects to professionals. Over the past few months I had finally hit my limit with 3 lighting fixtures in my house that we had inherited from the previous owner. The closet light in our bedroom and the sconce on our staircase were both bathroom light fixtures that had been repurposed for spaces other than the bathroom, and the fixture over the front door to our house was actually a garage light that emitted a florescent purple/white color when illuminated.
I started small with this DIY lighting project by tackling the bedroom light first. After watching endless youtube videos (like this one) and how to articles (here and here), I successfully hung this semi-flushmount lighting fixture from Pottery Barn in our bedroom. The satisfaction of hanging the light myself was beyond words and of course instantly gave me an itch to want to replace the rest of my unsightly fixtures as soon as possible. I went on to tackle replacing our stairway wall sconce with this Restoration Hardware fixture and finished out my lighting project by replacing our entryway light with this piece from Lowes Home Improvement.
I decided to document my final lighting installation and share it with you all today for a few reasons:
- I've learned throughout this process that replacing a lighting fixture follows a basic formula. Once you know/understand the formula it's fairly quick and simple to tackle this project yourself.
- You can save some serious money doing this yourself as opposed to having to call an electrician to do this simple task for you.
- It's really empowering knowing how to do something like this. I know it can appear intimidating at first glance, but after teaching myself how to do this I am really proud and amazed at what I am capable of accomplishing.
What you will need...
- Screwdriver (philips and/or flathead depending on the fixture)
- Wire Strippers (wire cutters or a utility knife work just fine)
- Needle Nose Pliers (helpful for twisting wires together)
Instructions
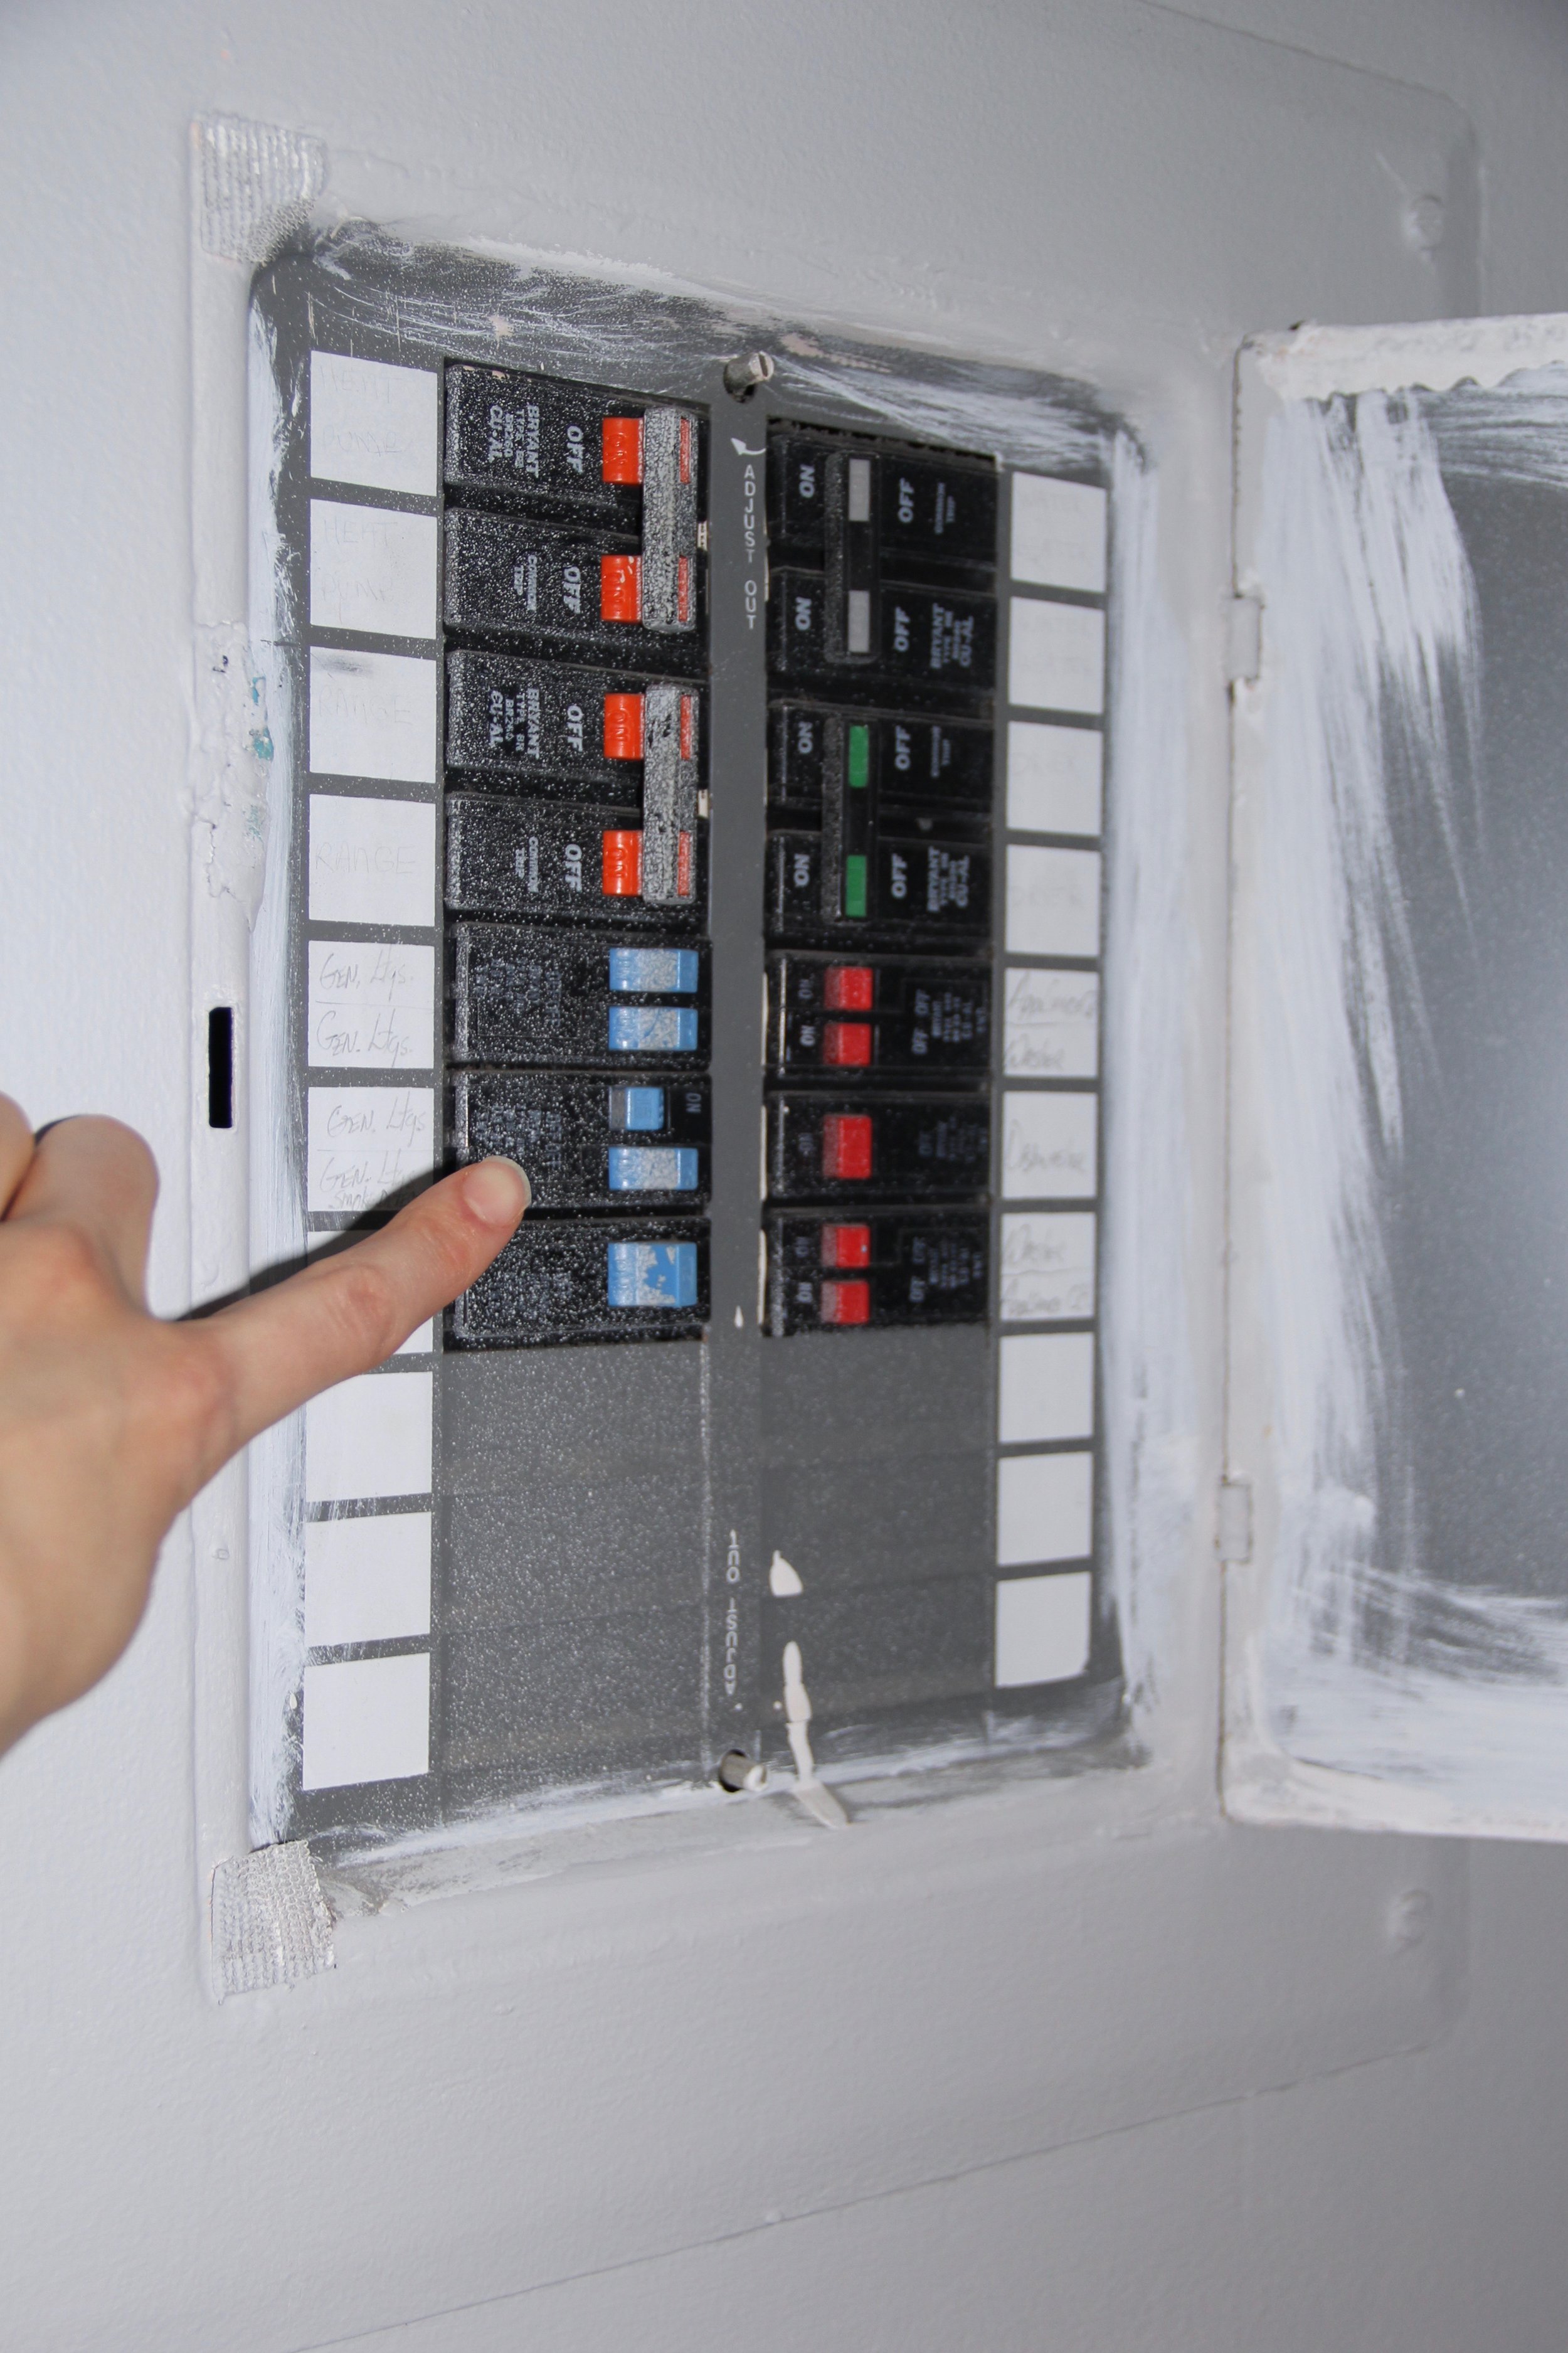
- Start by turning off electricity to the light socket by flipping the appropriate switch in your electrical box. Electricians would refer to this as "turning the breaker off at the fuse panel."
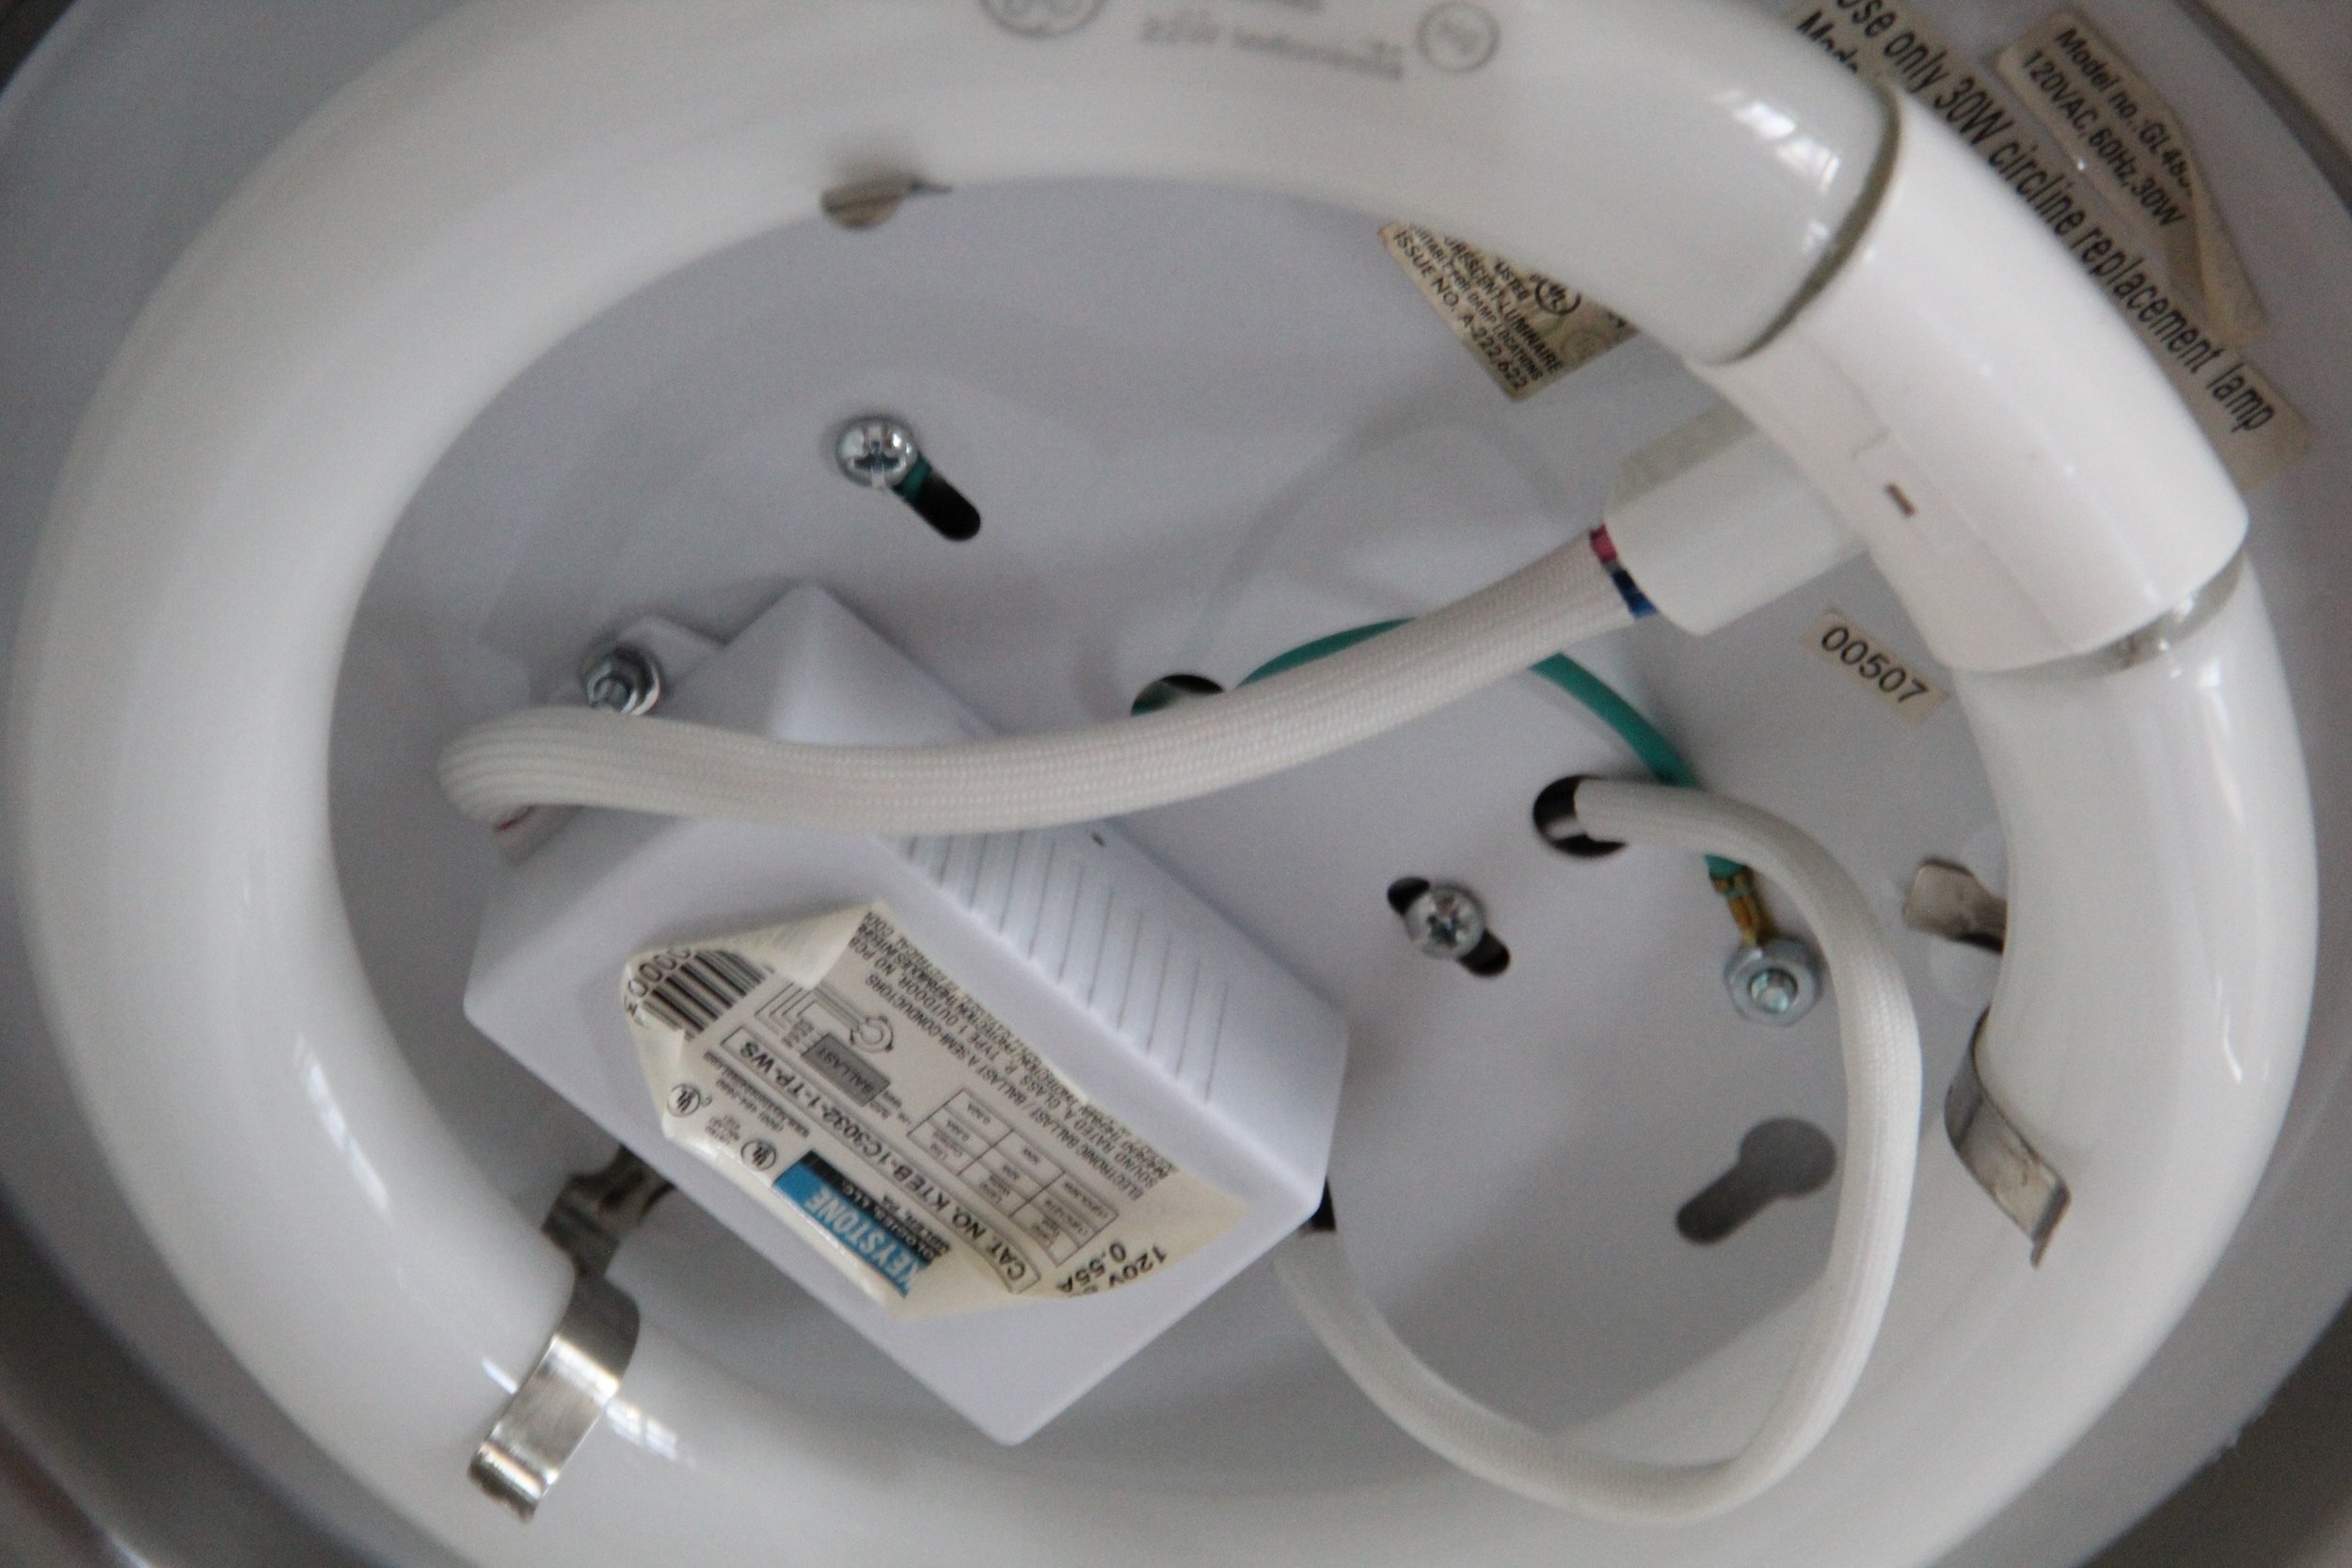
- See this guide for how to remove an existing lighting fixture
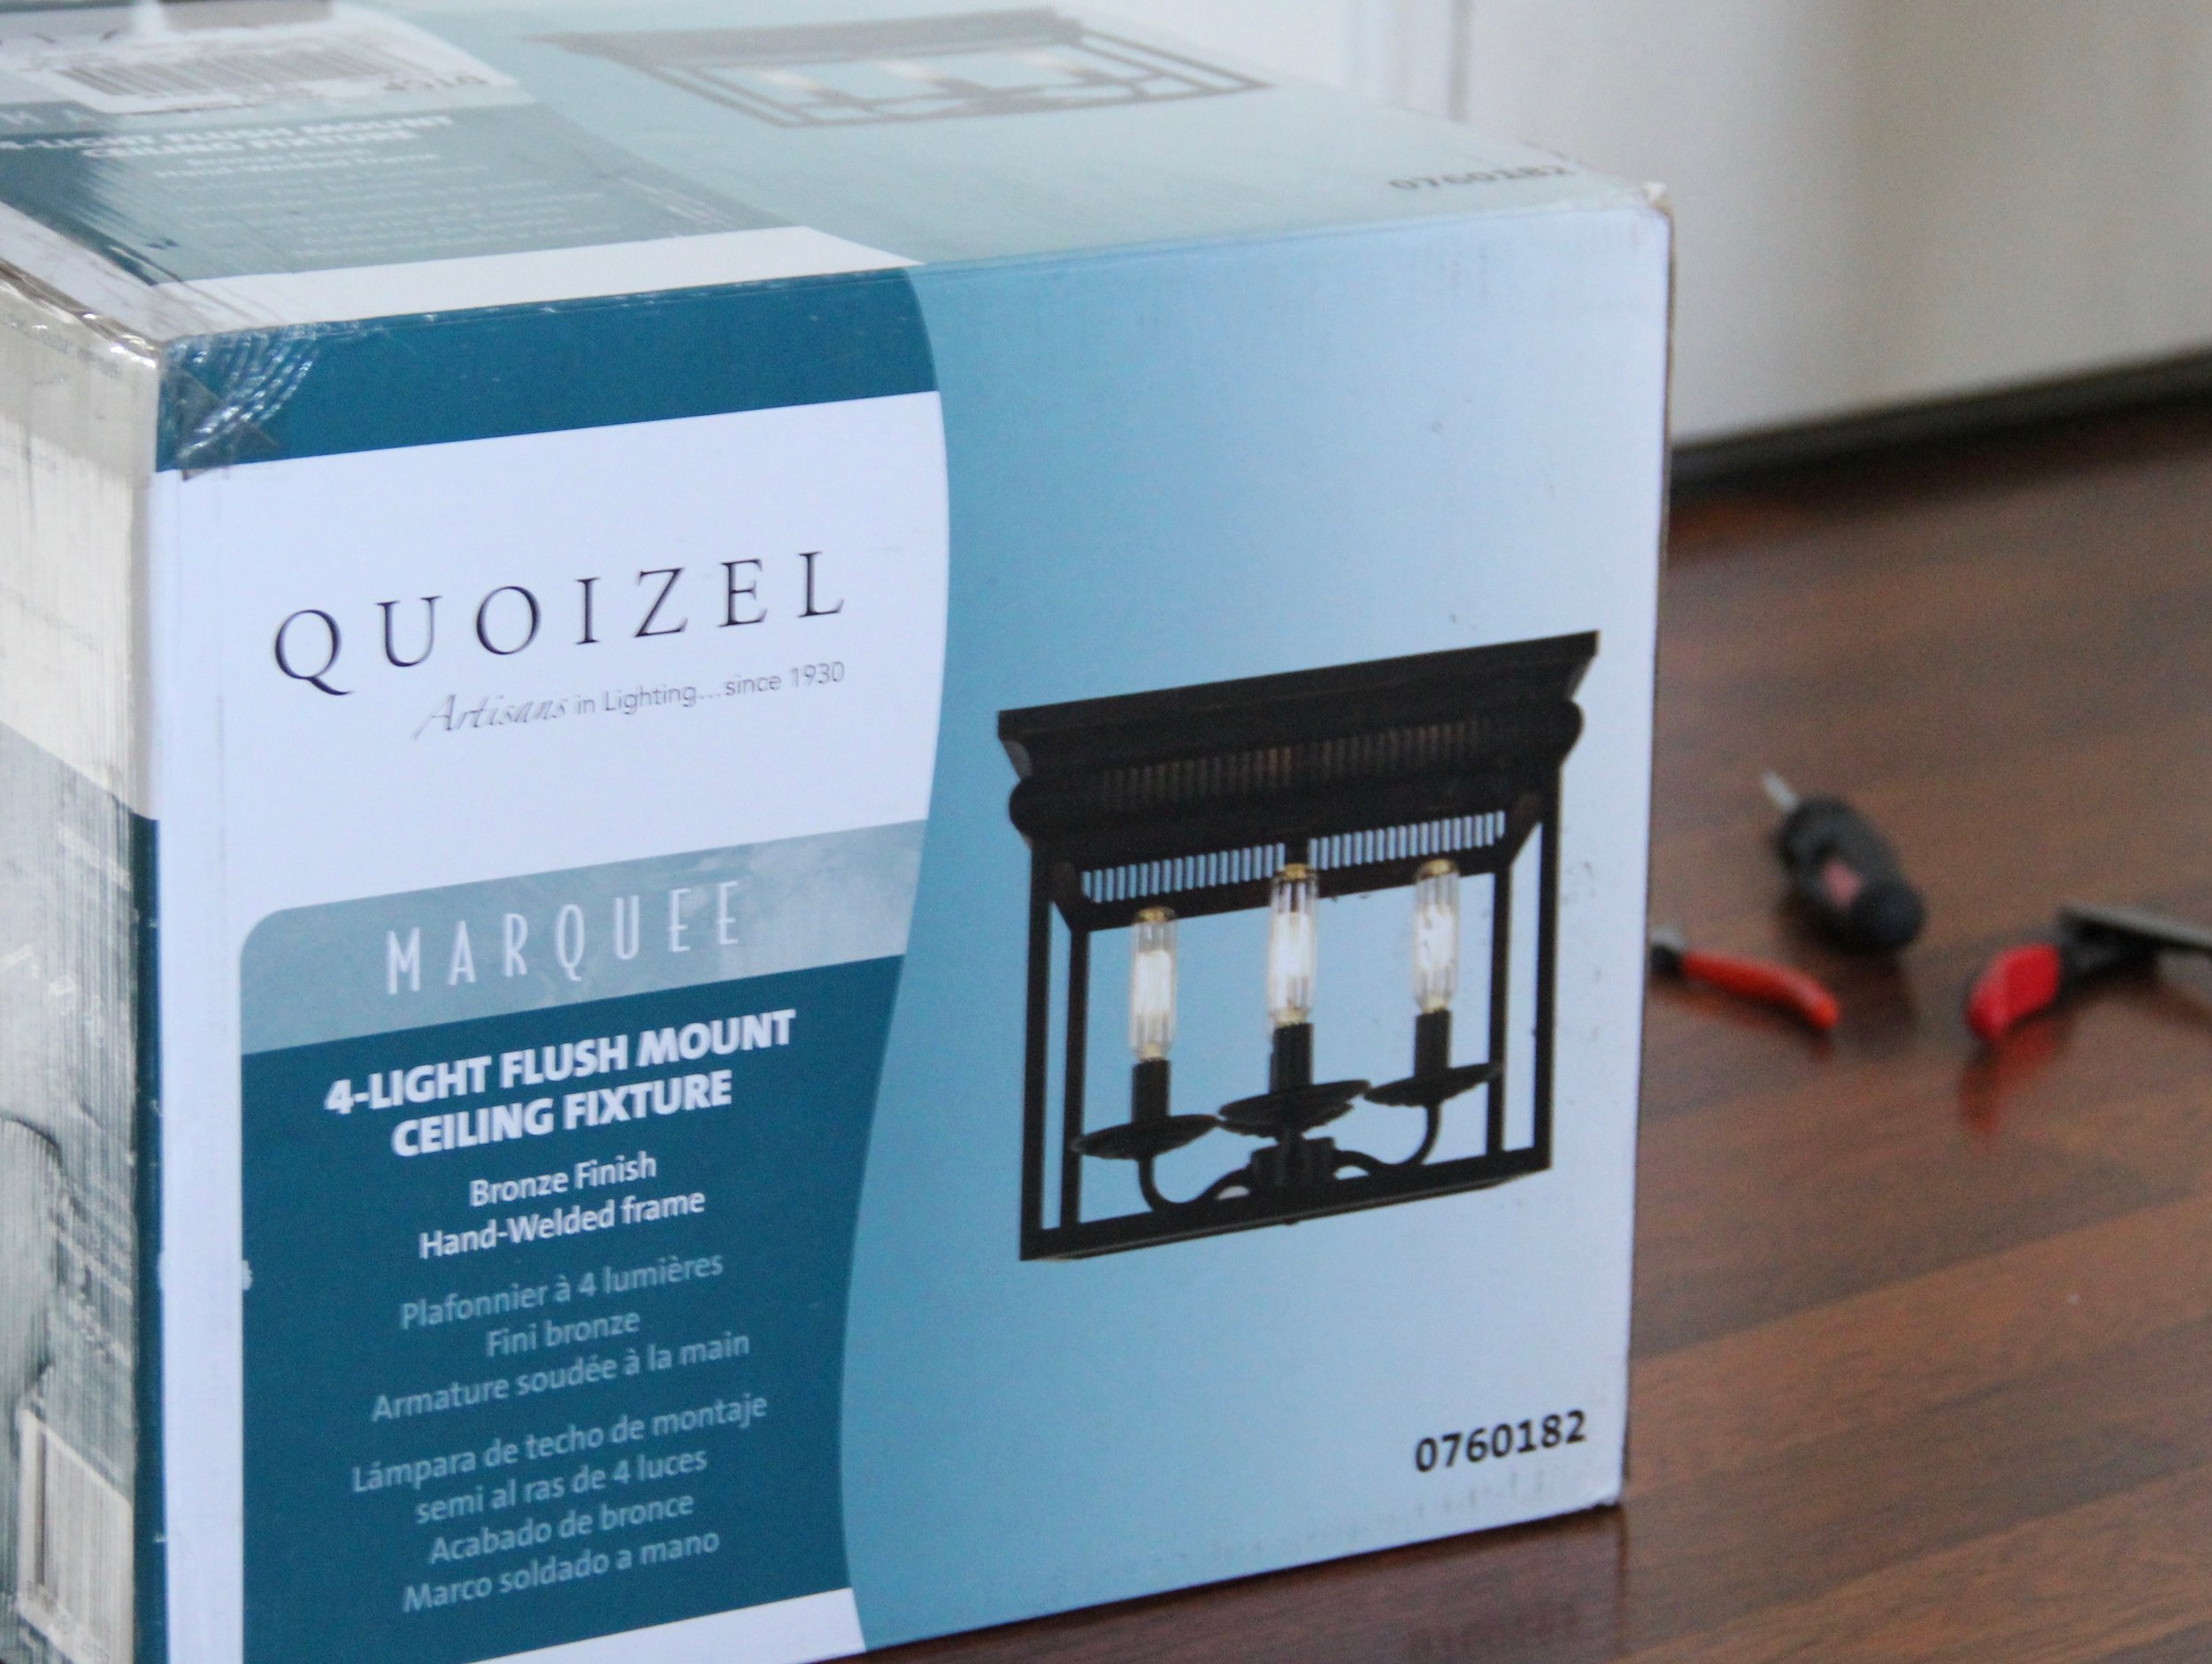
- Remove the new fixture from the box and make sure to read the installation instructions carefully (as there may be slight variations in the process, but overall it's the same formula)
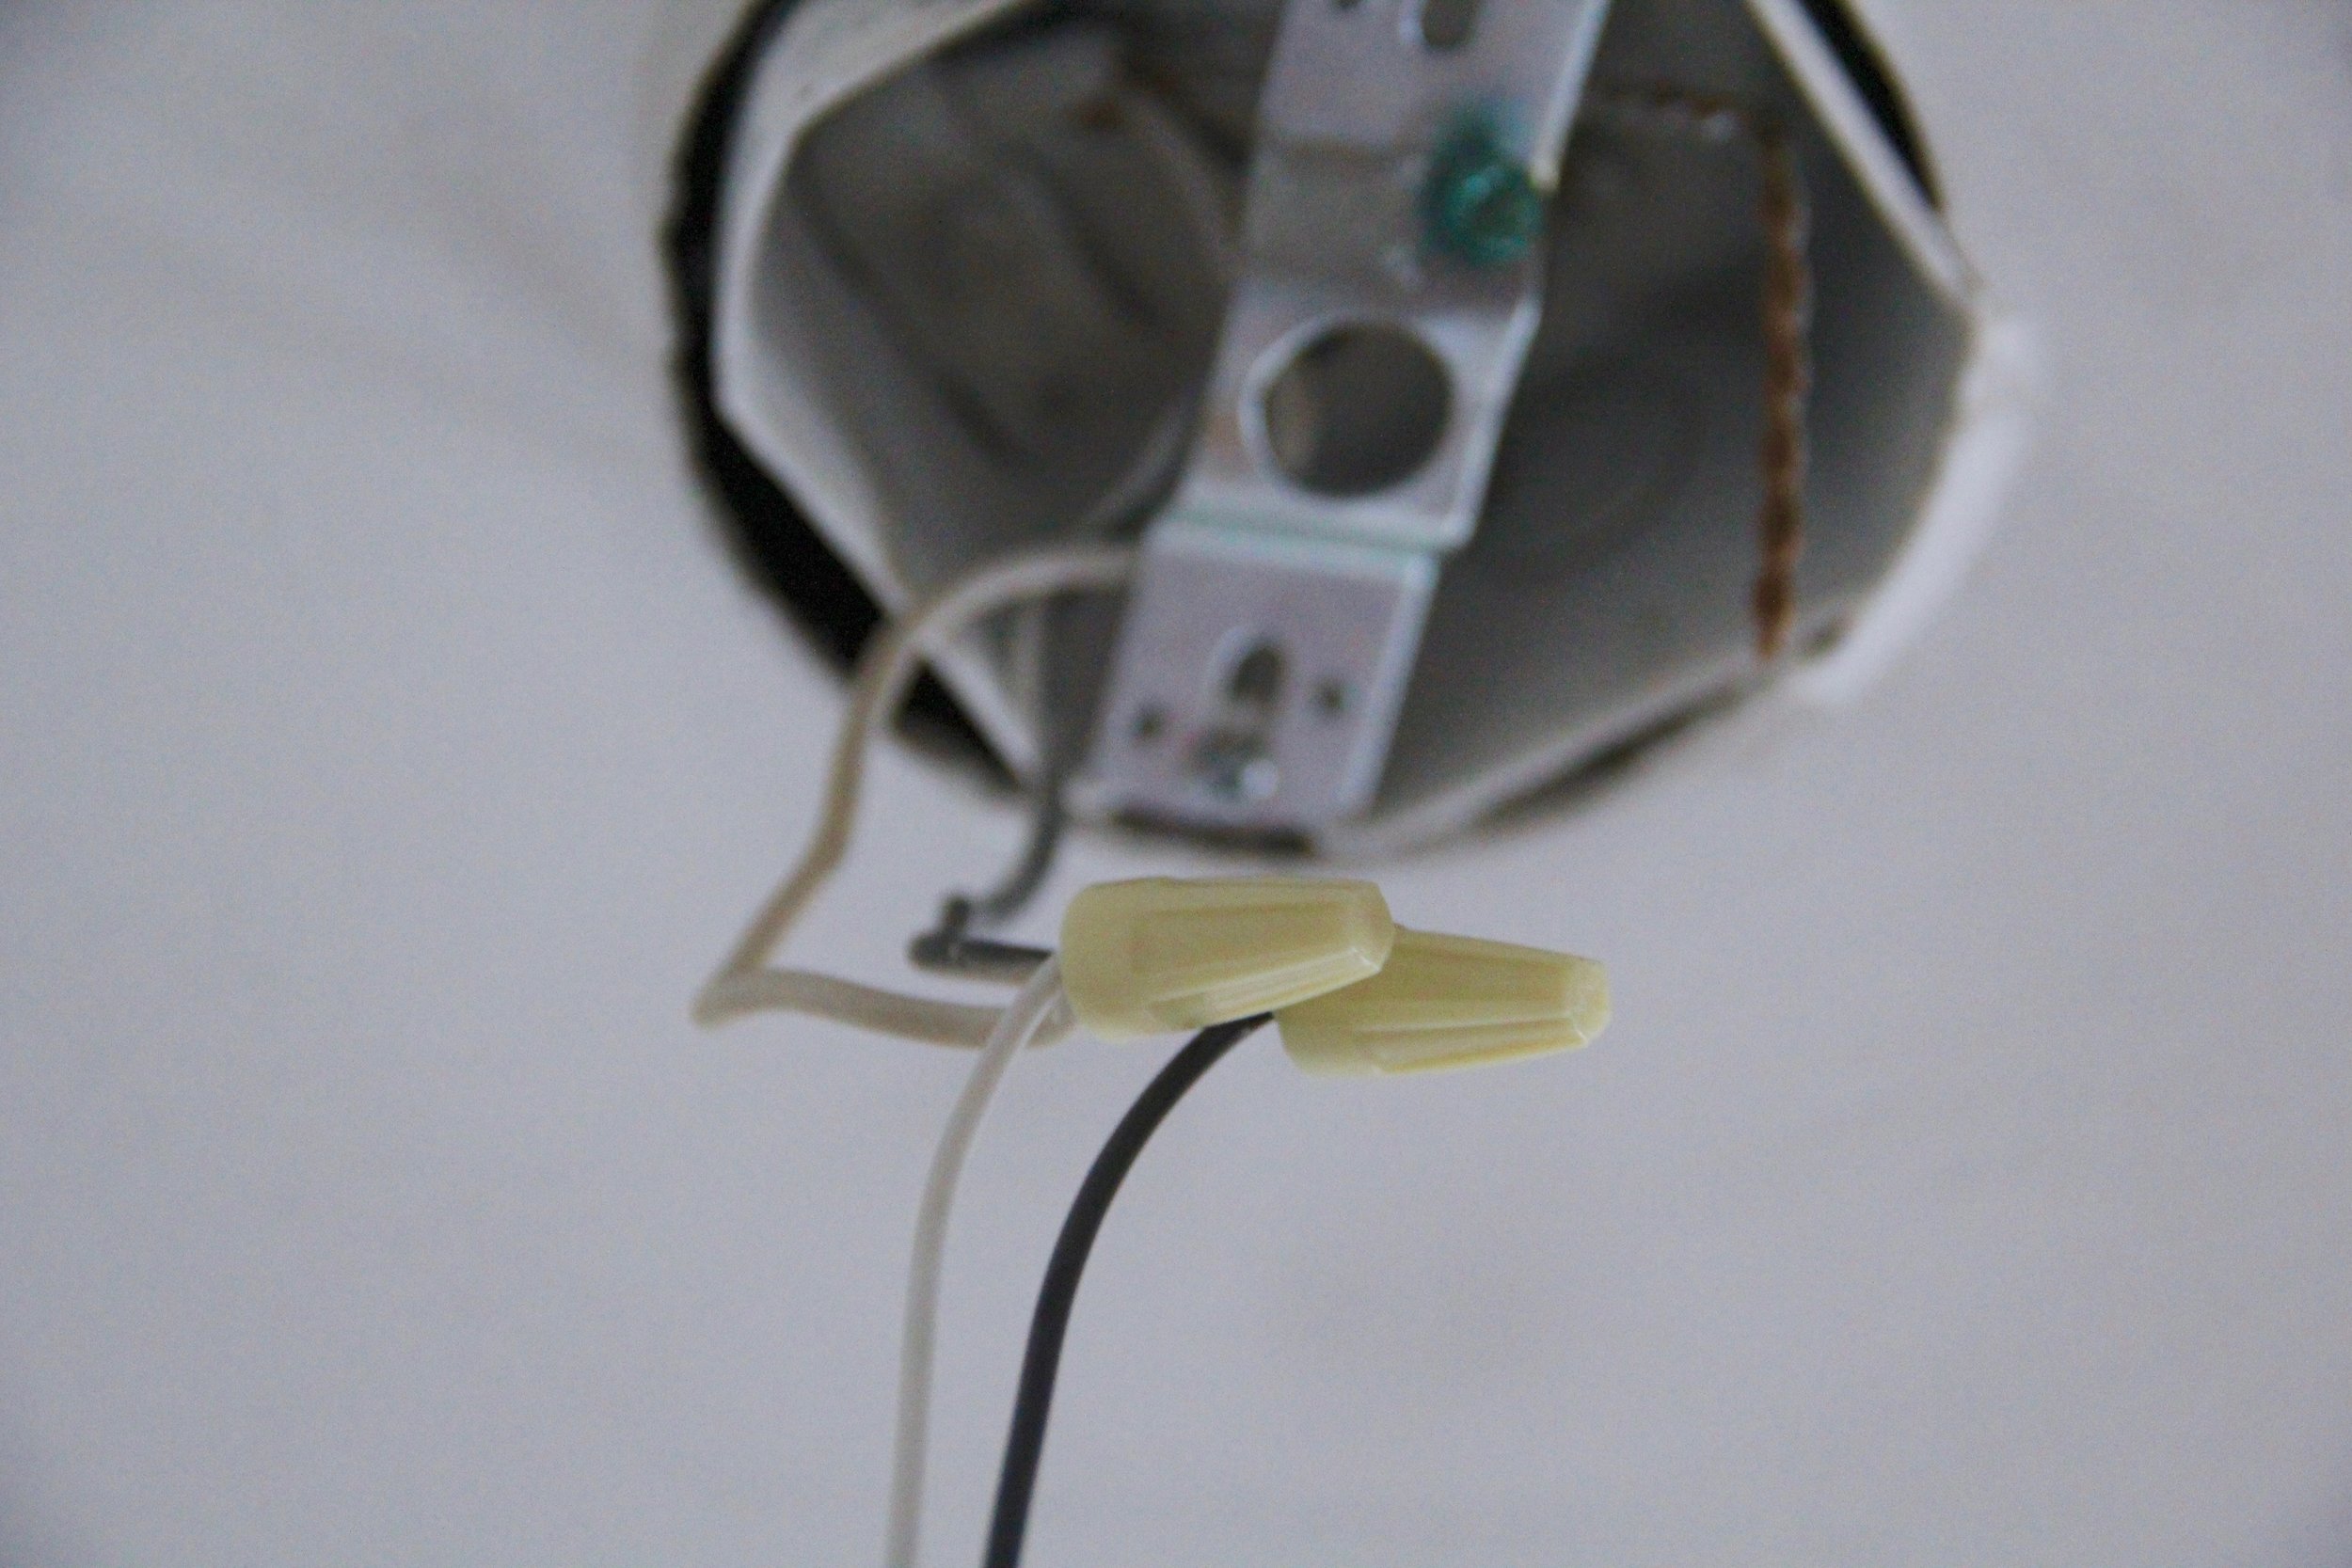
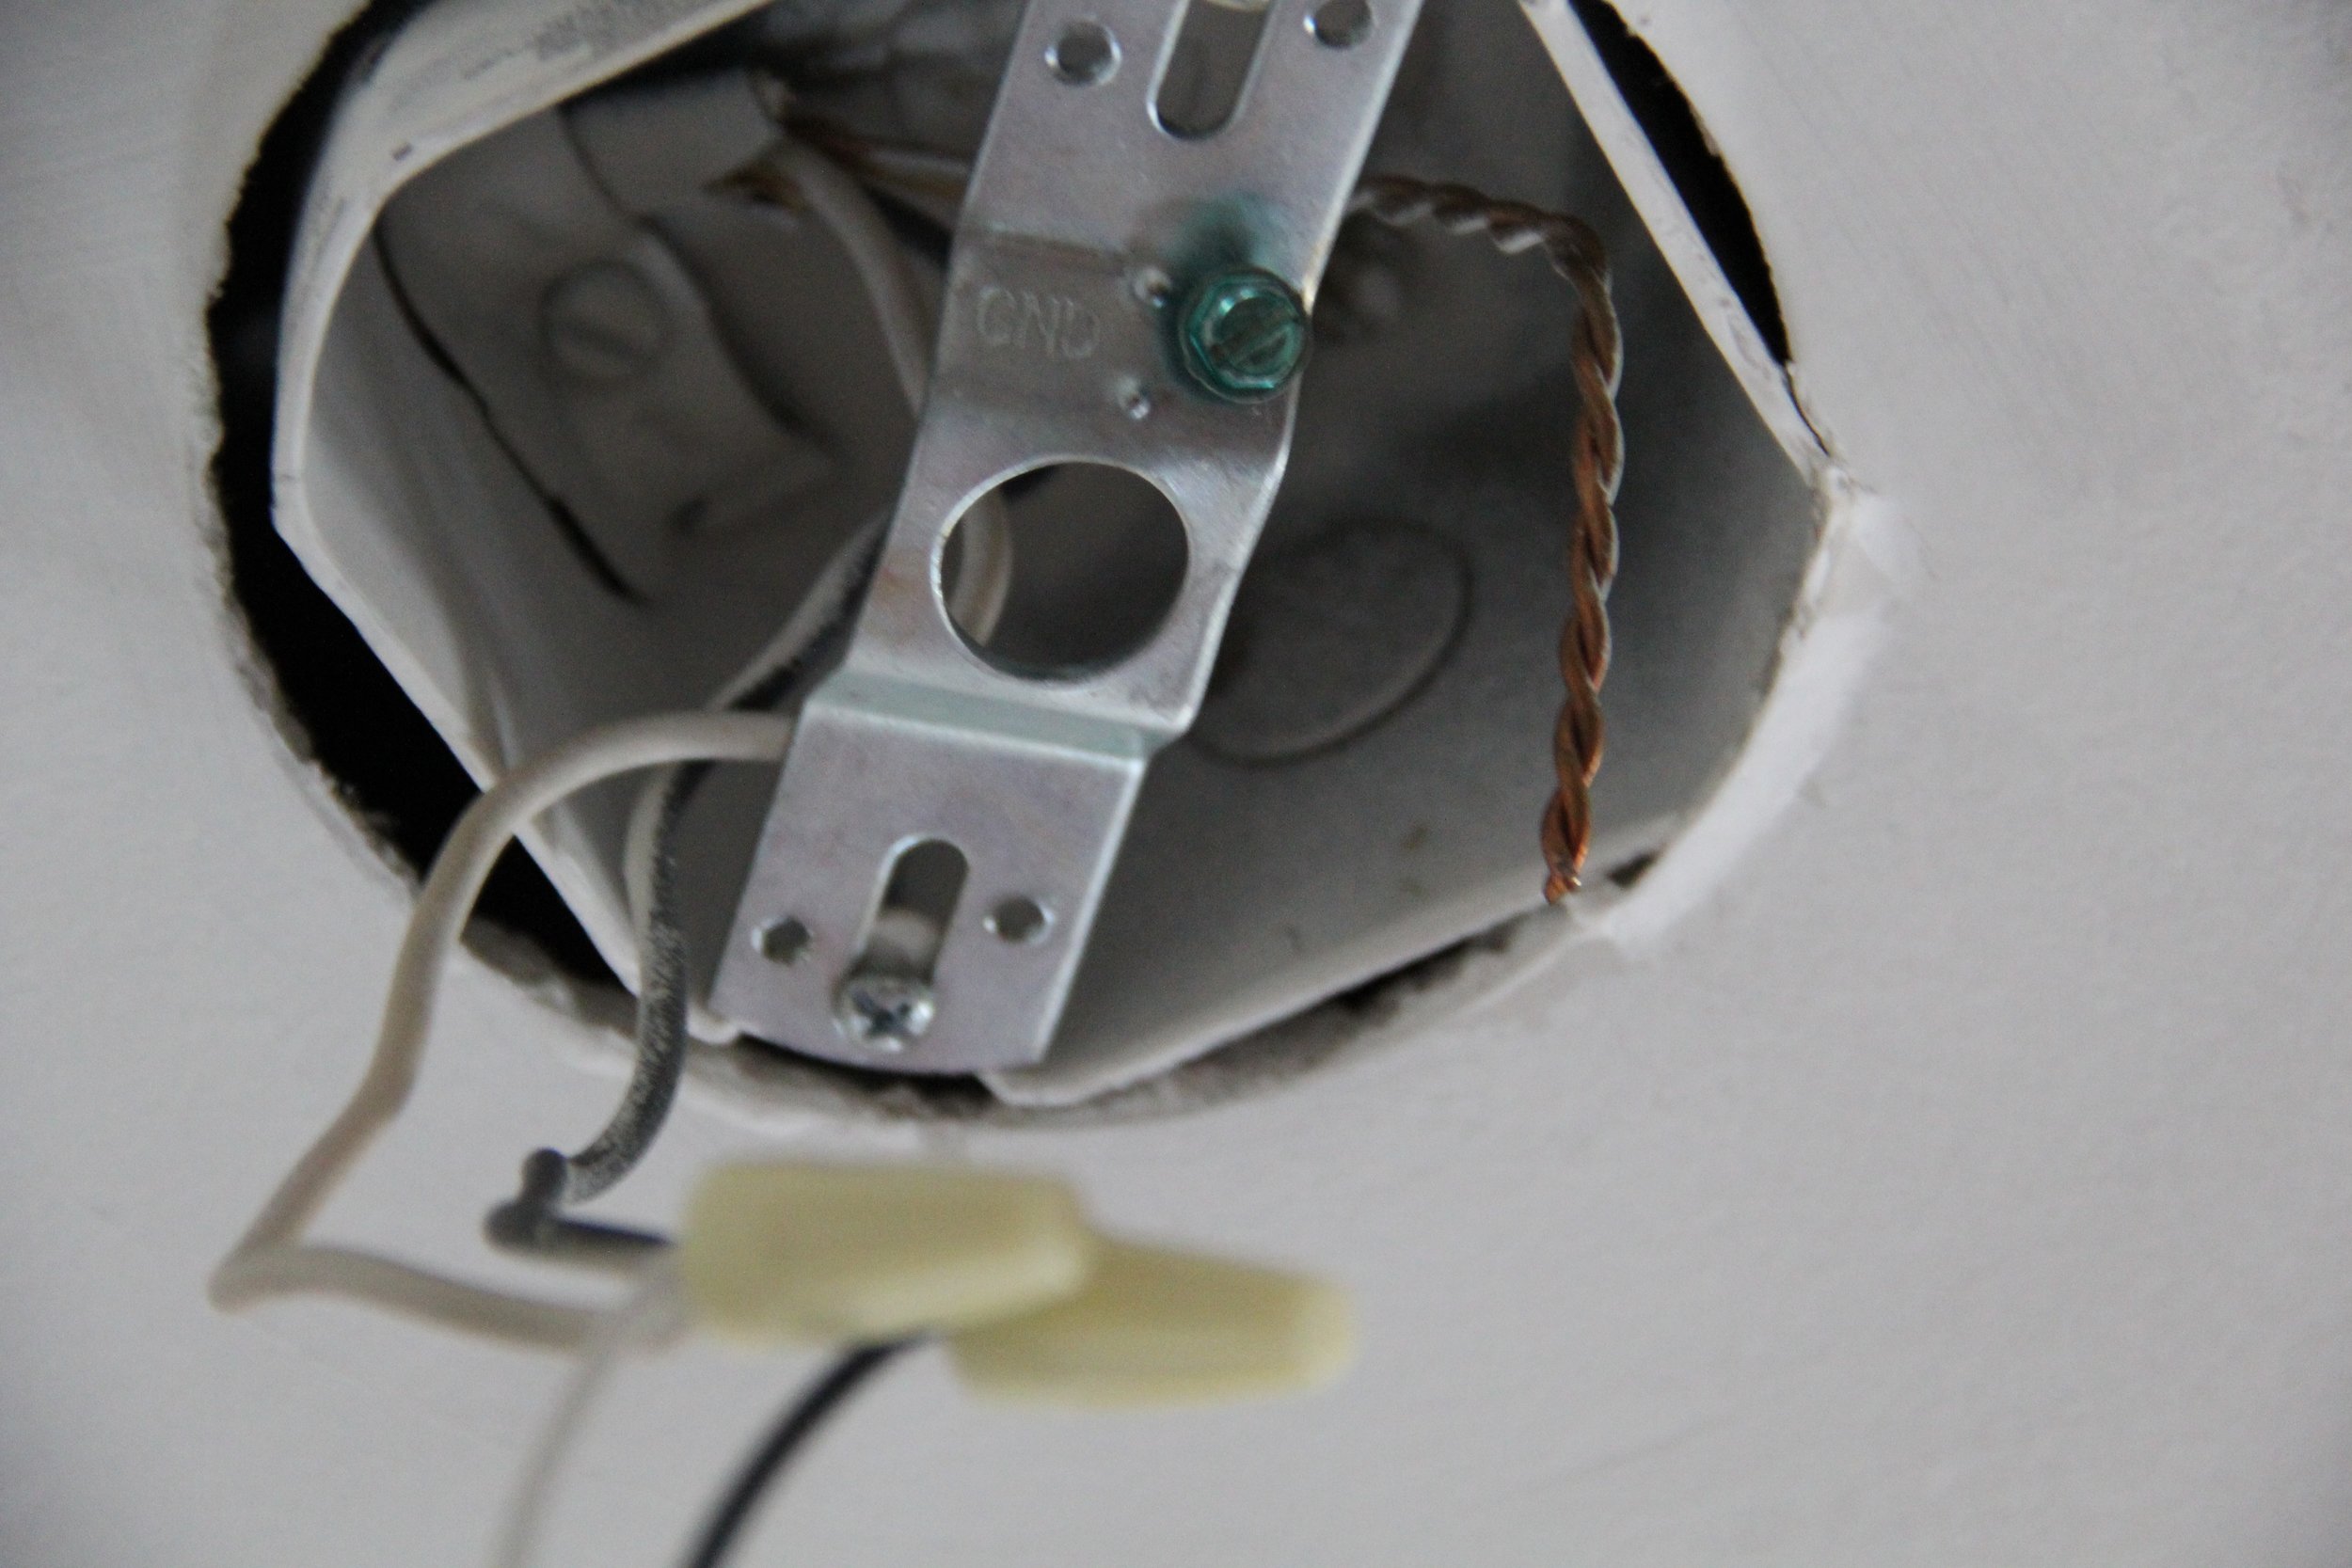
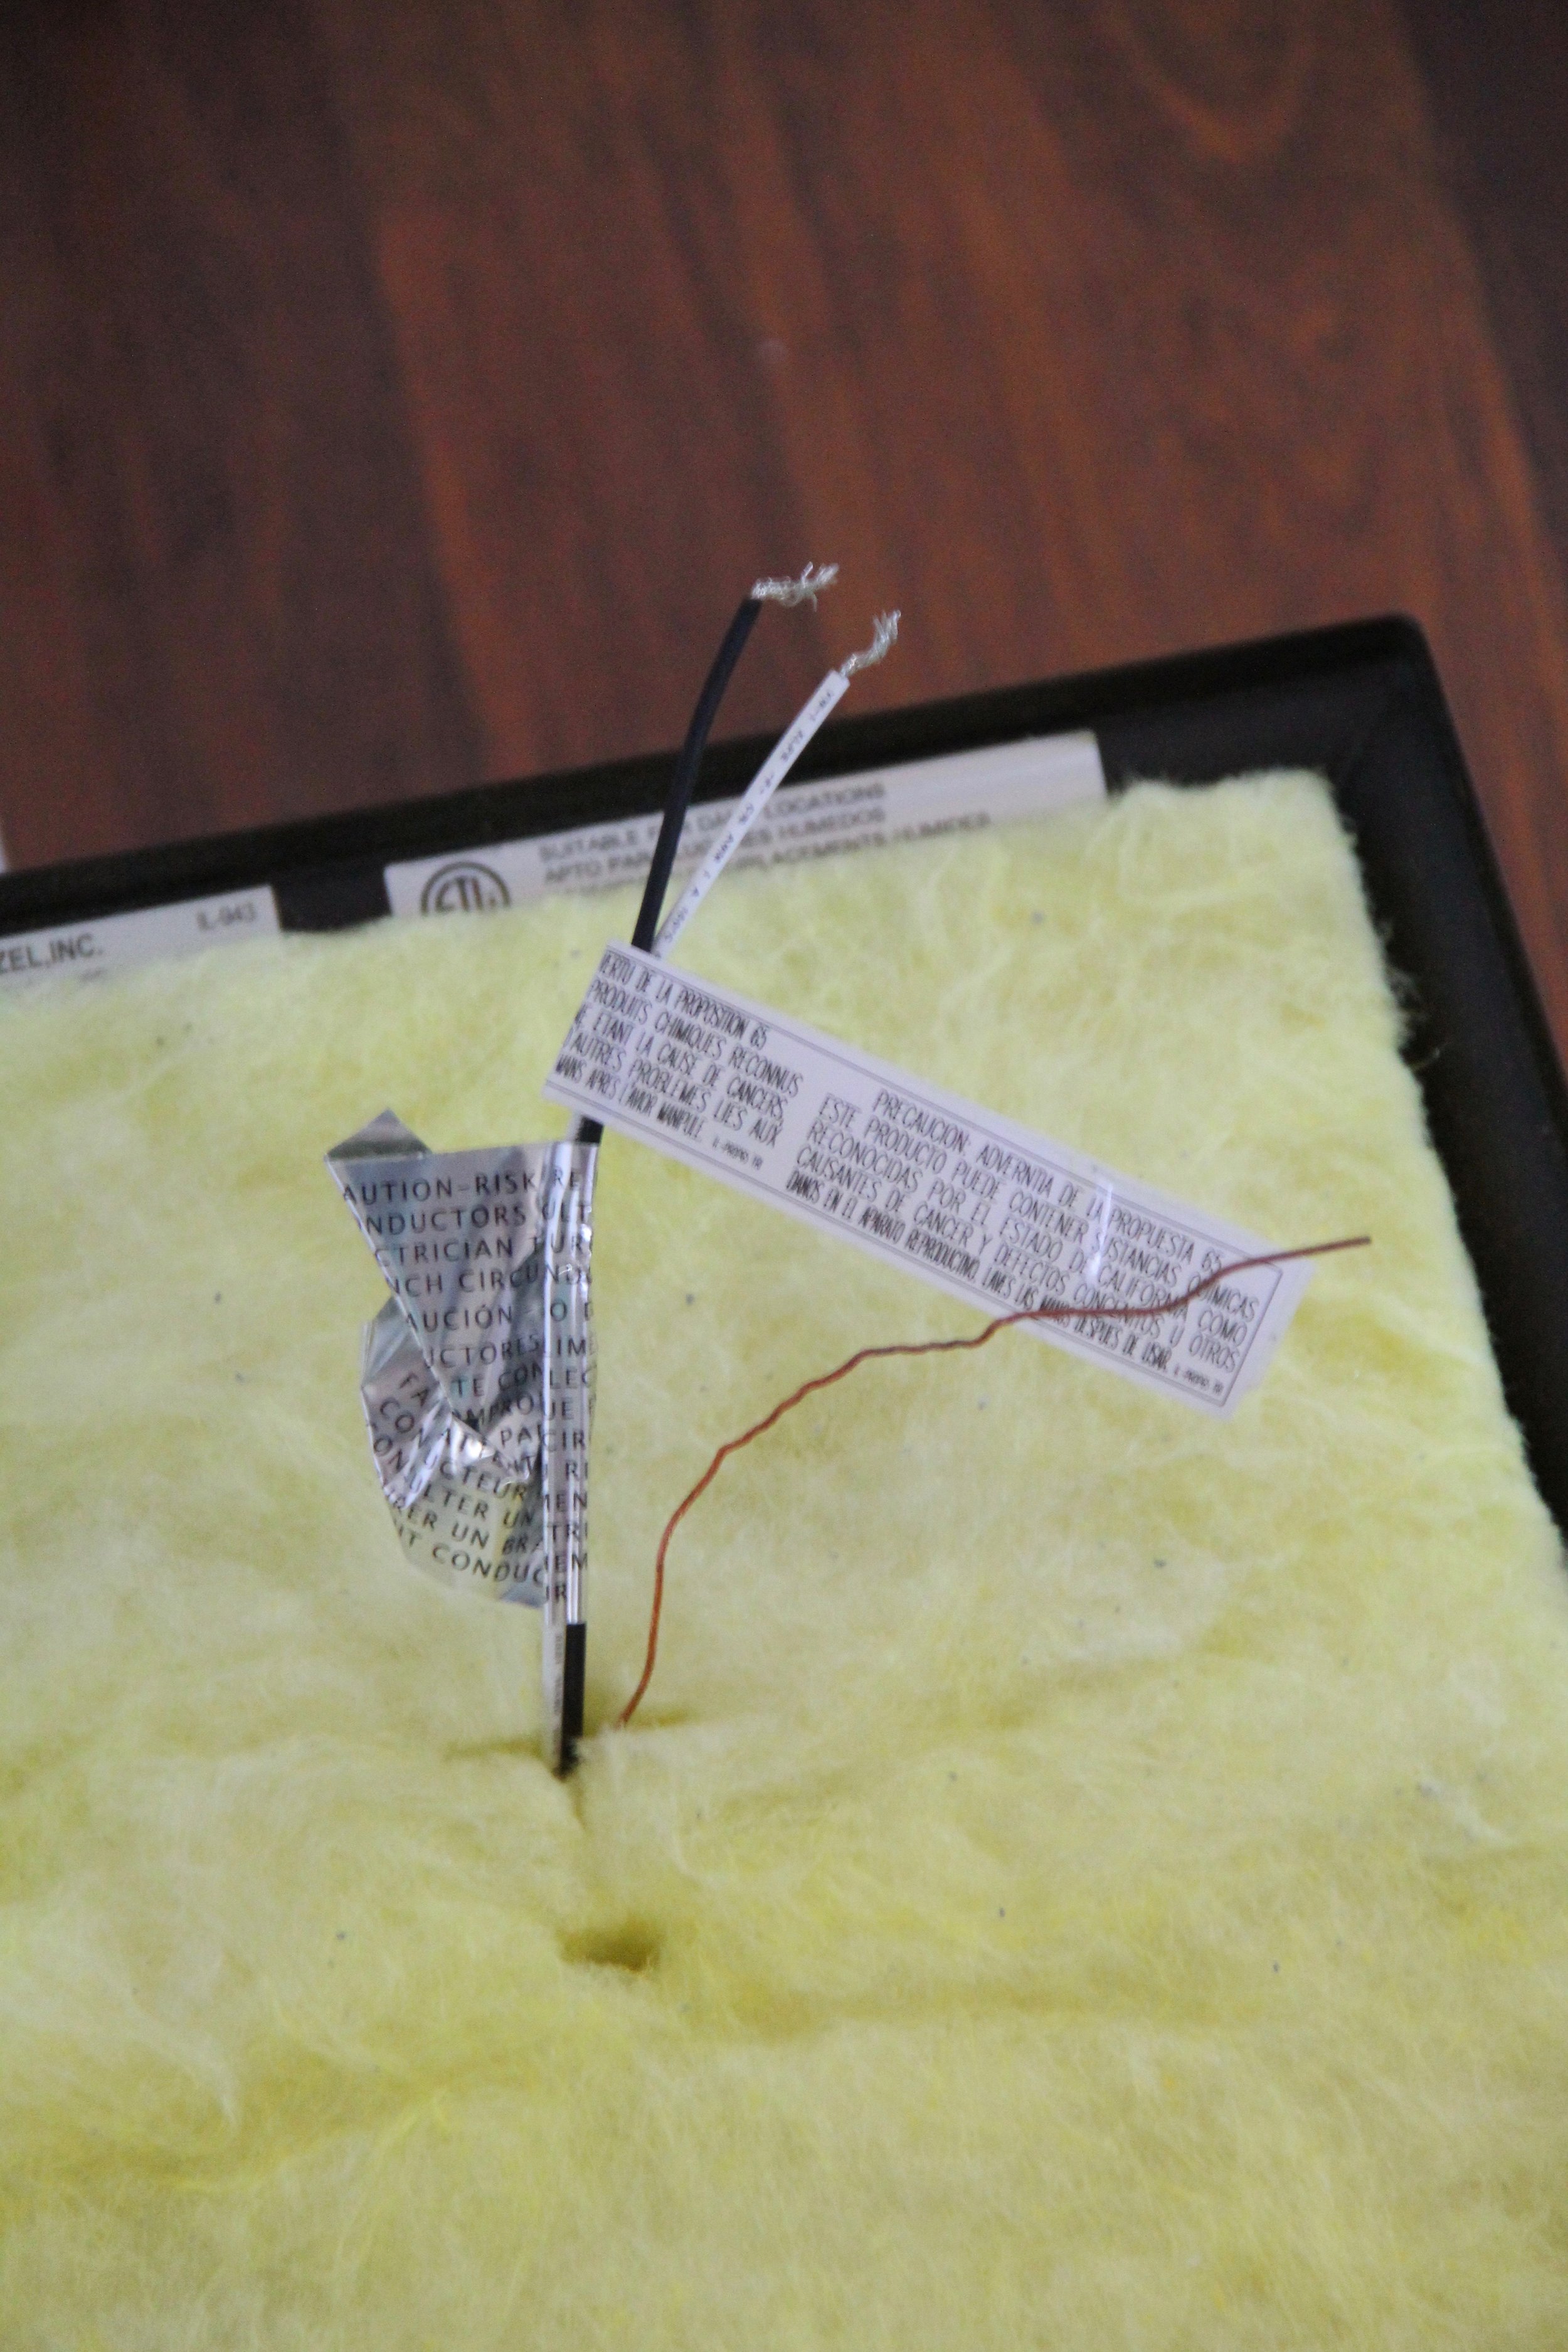
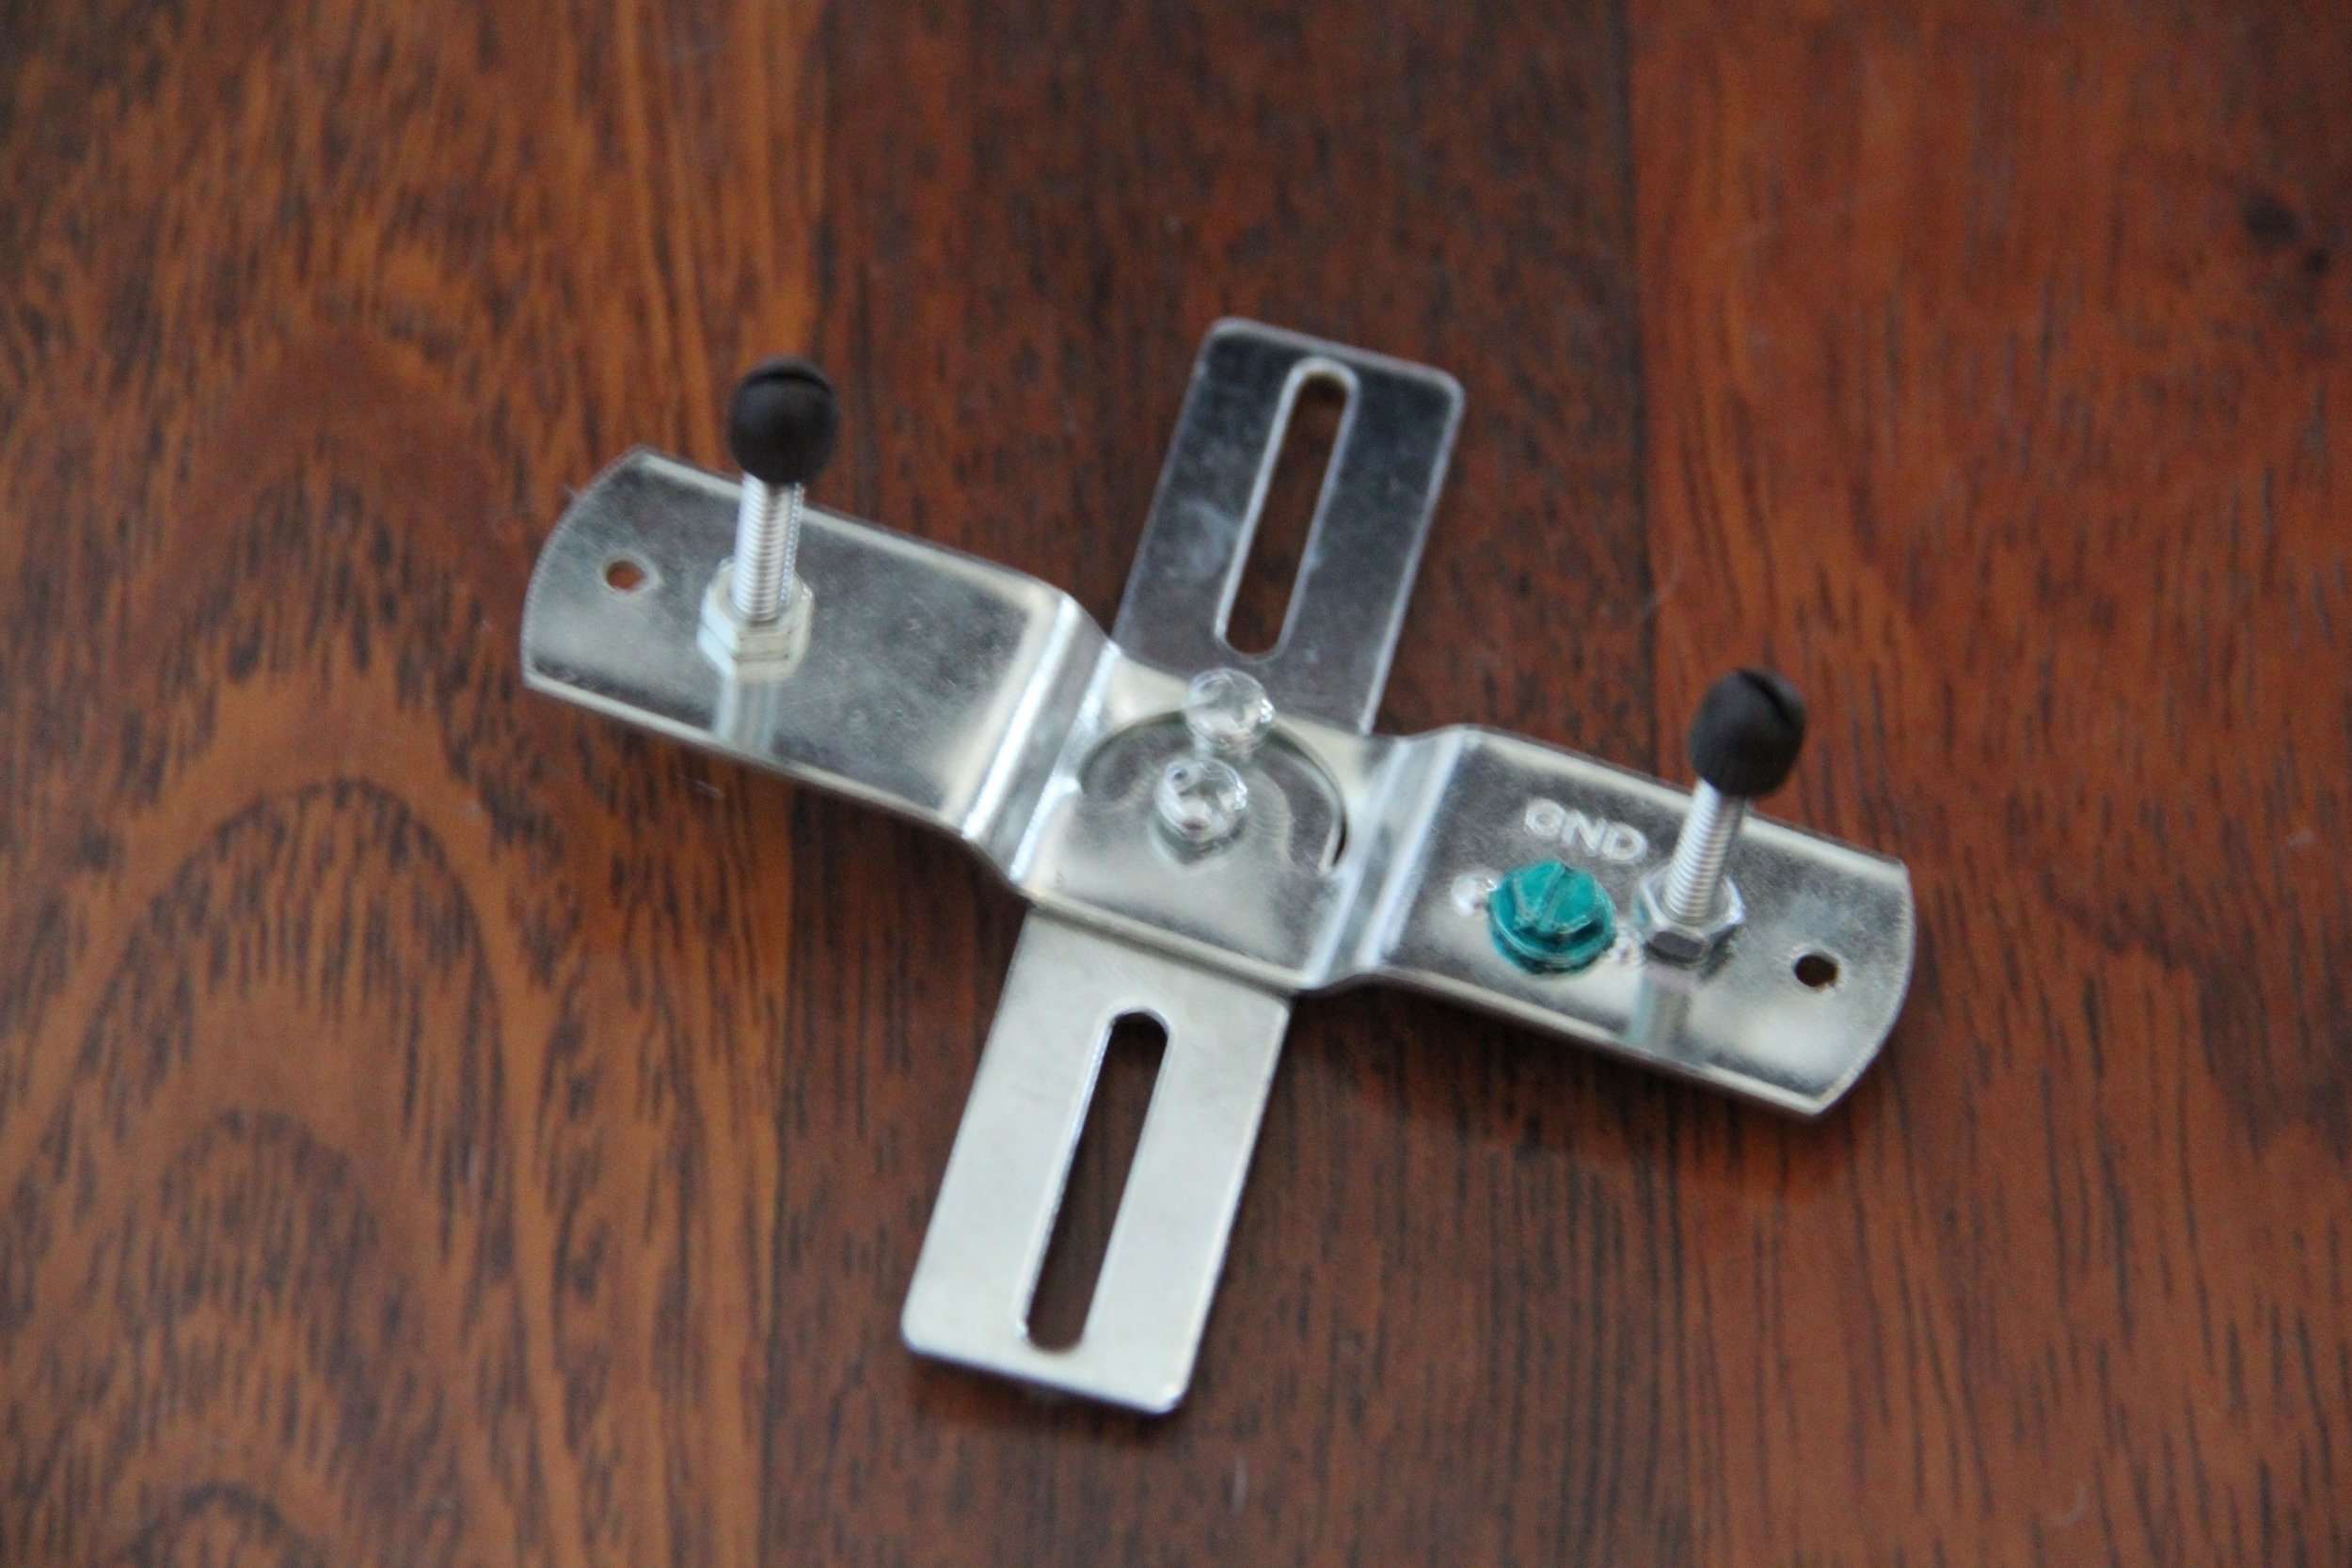
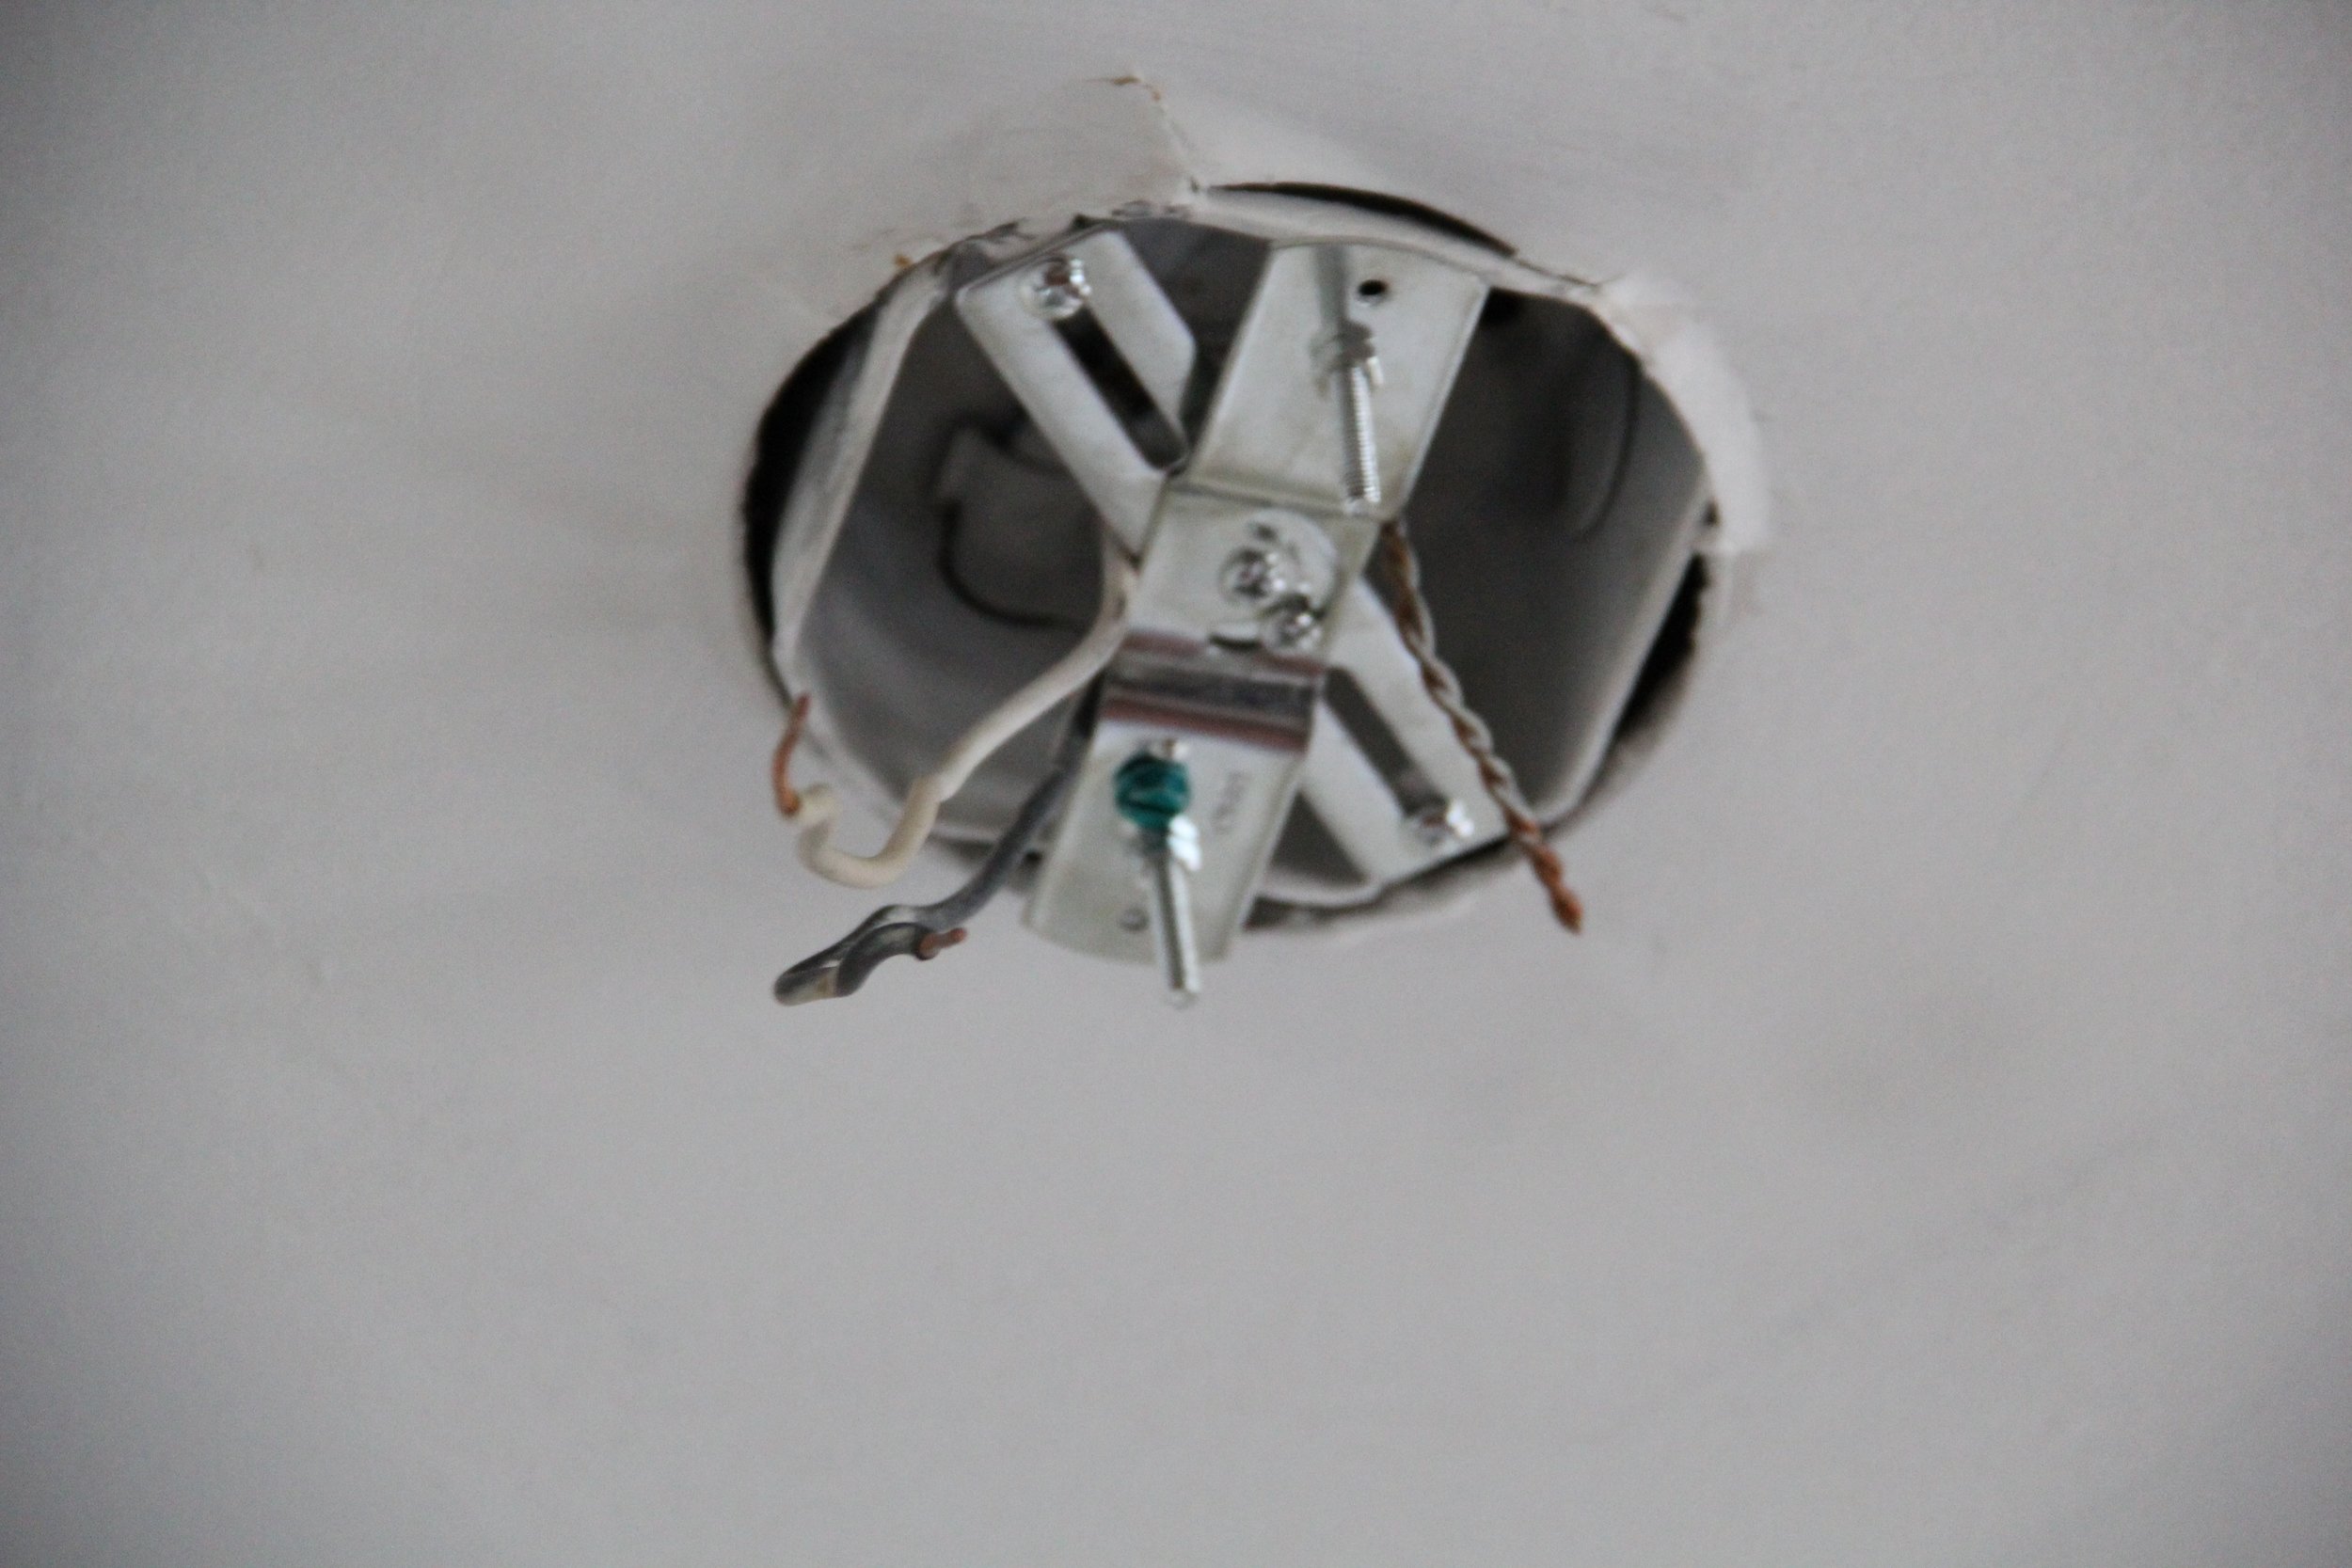
- With the old lighting fixture removed you will notice that there are 3 wires in the lighting fixture socket - A Black Wire, A White Wire and a Copper Wire. Make sure that these wires remain accessible once you install the new metal lighting mount (provided in the new lighting fixture box)
- To attach the new fixture, connect the following:
- Twist the ends of the fixture black wire and the socket black wire together and then secure with an electrical wire cap.
- Twist the ends of the fixture white wire and the socket white wire together and then secure with an electrical wire cap.
- For the copper wire, sometimes both the socket and fixture have copper wires to connect together, but in the event that only the fixture has a copper wire, secure it around the flathead bolt located towards the mid-center of the metal lighting mount.
- Once the wires have been secured, screw the bolts into the lighting fixture, connecting them to the metal mount (make sure to tighten the bolts so that the fixture feels secure).
- Once the fixture is secured, install/attach any remaining assembly components of the fixture (including the light bulbs).
- Flip the power to the fixture in your electrical box back on and then confirm that the fixture is working by flipping on the designated lighting switch.


